Banana Nut Bread

I decided to eat healthier, so I bought a bag of pancake mix with almond flour in it. I made one batch of pancake, and my husband and I feel we don’t like it that much. The pancake tastes ok, but not as fluffy as the regular flour one. I think I like the regular ones better.

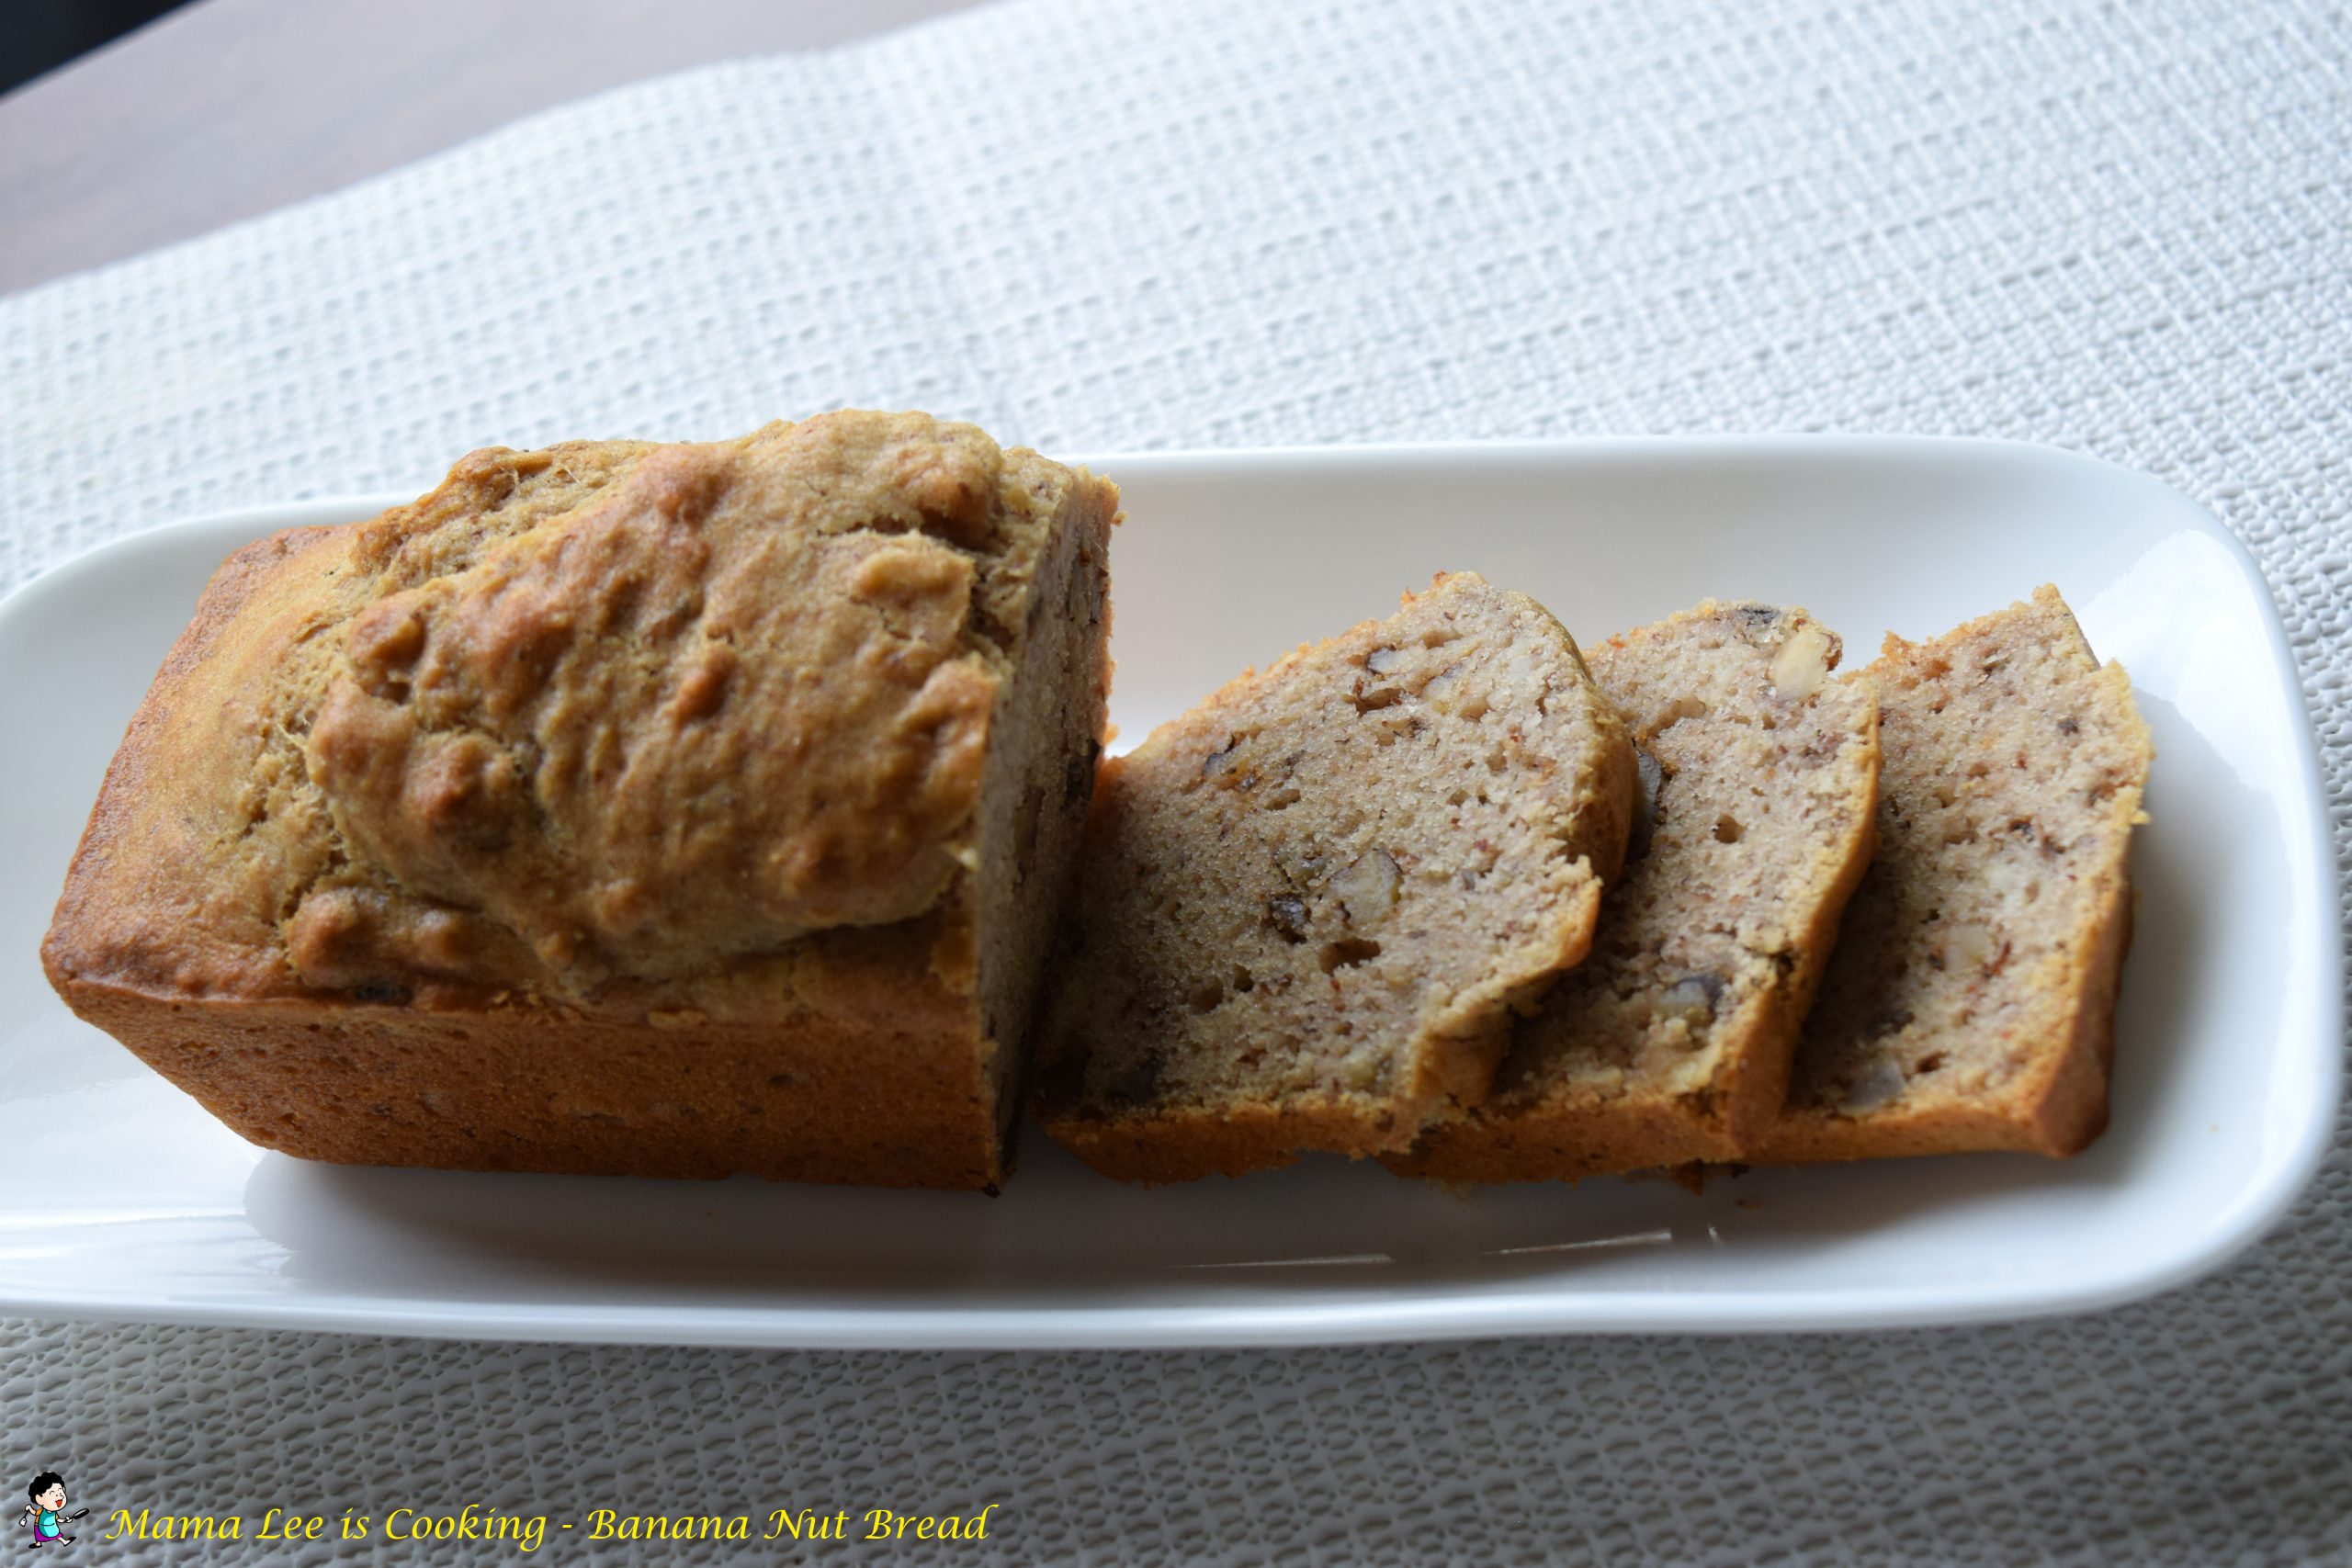
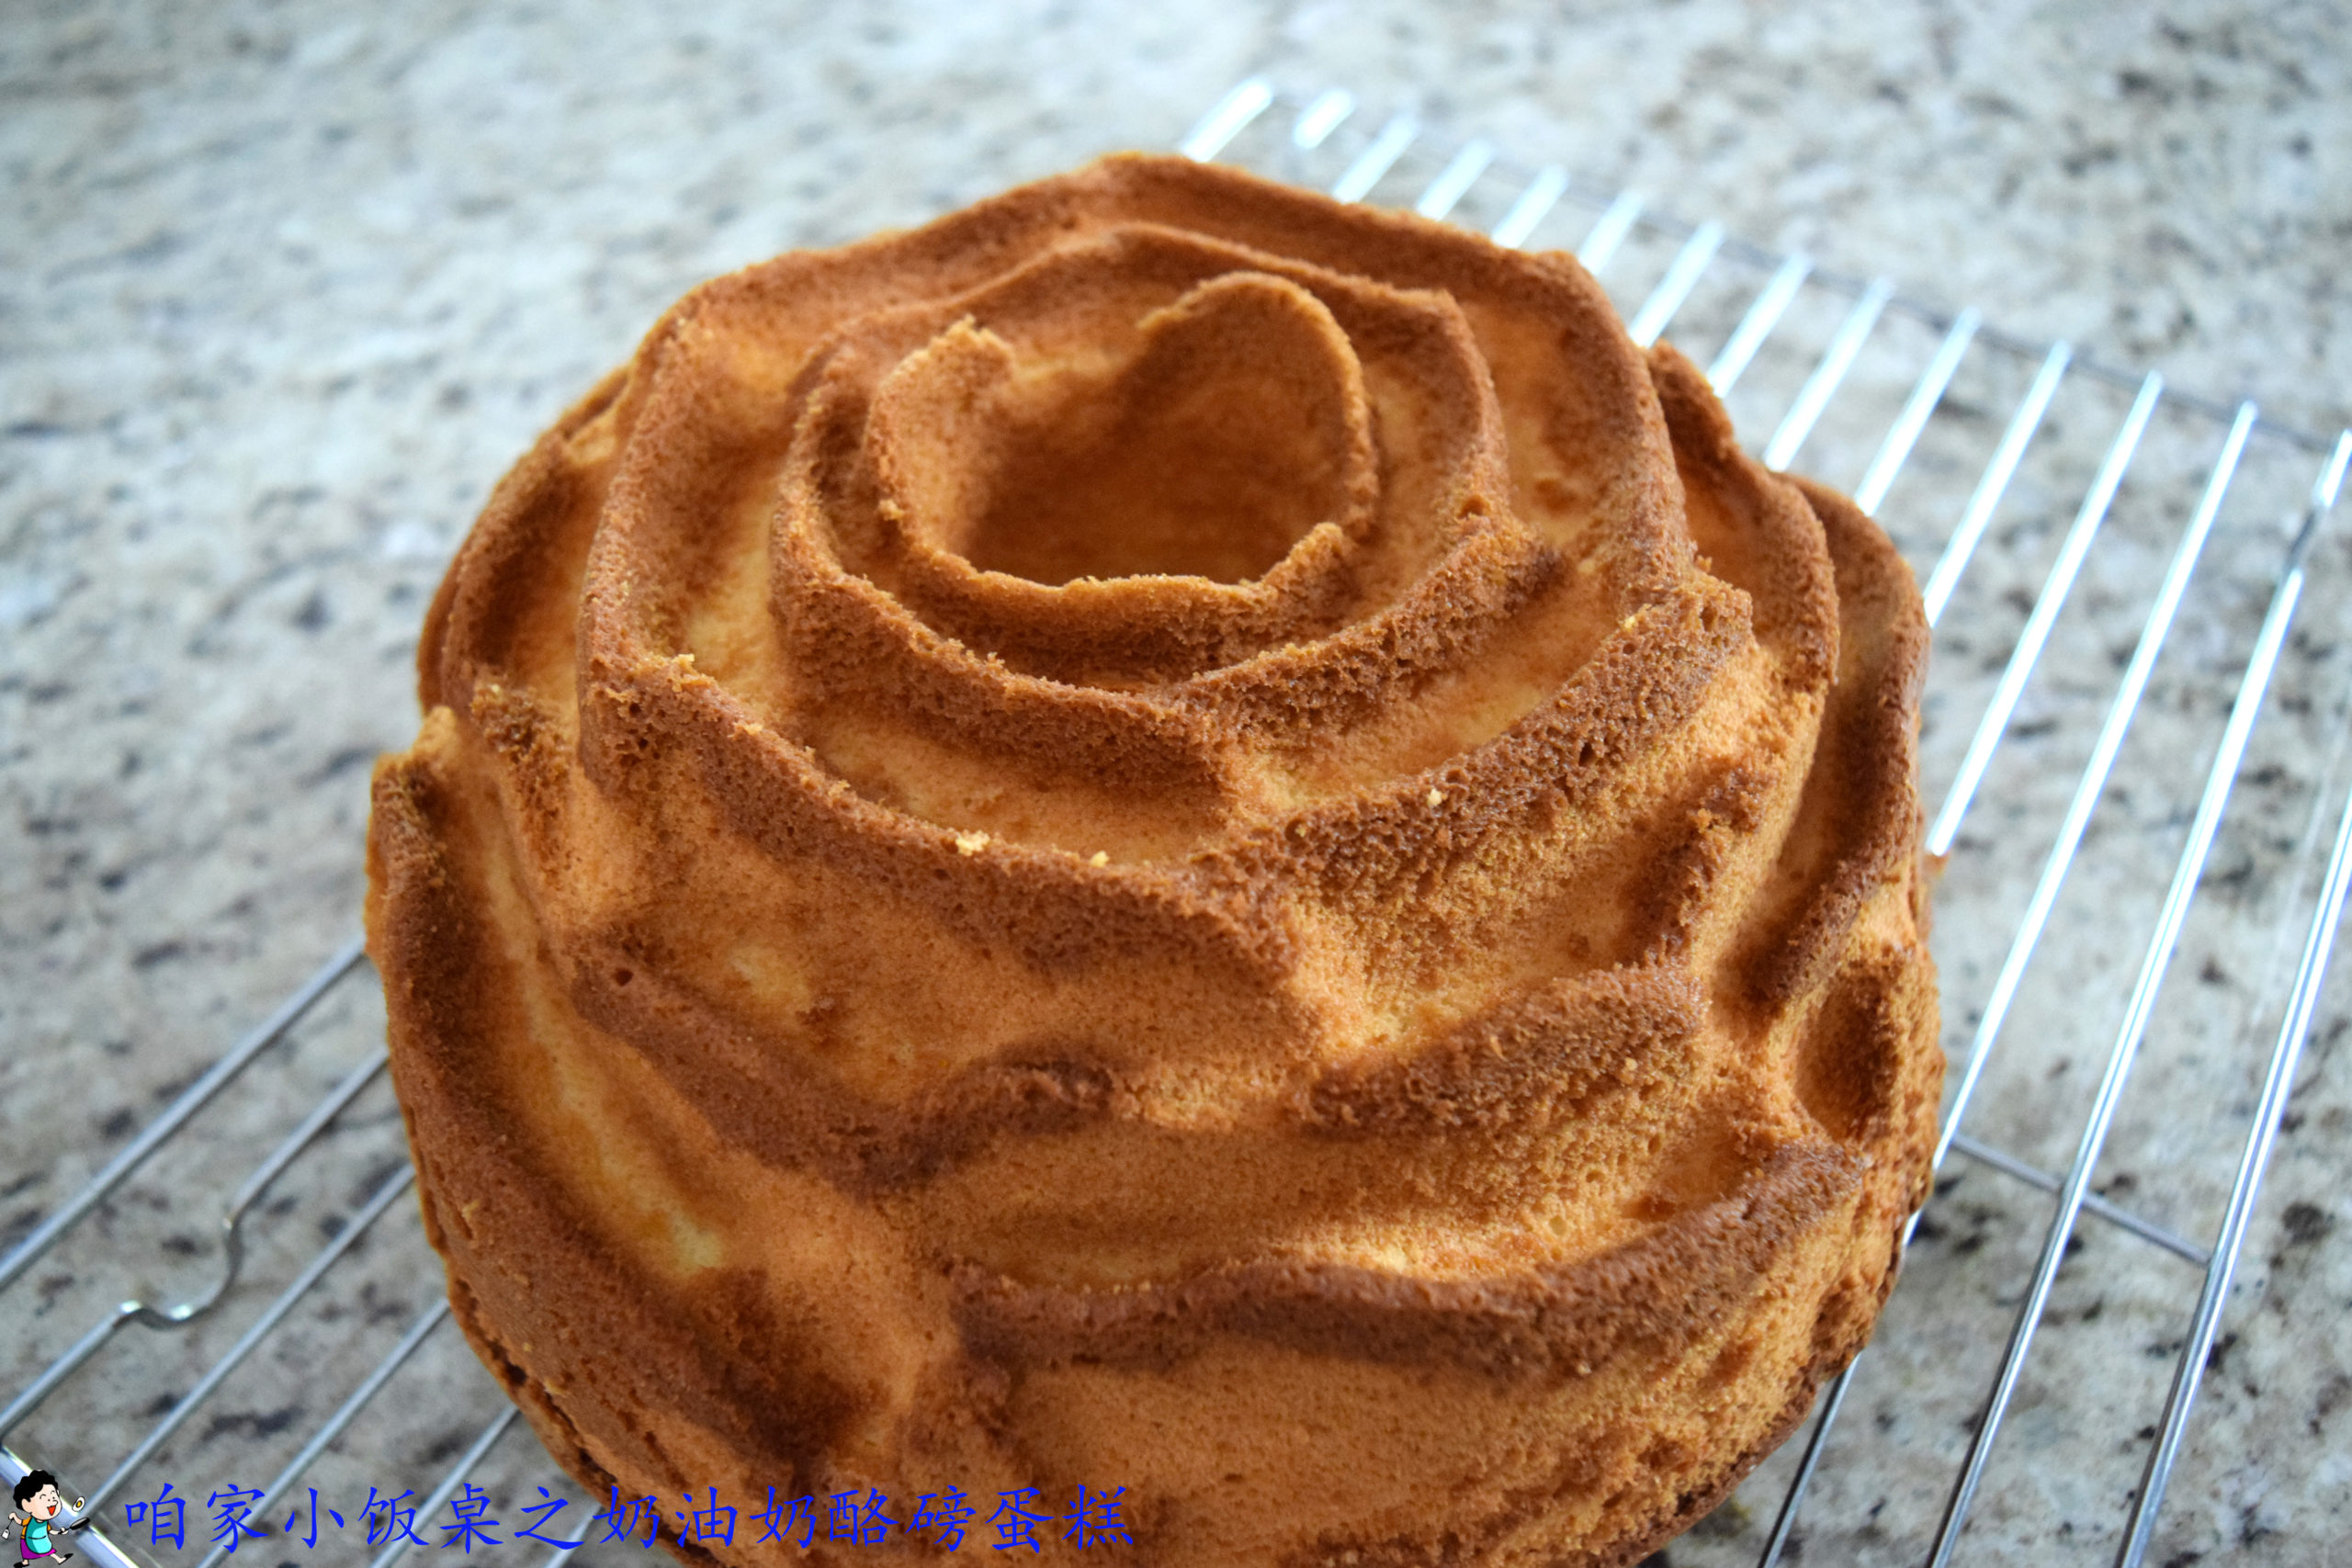
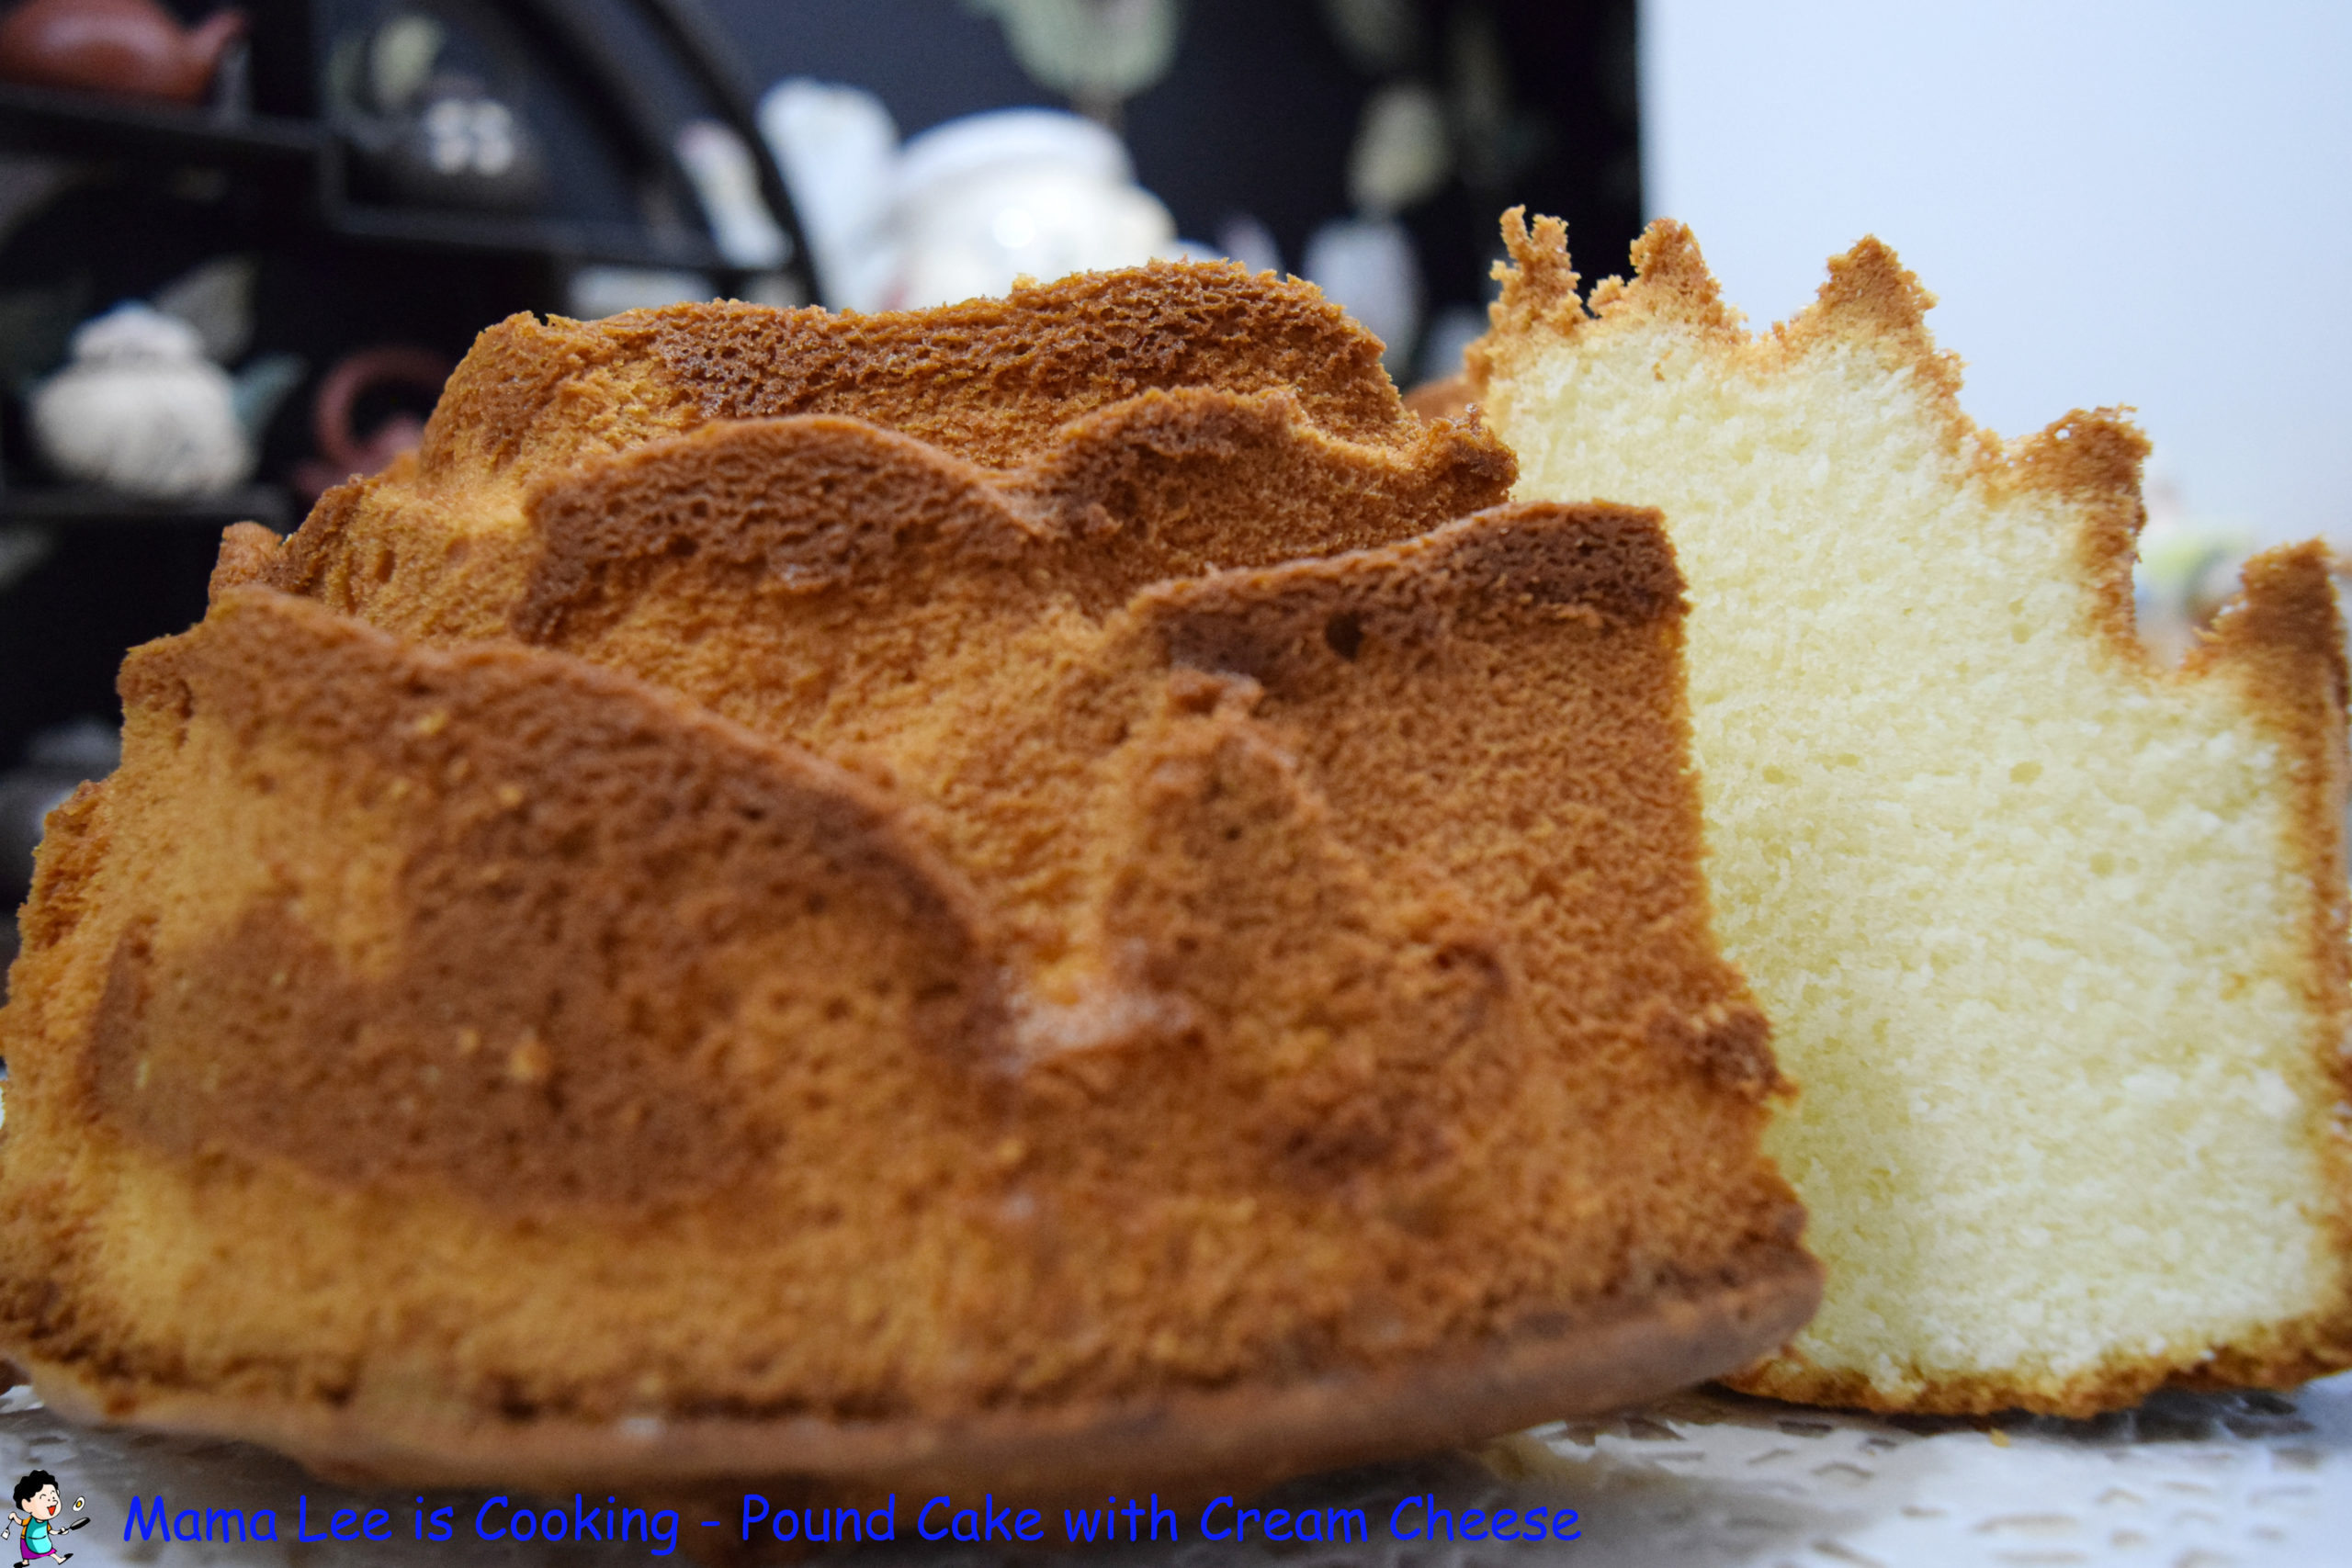
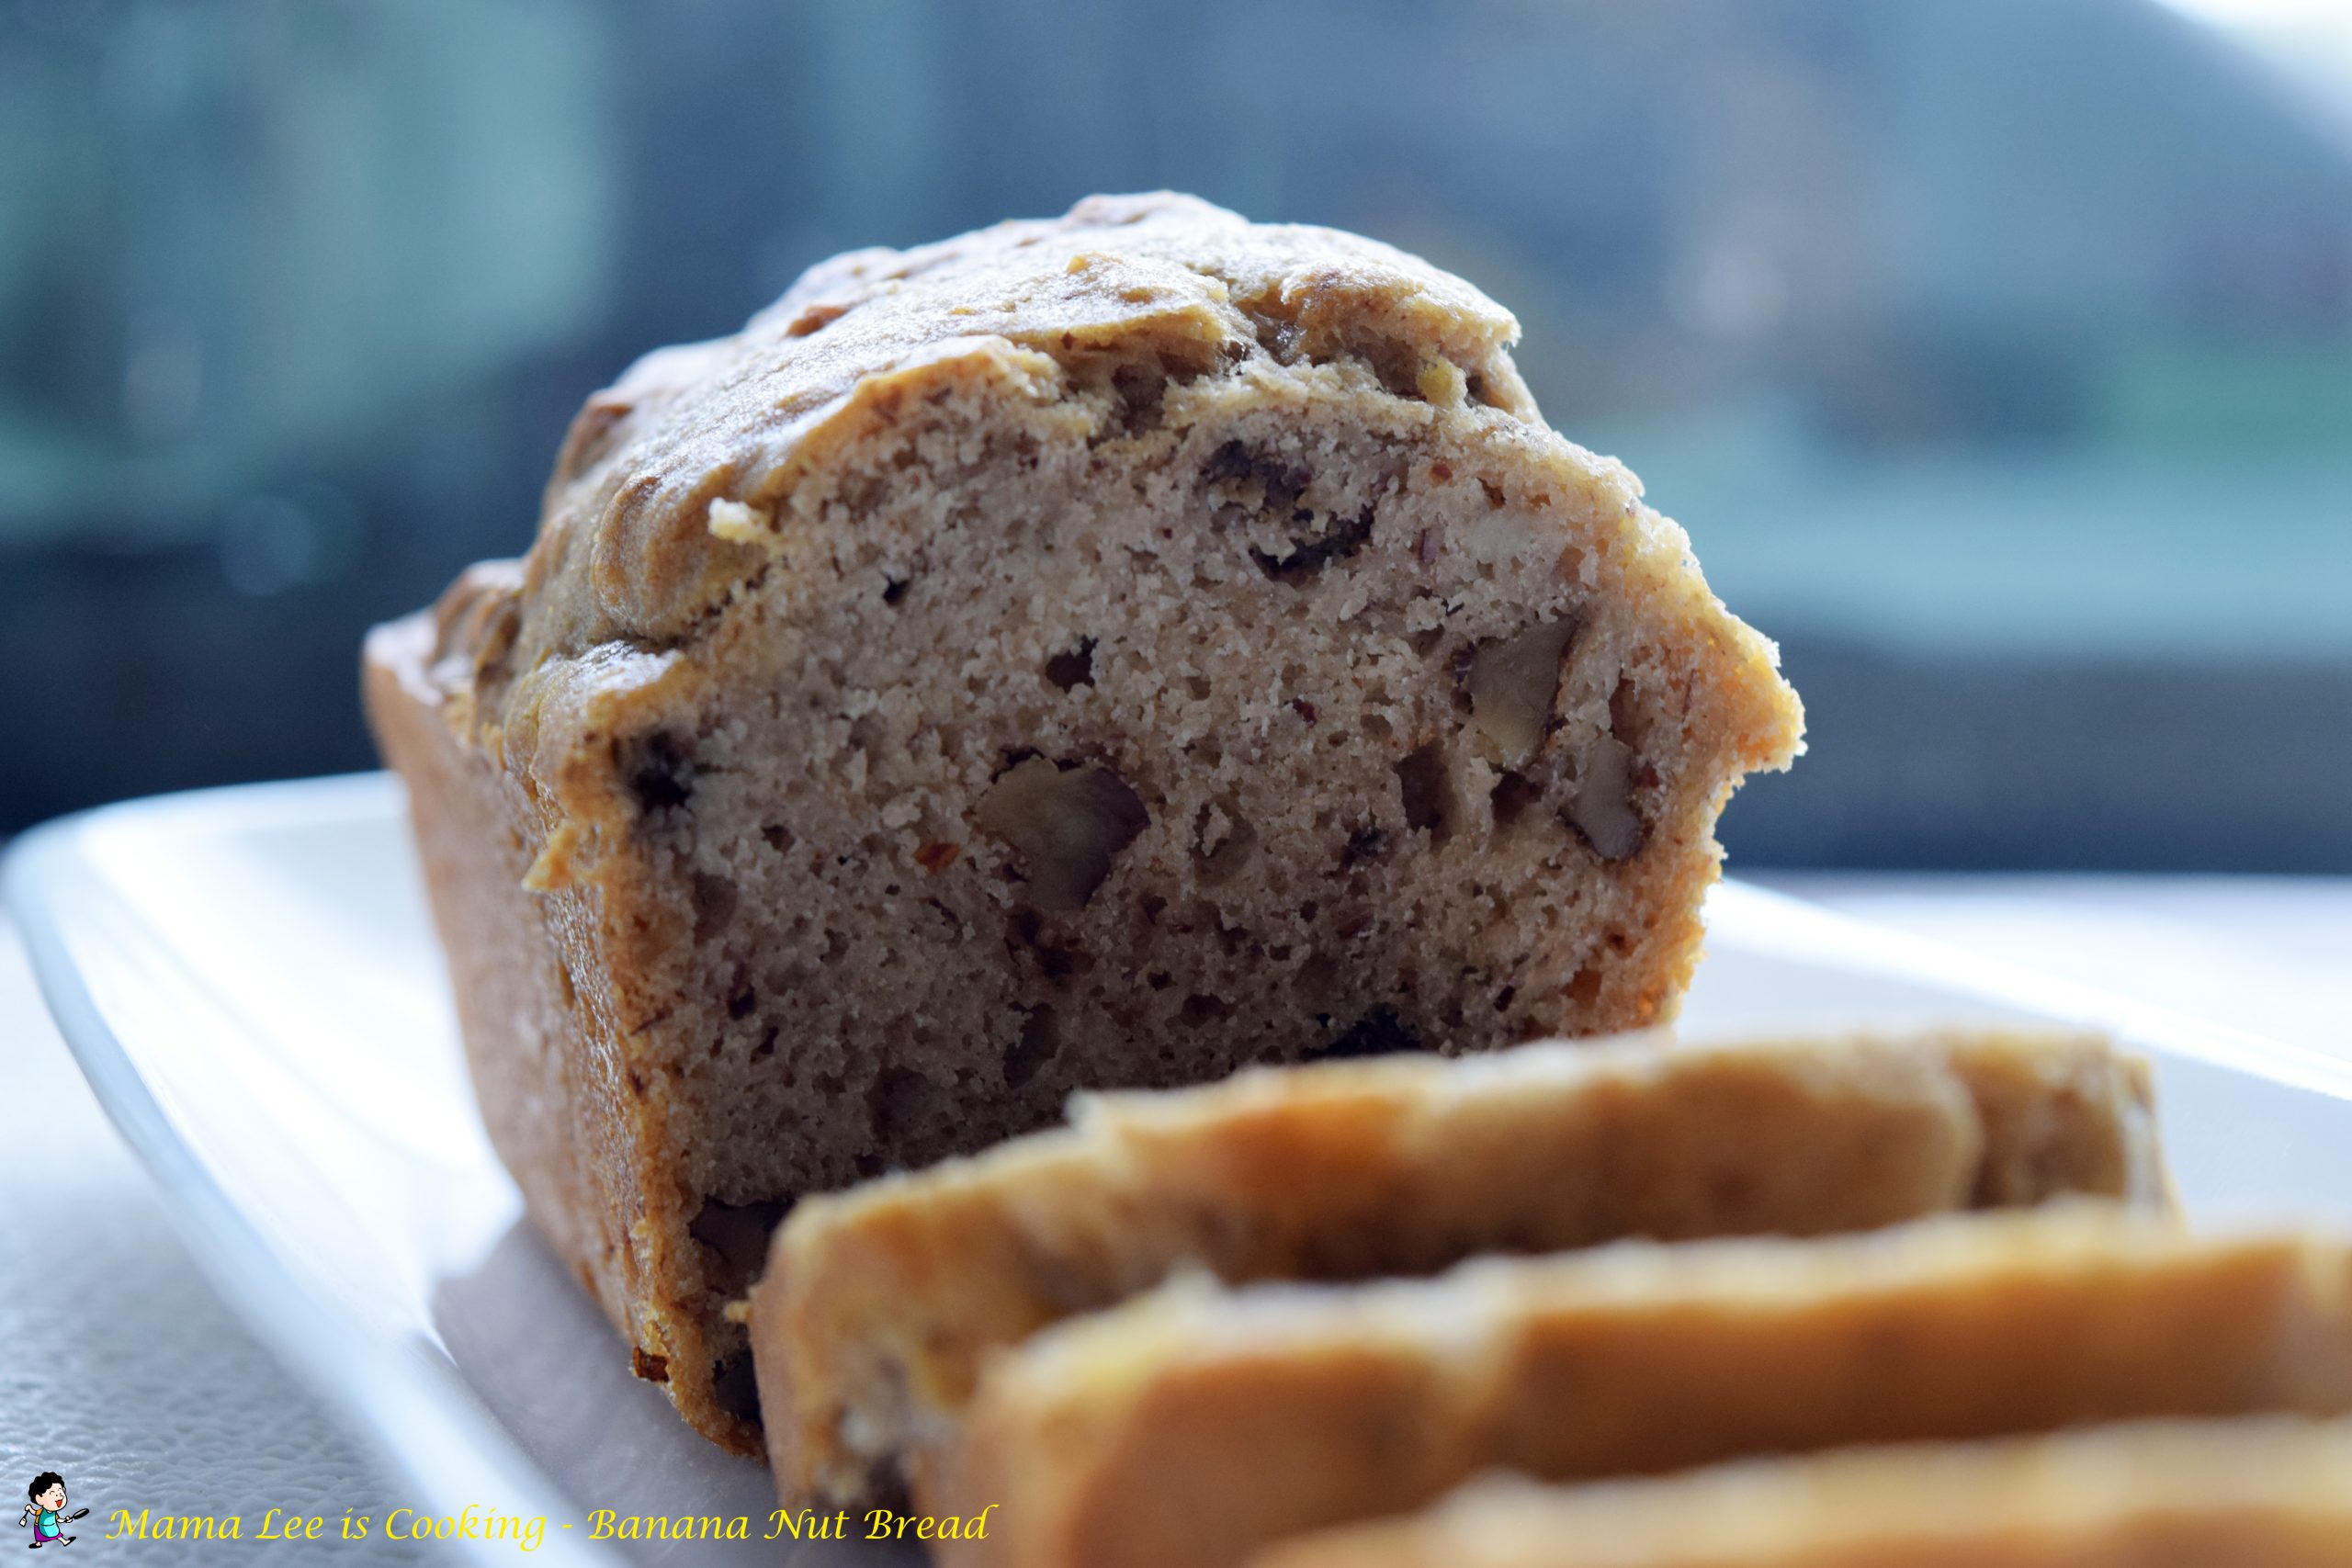
I didn’t know what to do with the pancake mix, then I saw this banana nut bread recipe at the back of the bag. Of course I tried it, and we both fall in love with it. The bread tastes great!
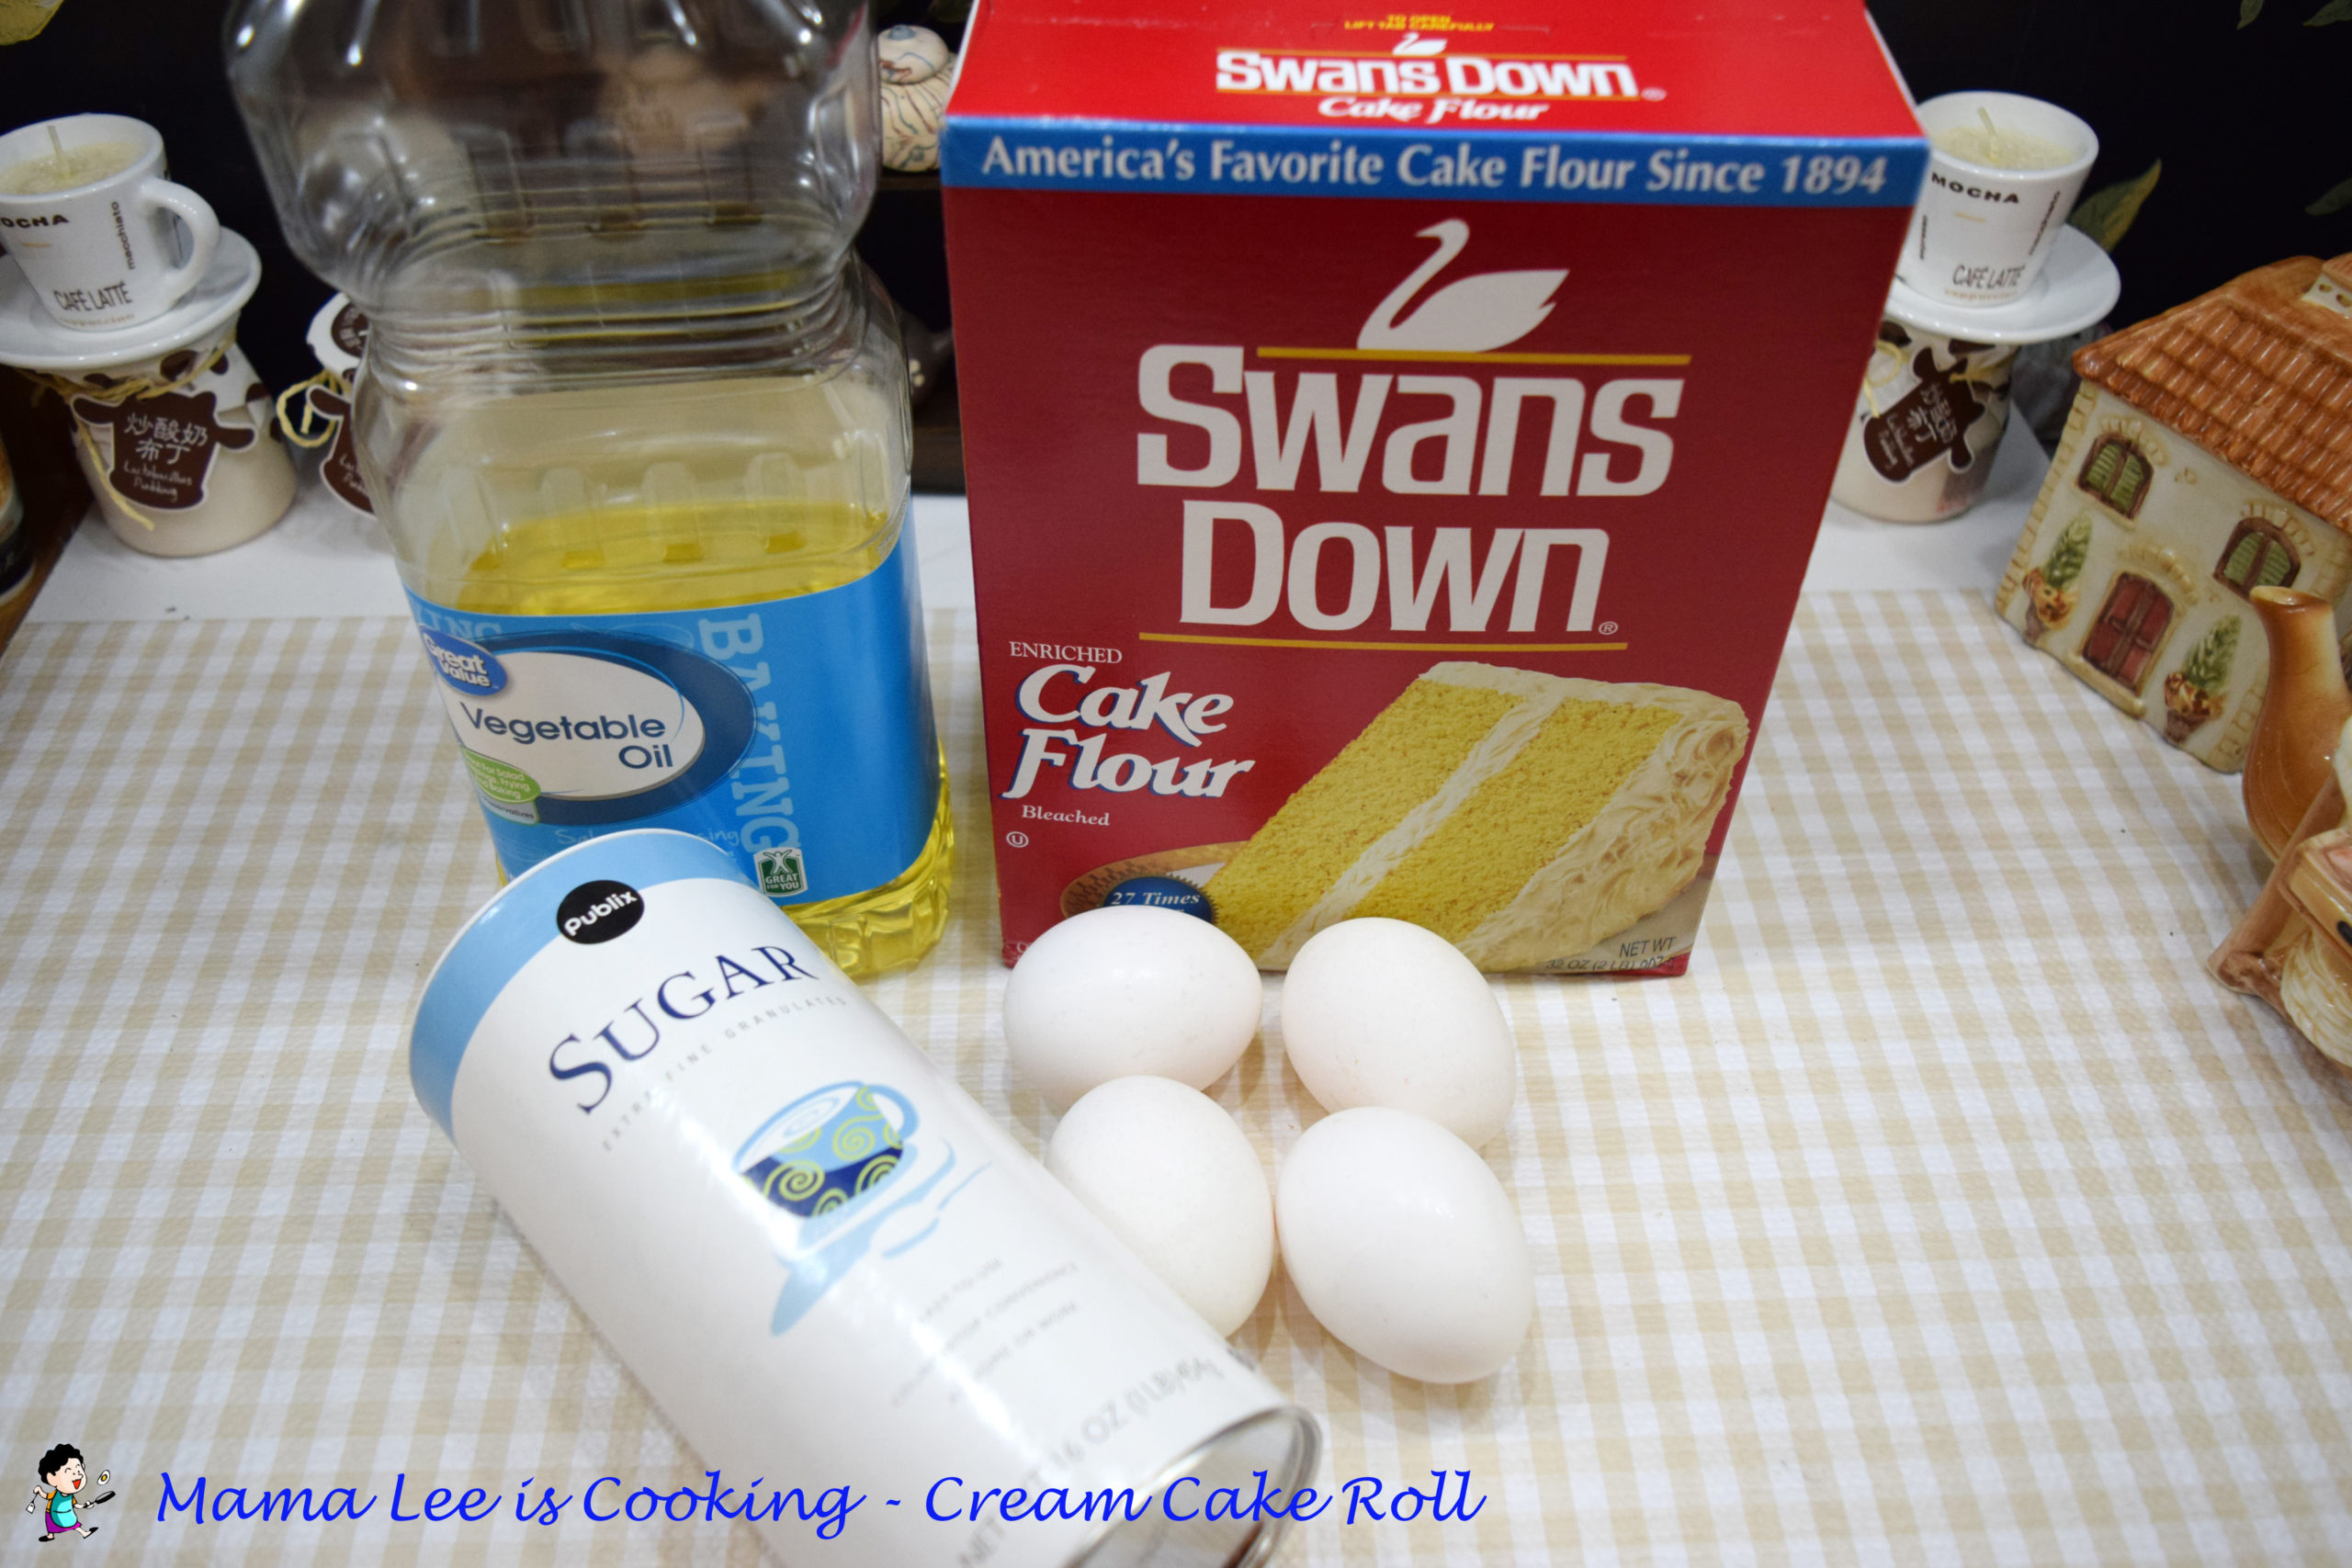
Ingredients:

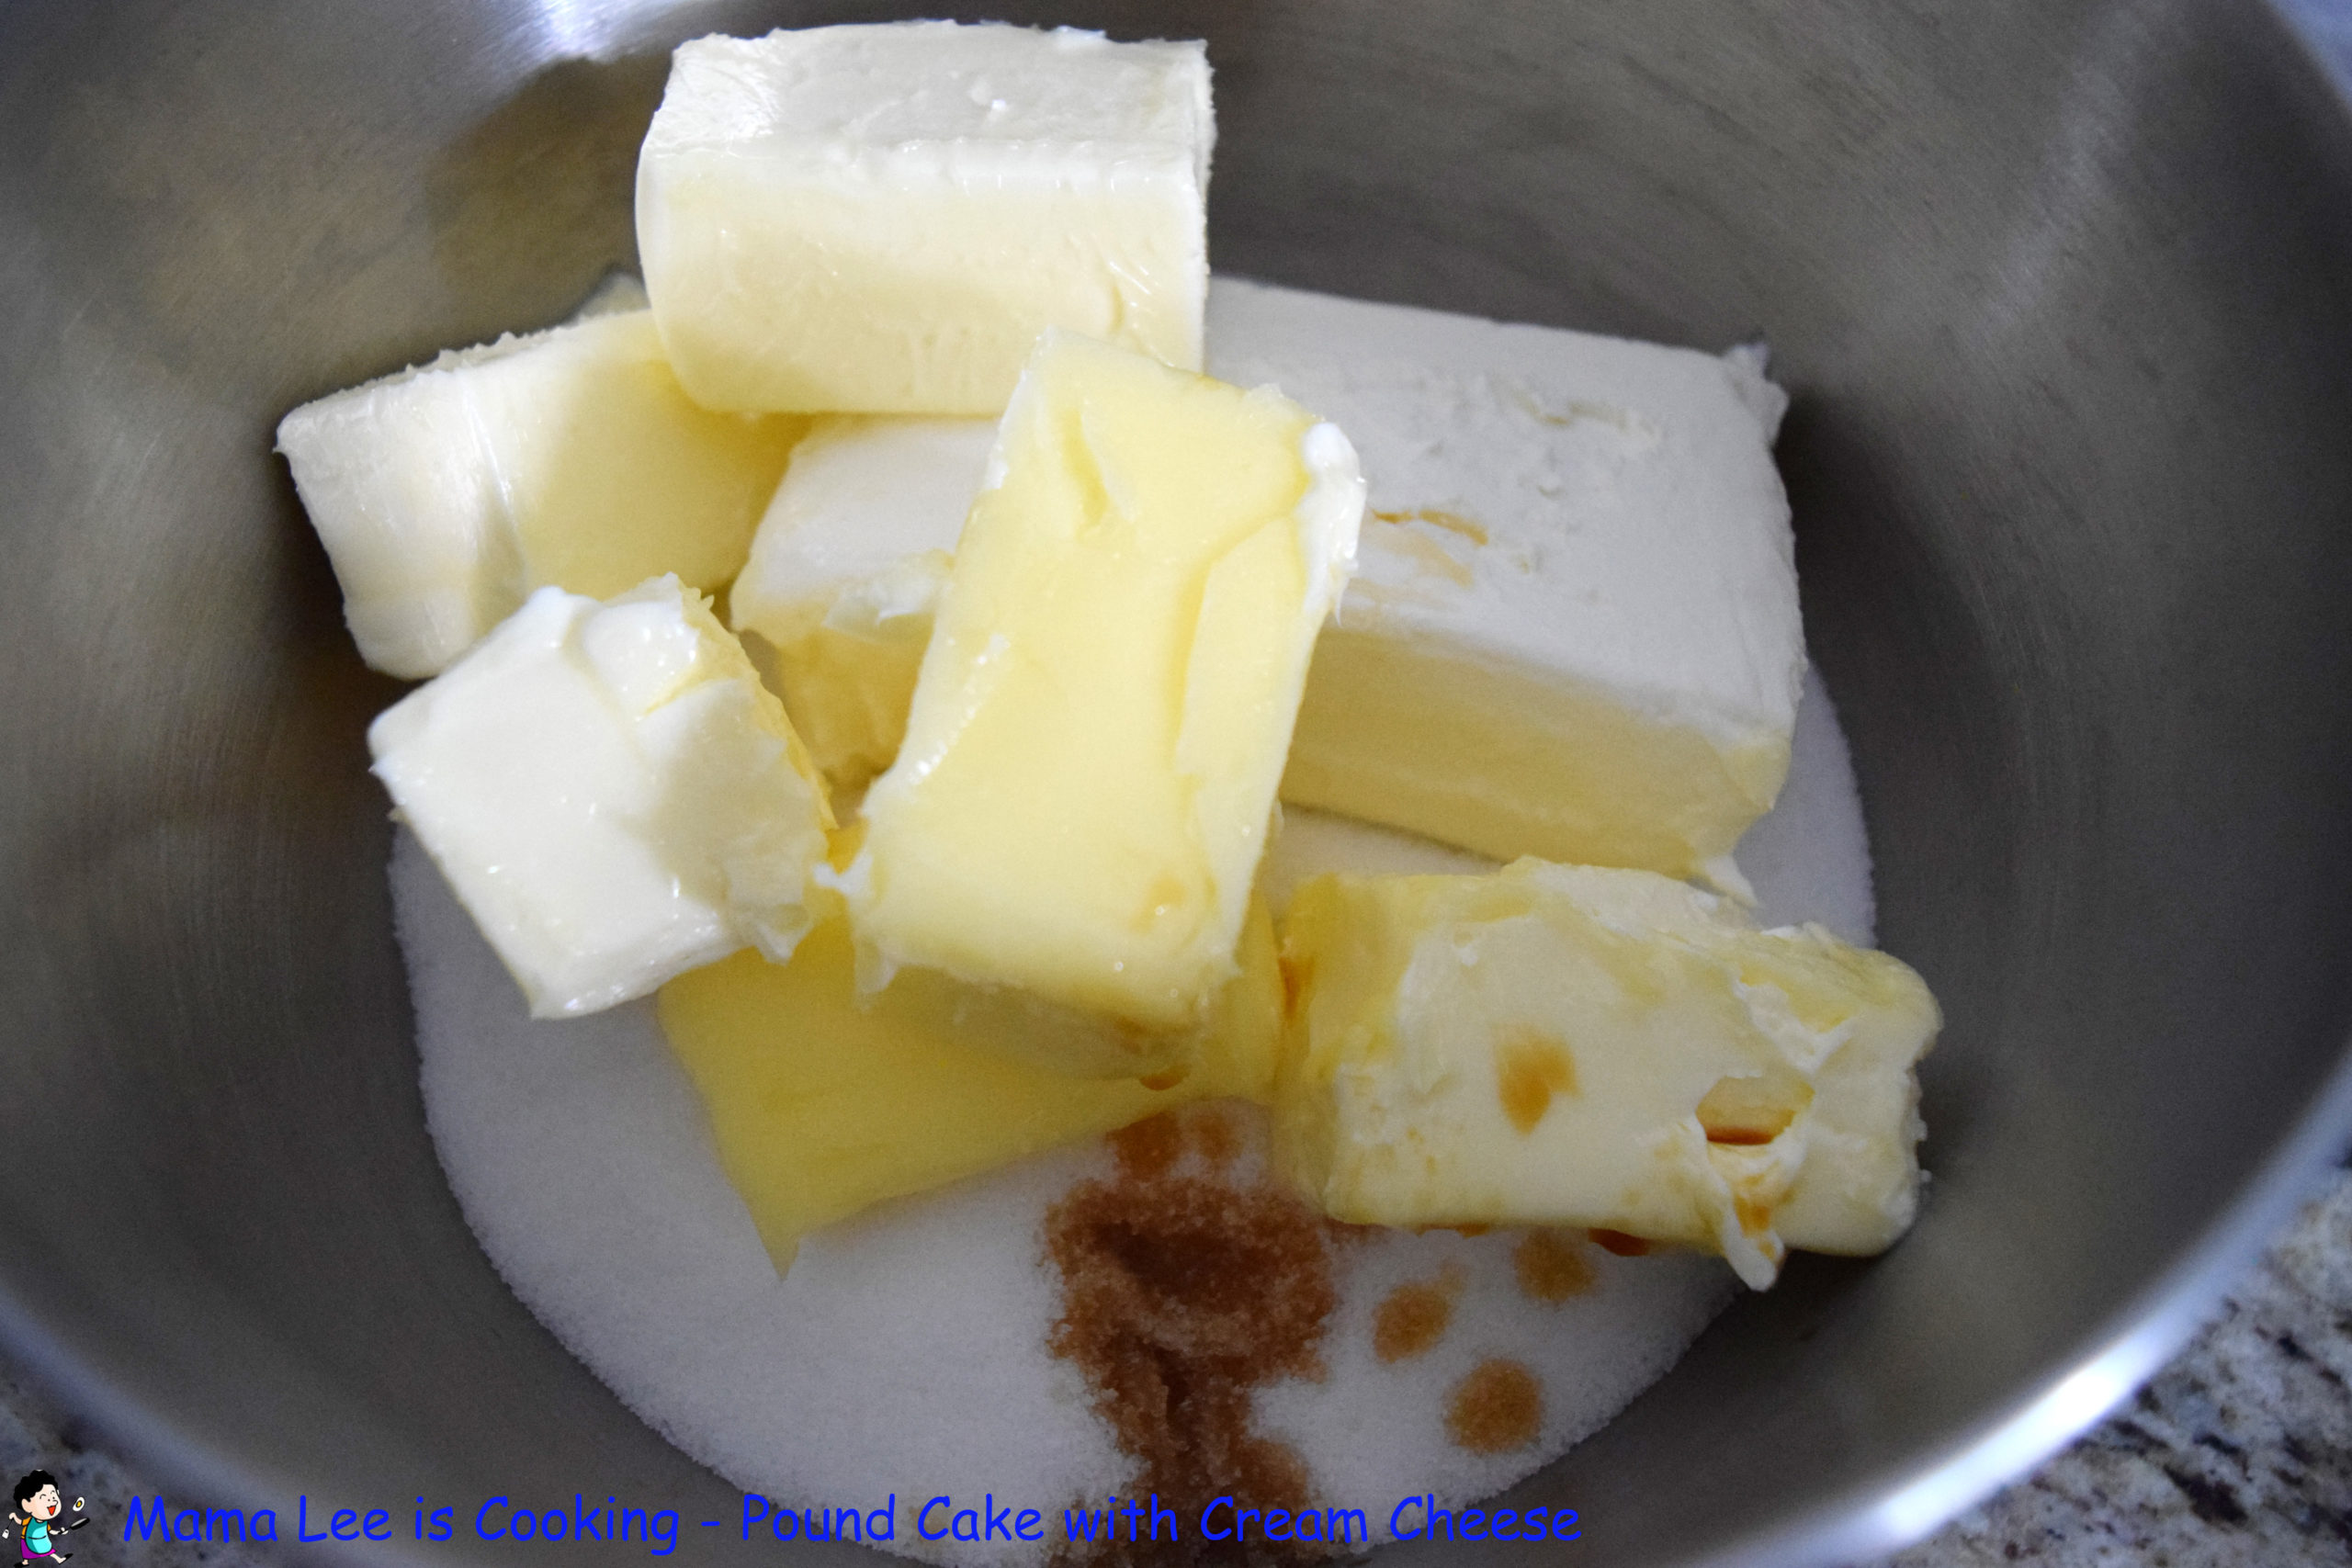
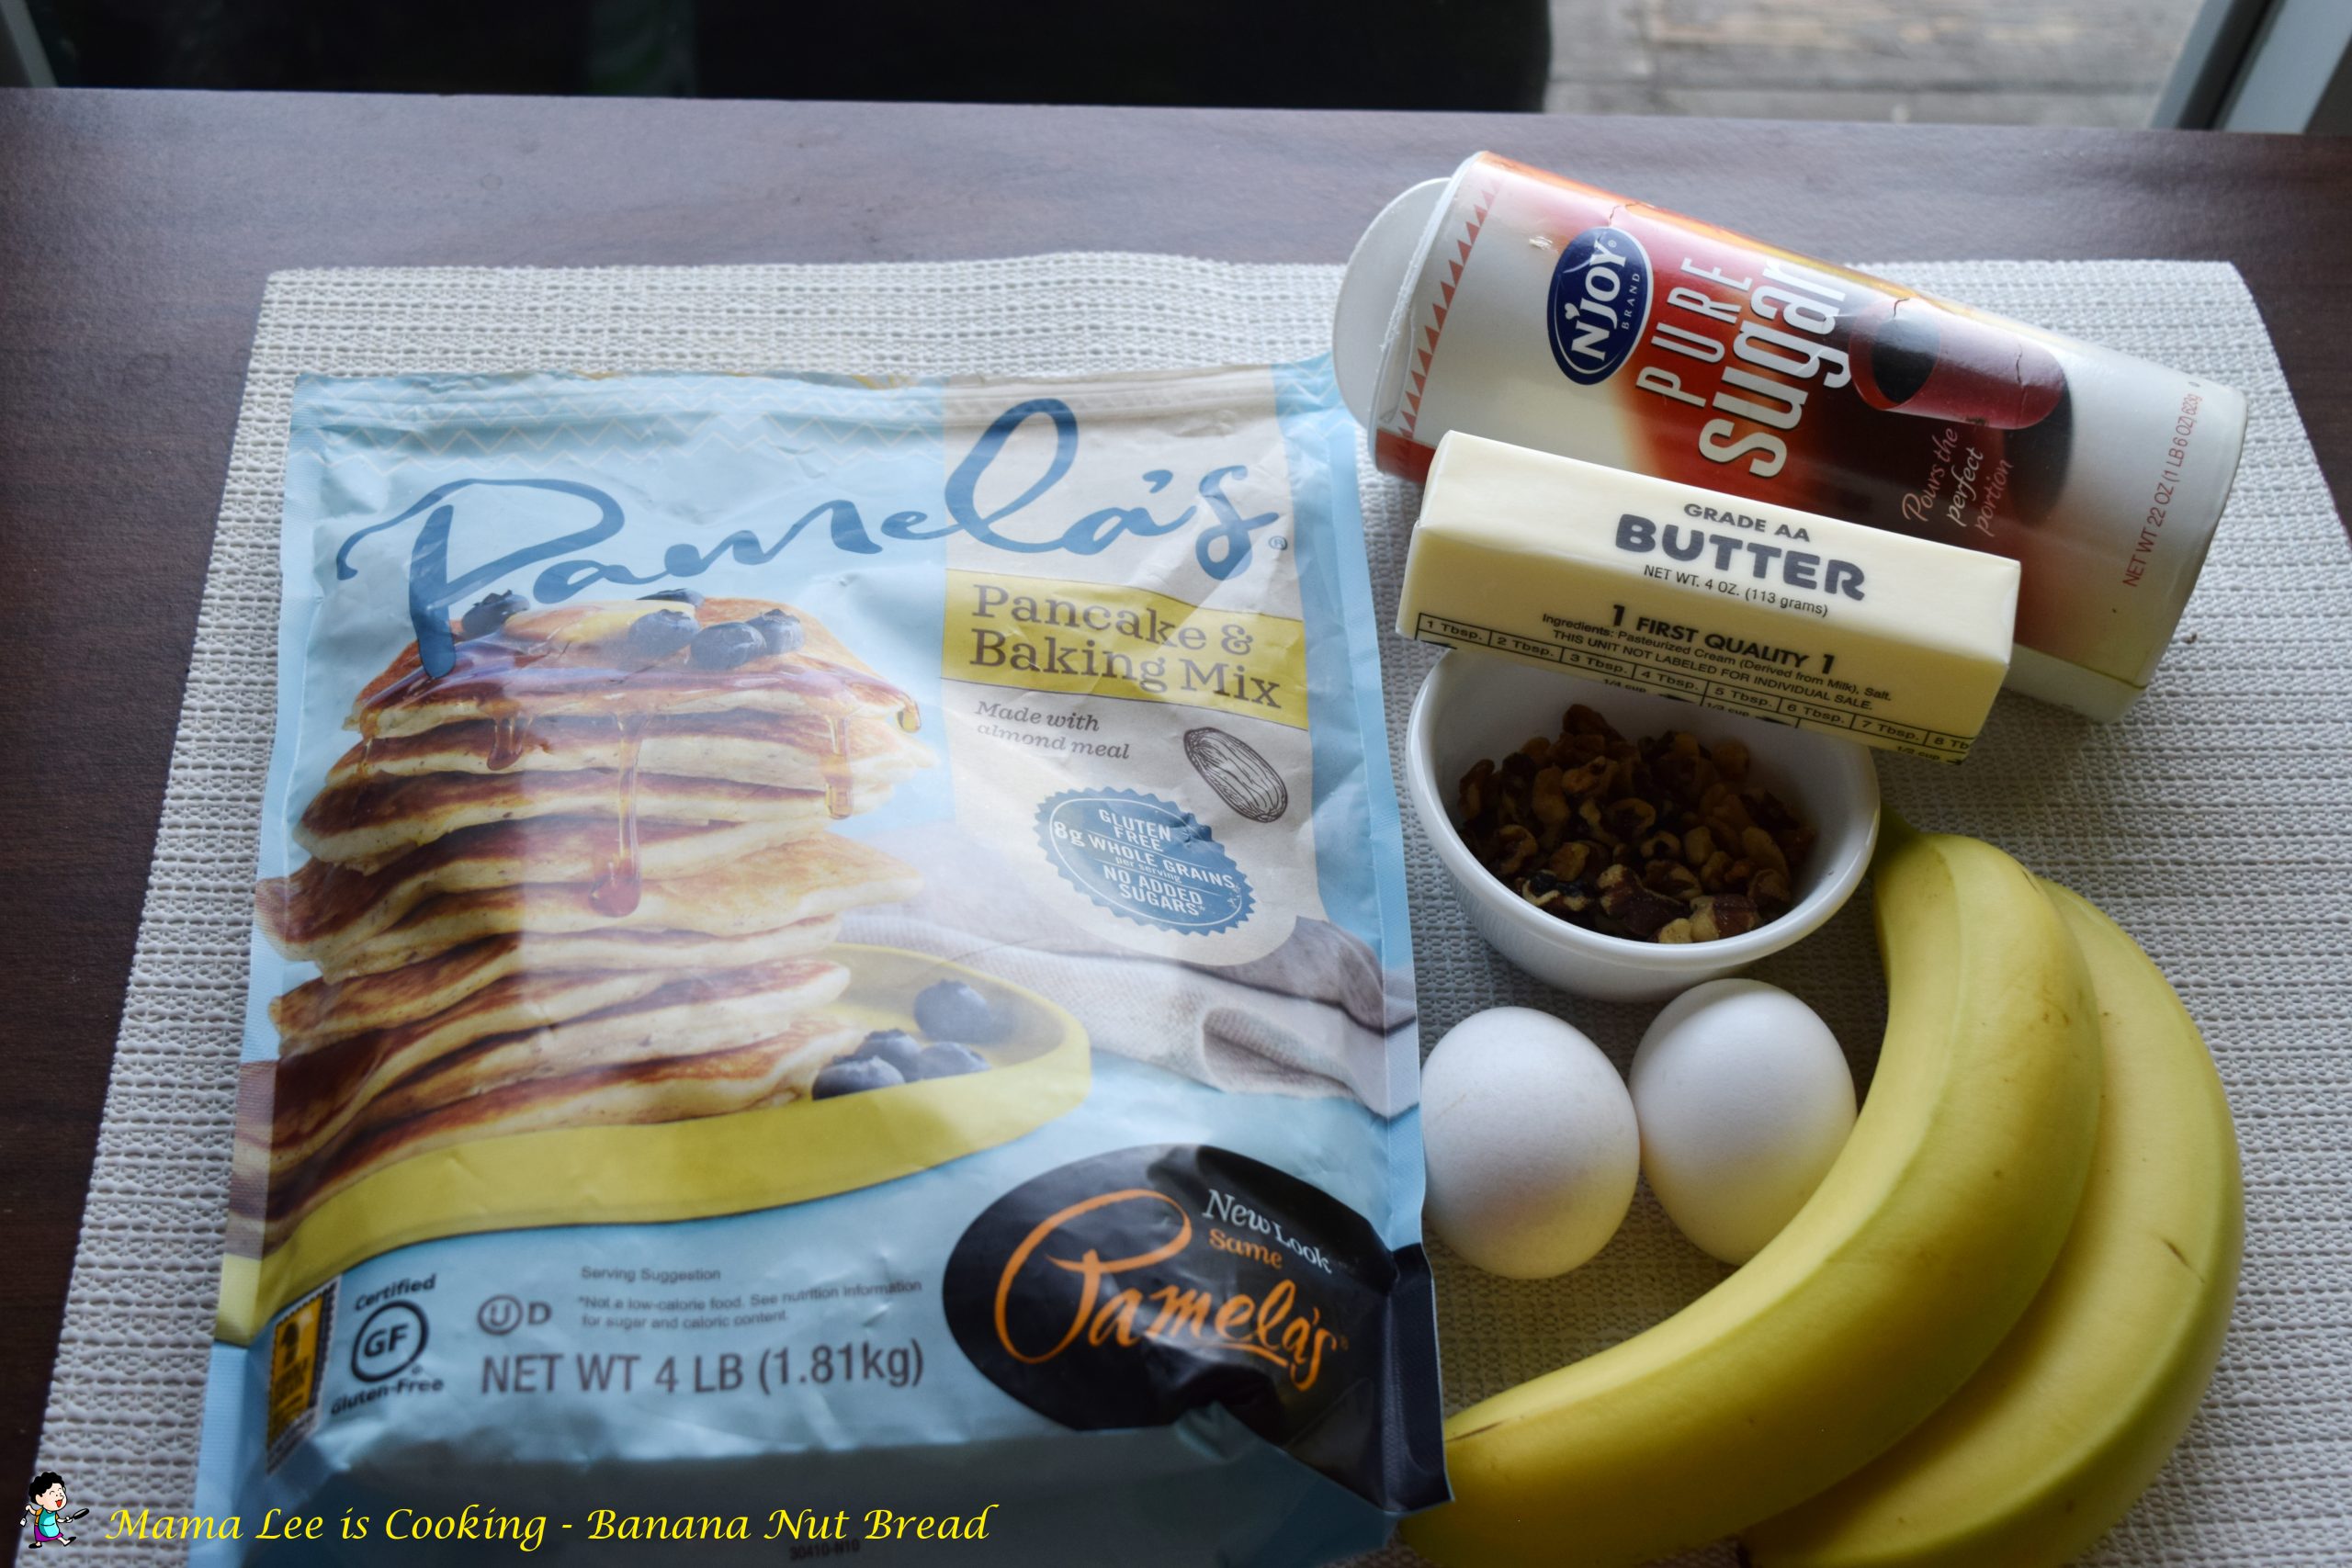
1 3/4 cup pancake mix, 1/4 cup sugar, 2 eggs, 4 tbsp butter, 2 banana, 1/2 chopped walnut, 1/2 tsp salt.

Method:

1. Preheat oven to 350°F.

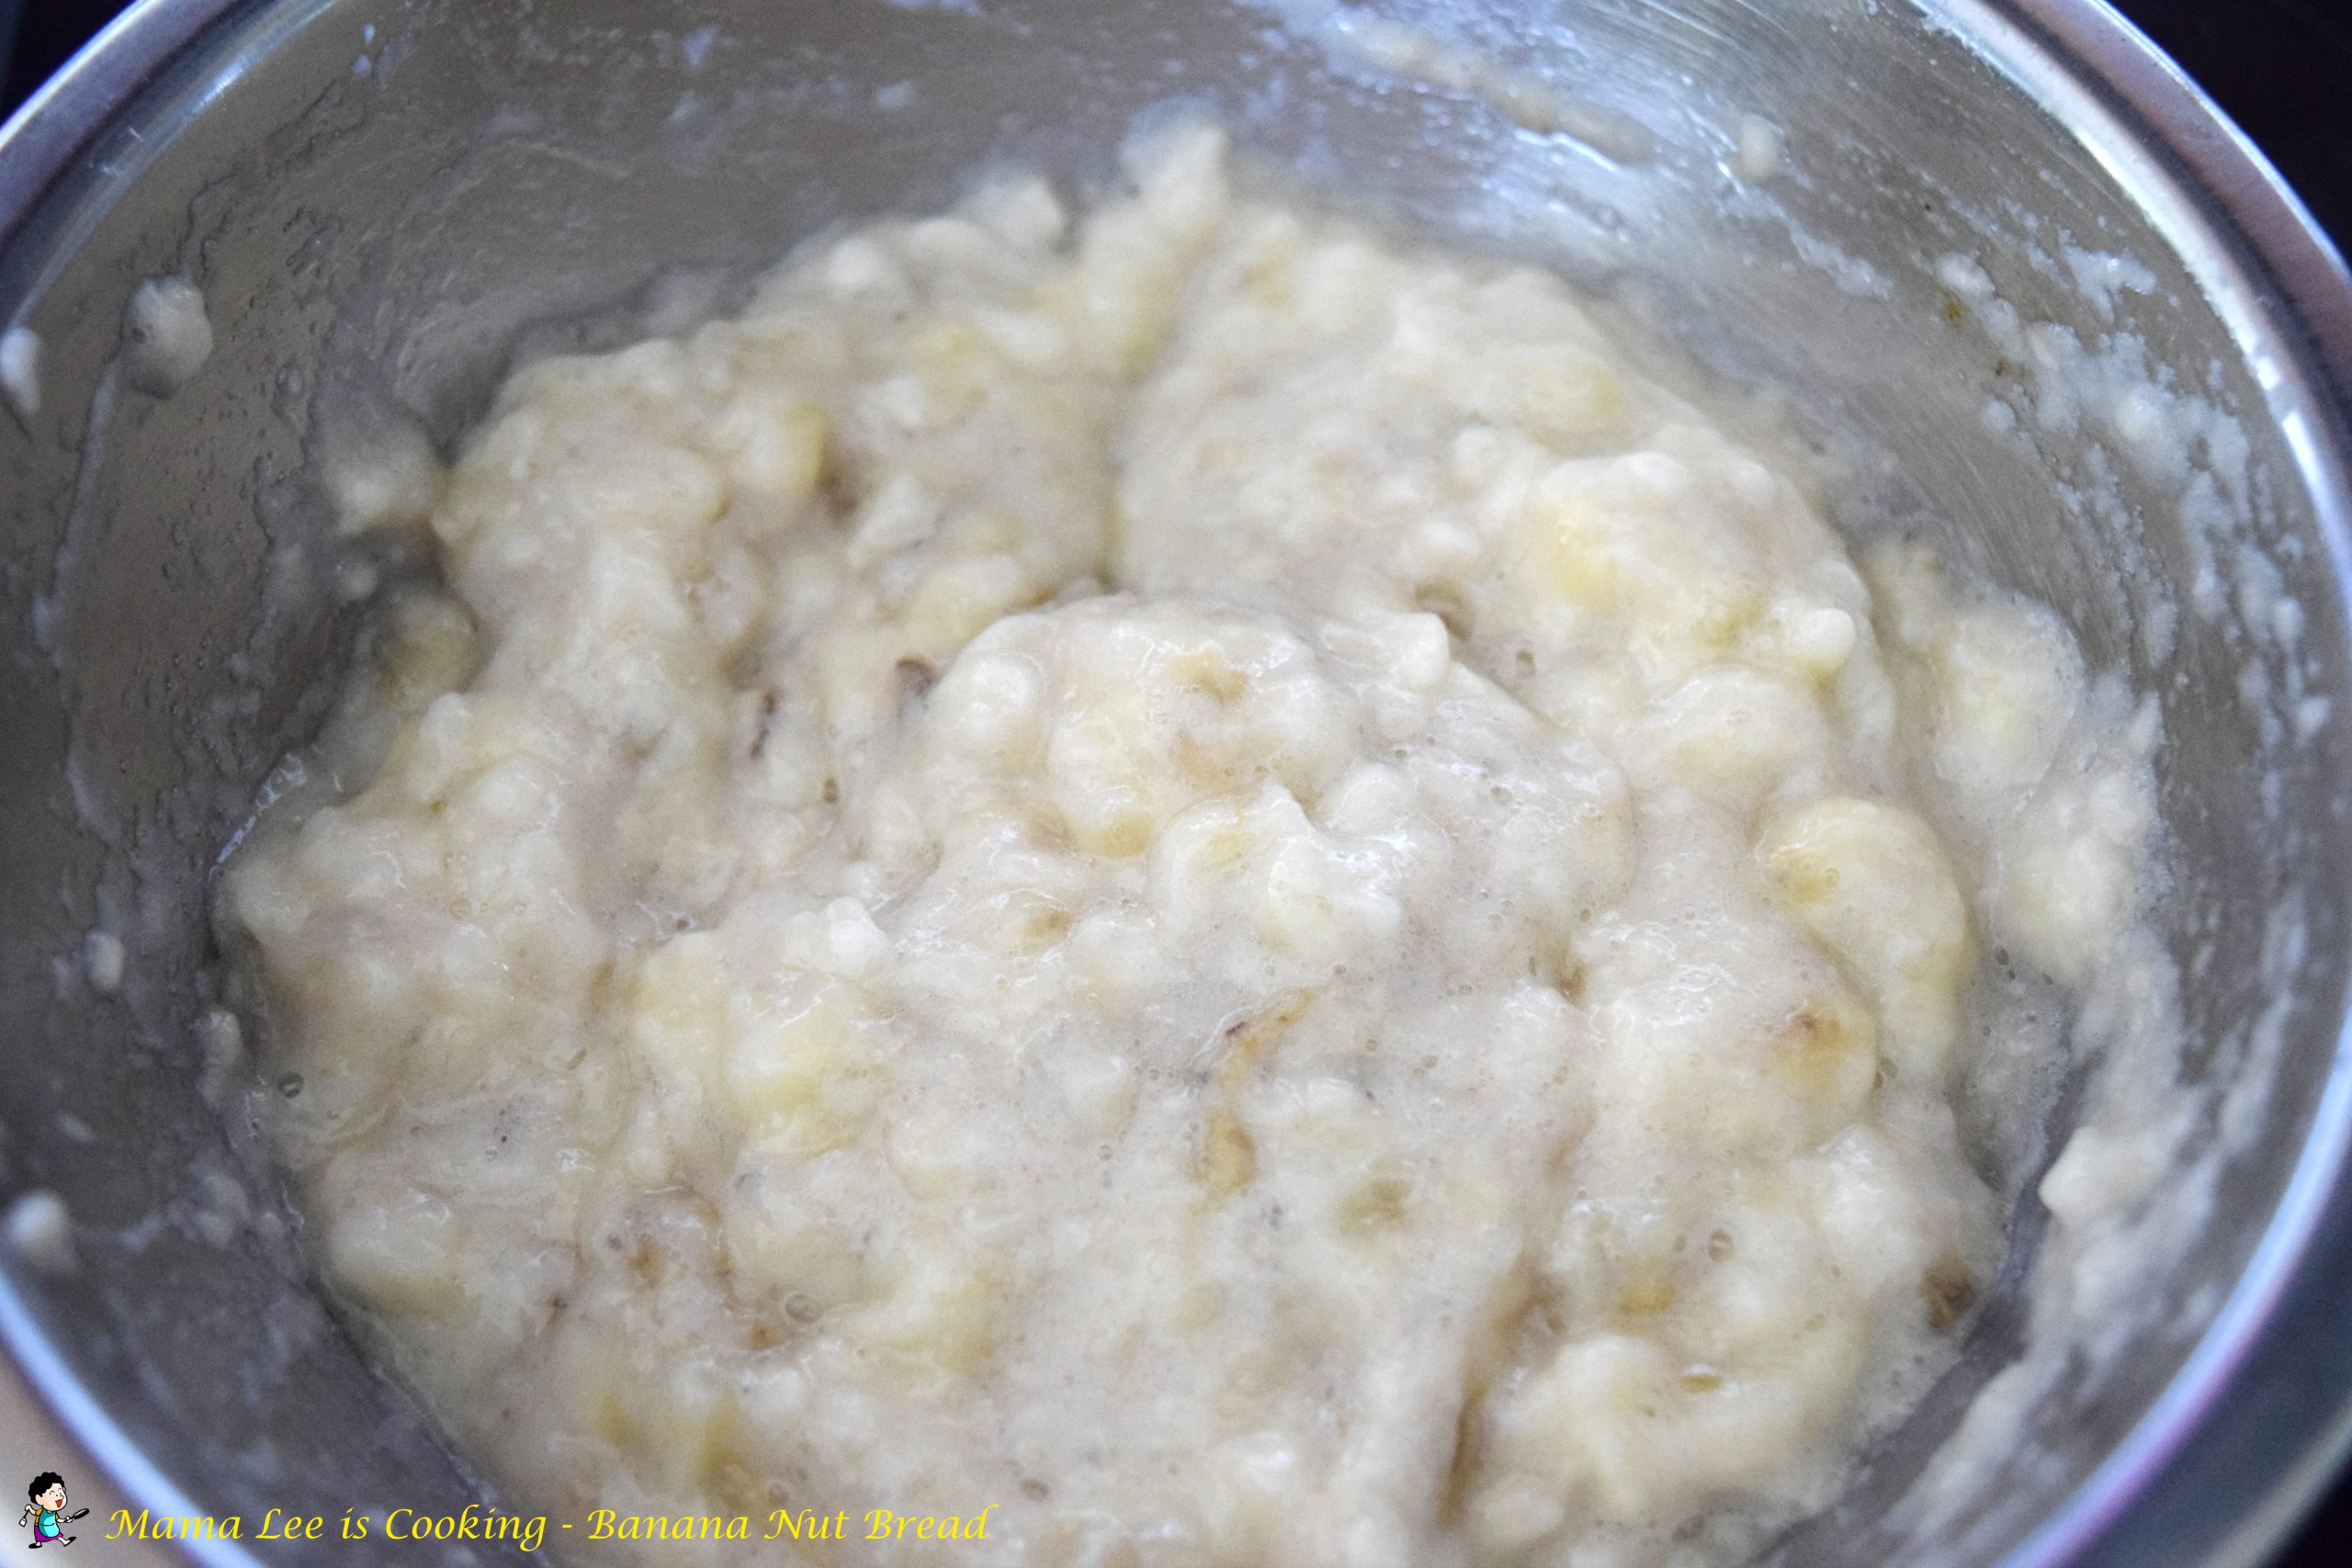
2. Melt butter, lightly beat butter, mash banana, break walnut into smaller pieces.


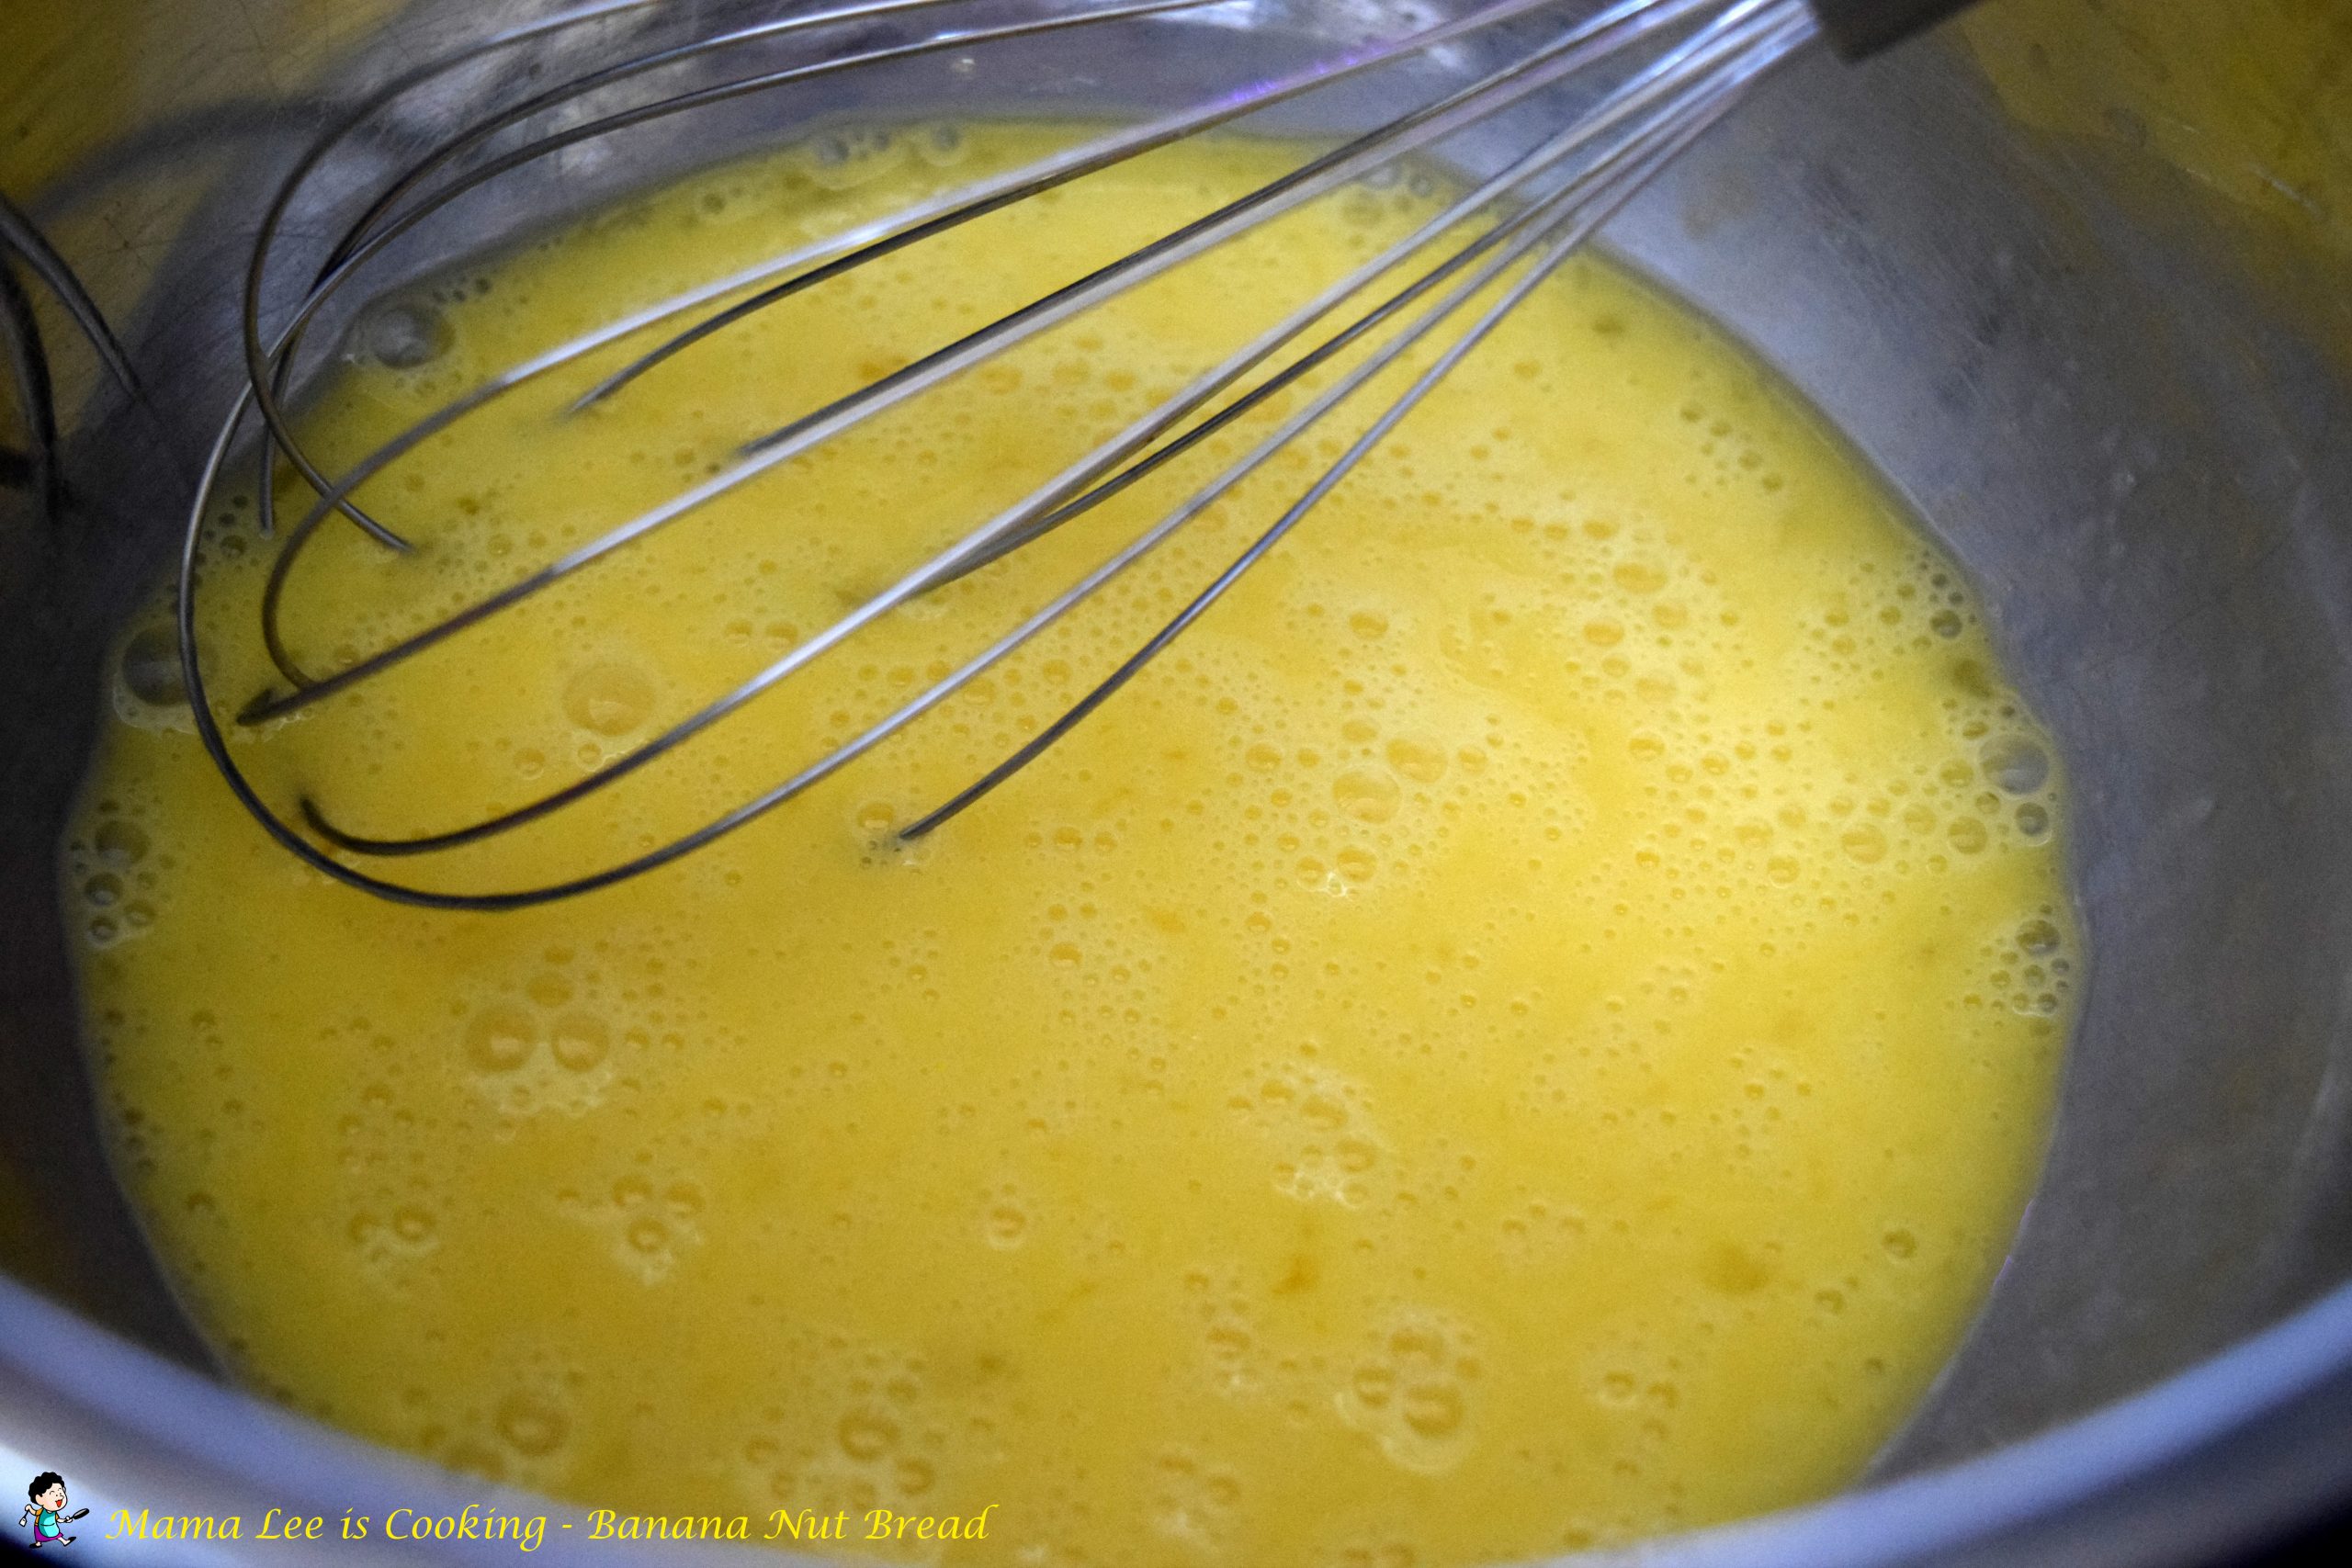
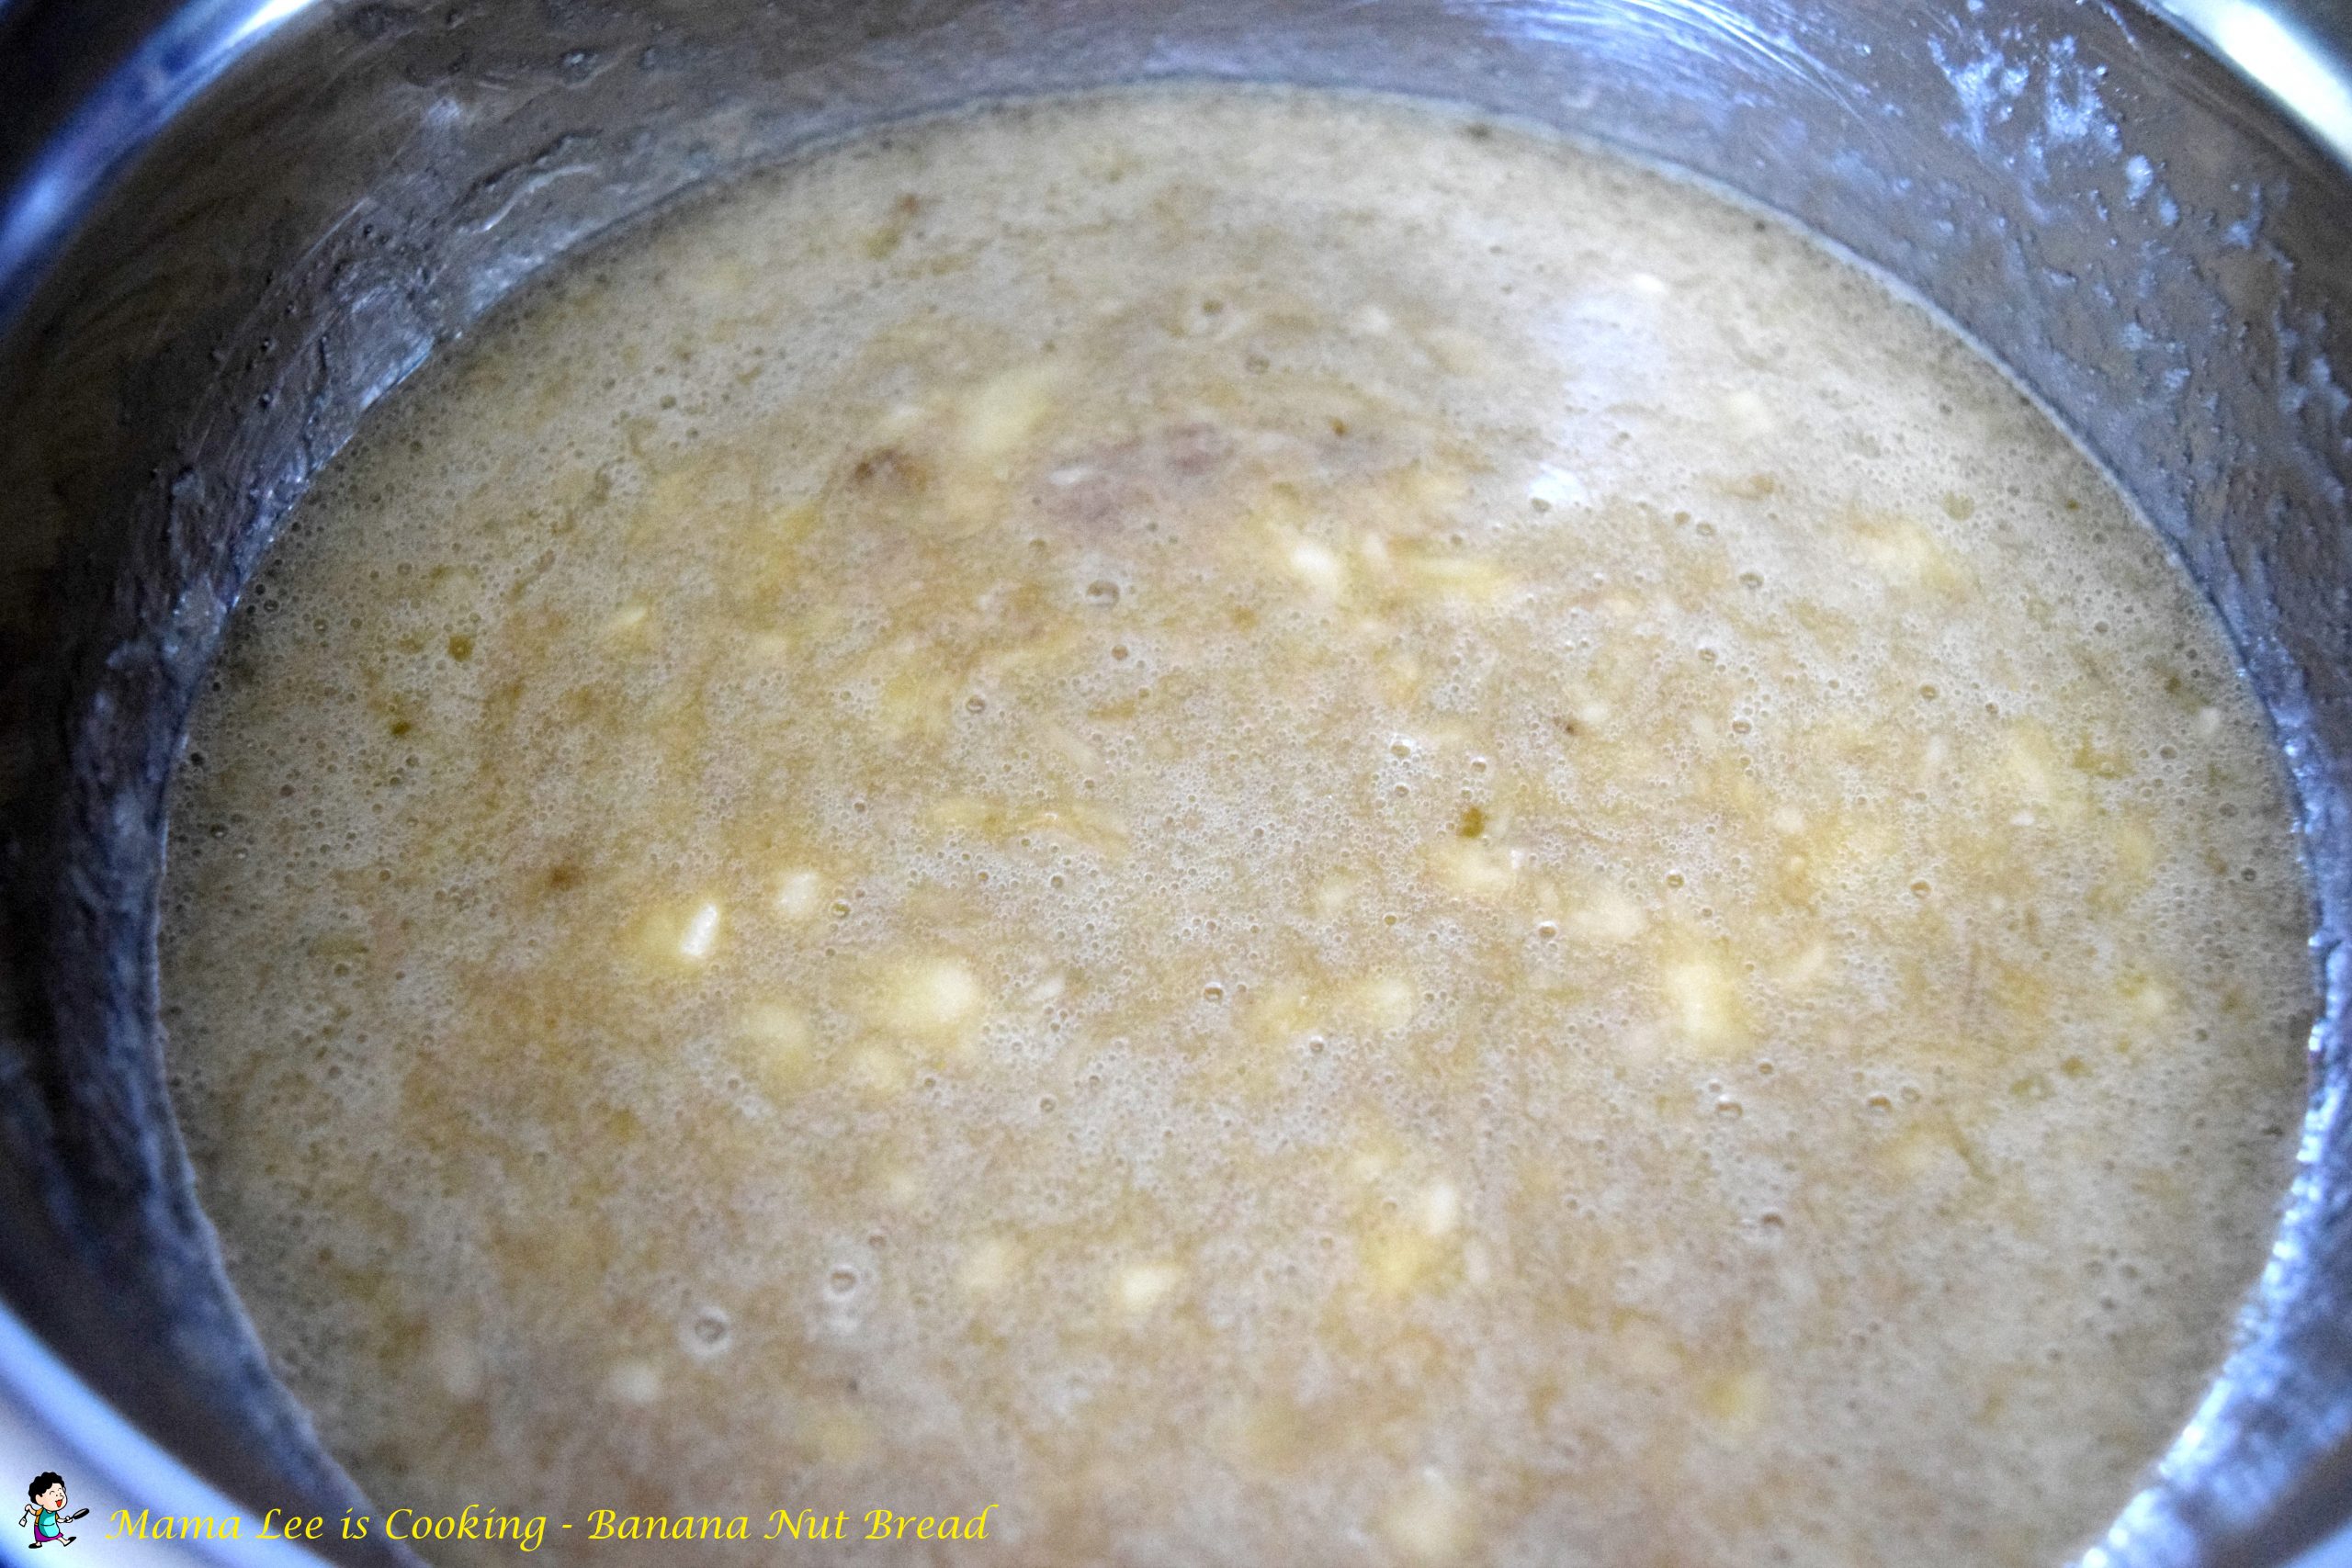
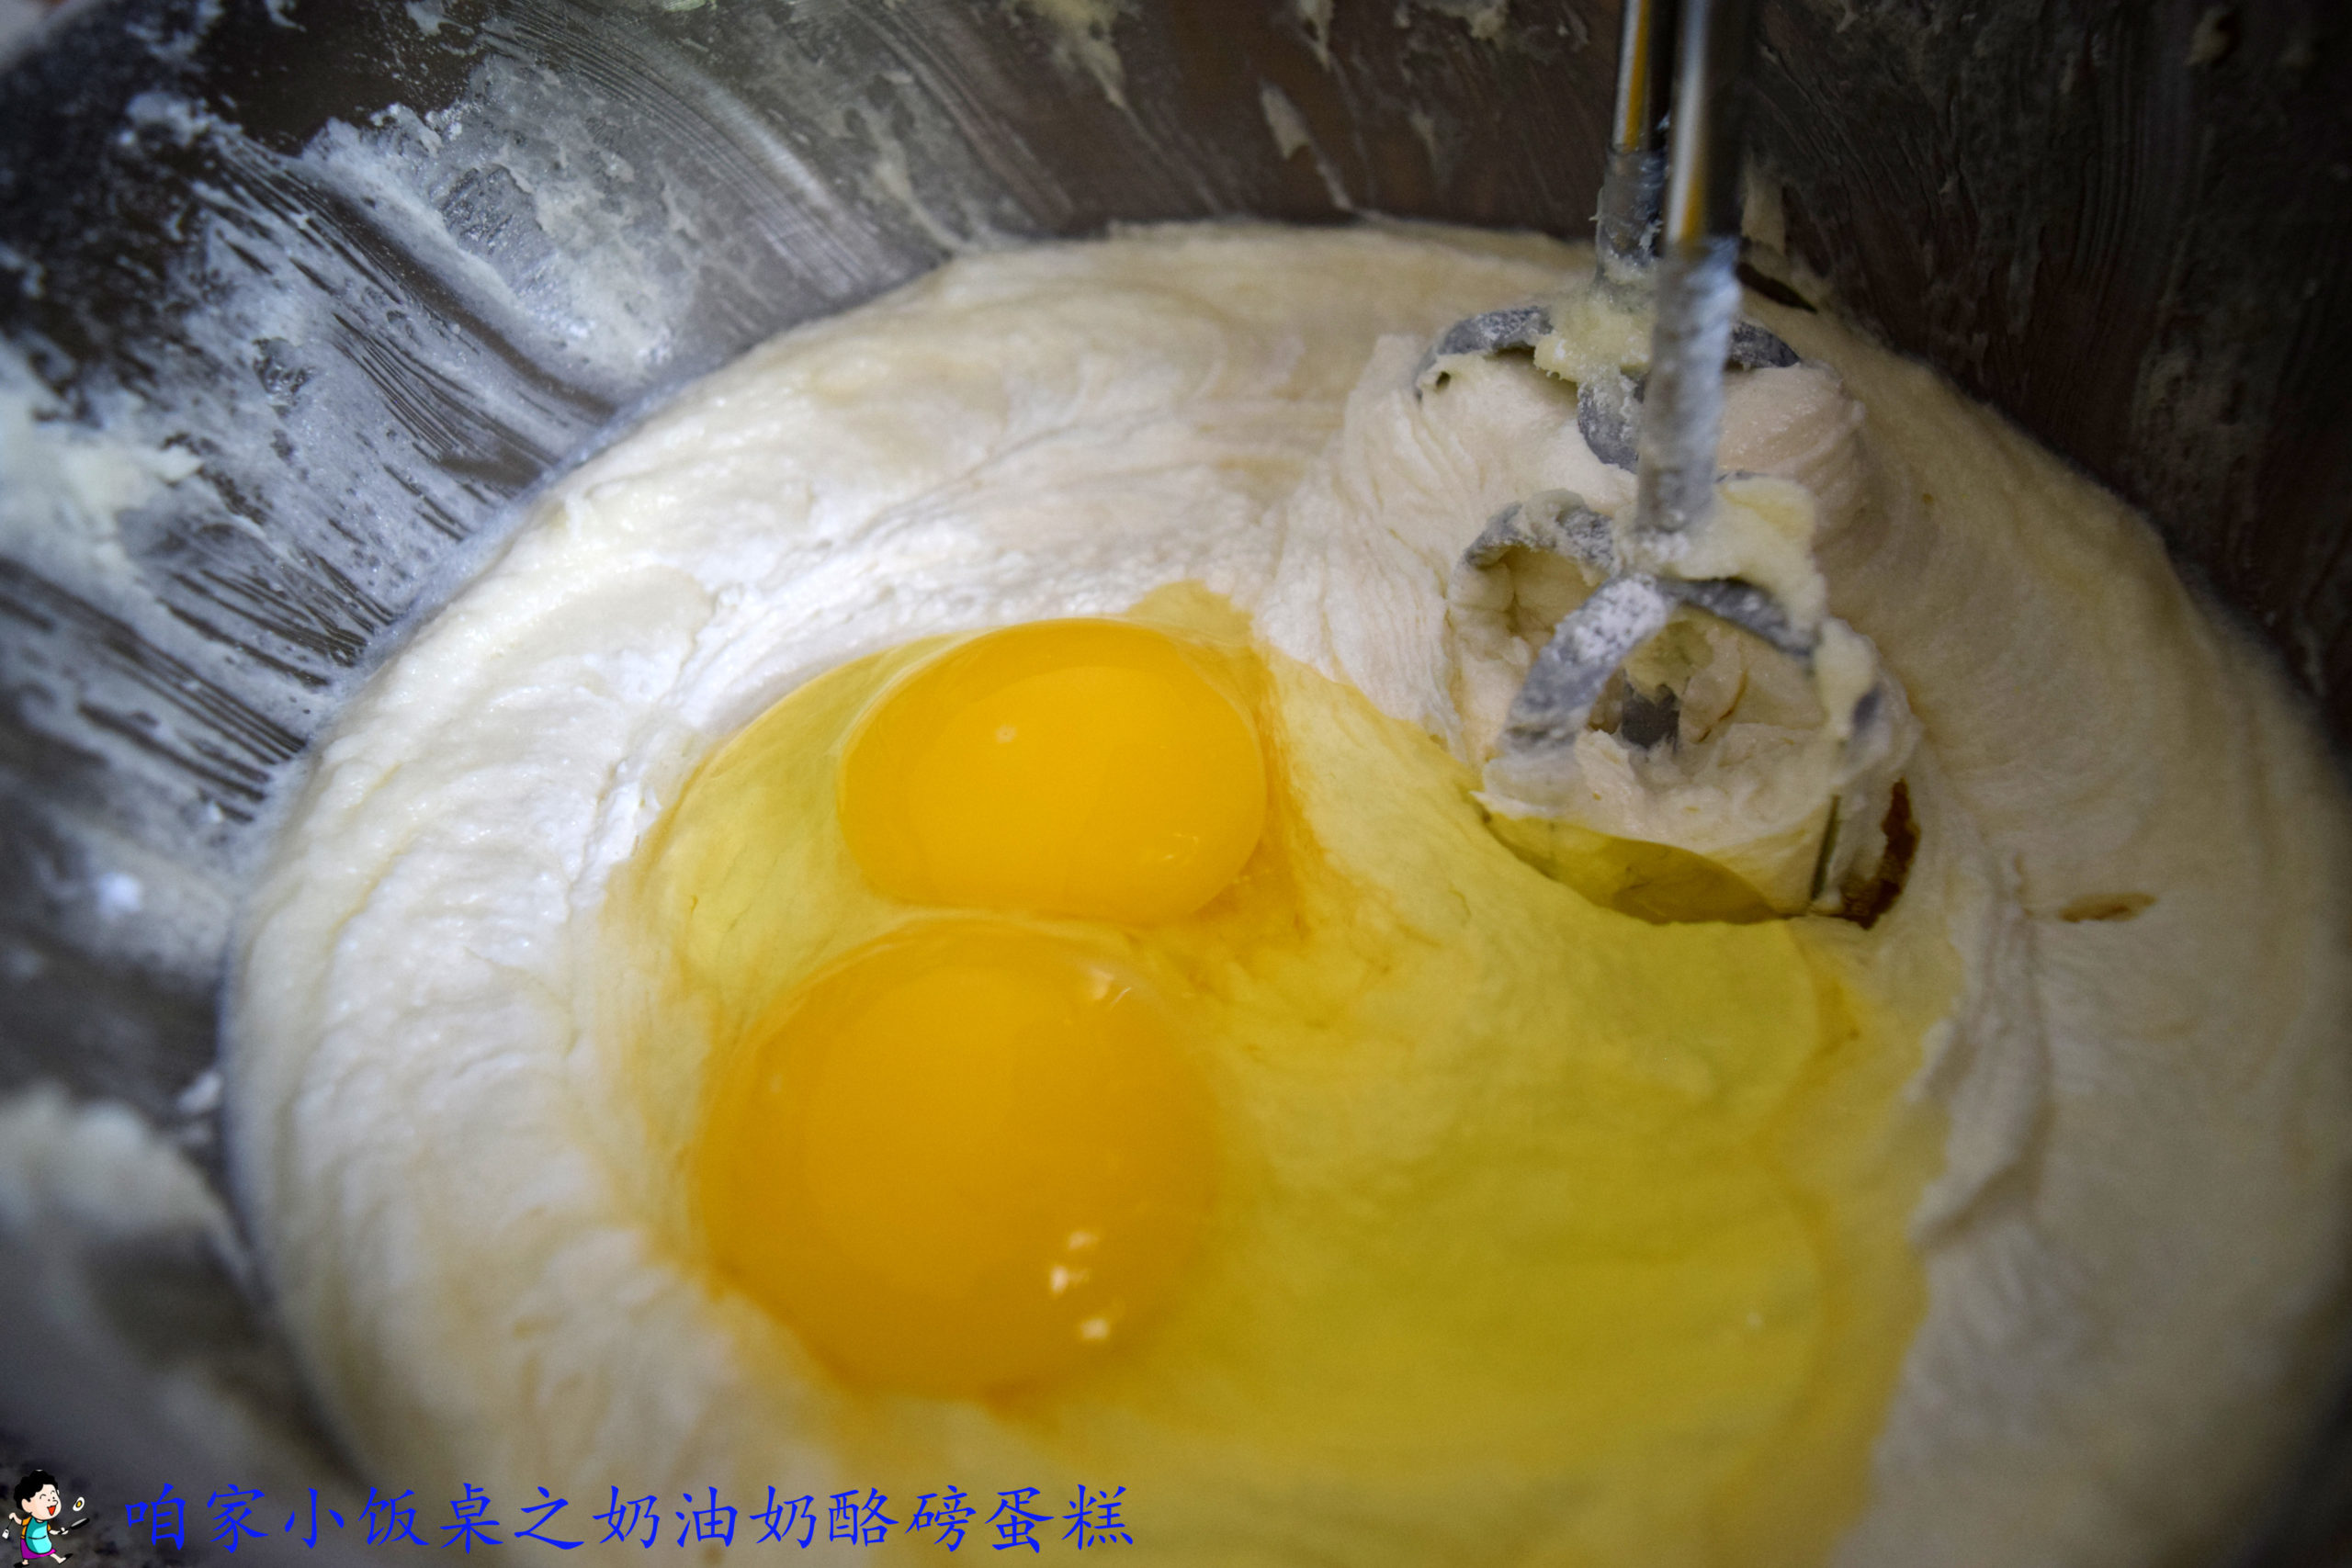
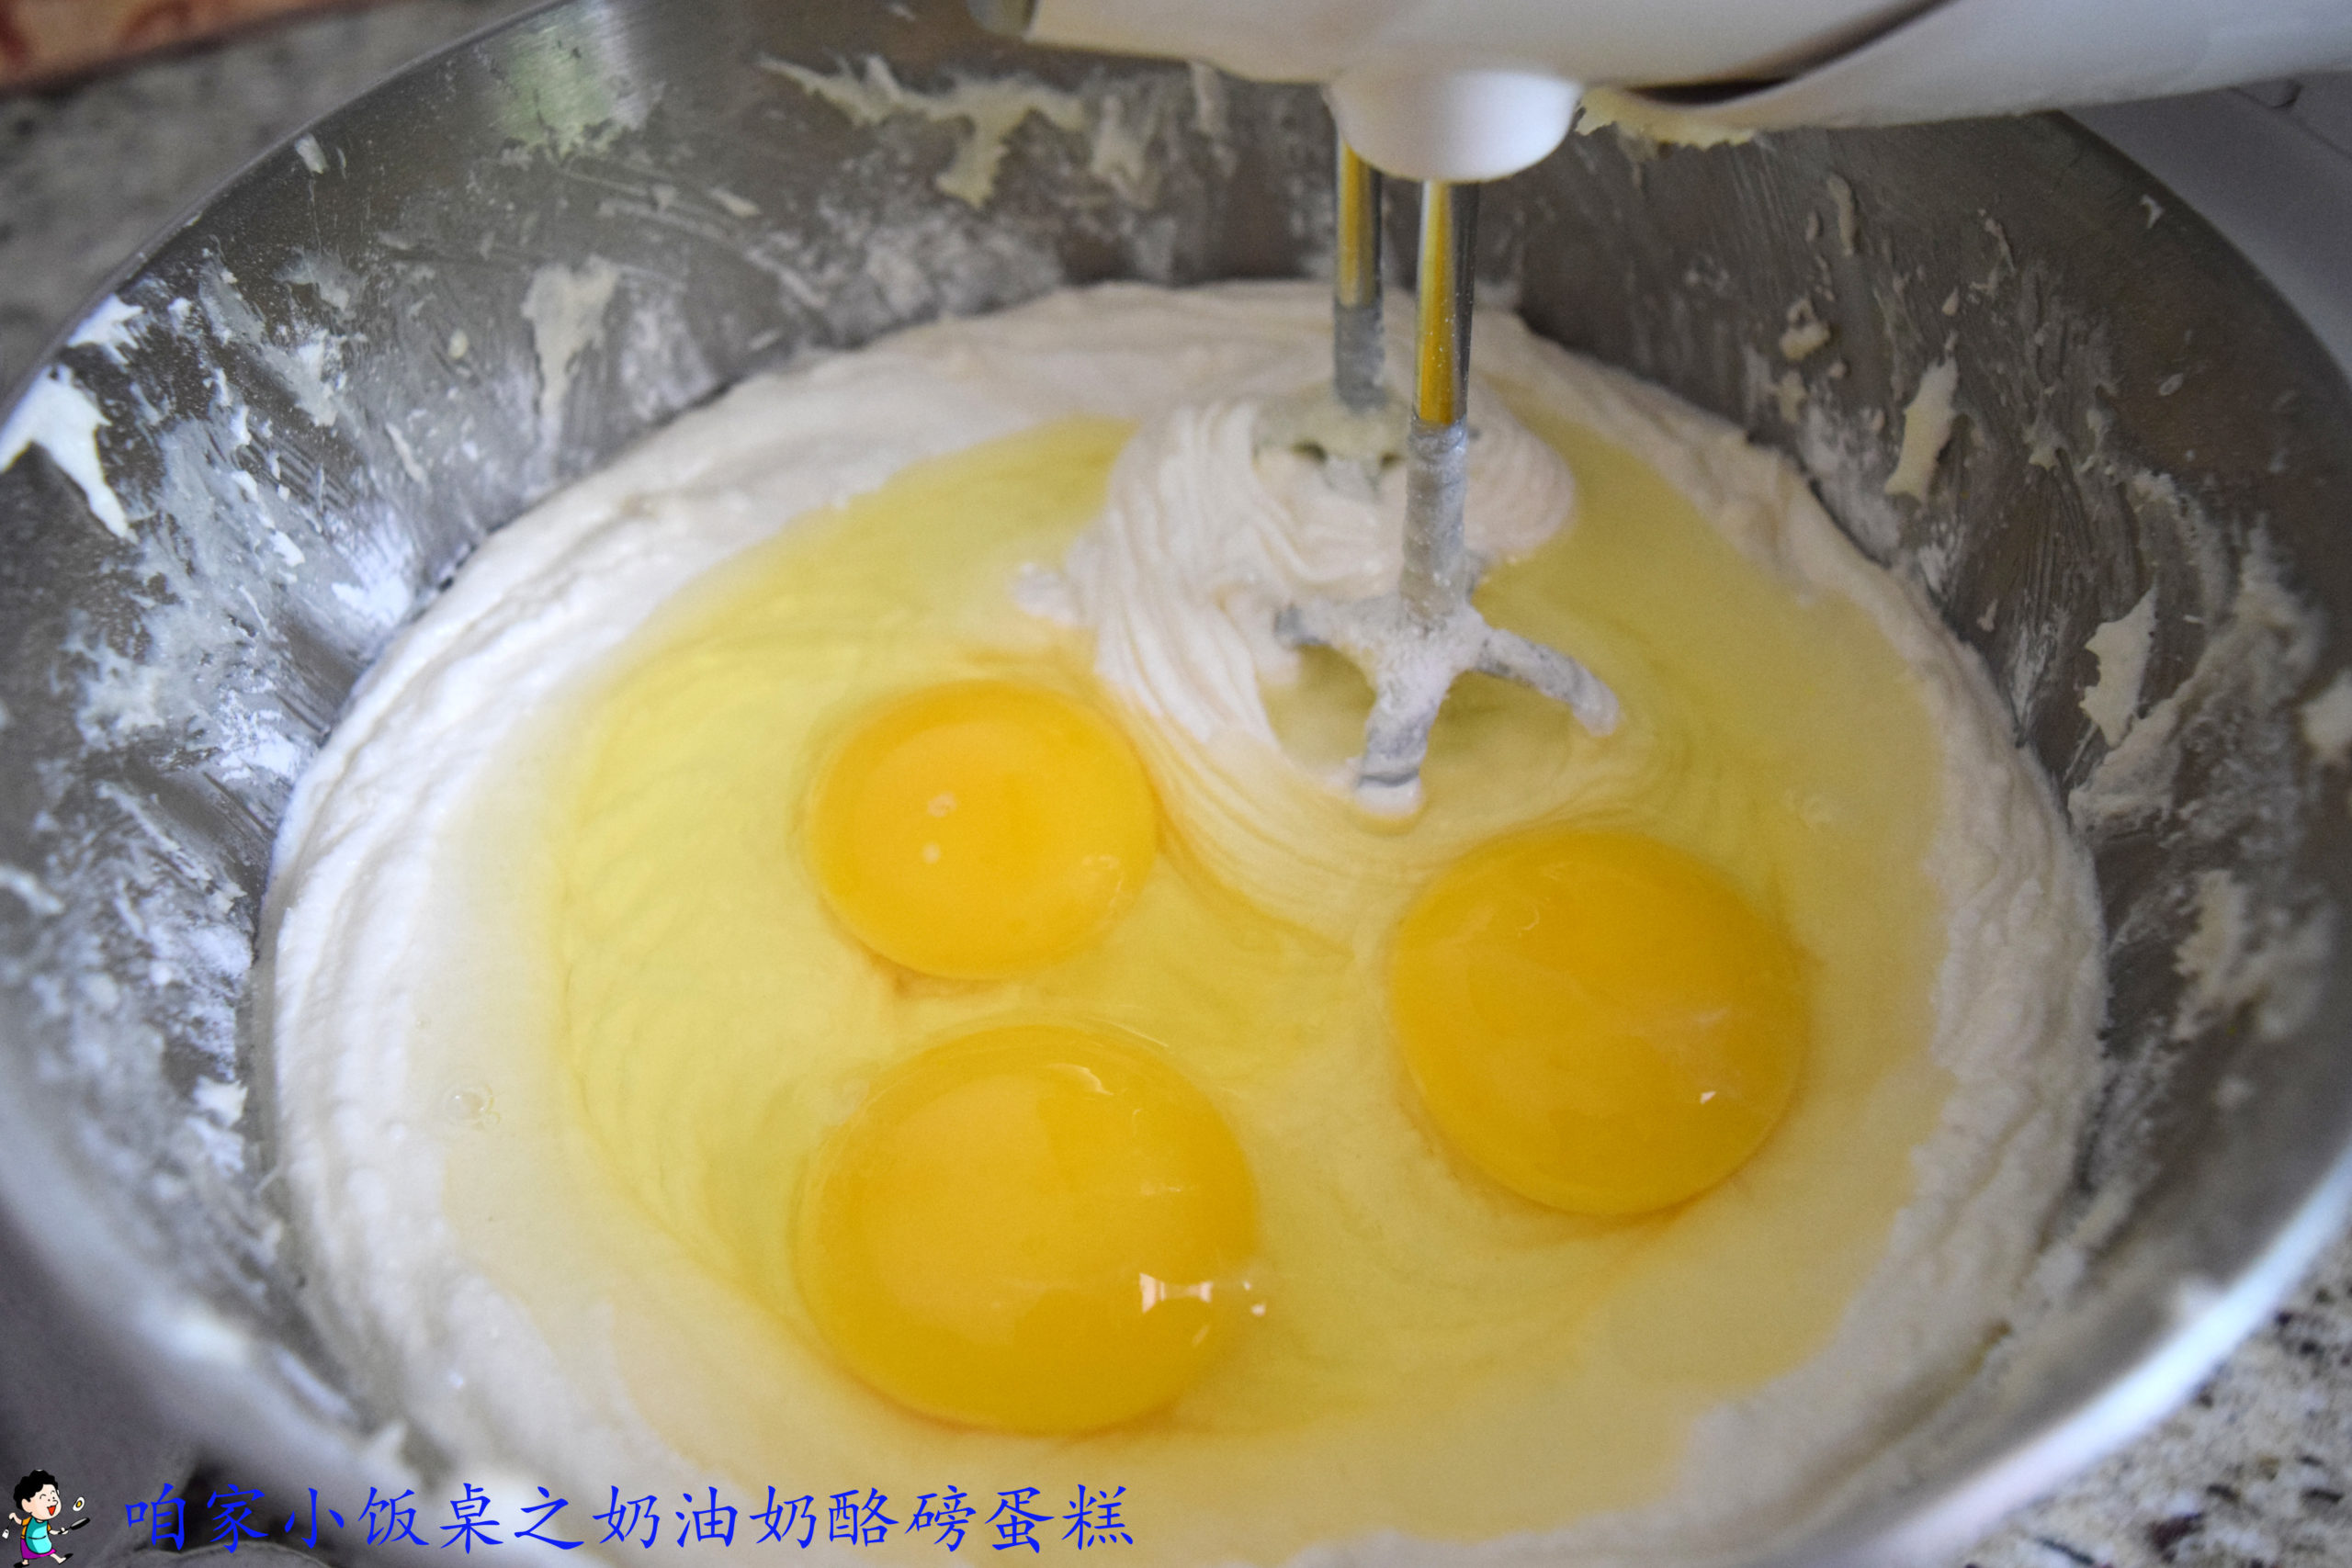
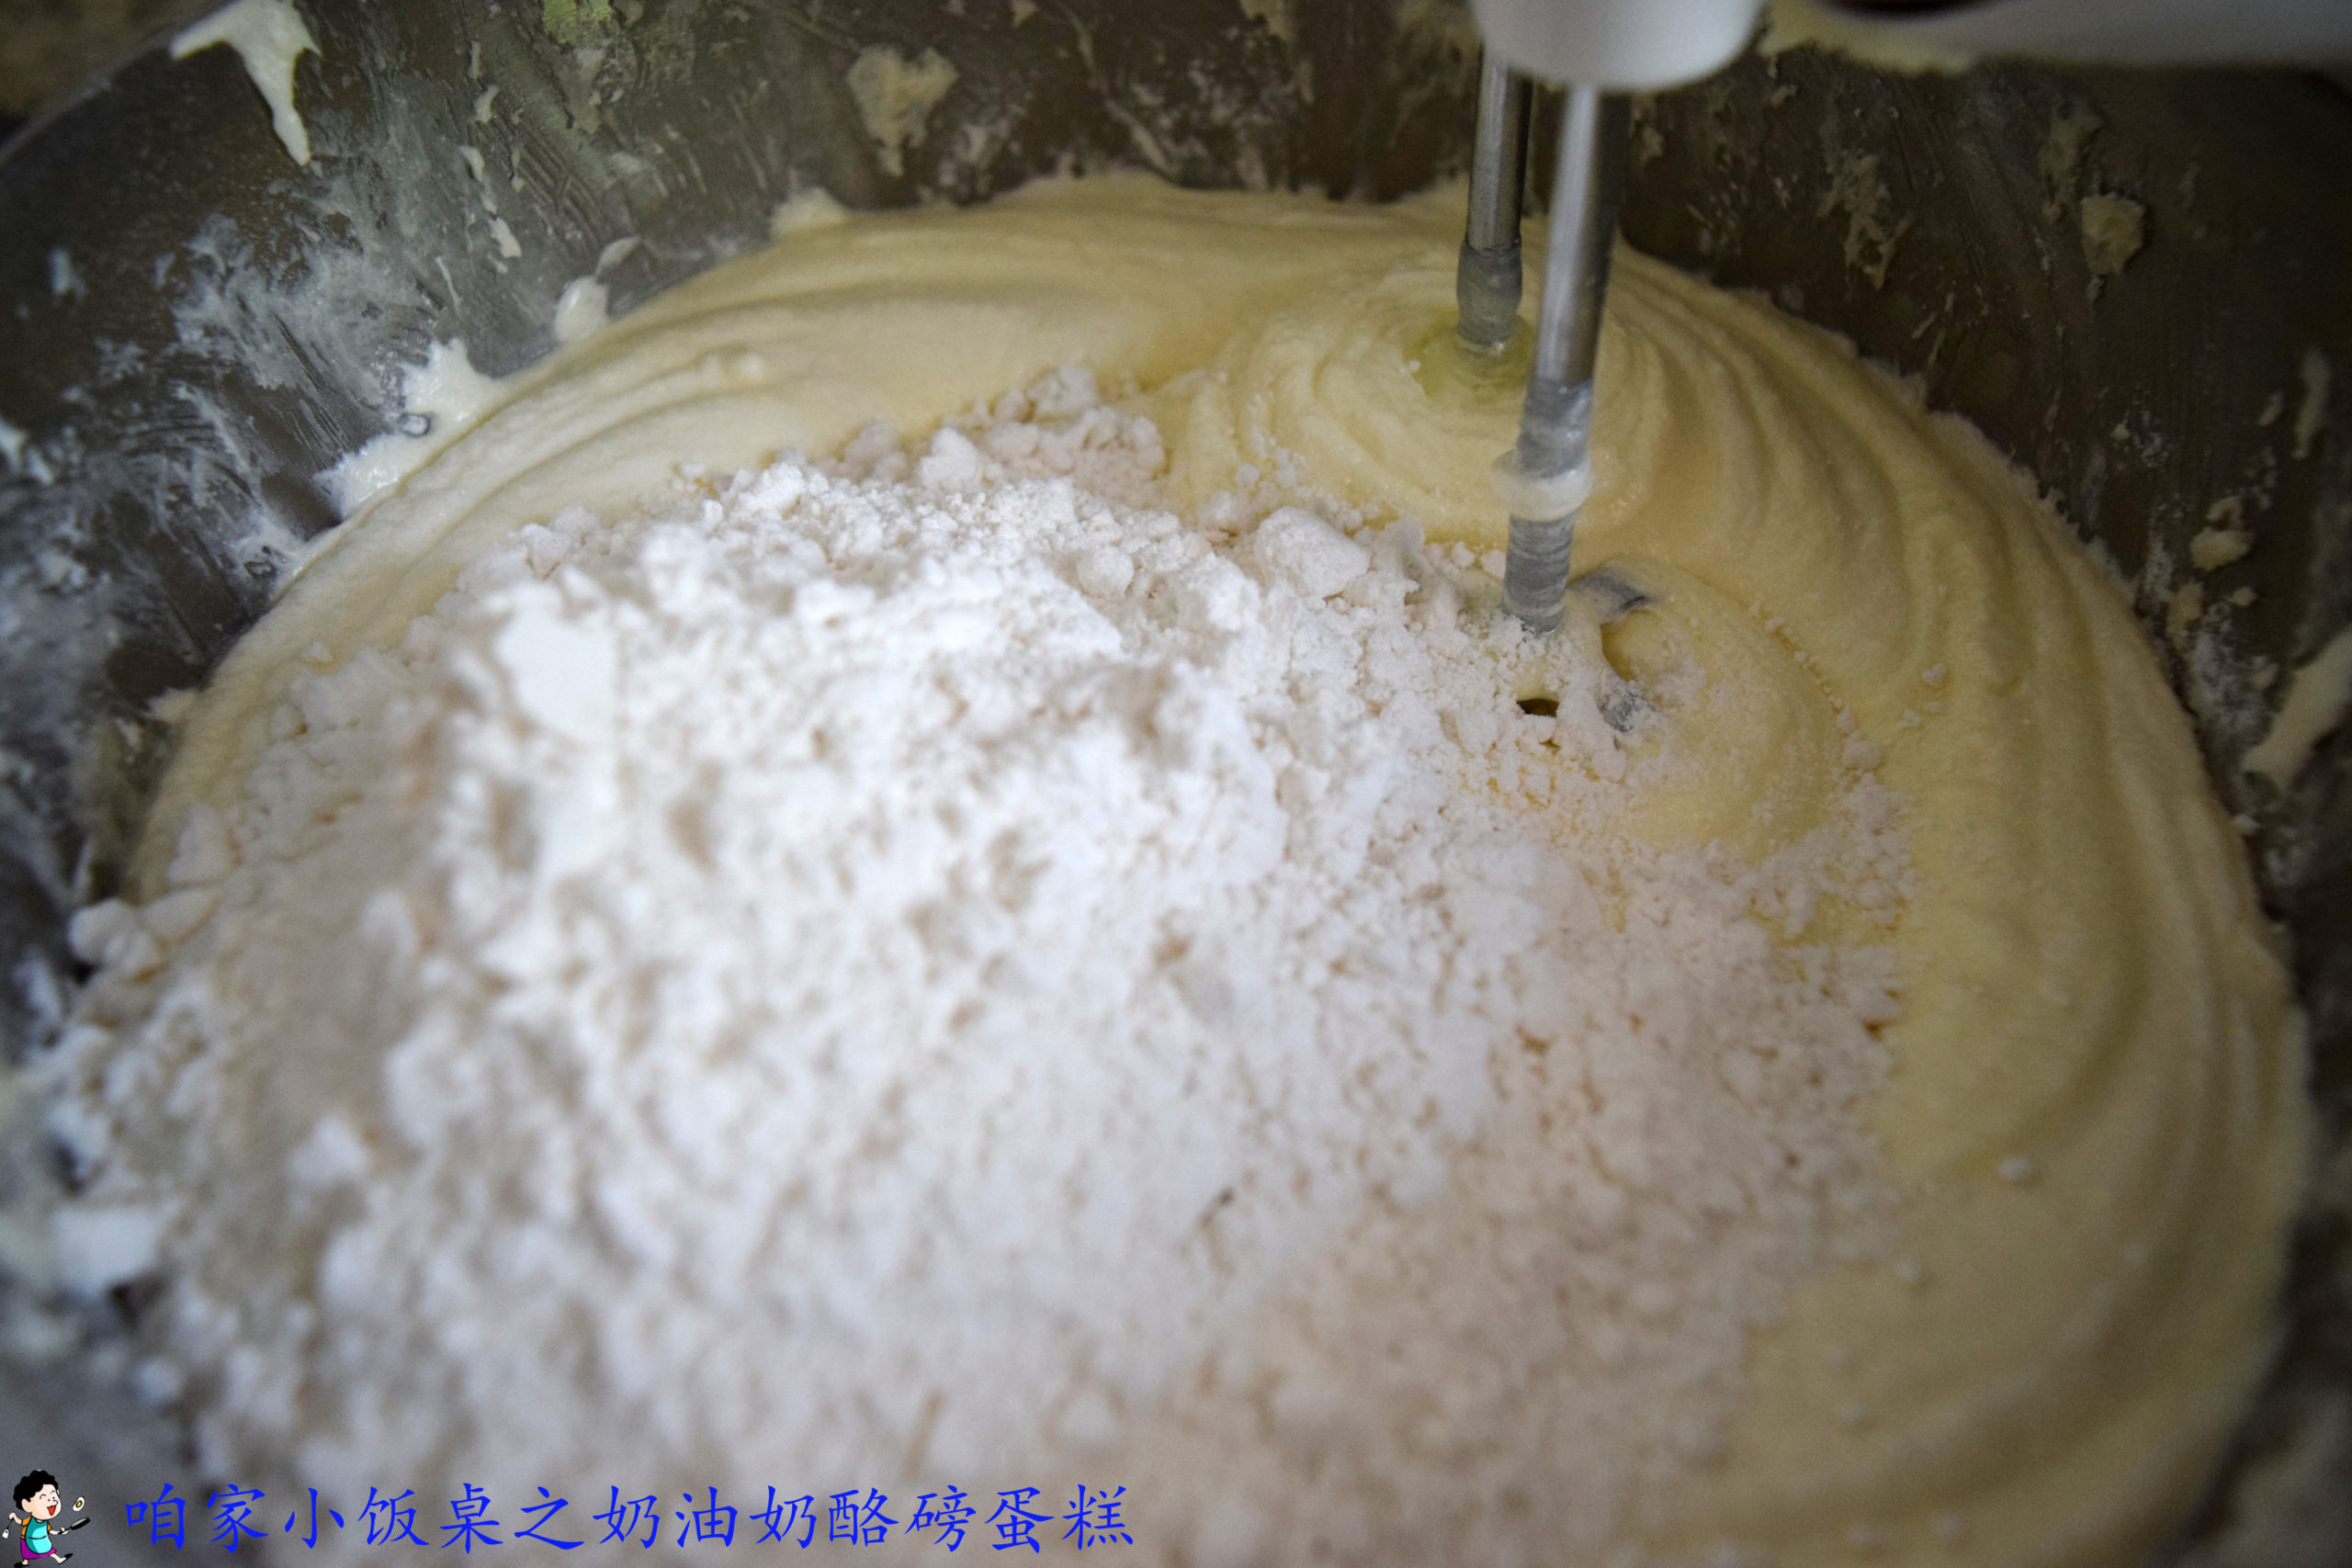
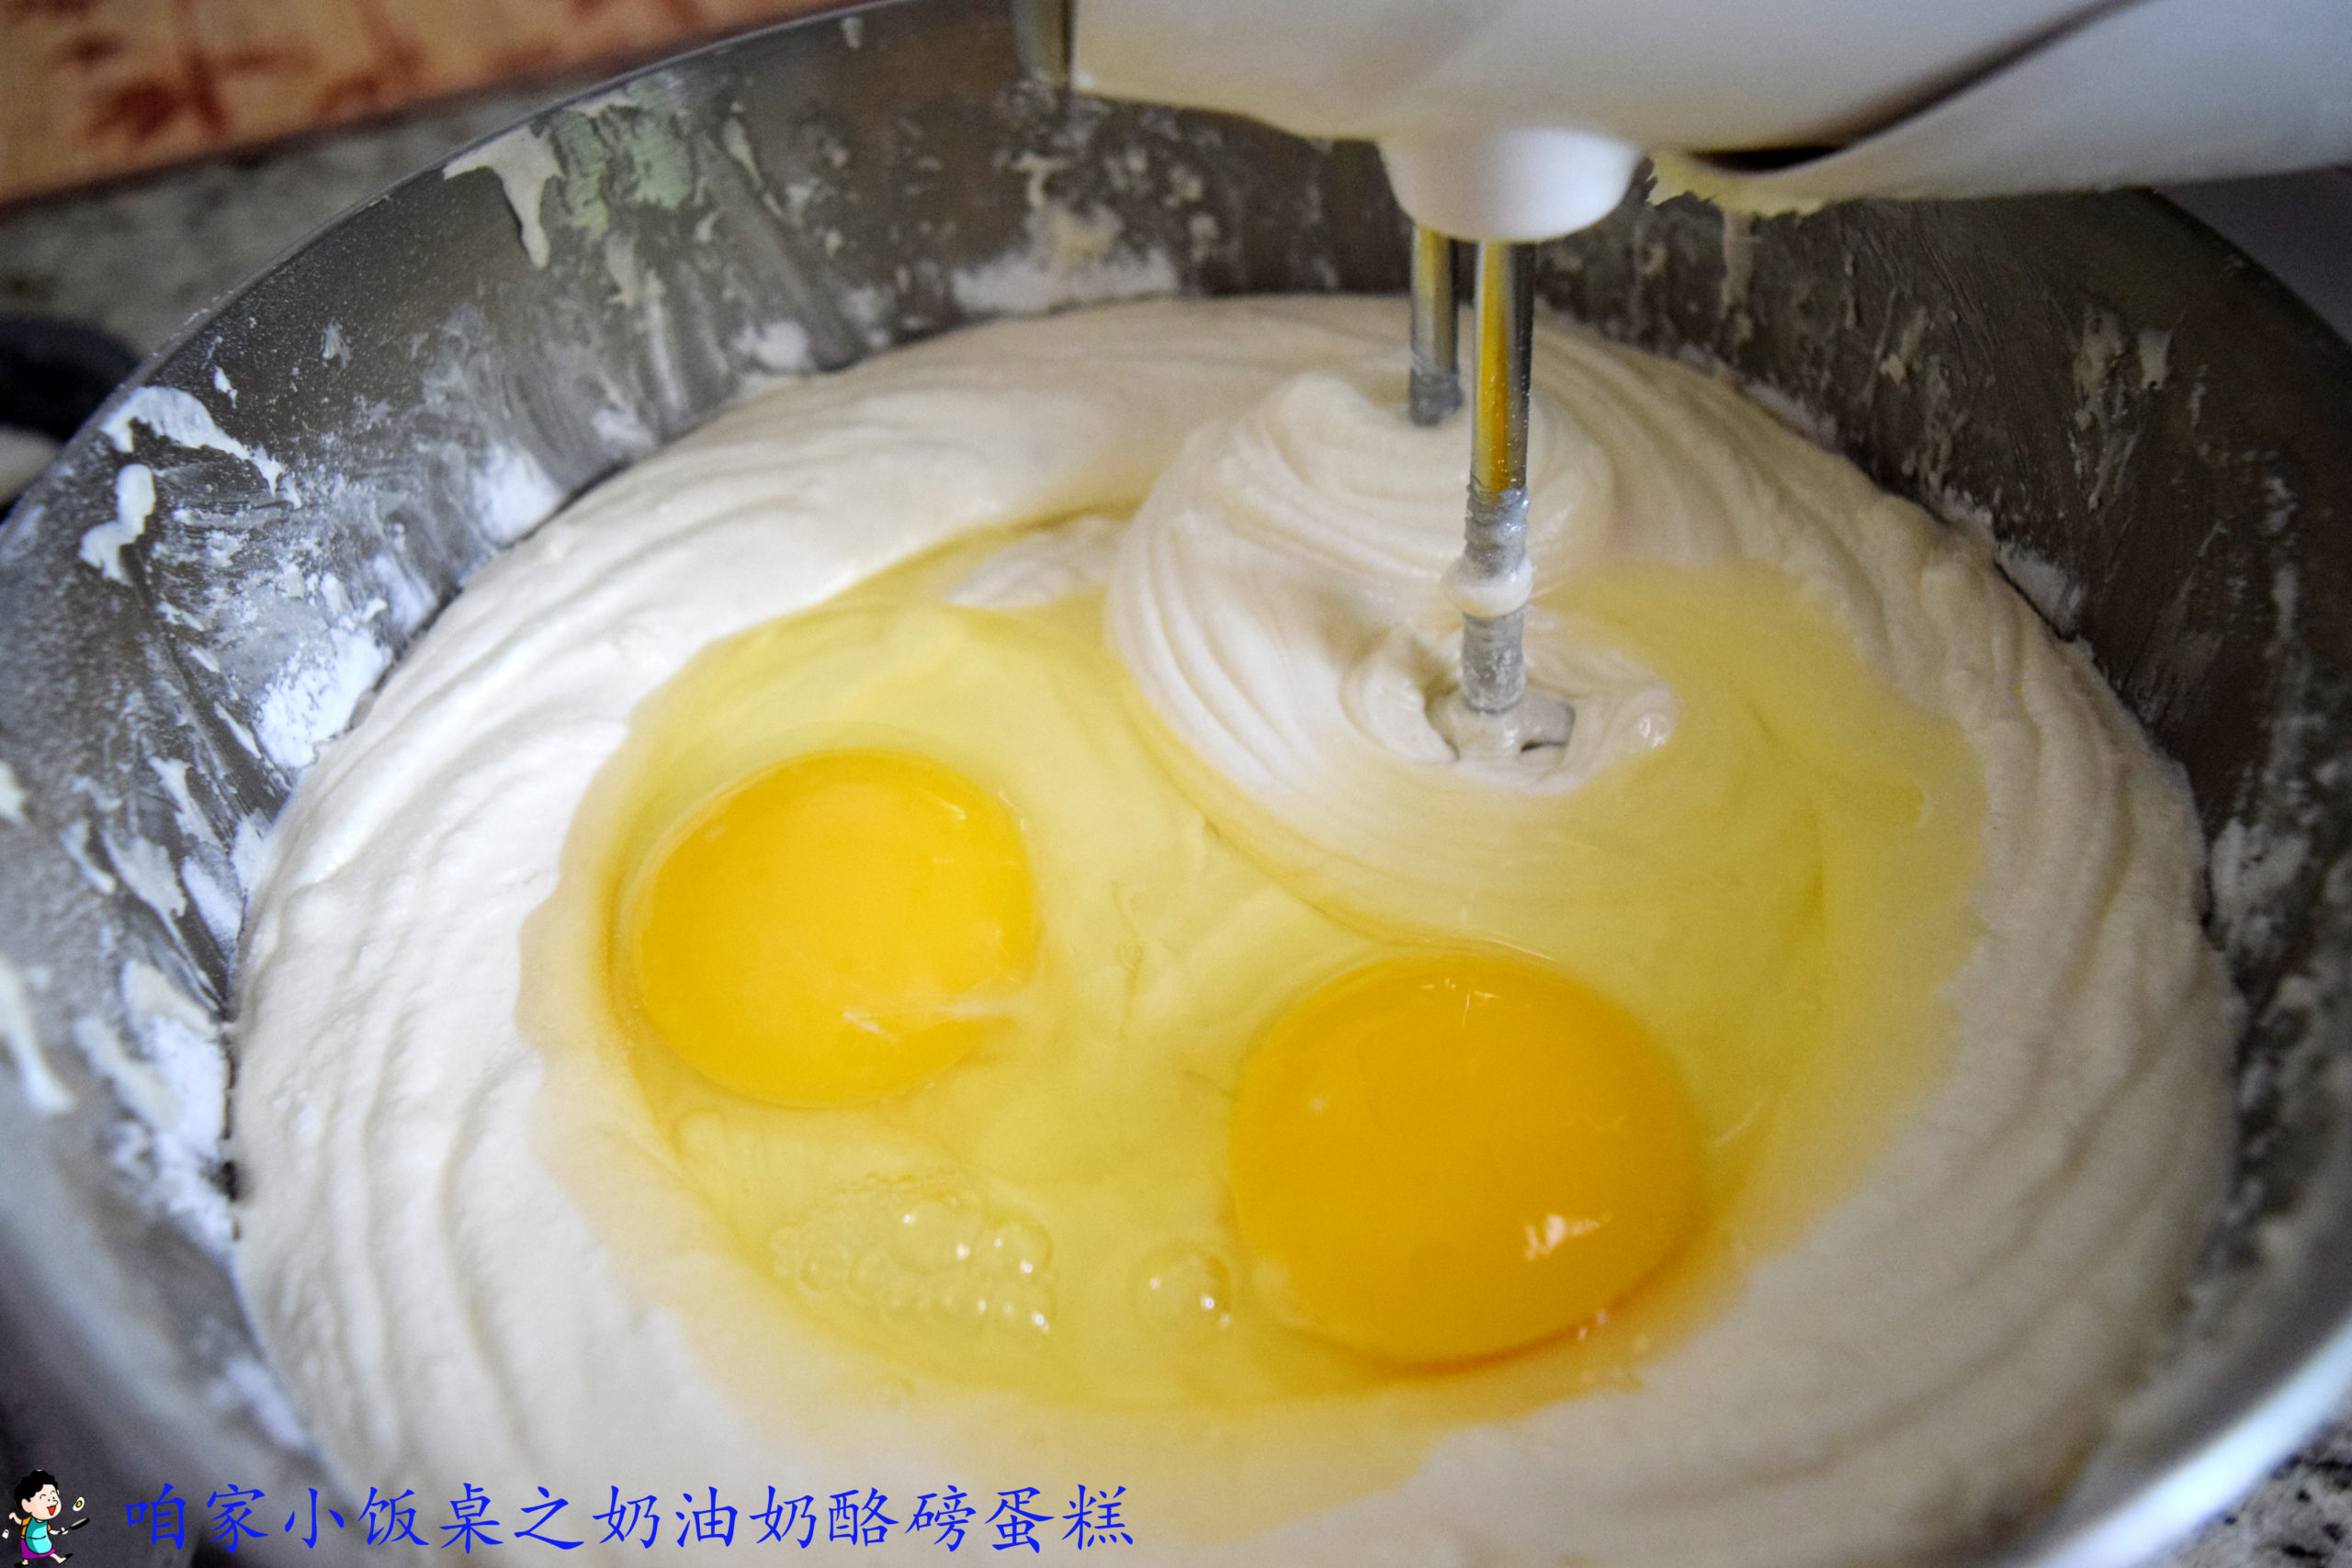
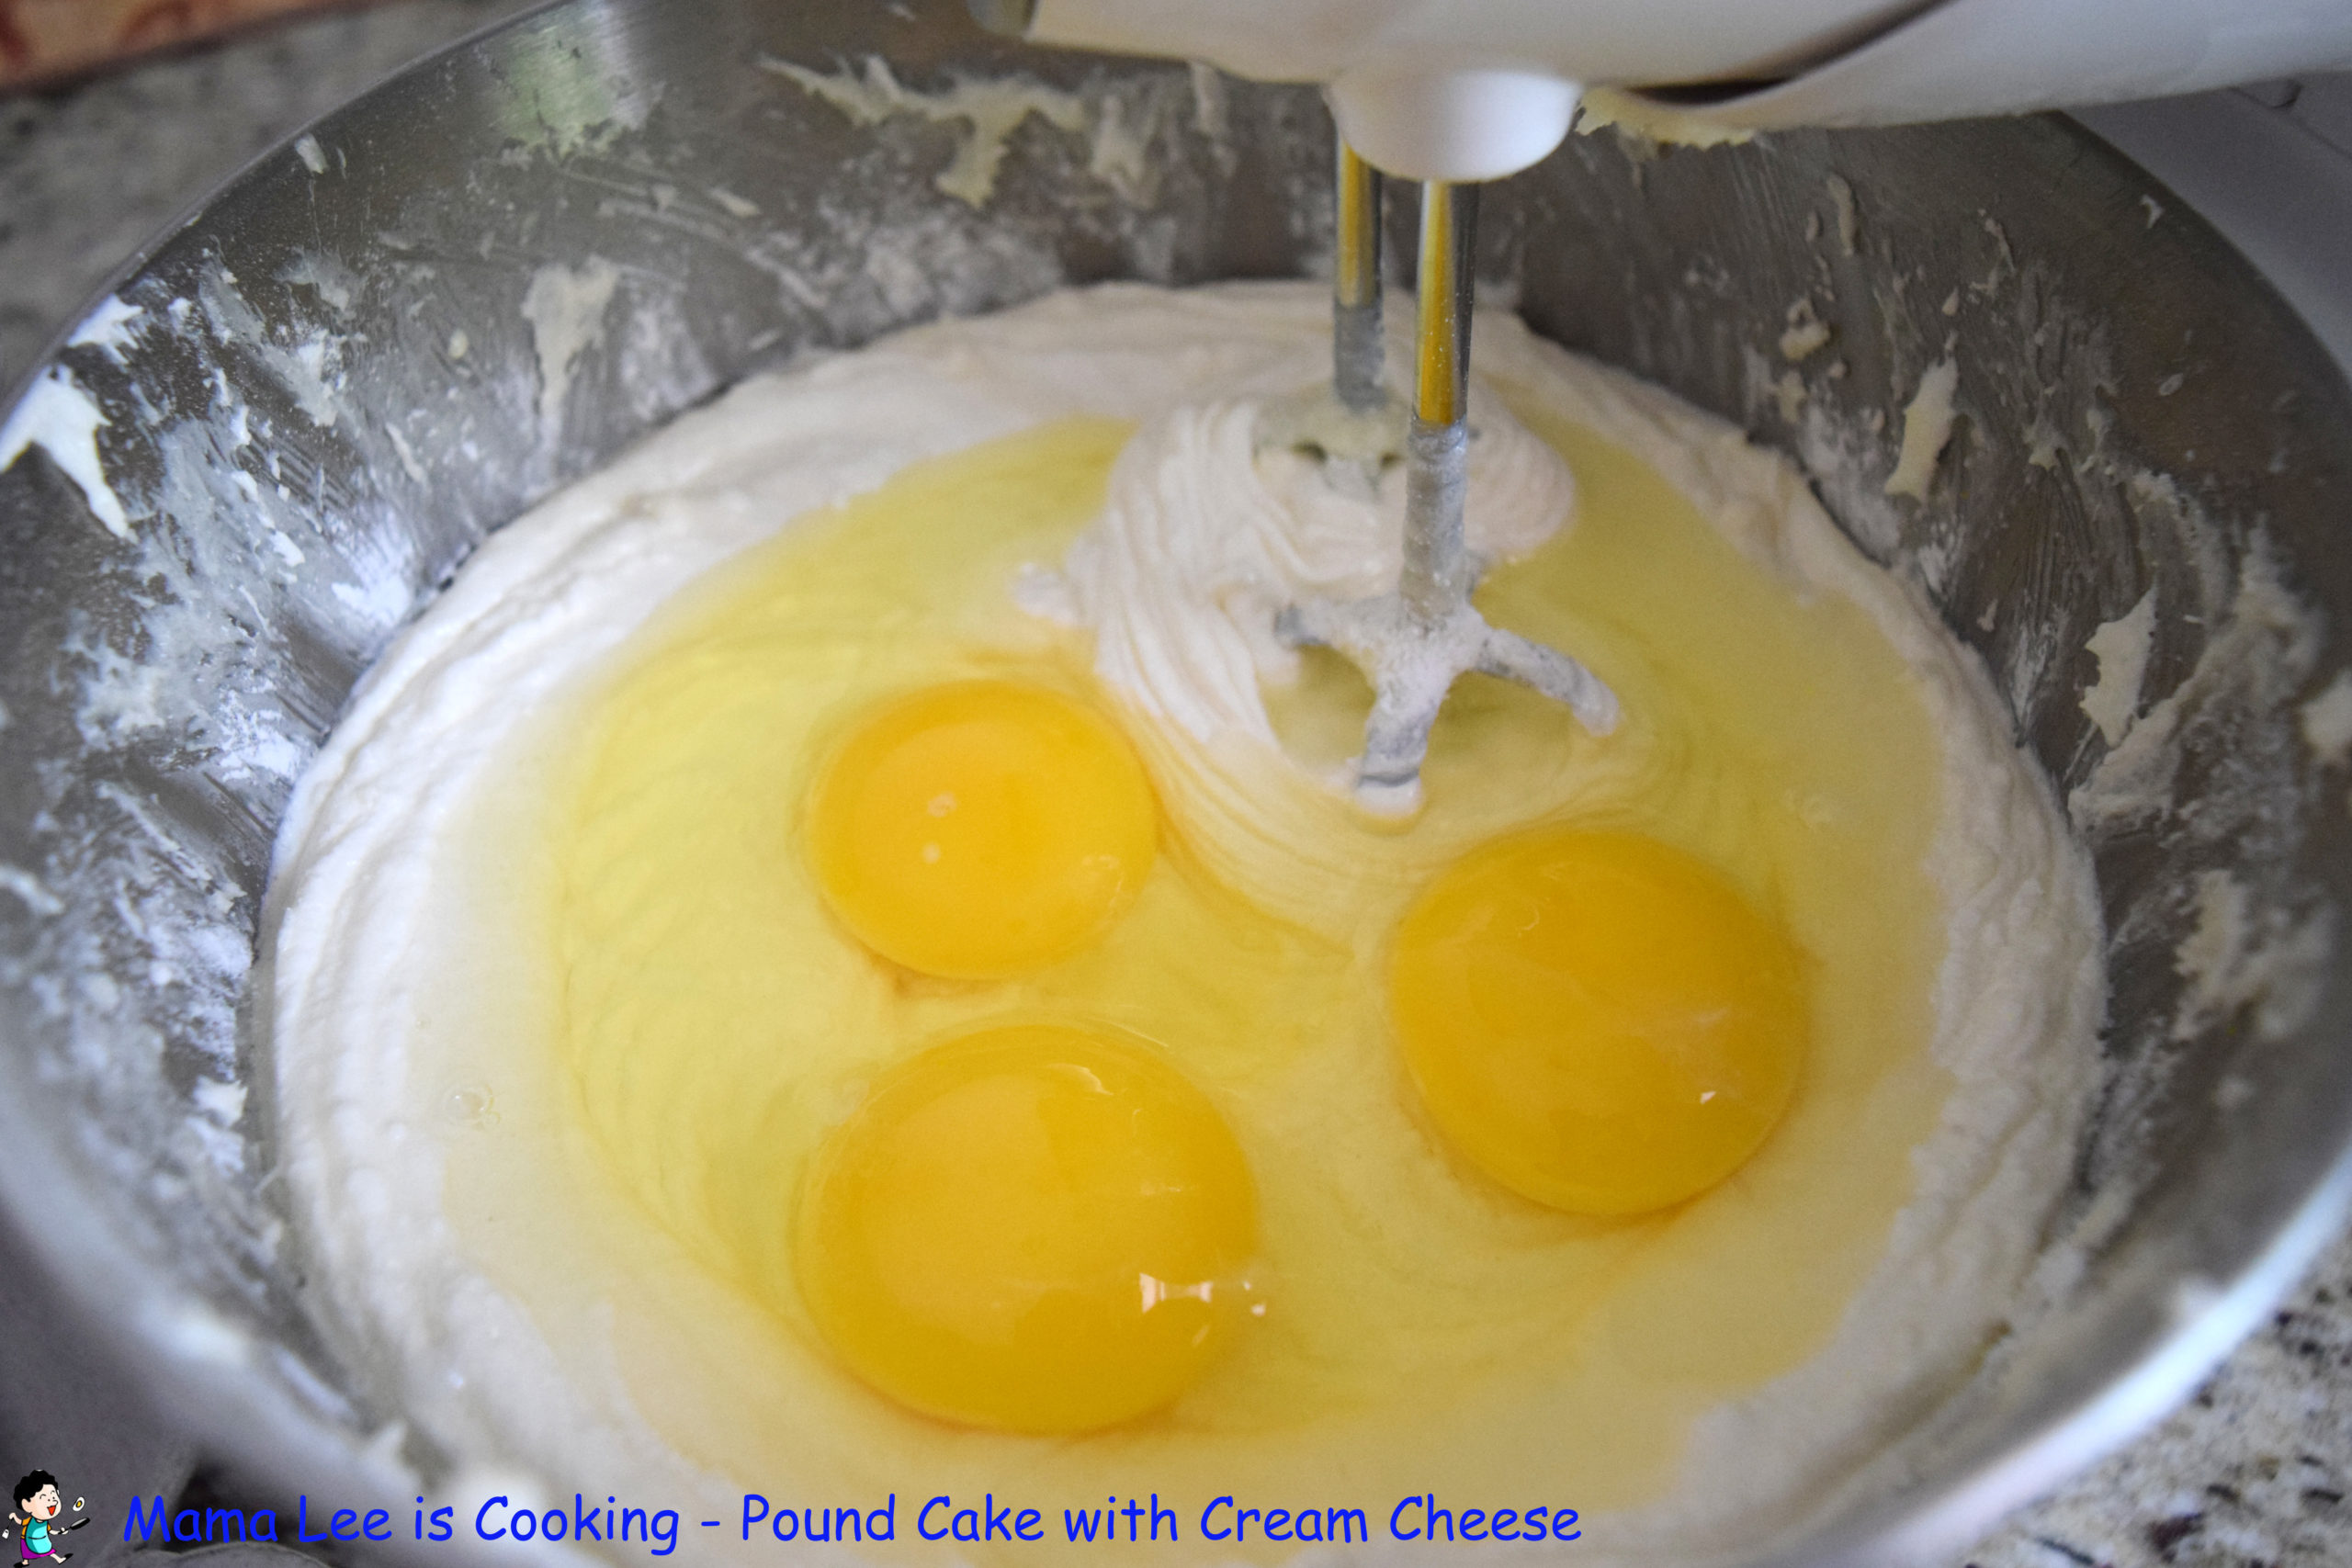
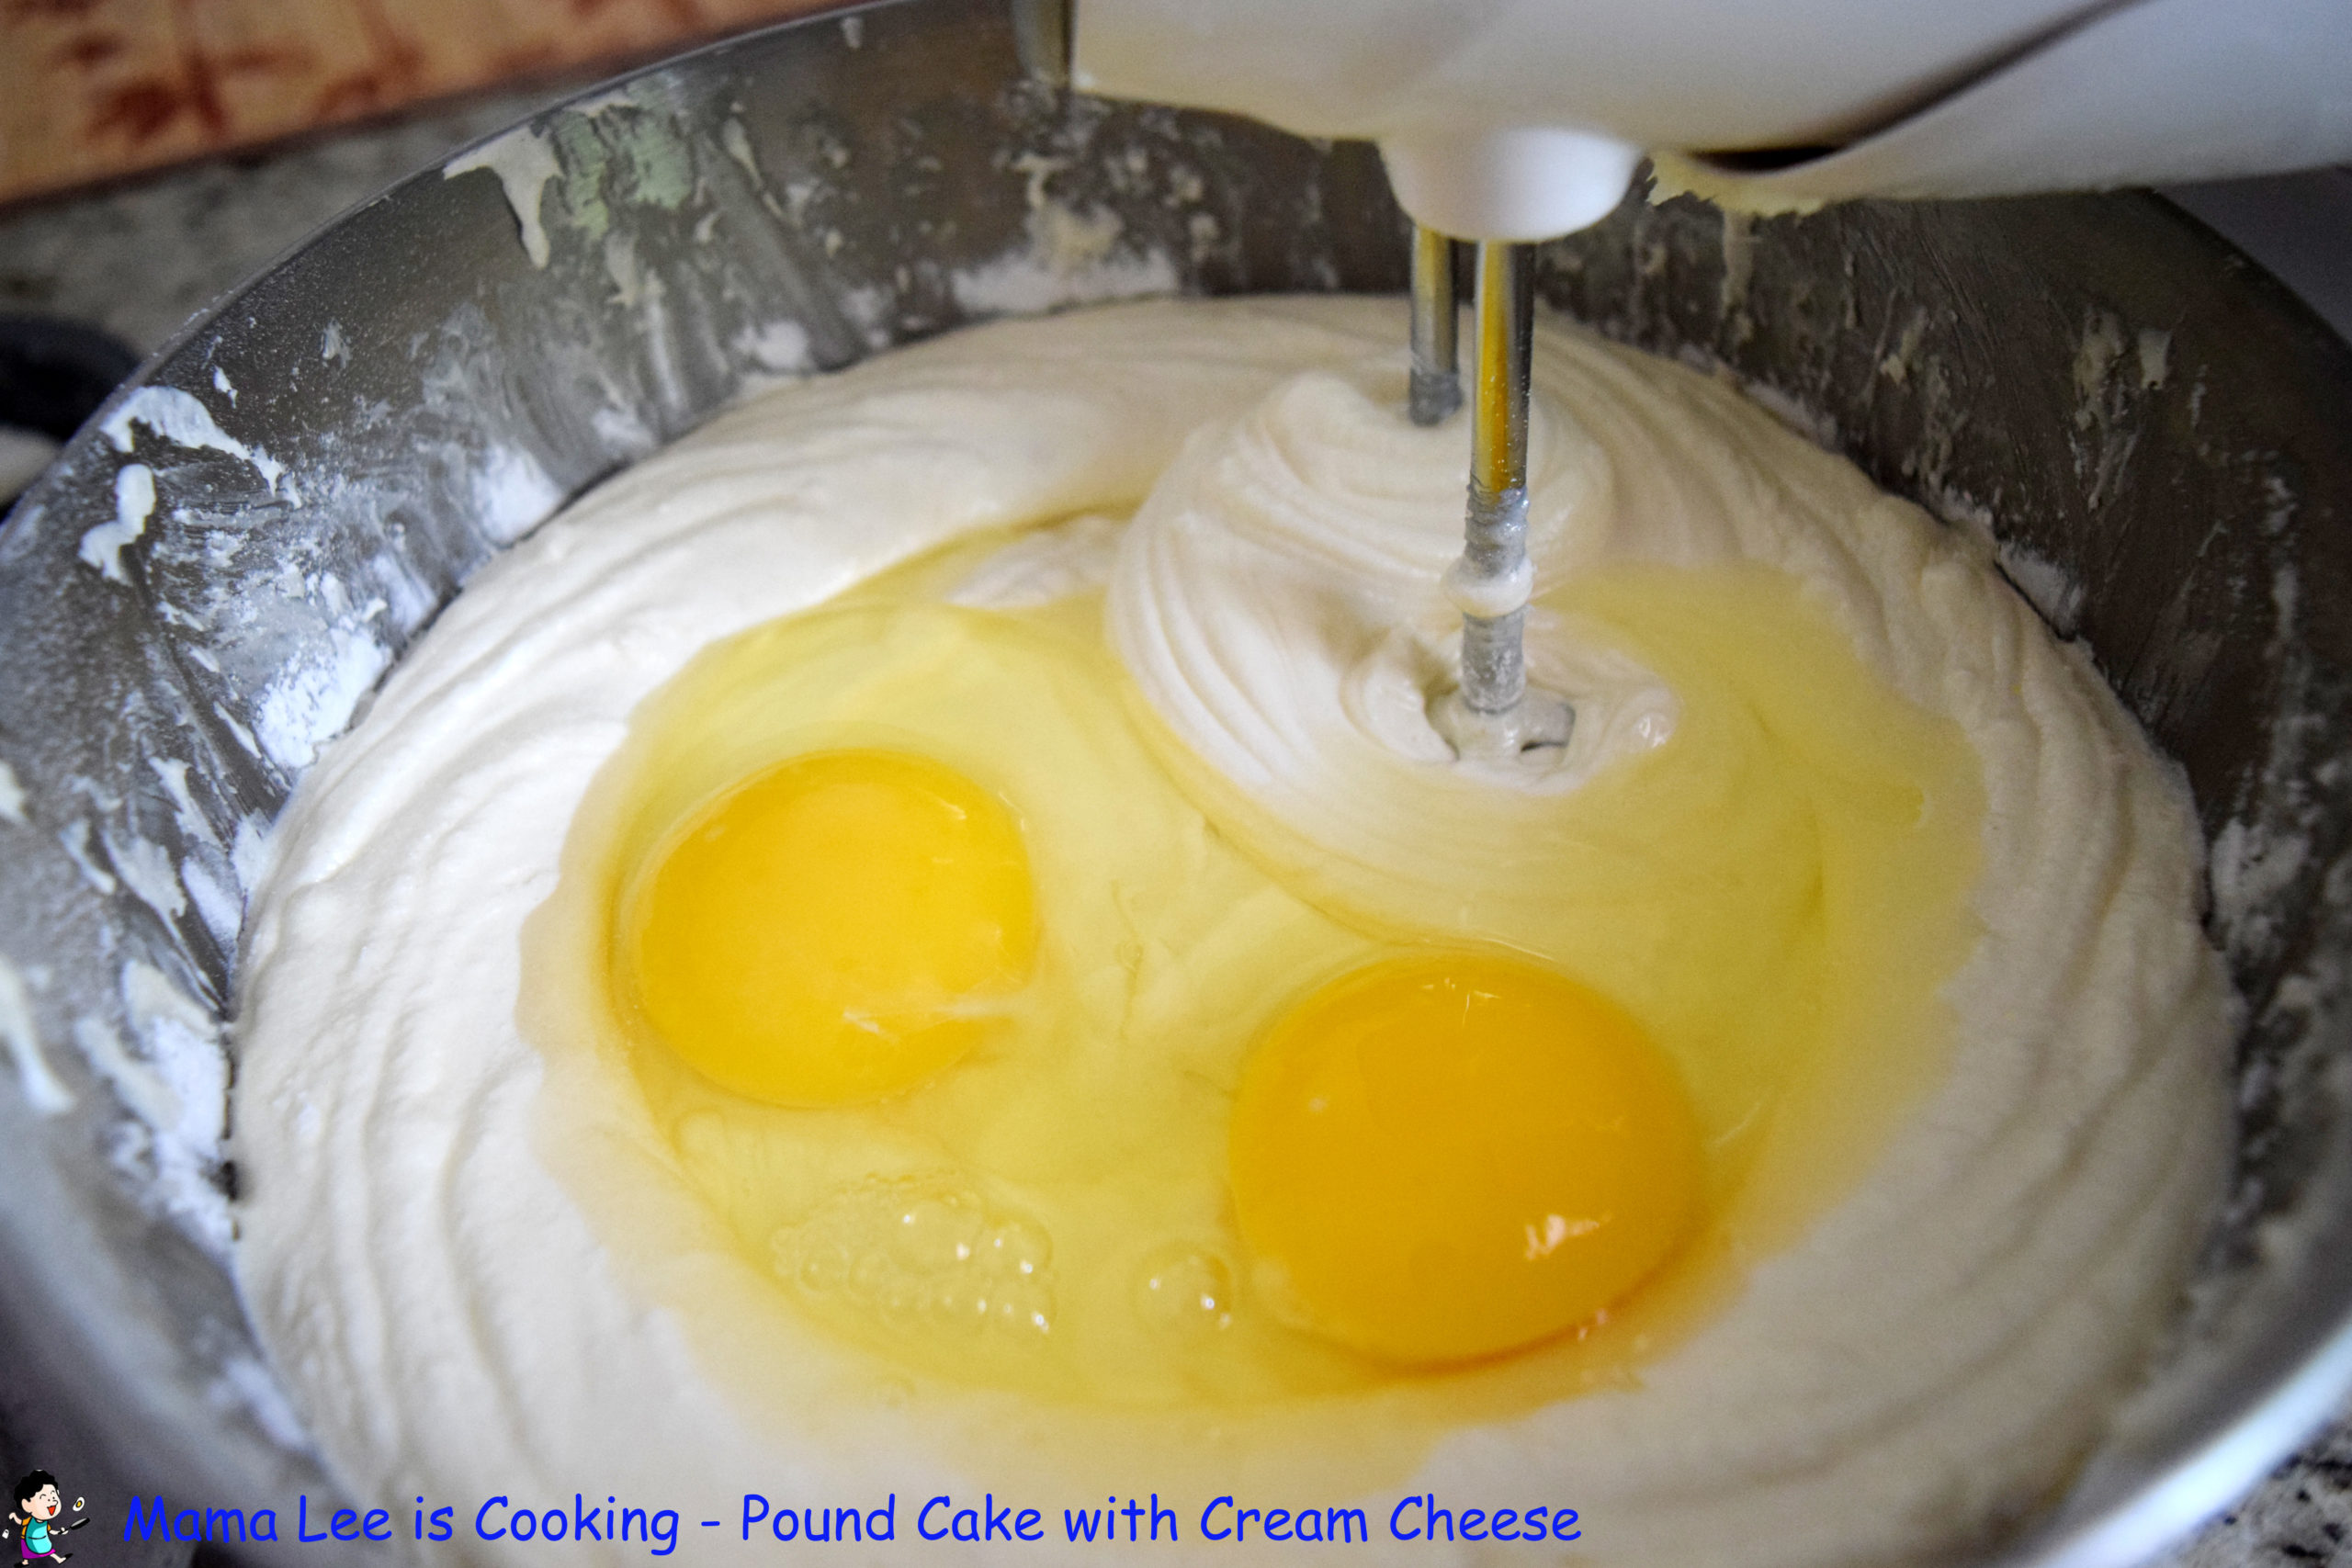
3. Combine beaten egg, melted butter, mashed banana, sugar, and salt, beat together.

The original recipe calls for 1/2 cup sugar, but both of us think it’s too sweet for us, so I cut the sugar to 1/4 cup.

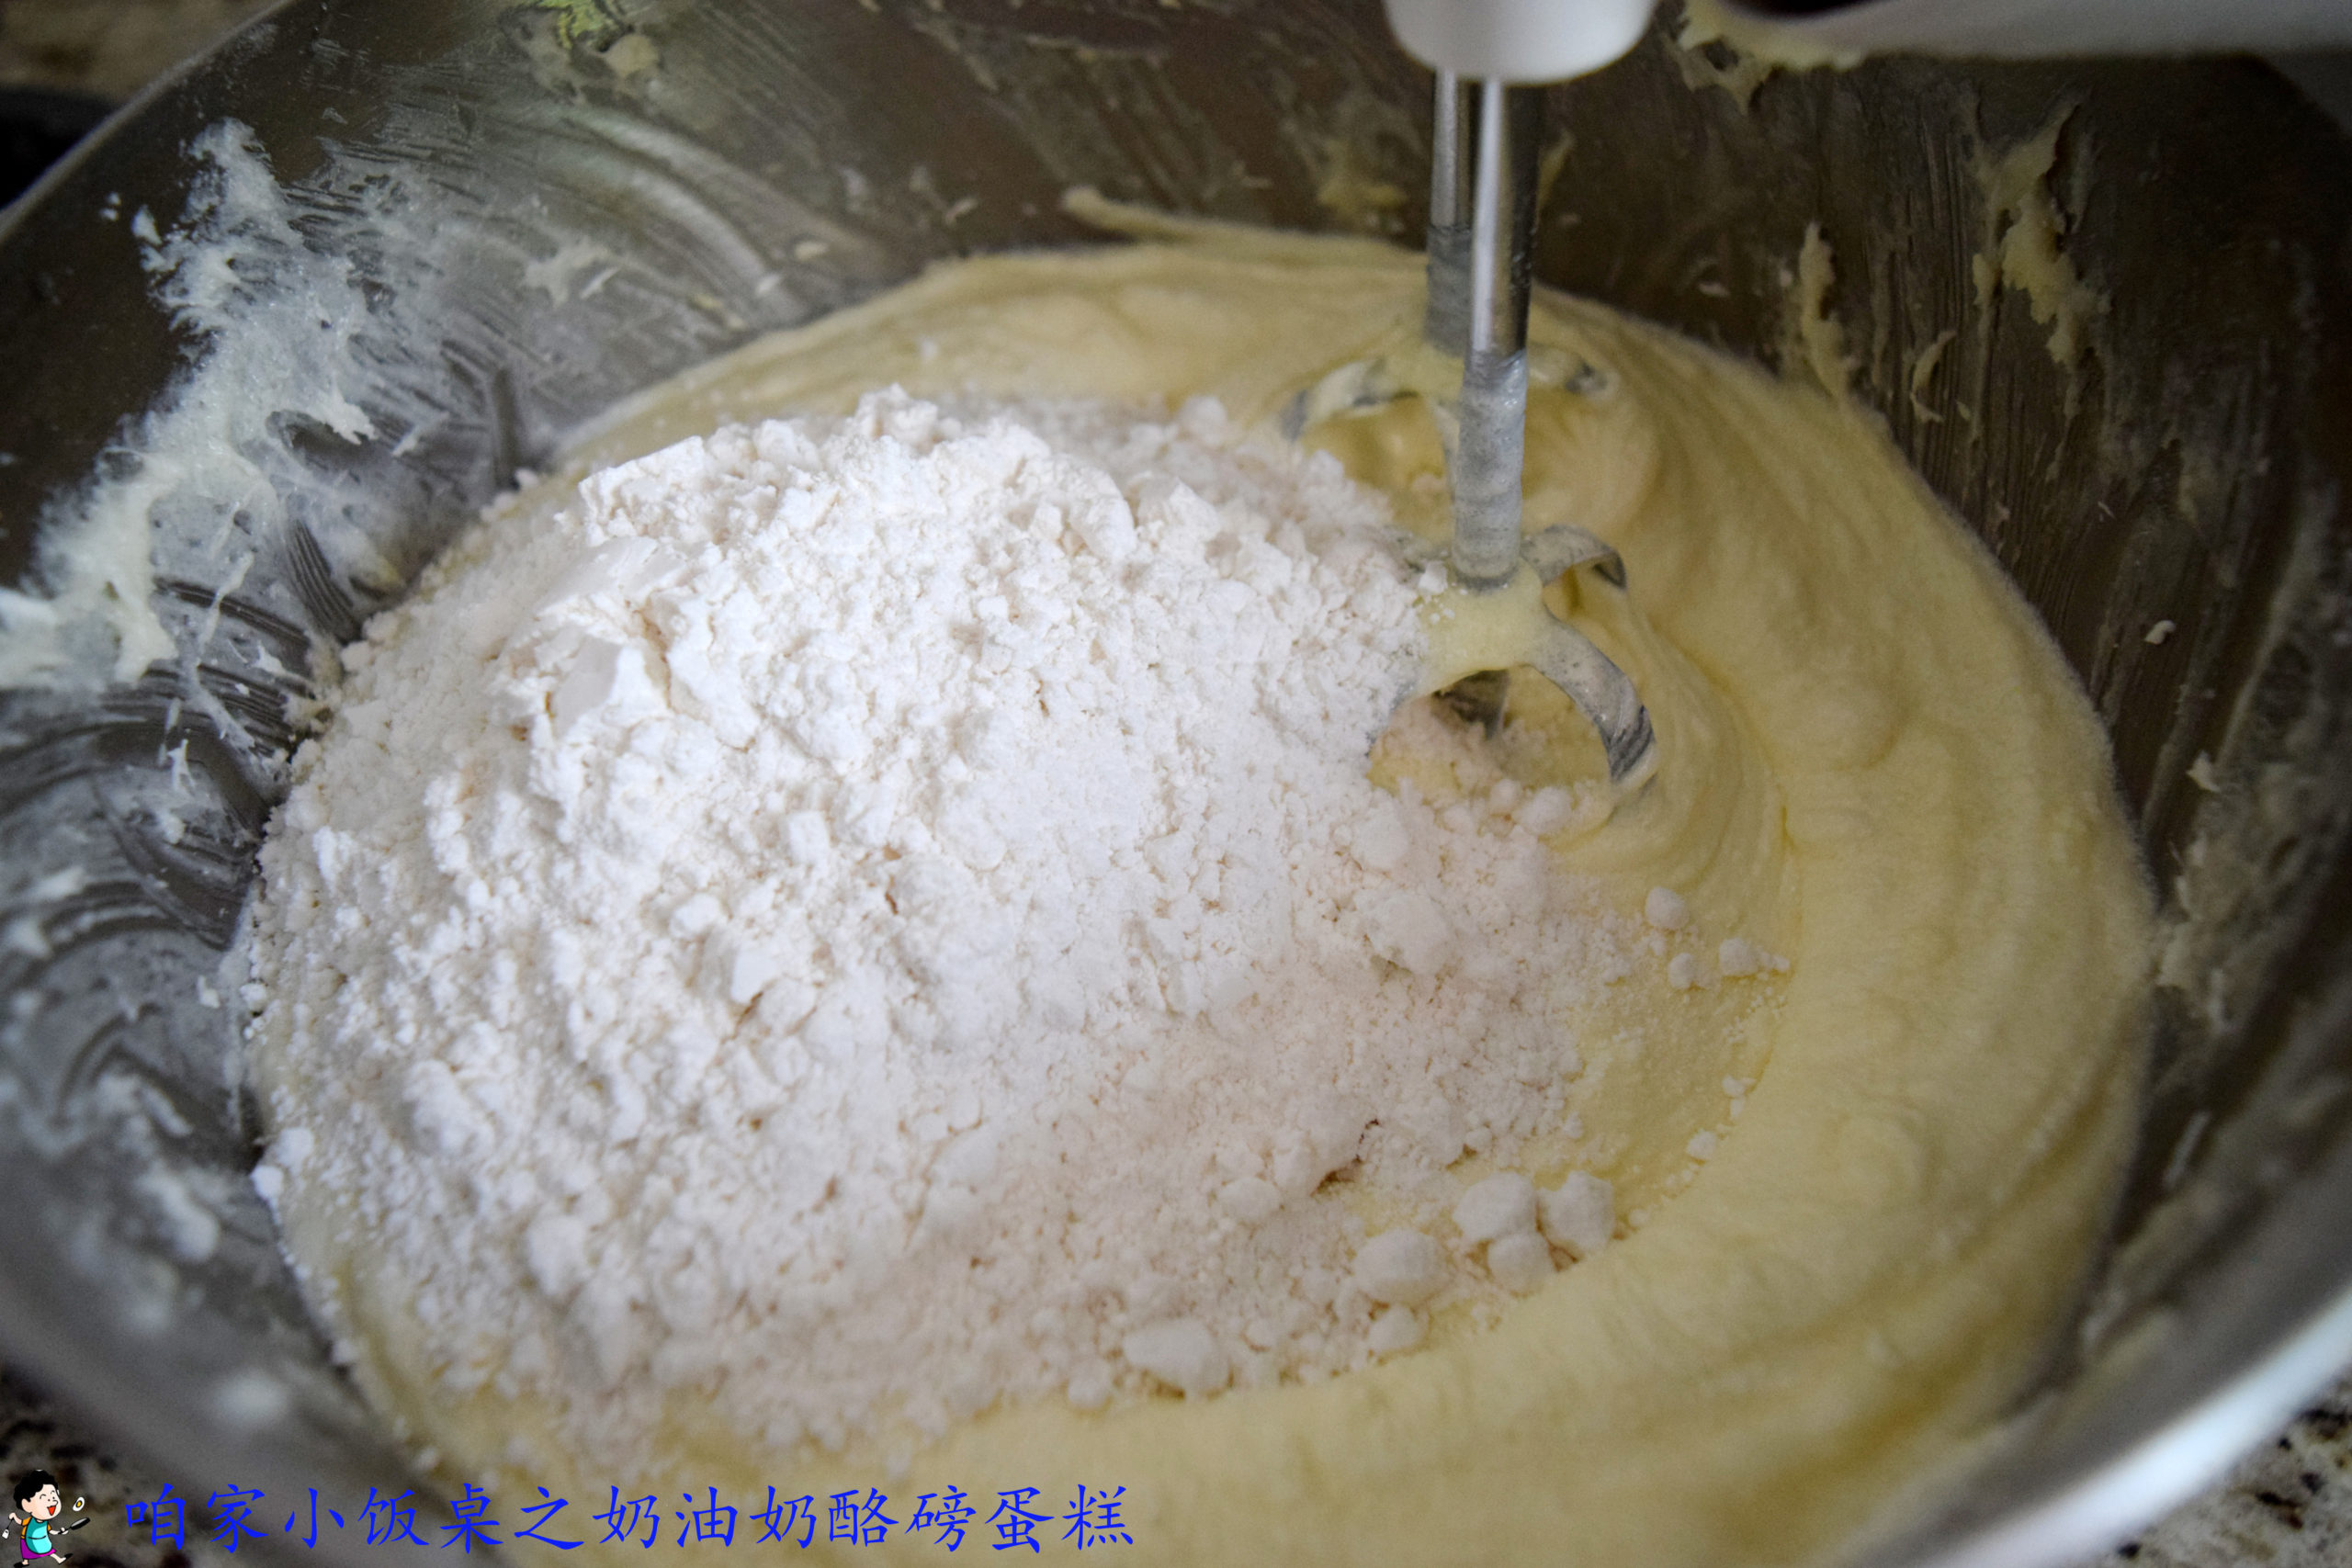
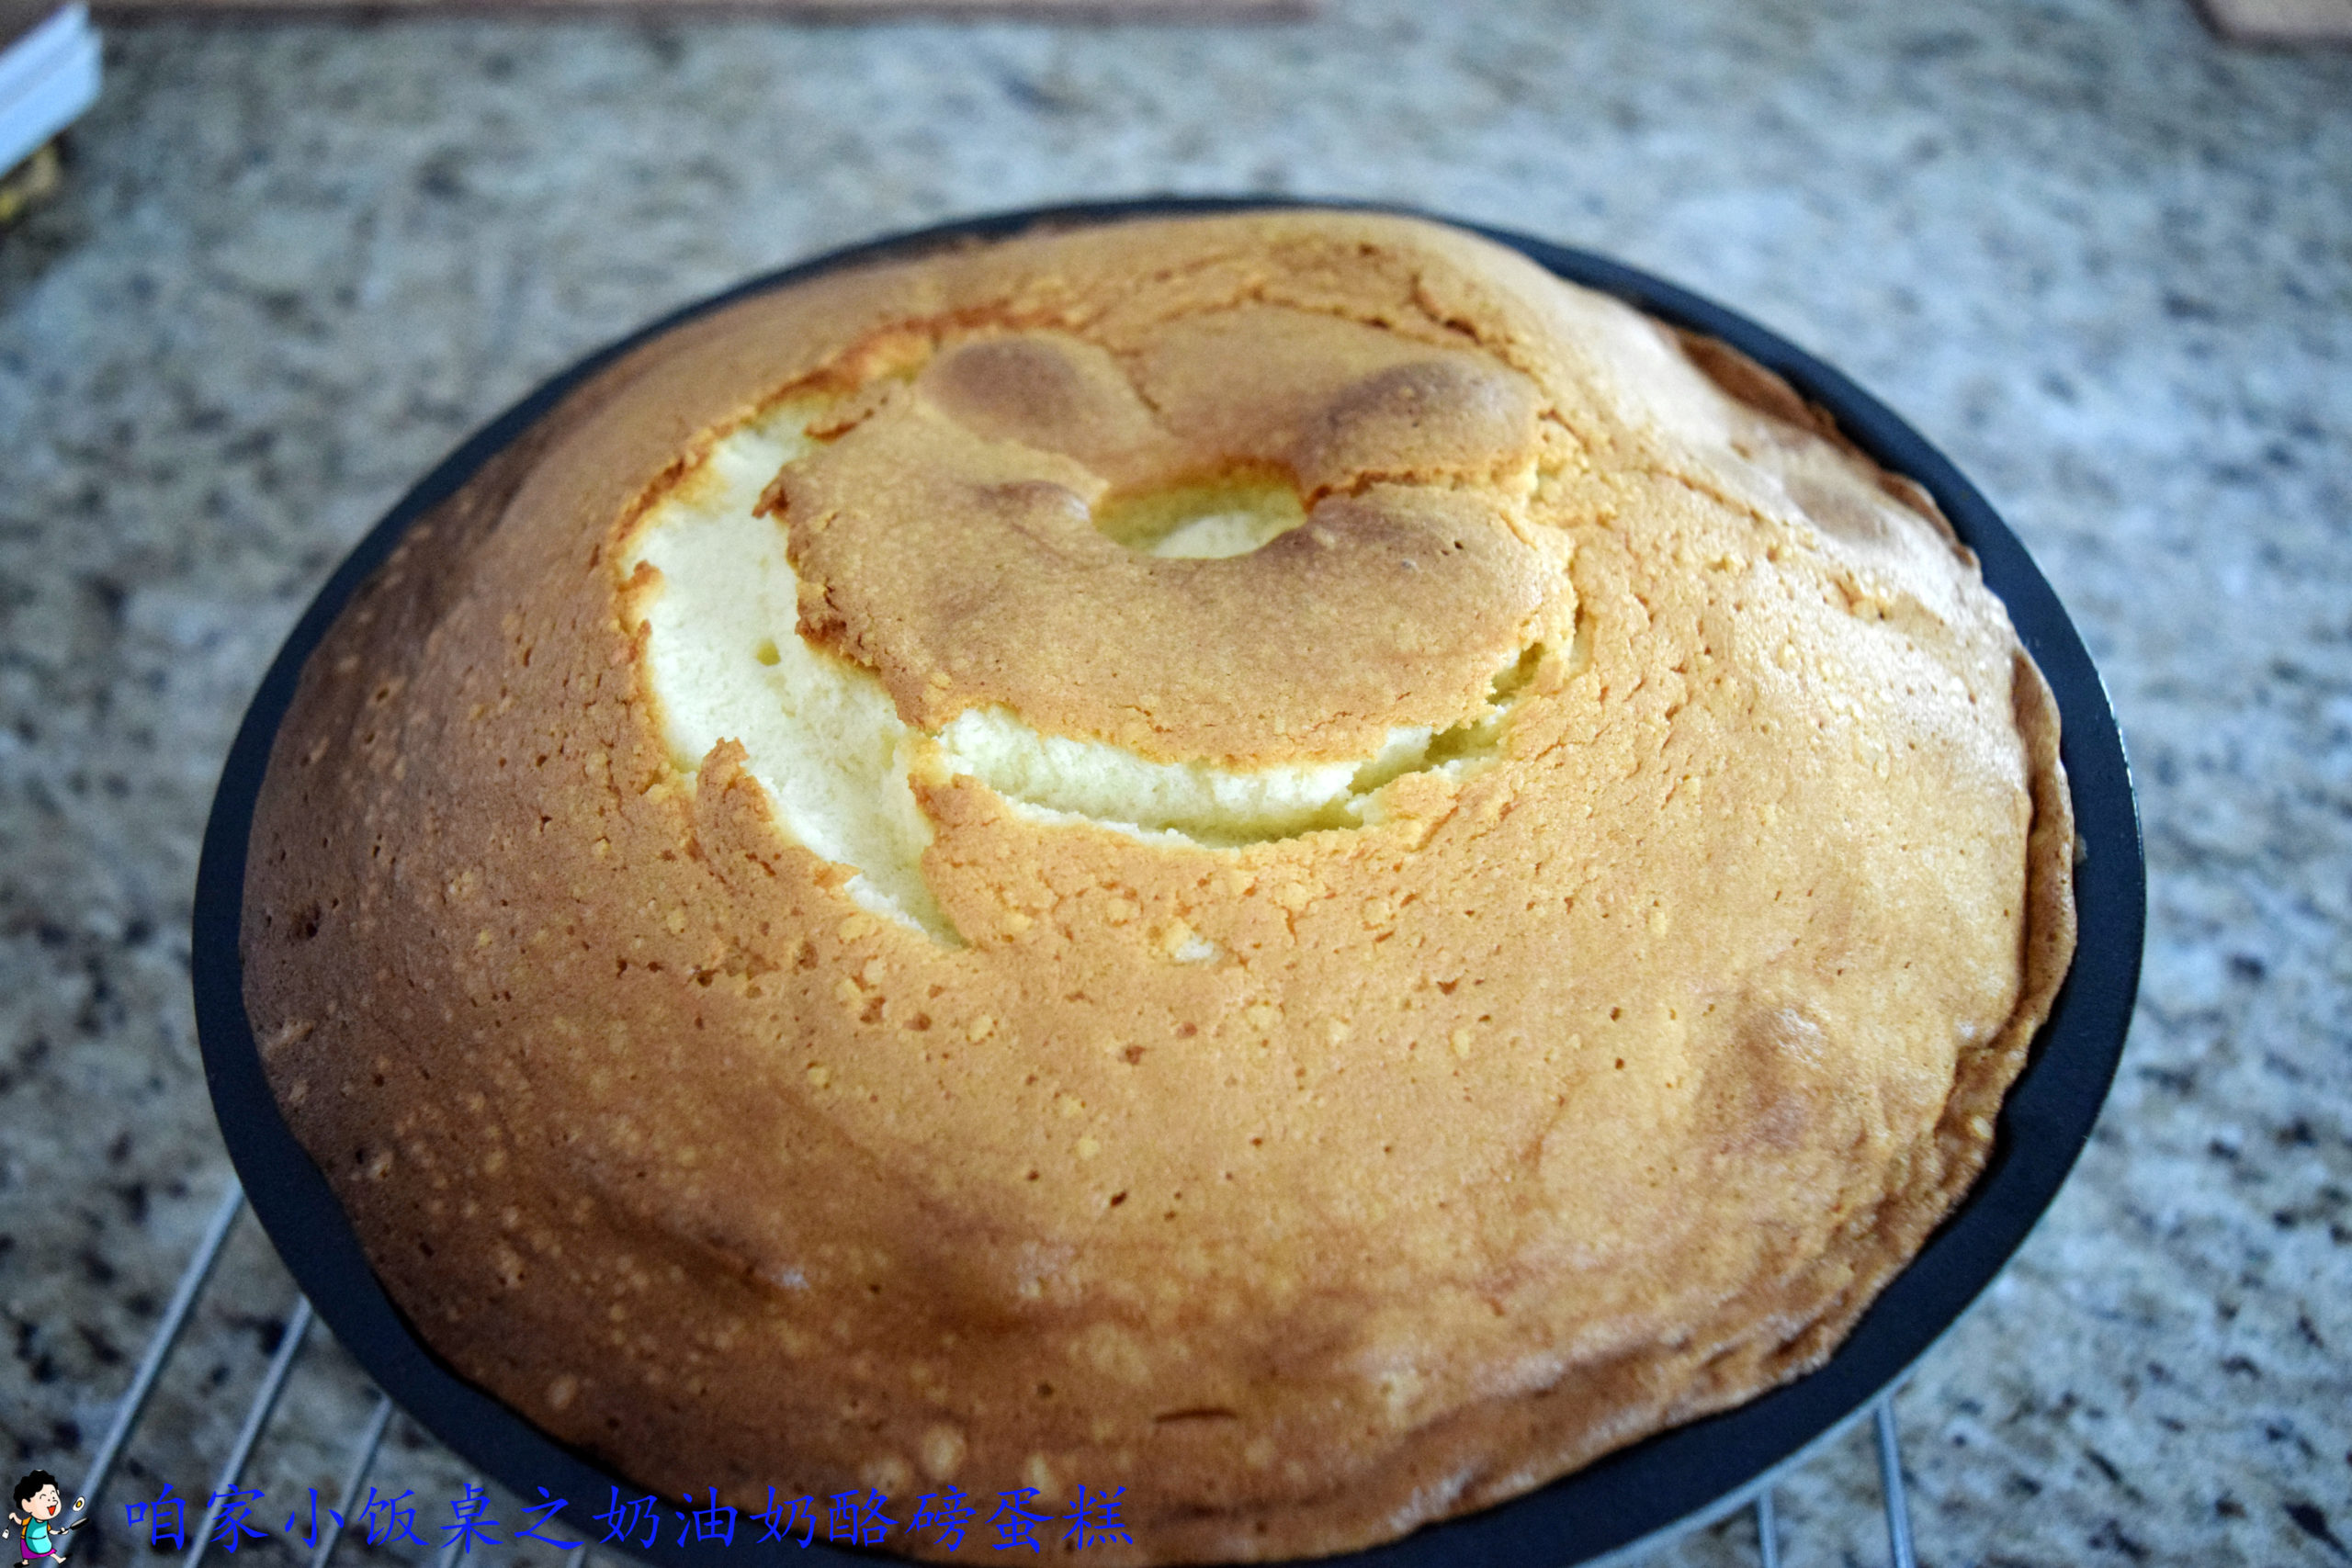
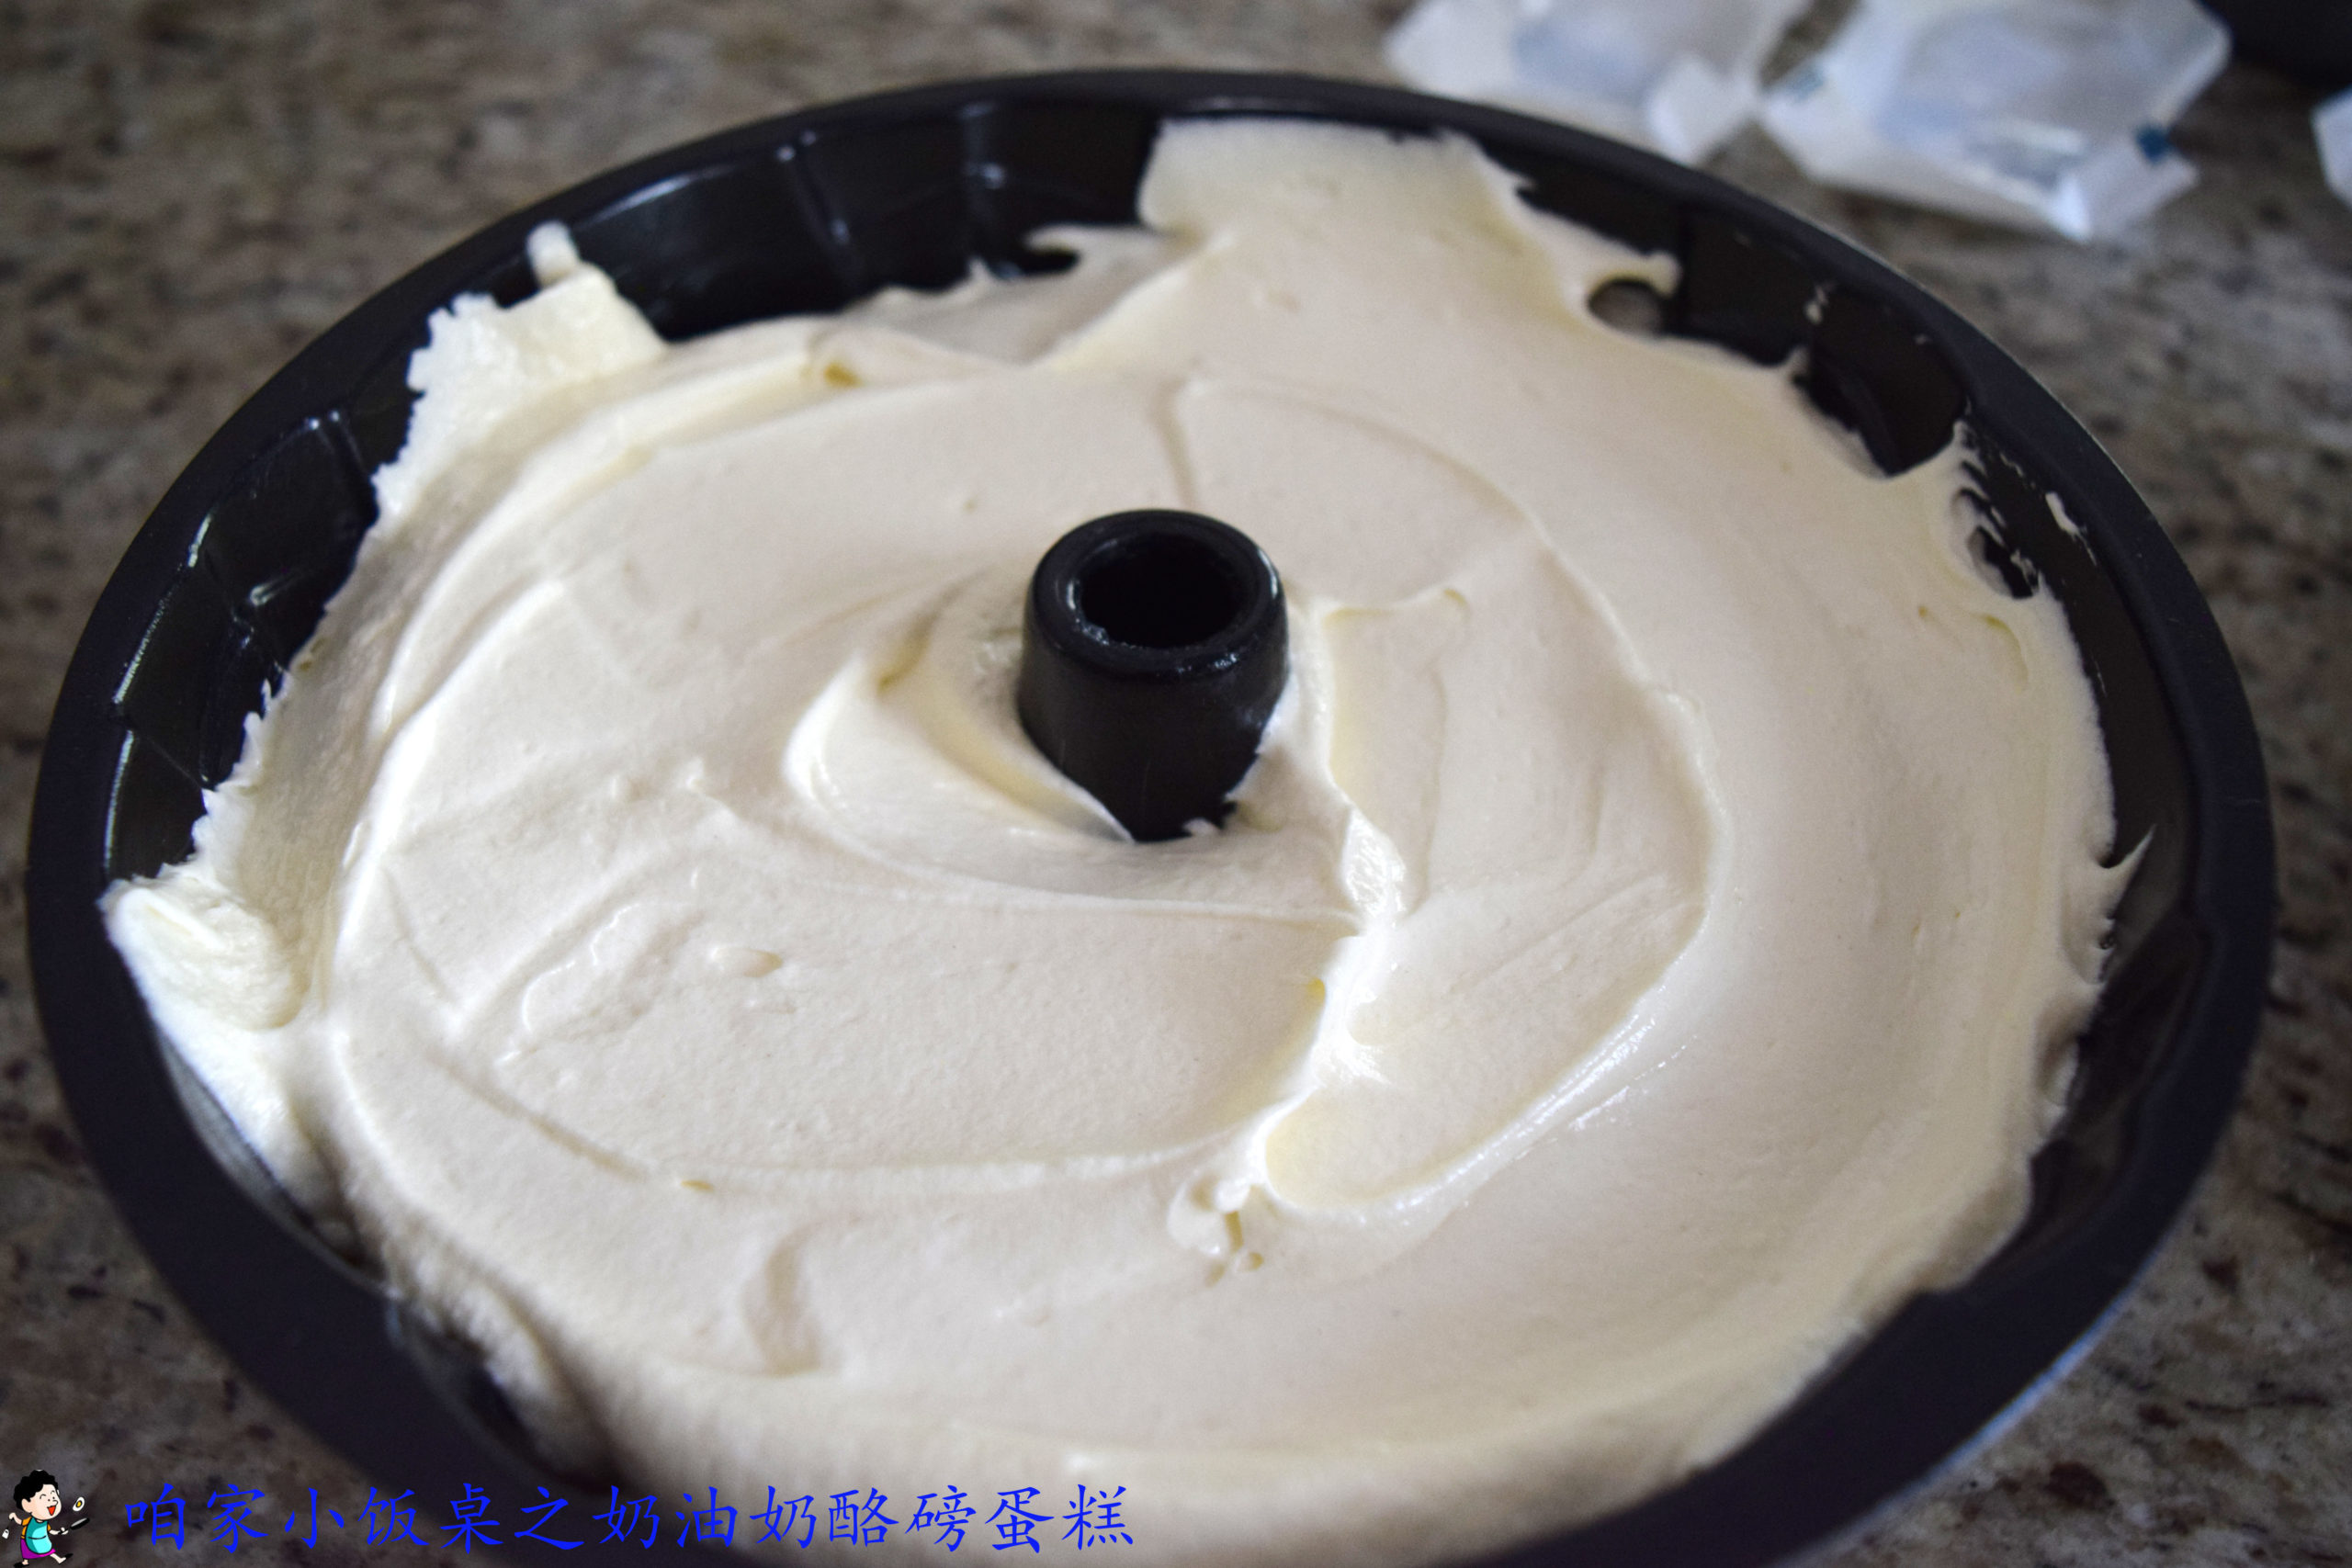
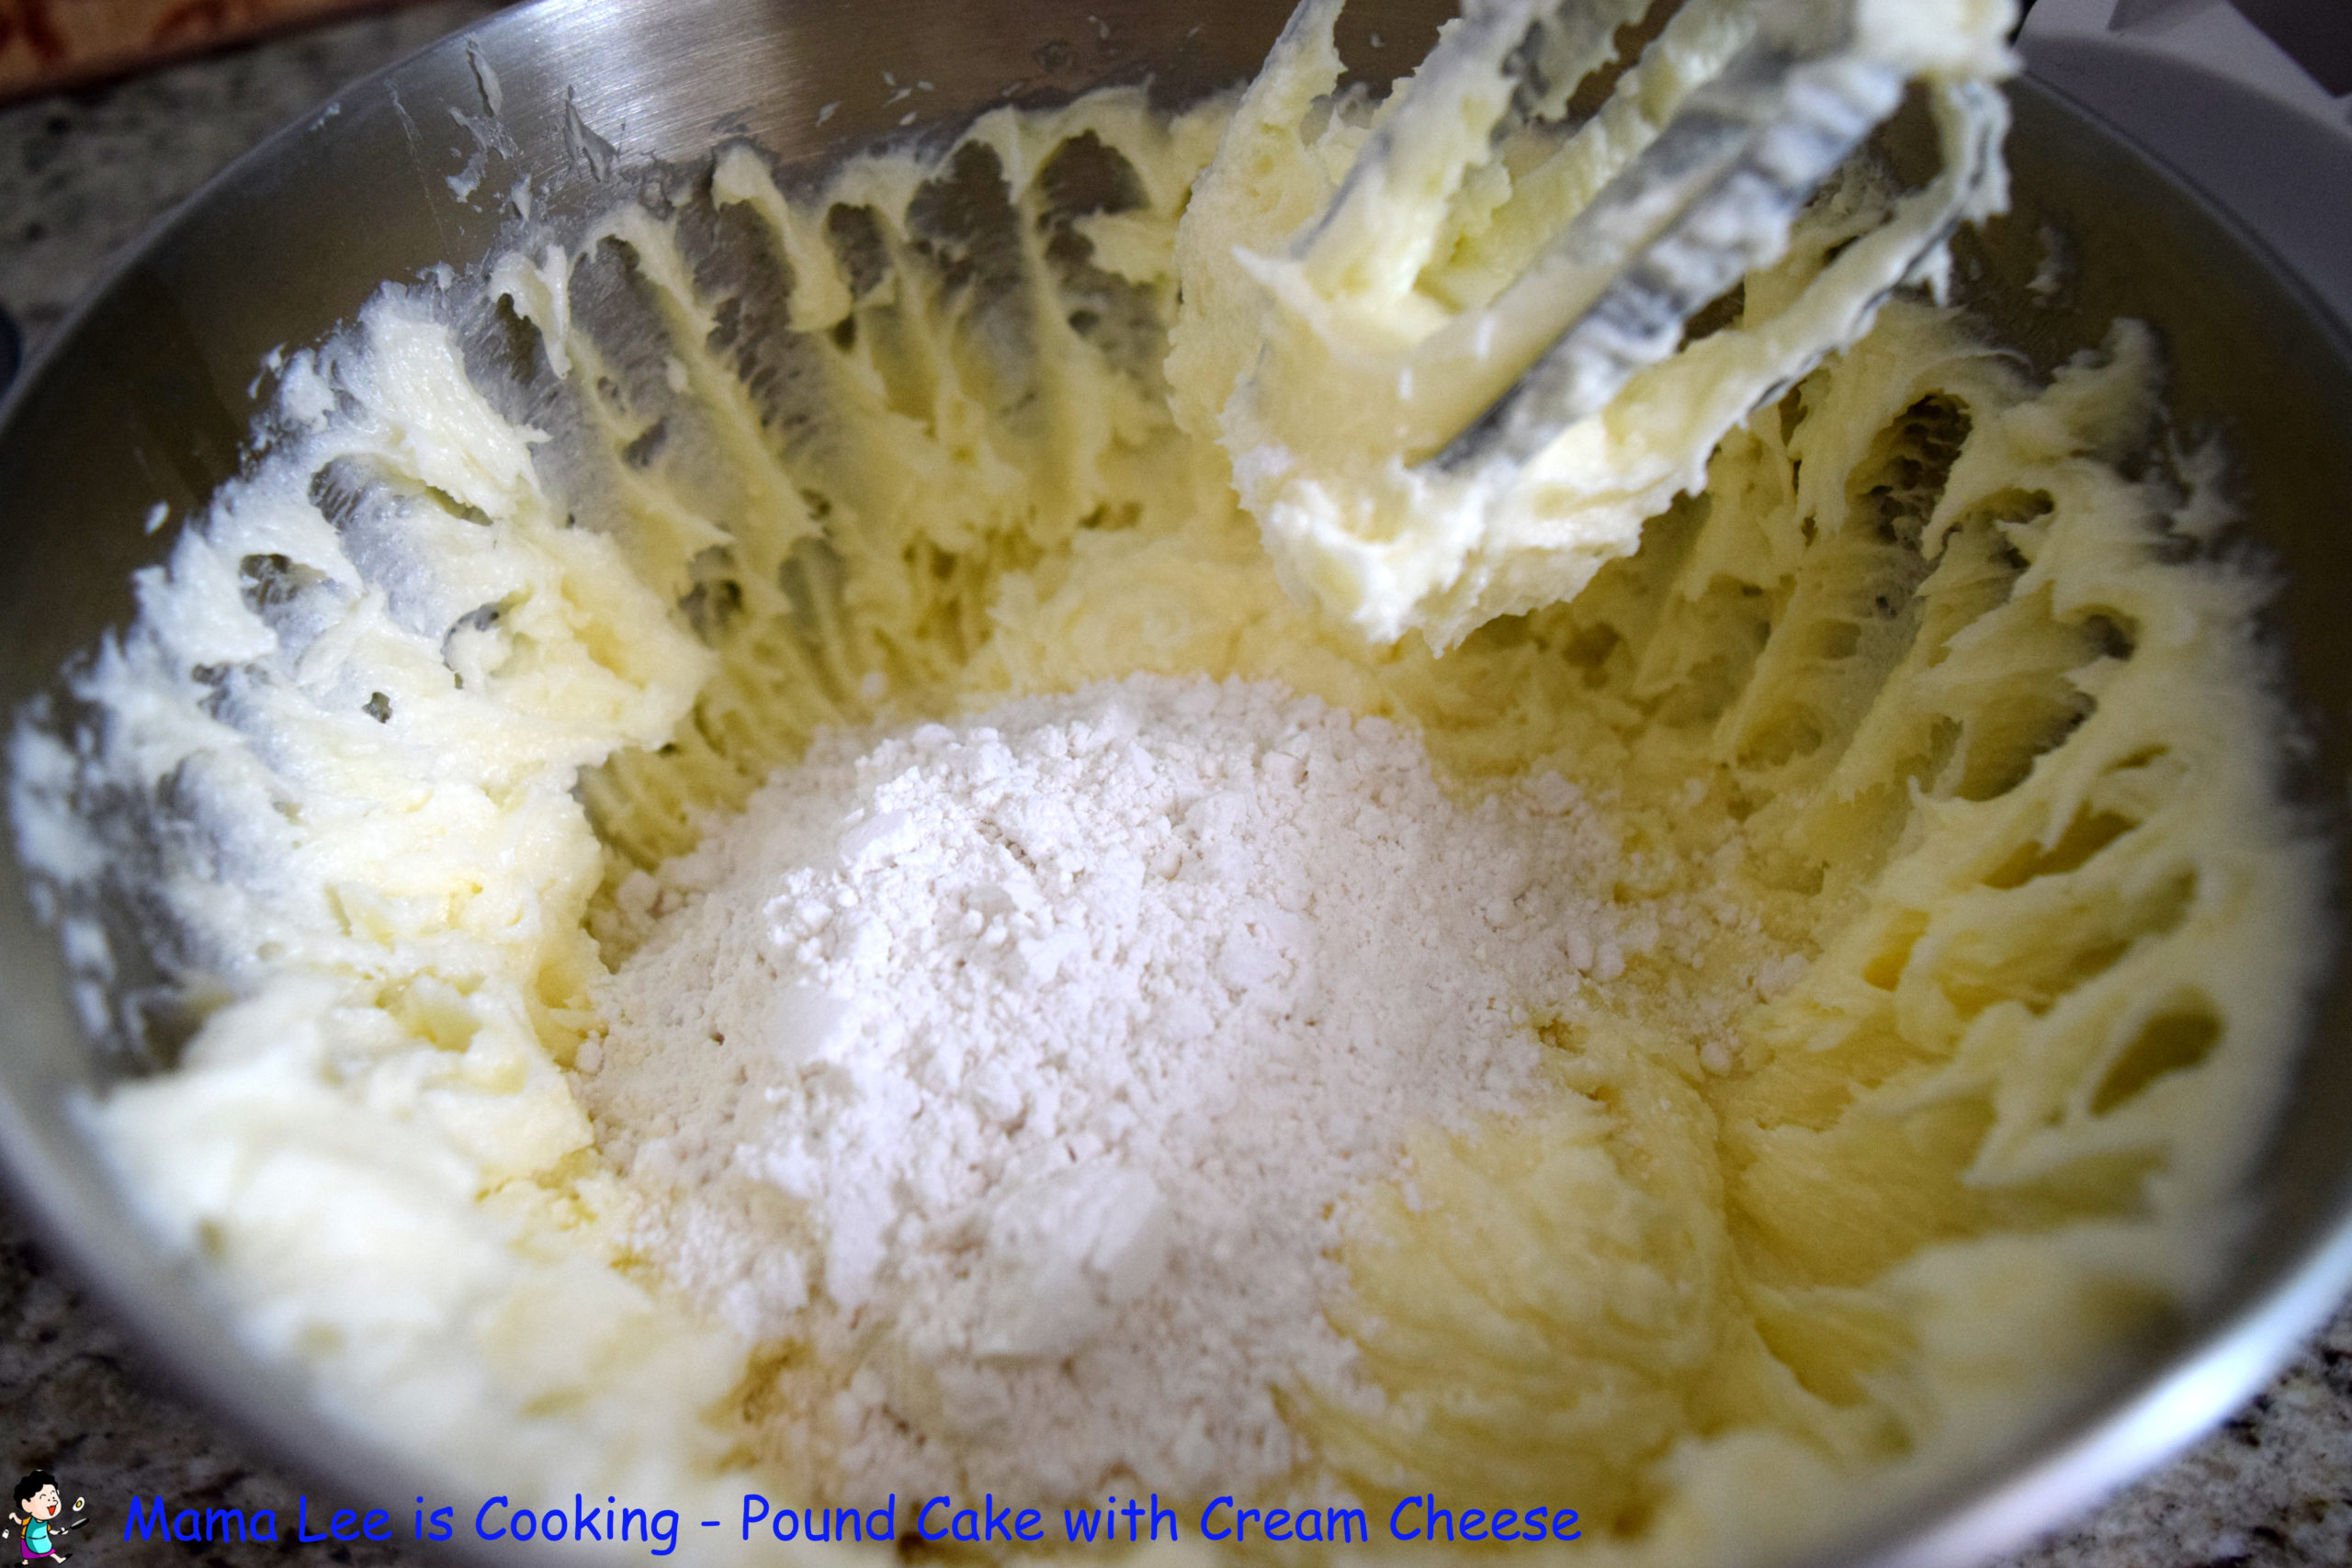
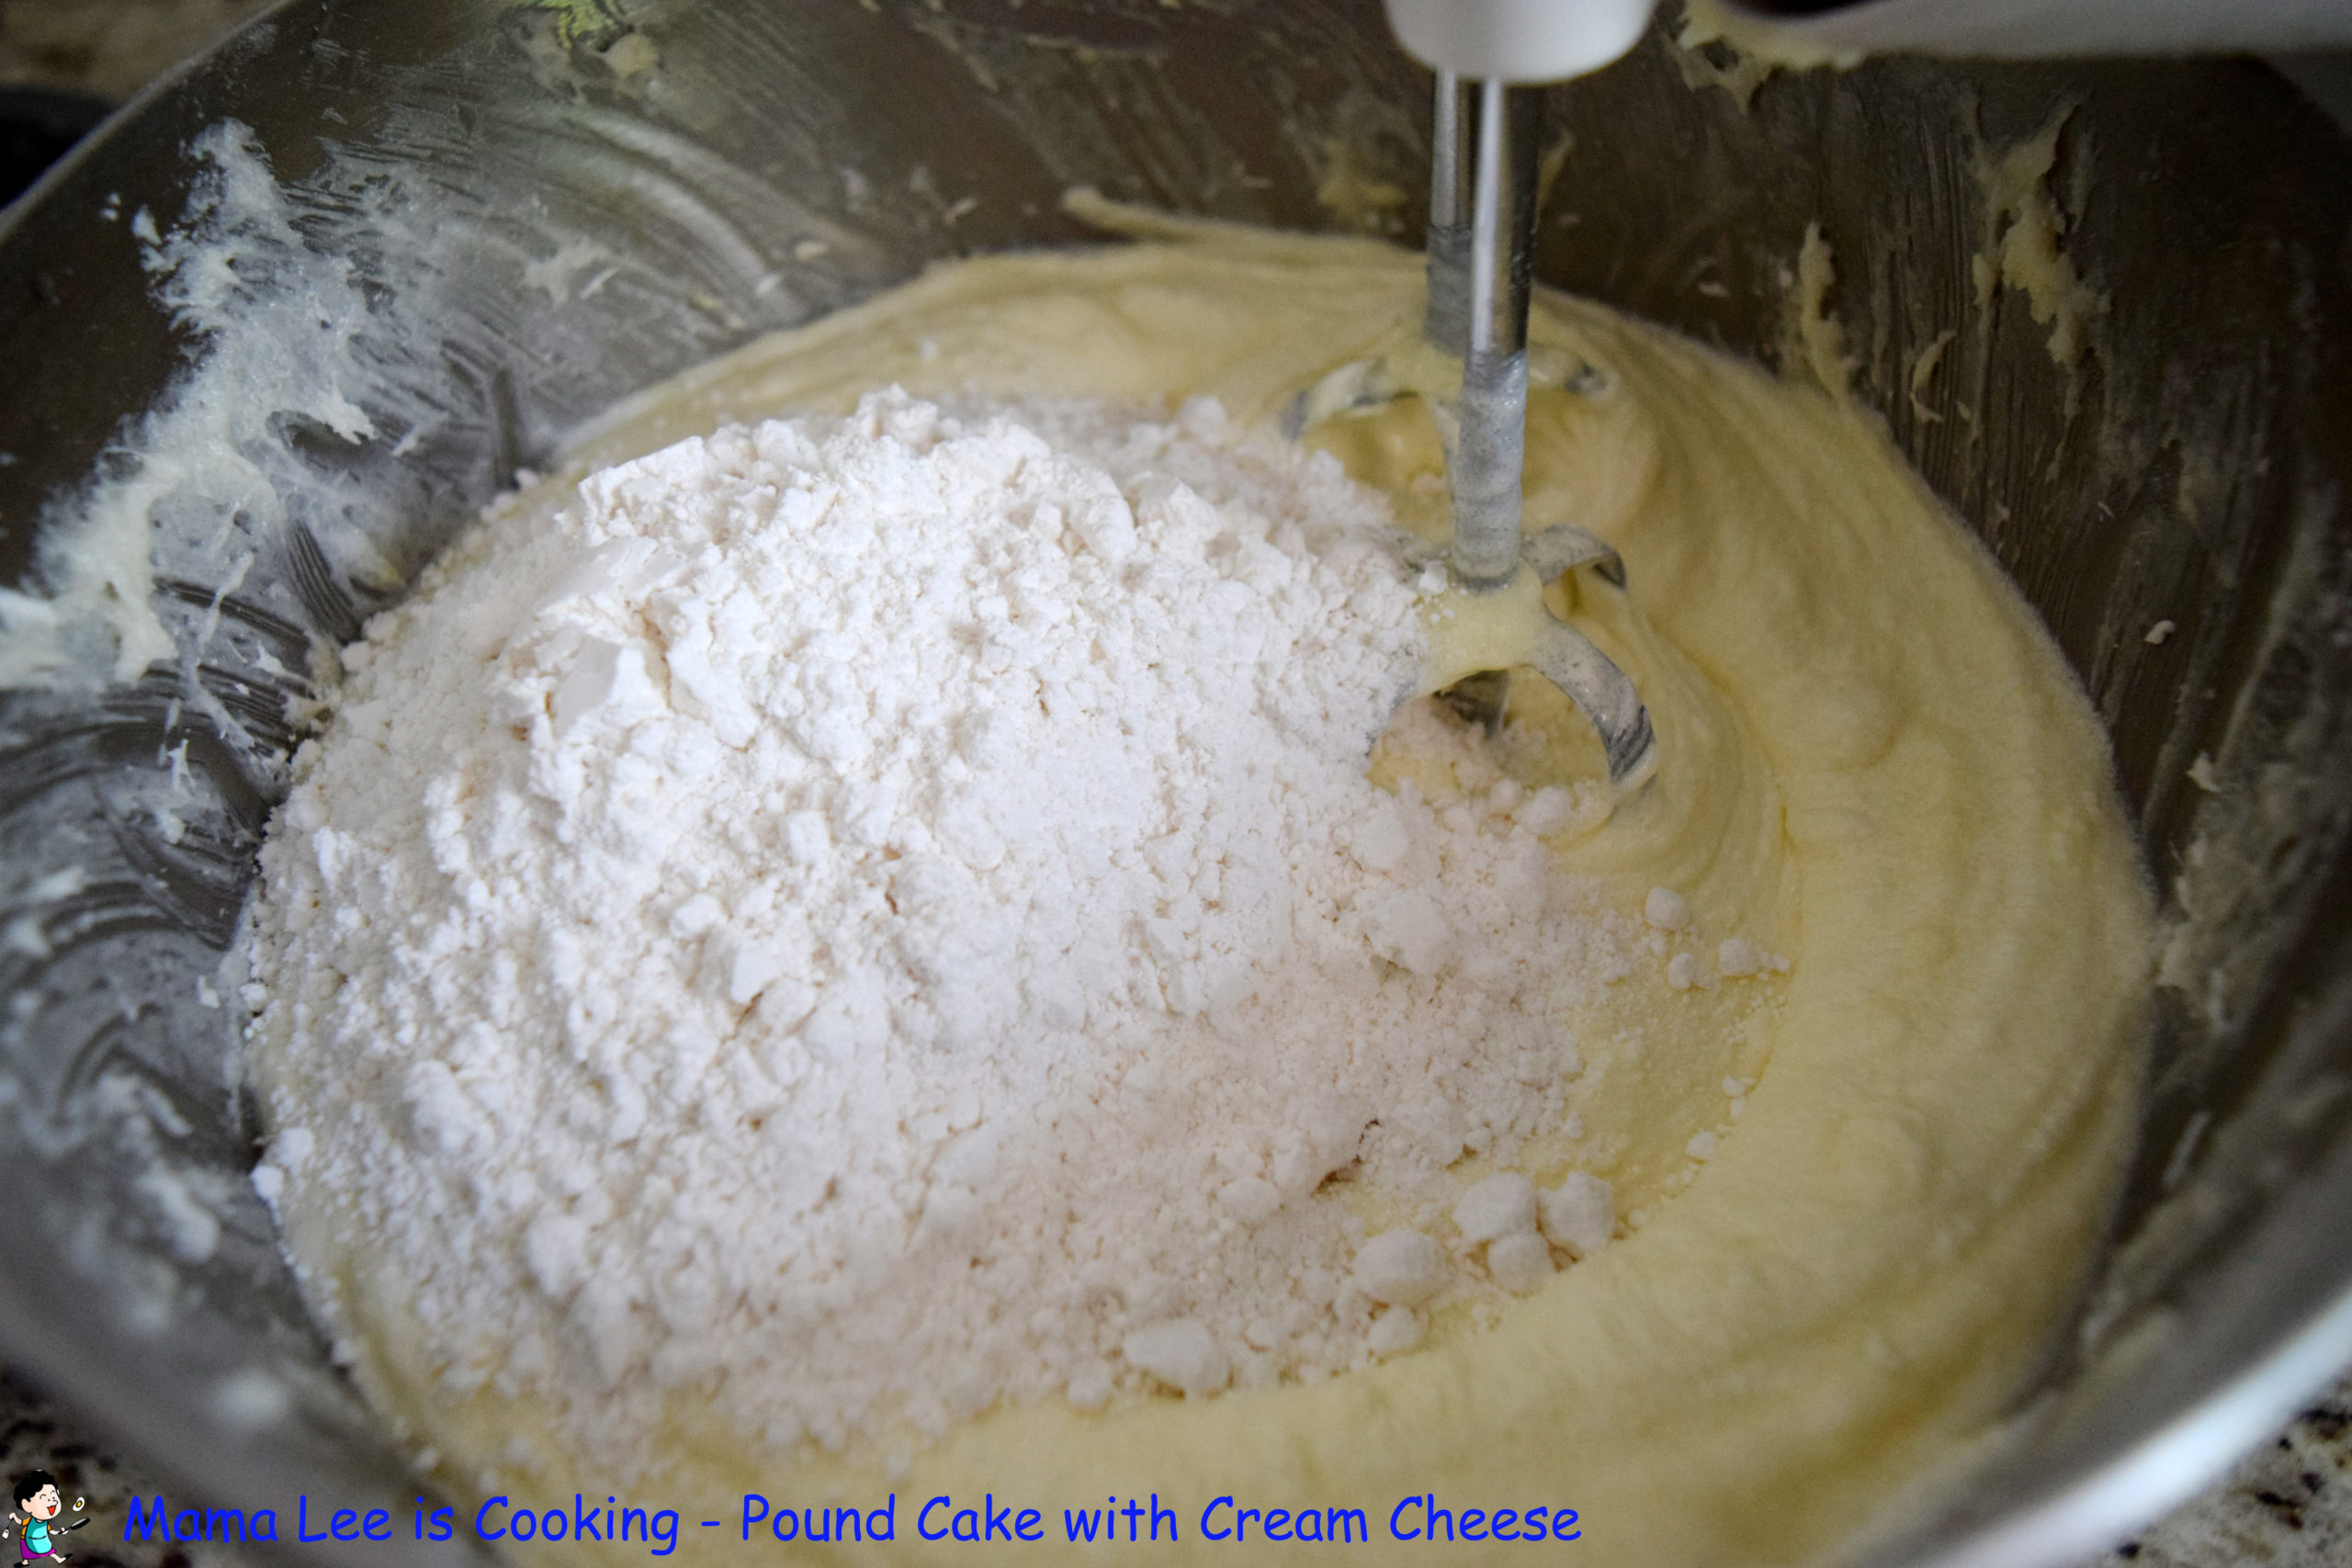
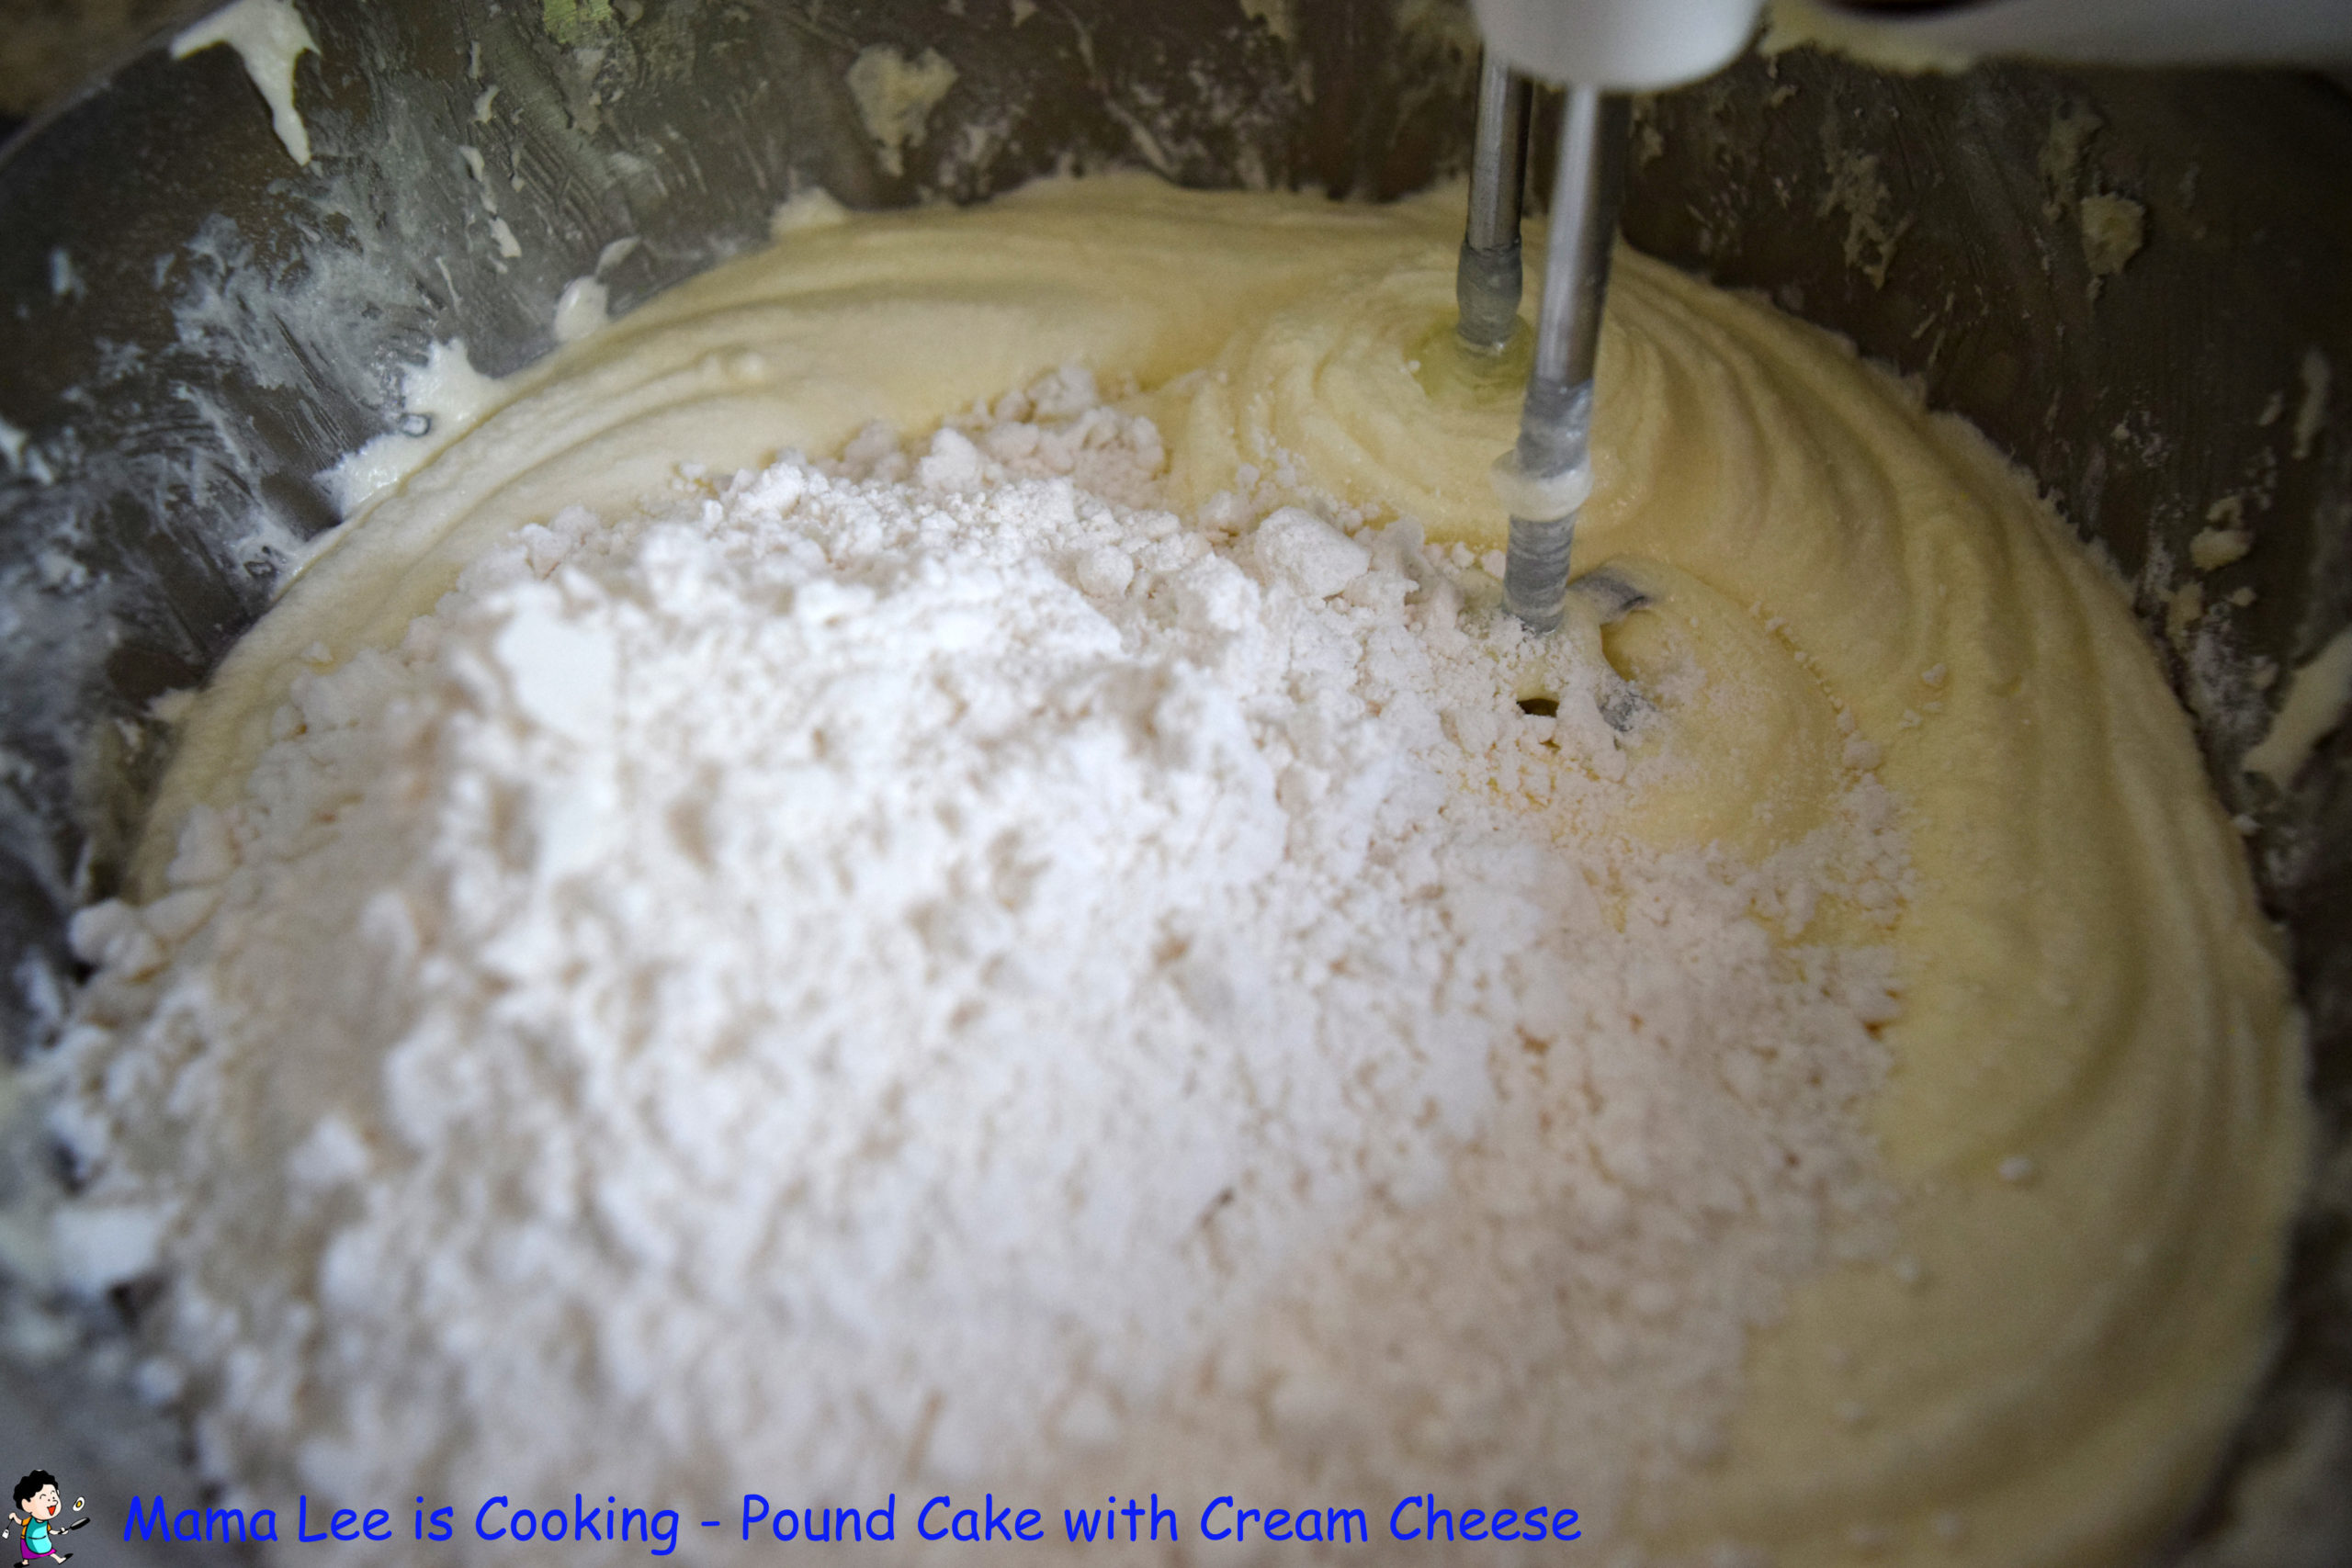
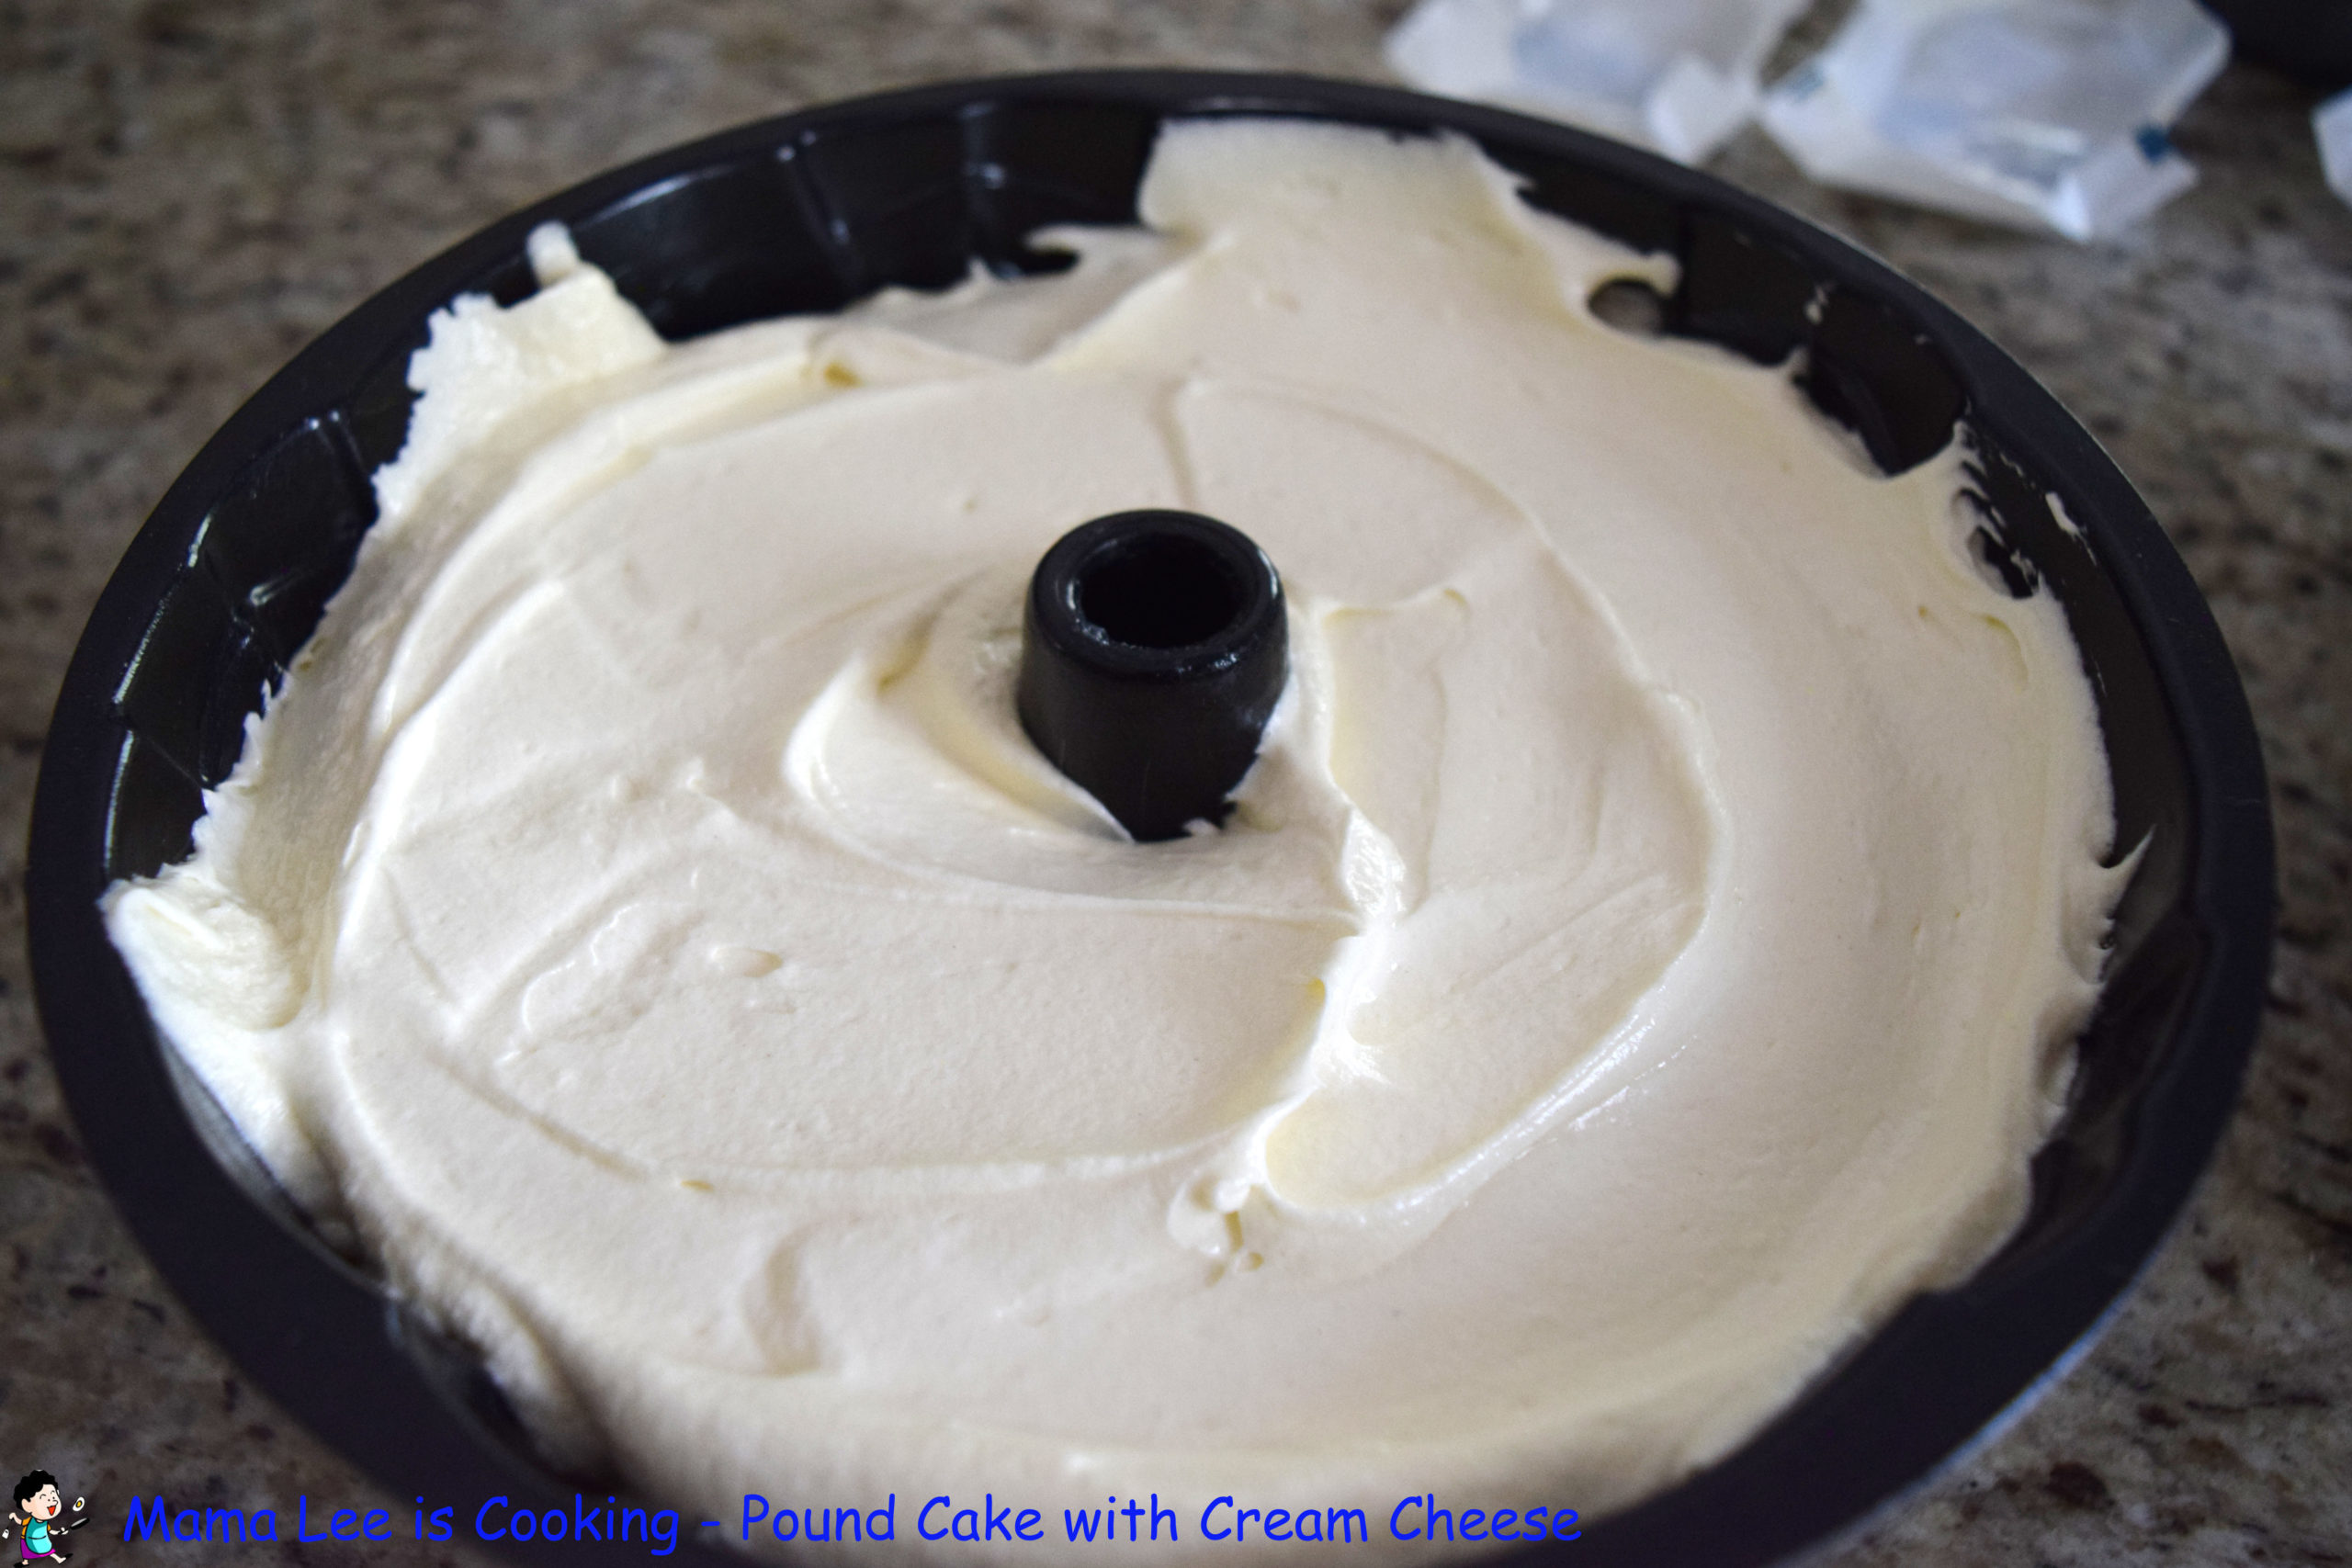
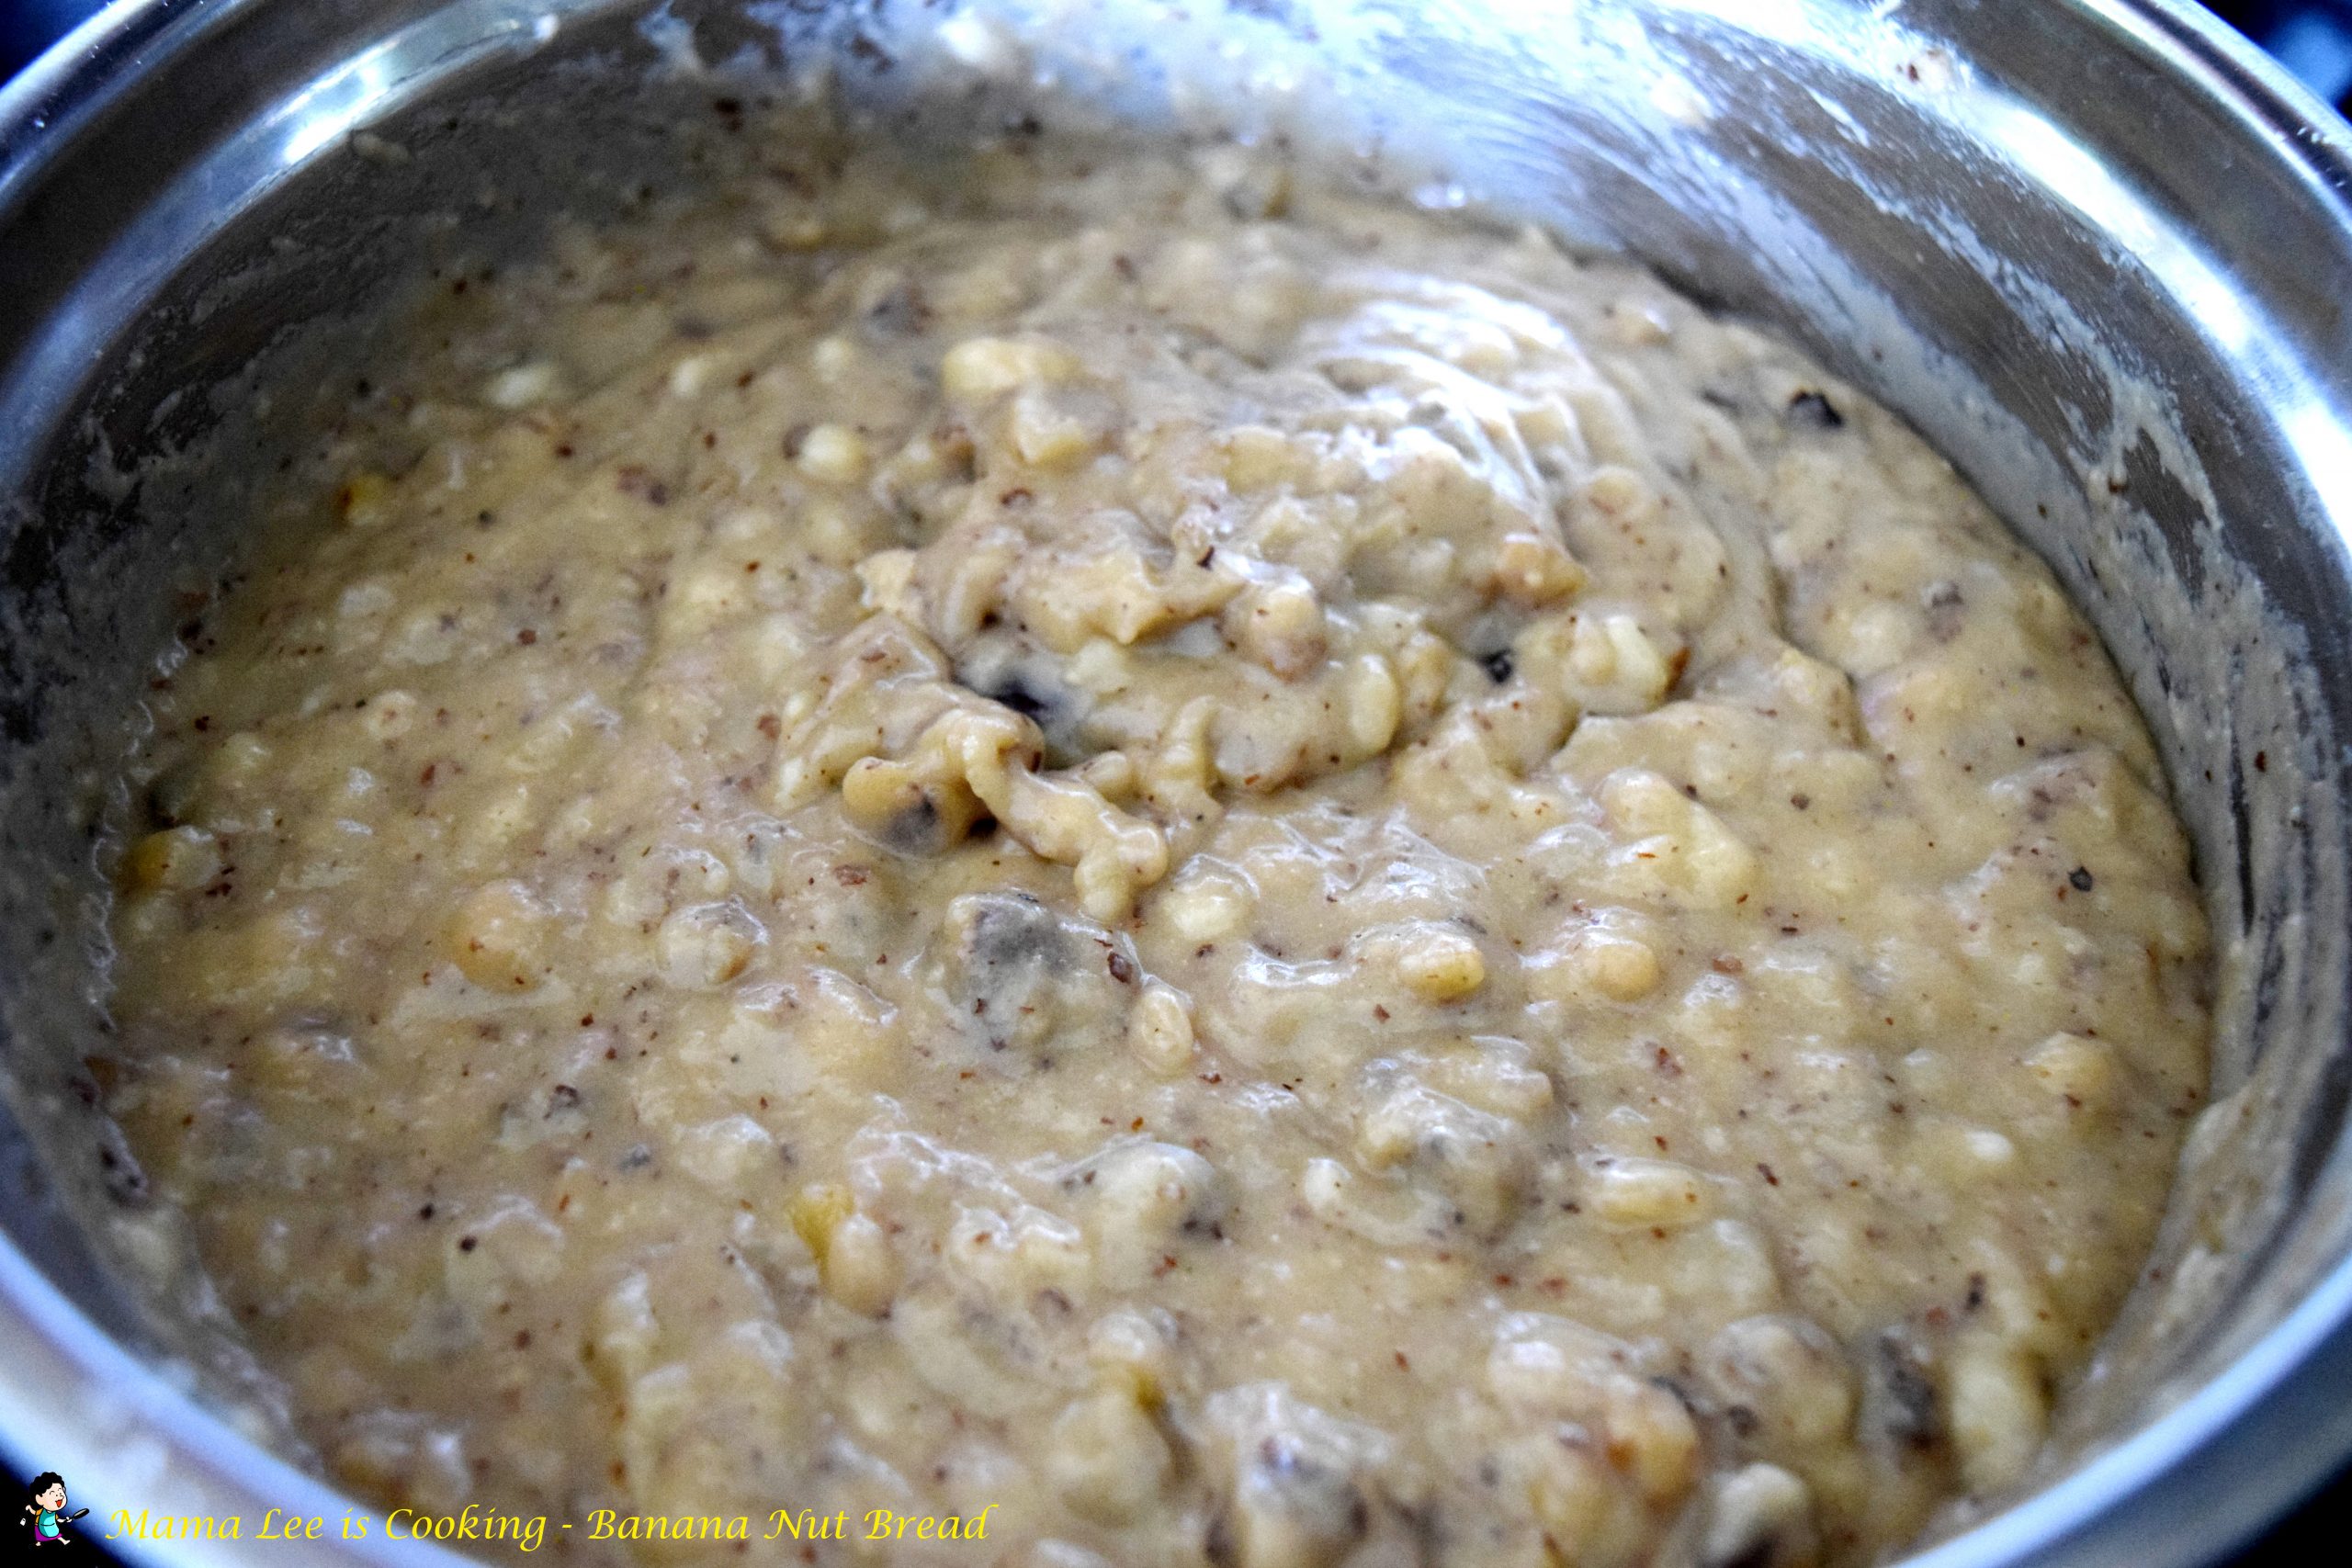
4. Add pancake mix and walnut into the mixture, mix smothly then pour into a greased baking pan, bake 
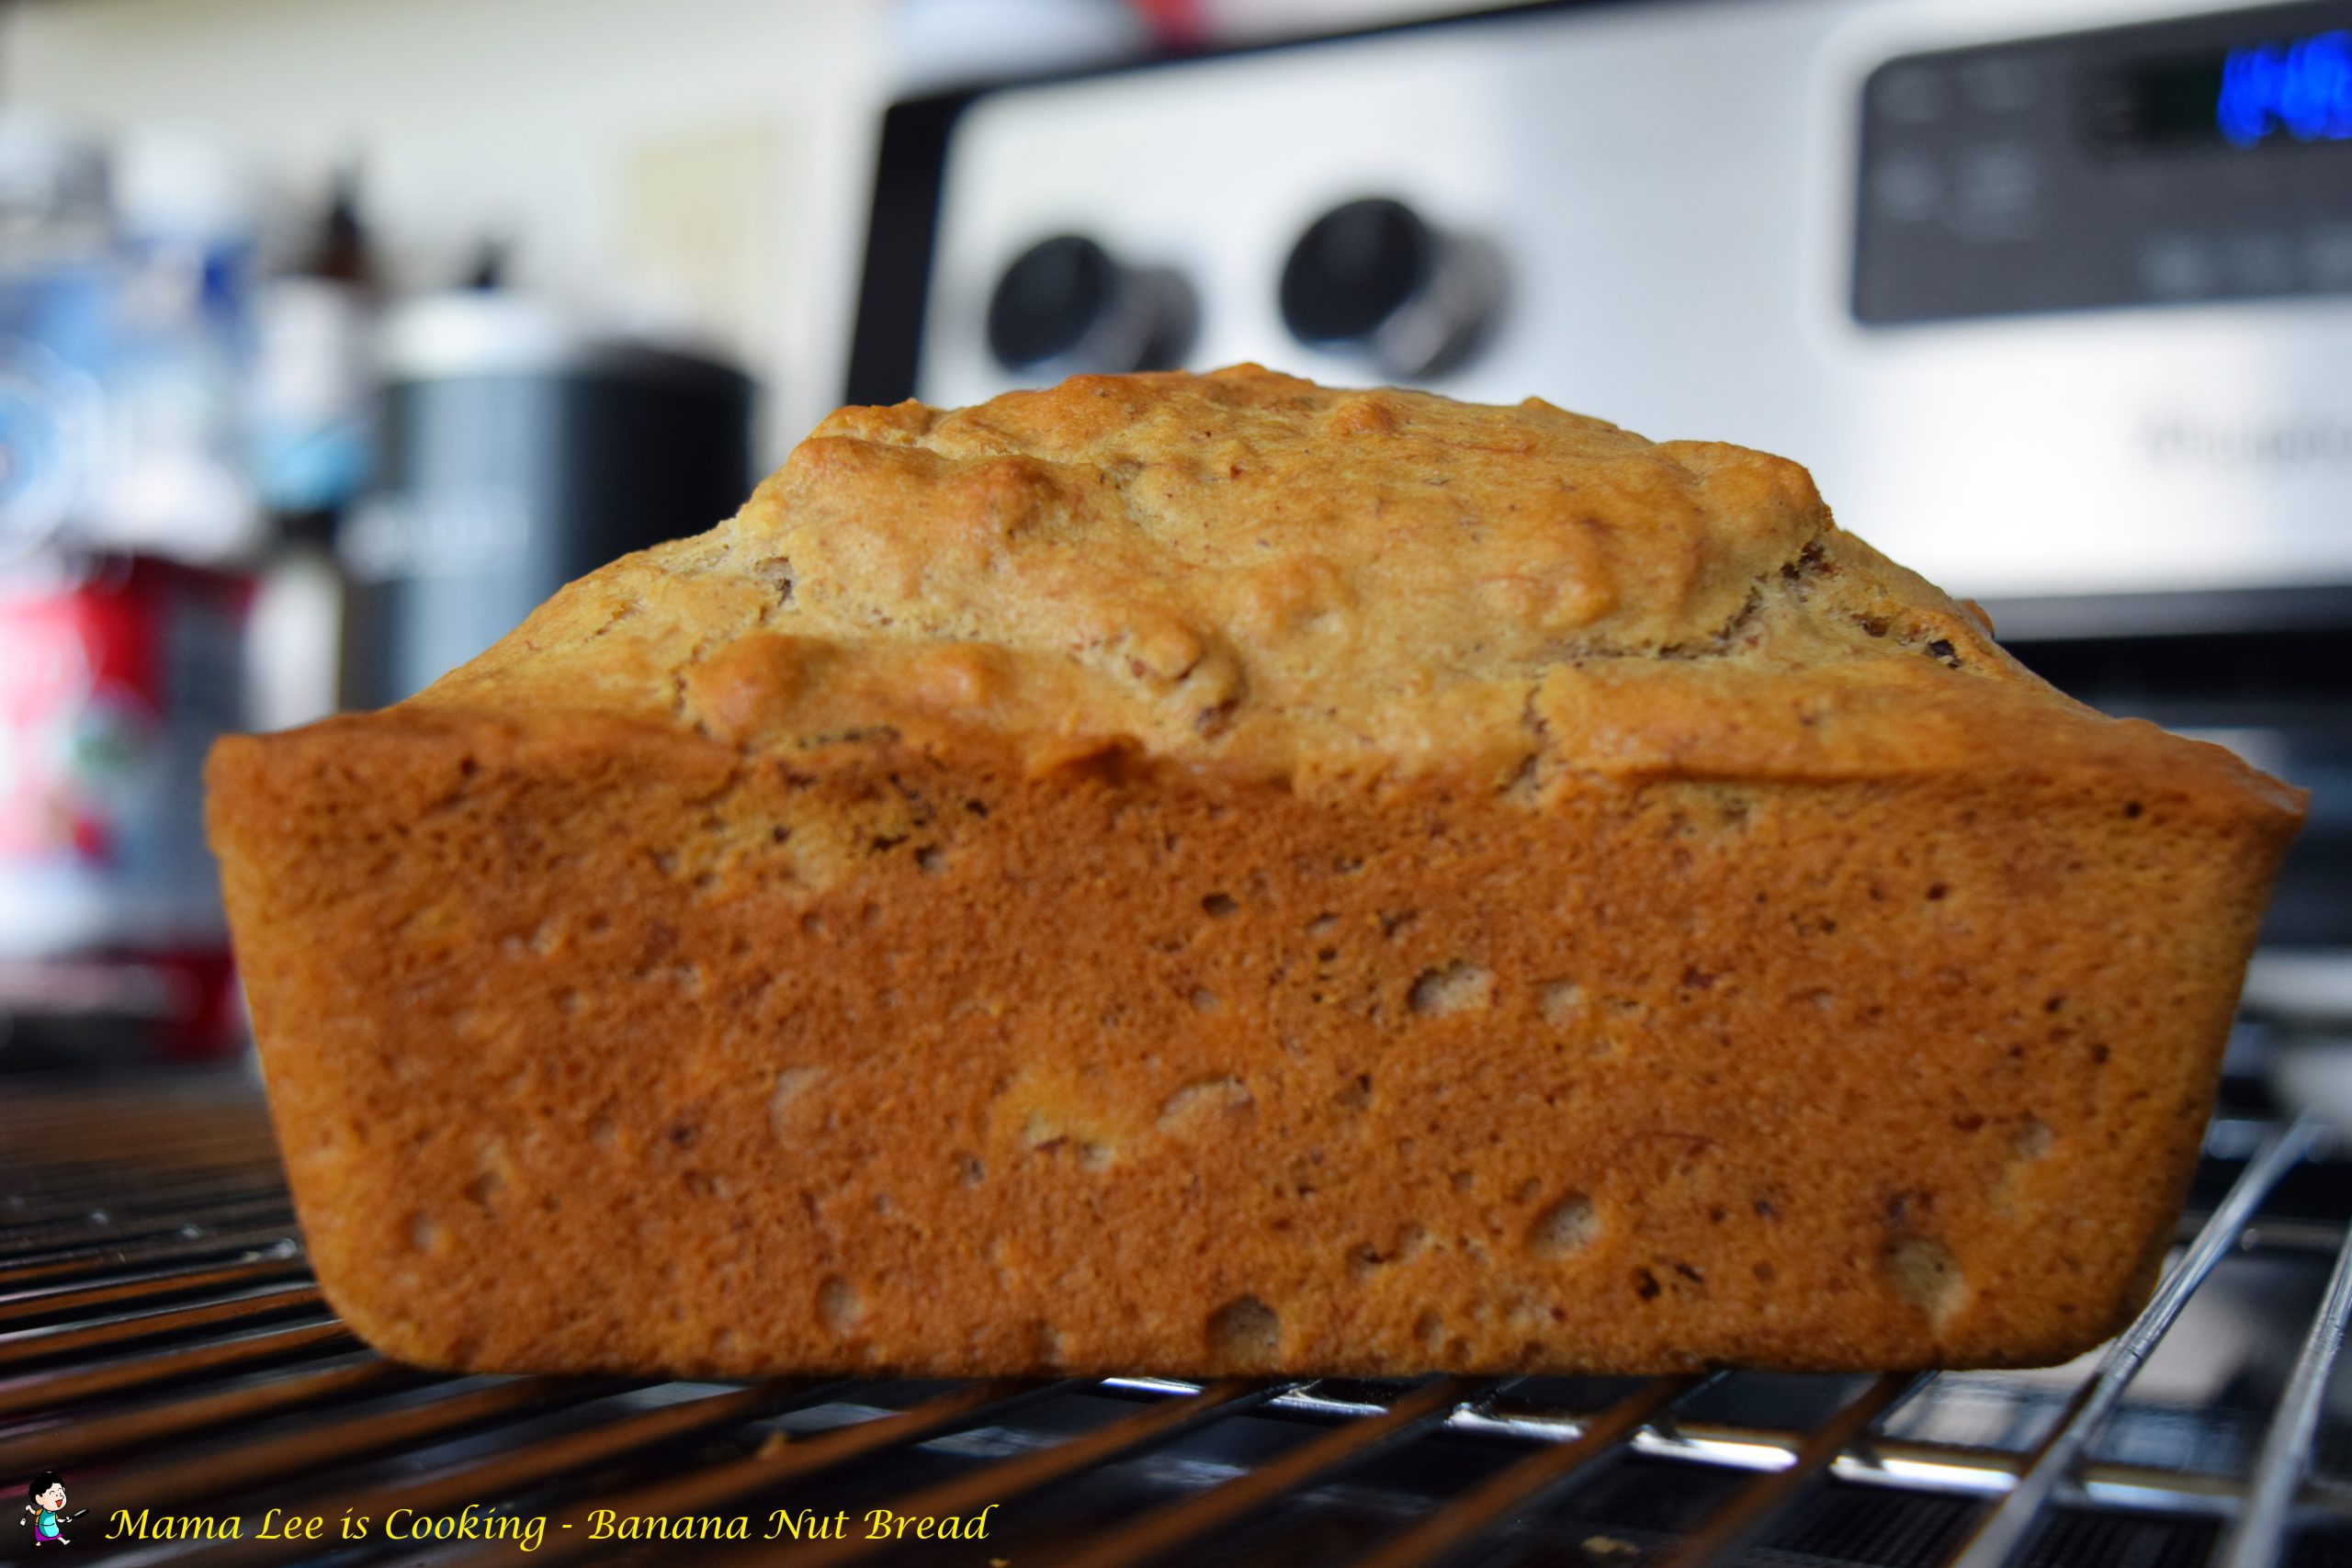
for about an hour, or until the tester comes out clean.

Since I used the smaller baking pan, I baked about 50 minutes.

The original recipe said that it needs a 8×4 loaf pan, I used two mini loaf pan, so the bread would be smaller, and easier to store.

奶油蛋糕卷

这款蛋糕卷是我最近的偏爱。做起来不费事,个头可以随意,好看又好吃,实在是没法不爱。

材料:

蛋糕:4 个室温鸡蛋、3/4 杯蛋糕粉、3/4 杯白糖、50 克食用油、1.5 茶勺泡打粉。

夹馅:淡奶油、草莓

11×17 烤盘、烤盘纸、厨房薄巾、糖粉


做法:

1. 烤箱预热 375 华氏度。

2. 烤盘底部轻喷一层防沾油,然后铺上烤盘纸,角落的地方剪开一个小口折叠,确保烤盘纸贴合烤盘底部和四周。

3. 把鸡蛋的蛋白和蛋黄分开,蛋白和半杯白糖一起打发,直到蛋白起泡呈固态。

4. 把蛋黄和剩余的白糖一起打发,直到蛋黄液颜色变淡。


5. 蛋糕粉和泡打粉搅拌均匀,和蛋黄液一起拌匀,然后加入食用油搅拌均匀。

6. 分三次把蛋白液拌入蛋黄液,每次搅拌均匀之后再加入新的蛋白液。

7. 把蛋糕糊倒入烤盘,抹平表面,放入预热好的烤箱烤至表面金黄,大概 12-15 分钟。

8. 烤蛋糕的同时,把厨房巾摊平,上面撒一层糖粉备用。

9. 蛋糕烤好之后,马上拿出烤箱,放在准备好的布巾上面,小心撕去烤盘纸,用剪刀剪去四边,和布巾一起把蛋糕卷起来直至放凉。


10. 等待蛋糕放凉的时候,需要打发淡奶油。打发好之后,分出一部分用来装饰蛋糕表面。

11. 分出一些草莓,切成小碎块,和准备做夹馅的淡奶油拌在一起。剩下的草莓切成喜欢的形状用来装饰蛋糕表面。


12. 蛋糕放凉之后,把蛋糕卷摊开,上面均匀铺上一层草莓奶油糊,再重新卷起来,同时把布巾和蛋糕分开。

13. 把蛋糕卷切成需要的长度,横放,涂上淡奶油,再放上草莓装饰就可以开吃啦!


Swiss Roll with Whipping Cream and Strawberry

I fall in love with this cake roll, or you can call it swiss roll. It’s not too sweet, and it’s not too hard to make, and you can cut it into bite size so you won’t feel too guilty when serving and eating.

Ingredients:

cake: 4 eggs (room temperature), 3/4 cup cake flour, 3/4 cup sugar, 50g vegetable oil, 1.5 teaspoon baking powder.

ingredients for rolling cake: sugar powder

topping: whipping cream, strawberry.


Methods:

1. Preheat oven to 375°F.

2. Lightly grease the 11×17 baking pan with baking spray, then line parchment paper at the bottom of the baking pan, make sure the parchment paper is big enough to cover all the sidewalls. Cut the four corners and fold neatly so the parchment paper would fit the pan.


3. In a large mixing bowl, beat the egg whites with 1/2 cup of sugar on high speed until stiff peaks form.

4. In another mixing bowl, combine the egg yolks, remaining sugar. Beat on high speed until light and fluffy.

5. Sift the flour, then mix with baking powder. Pour the flour mixture into egg yolk mixture, beat on low speed to mix well.

6. Pour vegetable oil into the mixture, and mix well.

7. Fold the egg whites into the egg yolk mixture in 3 parts, until no white streaks remain.

8. Pour the batter into the prepared baking pan and smooth into an even layer. Then put into oven to bake until golden brown, about 12-15 minutes.


9. While cake is baking, lay out a clean smooth kitchen towel on countertop and dust with powdered sugar.

10. Right after the cake come out of the oven, Immediately flip the cake out onto the dusted kitchen towel and carefully peel off the parchment paper and discard. With a pair of scissors, trim the edge off the cake, then roll up the cake from long/short end with the towel into a tight log.

11. Keep the cake roll up until the cake compeletely cool off.


12. While cake is cooling, pour whipping cream into a mixing bowl, and start beating on low speed, increase the speed as the cream get thicker, until forming soft peaks. Scoop some cream out for topping, leave the rest for filling.

13. Chop some strawberry into small pieces, mix with whipping cream filling.

14. Slice strawberry into the shape you like for topping purposes.

15. After the cake cooled off, unroll the cake, Spread the whipped cream in an even layer over the cake. Using the towel to help, roll the cake back up into a log, peeling the towel back off the cake as you roll.

16. Slice the rolled cake into the desired width, cover with whipping cream then sliced strawberry.

椰糖南瓜羹


第一次在朋友那里吃到这个南瓜羹的时候很是惊艳了一回。我从来没想过普普通通的奶油南瓜可以做出如此的美味。心心念念了很久,终于忍不住诱惑尝试了一回。 


材料:

奶油南瓜,椰糖 (palm sugar)。

步骤:

1. 小锅加水,烧开之后放入两块椰糖,等椰糖完全溶化之后,静置放凉。

水不必很多,如果太多,南瓜羹做出来很比较稀,我个人喜欢比较浓稠一点的。

2. 南瓜洗净,切成两半,然后去籽,放进锅里,加水煮熟。

如果南瓜太大,可以切成小块来煮。

3. 煮熟的南瓜去皮,切块,放入搅拌机,加入晾好的糖水一起打成糊状。

糖水温热即可,不必完全放凉。

4. 把南瓜糊盛入碗中即可。

这个南瓜羹冷热都可以吃,我觉得一样的美味。 


Squash Soup with Palm Sugar

I don’t cook much of butter squash. Back a while ago, one of my friends cooked this, and it tasted really good, better than I thought. So, I decided to try it myself.

Ingredients:

butter squash, palm sugar

Methods:

1. Add some water into a small sauce pan, bring to boil, then add palm sugar into the pan, stir occasionally, until palm sugar melt completely. Set pan aside until it cool off.

Palm sugar comes as a half ball shape. To cook a whole butter squash, 2 pieces of sugar should be sweet enough.

You don’t want to add a lot of water, because you want the soup to be thick.

2. Clean the butter squash, then cut it into half, clear the seeds out, then put it into a bigger pan, cover with water, bring to boil, then simmer until butter squash got tender and fully cooked.

You can also cut the butter squash into chunks.

3. Peel the buter squash, chop into chunks. Then put cooked butter squash into a blender.

4. Pour the palm sugar water into blender, blend until it’s smooth and no big pieces.

5. It’s now ready to serve.

酸辣土豆丝

前段日子和同事去中餐馆吃饭,意外的发现餐馆推出了酸辣土豆丝。一位嗜辣的同事点了这道菜,觉得很好吃。所有的美国同事都说以前没见过,更没吃过这道菜。

材料:

土豆,青红辣椒,白醋,调味料。

我最近喜欢上了黄土豆,所以这次用的是黄土豆。

步骤:

1. 土豆削皮,然后切丝。用清水冲净土豆丝表面的淀粉,沥干水分待用。

2. 辣椒洗净切丝。

辣椒籽是辣味的主要来源。所以如果不喜欢菜太辣,可以把辣椒籽去掉一部分。我一向不太喜欢保留太多辣椒籽,因为我觉得影响口感,也影响卖相。

3. 炒锅倒油烧热,倒入土豆丝略翻,让土豆丝均匀的挂上油,然后倒入白醋,翻炒均匀。

醋是土豆丝保持爽脆口感的关键,而且醋一定要在土豆丝变软之前加。

4. 等土豆丝略微出现透明的时候,倒入切好的辣椒丝,继续煸炒。同时按自己的口味加入调味料。

我一般会加盐、一点点糖、白胡椒粉和一点蒜粉。

5. 等土豆丝完全成熟就可以出锅了。

如果觉得煸炒时间太长,可以略微加一点点水焖一下,这样土豆丝会成熟的快一点。

Spicy and Sour Shredded Potato

Back a while ago, I went to a Chinese Restaurant with some American colleagues. The restaurant serves ‘spicy and sour shredded potato’. This is a very popular dish in China, but my American colleagues said they never heard this or had before. I hope this recipe can help anybody who likes spicy dishes.

Ingredients:

potatoes, green and red cayenne peppers, white vinegar, seasoning to taste.

Methods:

1. Clean potatoes and peppers, peel potatoes then shred. Rinse with water, drain well.

2. Chop peppers into the proper size to match potatoes.

Pepper seeds are much more spicy than pepper. So you can control the spicy level some by how many pepper seeds you keep in your cooking.

3. Heat up the skillet with medium high heat, add cooking oil, then add shredded potato into skillet, stir quickly for a few second to let oil evenly coated on shredded potatoes.

4. Add white vinegar into skillet, stir quickly for a few minutes.

5. Add chopped peppers into skillet, stir until pepper get tender.

6. Add seasoning to your taste. Stir quickly. You can add a little bit water to help seasoning melt and mix quicker.

For seasoning, I normally use salt, pepper, a pinch of sugar.

7. When potato is fully cooked, it’s ready to serve.

奶油奶酪磅蛋糕

我对磅蛋糕不是特别喜欢,但是这款磅蛋糕是我的大爱。蛋糕质地细腻,入口香甜即化,而且不会觉得太油腻,实在是胜过其他磅蛋糕。

很多年过去了,但是我始终记得第一次吃到这款蛋糕时的惊艳。真的是一见倾心,再见倾情。这些年过去,我和这款蛋糕已经是难舍难分,每隔一段时间就要烤一次的,不然就思念不已。

材料:

黄油 12oz,奶油奶酪 8oz,鸡蛋 7 个,白糖 3 杯,蛋糕粉 3 杯,香草精 1.5 茶匙。

原配方里面用了 4oz 黄油,8oz 麦淇淋,不过我不喜欢麦淇淋,就全部换成了黄油。

中空烤盘一个。

做法:

1. 黄油、奶油奶酪和鸡蛋提前拿出冰箱,回温至室温。

2. 黄油、奶油奶酪、鸡蛋和香草精一起放入打蛋盘中,用低速搅拌均匀。

3. 鸡蛋和蛋糕粉分三次加入打蛋盘,低速搅拌均匀。

加的时候先加面粉,再加鸡蛋,然后面粉,鸡蛋,面粉,鸡蛋。

面粉三杯,每次加入一杯,鸡蛋分成 2、3、2,分三次加入。


4. 全部蛋糕糊搅拌均匀之后,用高速搅拌一、两分钟。

5. 烤箱预热 300 华氏度。

据说烤箱可以不预热,不过我一直都是预热的。

6. 烤盘内部用黄油薄薄刷上一次,倒入蛋糕糊。放入烤箱烤一个小时。

蛋糕糊倒入 7、8 分满即可,太多就会溢出来。我这次就倒的多了一点,溢出来几滴。

7. 蛋糕烤好以后拿出来倒扣晾凉即可。

Pound Cake with Cream Cheese

It was over 10 years ago when I tried this cake for the first time. I fell in love with it right away. Luckly, that was not a sotre-bought cake. So I got the recipe from the person who backed it. Years after years, I baked it a lot times, and it is still my favorite pound cake, and my family and friends are in love with it, too. 

It is a eady making cake. I haven’t had any problem when baking this cake. 

Ingredients:

12oz butter, 8oz cream cheese, 3 cups sugar, 3 cups cake flour, 7 eggs, 1.5 tsp vanilla. 

In the original recipe, there is only 4oz butter and 8oz margarine. I replaced all margarine with butter. 

Methods:

1. Let butter, eggs and cream cheese sit in room temperature until butter and cream cheese get softened. 

2. Put butter, cream cheese, sugar and vanilla into mixing bowl, mix well with low speed. 

3. Add eggs and cake flour into mixing bowl, mix well with low speed.

eggs and cake flour need to seperated into 3 portions, add one portion each time, mix well, then add another portion.

Each portion of cake flour is 1 cup. Eggs should be 2, 3, then 2, 7 total. Add cake flour first, mix well, then eggs, then cake flour, then eggs, etc. 


4. When finish mix the last portion of eggs, beat with high speed for a couple of minutes. 

5. Oil a bundt pan with butter, pour cake mixture into oiled pan.

6. Set oven to 300°F, no need to preheat. Bake for about 1 hour or until cake is done. 

丝瓜炒蛋

这次的丝瓜来自我的小菜园。今年我种的比较晚,丝瓜才开始结,不过长势还是很喜人的。

材料:

丝瓜,鸡蛋,木耳,淀粉,调味料。

步骤:

1. 木耳用冷水泡发,清洗干净,沥干水分。

其实可以不放木耳的。我觉得只是丝瓜和炒蛋颜色太单调了,就想加一点其他的颜色。本来想找点红色的菜,但是家里没有,就只好用木耳了。

2. 丝瓜去皮,切滚刀块。

很多人说丝瓜去皮的时候不用去的很干净,绿色的部分可以留下一些,不过我喜欢把绿皮全部去掉。


3. 煮锅烧开水,加入一点盐,白醋和油,倒入丝瓜块烧至水开,捞出丝瓜块,用冷水冲凉,沥干水分待用。

4. 炒锅倒油烧热,把鸡蛋打散倒进锅炒成块状,盛出待用。


5. 炒锅重新倒油,倒入木耳略炒,然后倒入焯过的丝瓜块一起煸炒几分钟。

6. 倒入炒好的鸡蛋块,煸炒均匀之后,加调味料。

我用了盐,糖,一点姜粉和蒜粉。

7. 一小勺淀粉用冷水调匀,倒入炒锅,快速翻炒均匀。然后滴几滴香油炒匀即可出锅。

查看英文版菜谱,请点这里