Tortilla Sandwich with Egg and Bacon


Tortilla Sandwich with Egg and Bacon


I’m not a tortilla person, but I accidentally fall in love with uncooked tortilla. Believe it or not, it tastes different from the store-bought tortilla. And since it’s uncooked, you can cook it in different ways!

Ingredients:Tortilla Sandwich with Egg and Bacon

2 uncooked tortilla, 1 egg, 1 tsp bacon crumbles, seasoning to your taste

Method:

1. Heat up frying pan on medium high heat, lay one tortilla in pan.

Tortilla Sandwich with Egg and Bacon2. Transfer tortilla to plate when you see bubbles on surface, set aside to later use.

3. Lay second tortilla in pan.

4. Pour egg over tortilla in pan, spread well.

If you are not as lazy as me, you can pre-mix egg and seasonings, then pour over.

5. Sprinkle seasoning and bacon over tortilla.

Tortilla Sandwich with Egg and Bacon         Tortilla Sandwich with Egg and Bacon          Tortilla Sandwich with Egg and Bacon

6. Lay the first tortilla on top, press lightly.

7. Flip tortilla when done.

8. Tortilla is ready to serve when it’s lightly brown.


Tortilla Sandwich with Egg and Bacon


懒人鸡蛋灌饼


懒人鸡蛋灌饼


我是个很喜欢面食的人,时不时就会很馋烙饼之类的,可是我又是一个懒人,和面这种事情还是能免就免的好。好在老天还是很眷顾我这种懒人的,超市里居然有现成的生饼坯卖,真的是很开心!

材料:懒人鸡蛋灌饼

墨西哥薄饼(生坯,一定要买 uncooked 的那种,熟的味道差些),鸡蛋,咸肉(bacon)碎,调味料。

做法:

1、平底锅中大火烧热,放入一张墨西哥薄饼,等饼面开始出现气泡,移出备用。懒人鸡蛋灌饼

2、锅里放入第二张薄饼,打一个蛋在上面,搅碎。

口味重的这时候可以撒一点调味料在上面,比如盐和胡椒粉、辣椒粉之类的。

勤快一些的,可以预先把鸡蛋打散,同时把调味料混在里面。

懒人鸡蛋灌饼              懒人鸡蛋灌饼              懒人鸡蛋灌饼

3、舀一些咸肉碎在鸡蛋上面,搅散。

4、把第一张薄饼盖在上面,煎过的那面朝下,然后轻压,让饼和蛋液接触更多一些。

5、把饼翻面烙熟即可出锅。


懒人鸡蛋灌饼


西红柿炒蛋


西红柿炒蛋


喜欢上番茄炒蛋,还是在大学的时候,这是我们当时的大学食堂里面为数不多的几道好吃的菜之一,吃起来酸酸甜甜,很讨人喜欢。

材料:西红柿炒蛋

两个大番茄,四个鸡蛋,调味料。

做法:

1、番茄在开水里面烫一下,去皮,切块。

2、鸡蛋加一点料酒,打散。西红柿炒蛋

3、炒锅倒油烧热,大火把鸡蛋炒成块状,盛出待用。

4、炒锅重新倒油,番茄下锅,炒到番茄出汁且汤汁比较浓厚,加入盐、白胡椒和糖,翻炒均匀。

西红柿炒蛋         西红柿炒蛋

5、鸡蛋倒进锅一起煸炒,直到鸡蛋表面都均匀的挂上番茄汁。

6、用一点淀粉加水调匀,倒进锅,煸炒均匀,到基本看不到汤汁,然后装盘即可。

很多人炒番茄不勾芡,如果这样,那么装盘之后的番茄还会继续析出很多汁水,如果勾一下芡,就可以完全收住汁水,所以勾芡与否看你的喜好,不是必须的。

西红柿炒蛋

Stir Fried Eggs with Tomatoes


Stir Fried Eggs with Tomatoes

I fell in love with this dish when I was in college. This was one of the best dishes in our dinning hall. Later on I noticed that a lot of people like this dish, too.

Ingredients:Stir Fried Eggs with Tomatoes

2 large (ripe, or close to ripe) tomatoes, 4 large eggs, seasoning.

Method:

1. Soak tomatoes in hot water for about one minutes, then take tomatoes out, peel and chunk to whatever shape you like.

Stir Fried Eggs with Tomatoes2. Add a little bit cooking wine into a bowl, crack eggs into it, beat.

3. Heat up skillet on high heat, add cooking oil, then pour eggs into skillet, cook until eggs are firm. Meantime, keep stirring so eggs will break into pieces. Put cooked eggs back to the bowl, set aside.

4. Add cooking oil to skillet, keep cooking on high heat. Add tomatoes into skillet, add salt, sugar and some pepper to taste, cook until tomatoes get tender and the juice get thick.

It tastes better when you add more sugar compare to regular dish. My goal is cook it with a sour and sweet taste.

Stir Fried Eggs with Tomatoes          Stir Fried Eggs with Tomatoes

5. Pour eggs into skillet, mix well.

6. Mix a little bit corn starch with water, then pour into skillet, stir very quickly.

7. Transfer to a plate, serve hot.

I love it better when serve over rice or noodles.

Stir Fried Eggs with Tomatoes

Chiffon Cake


Chiffon Cake


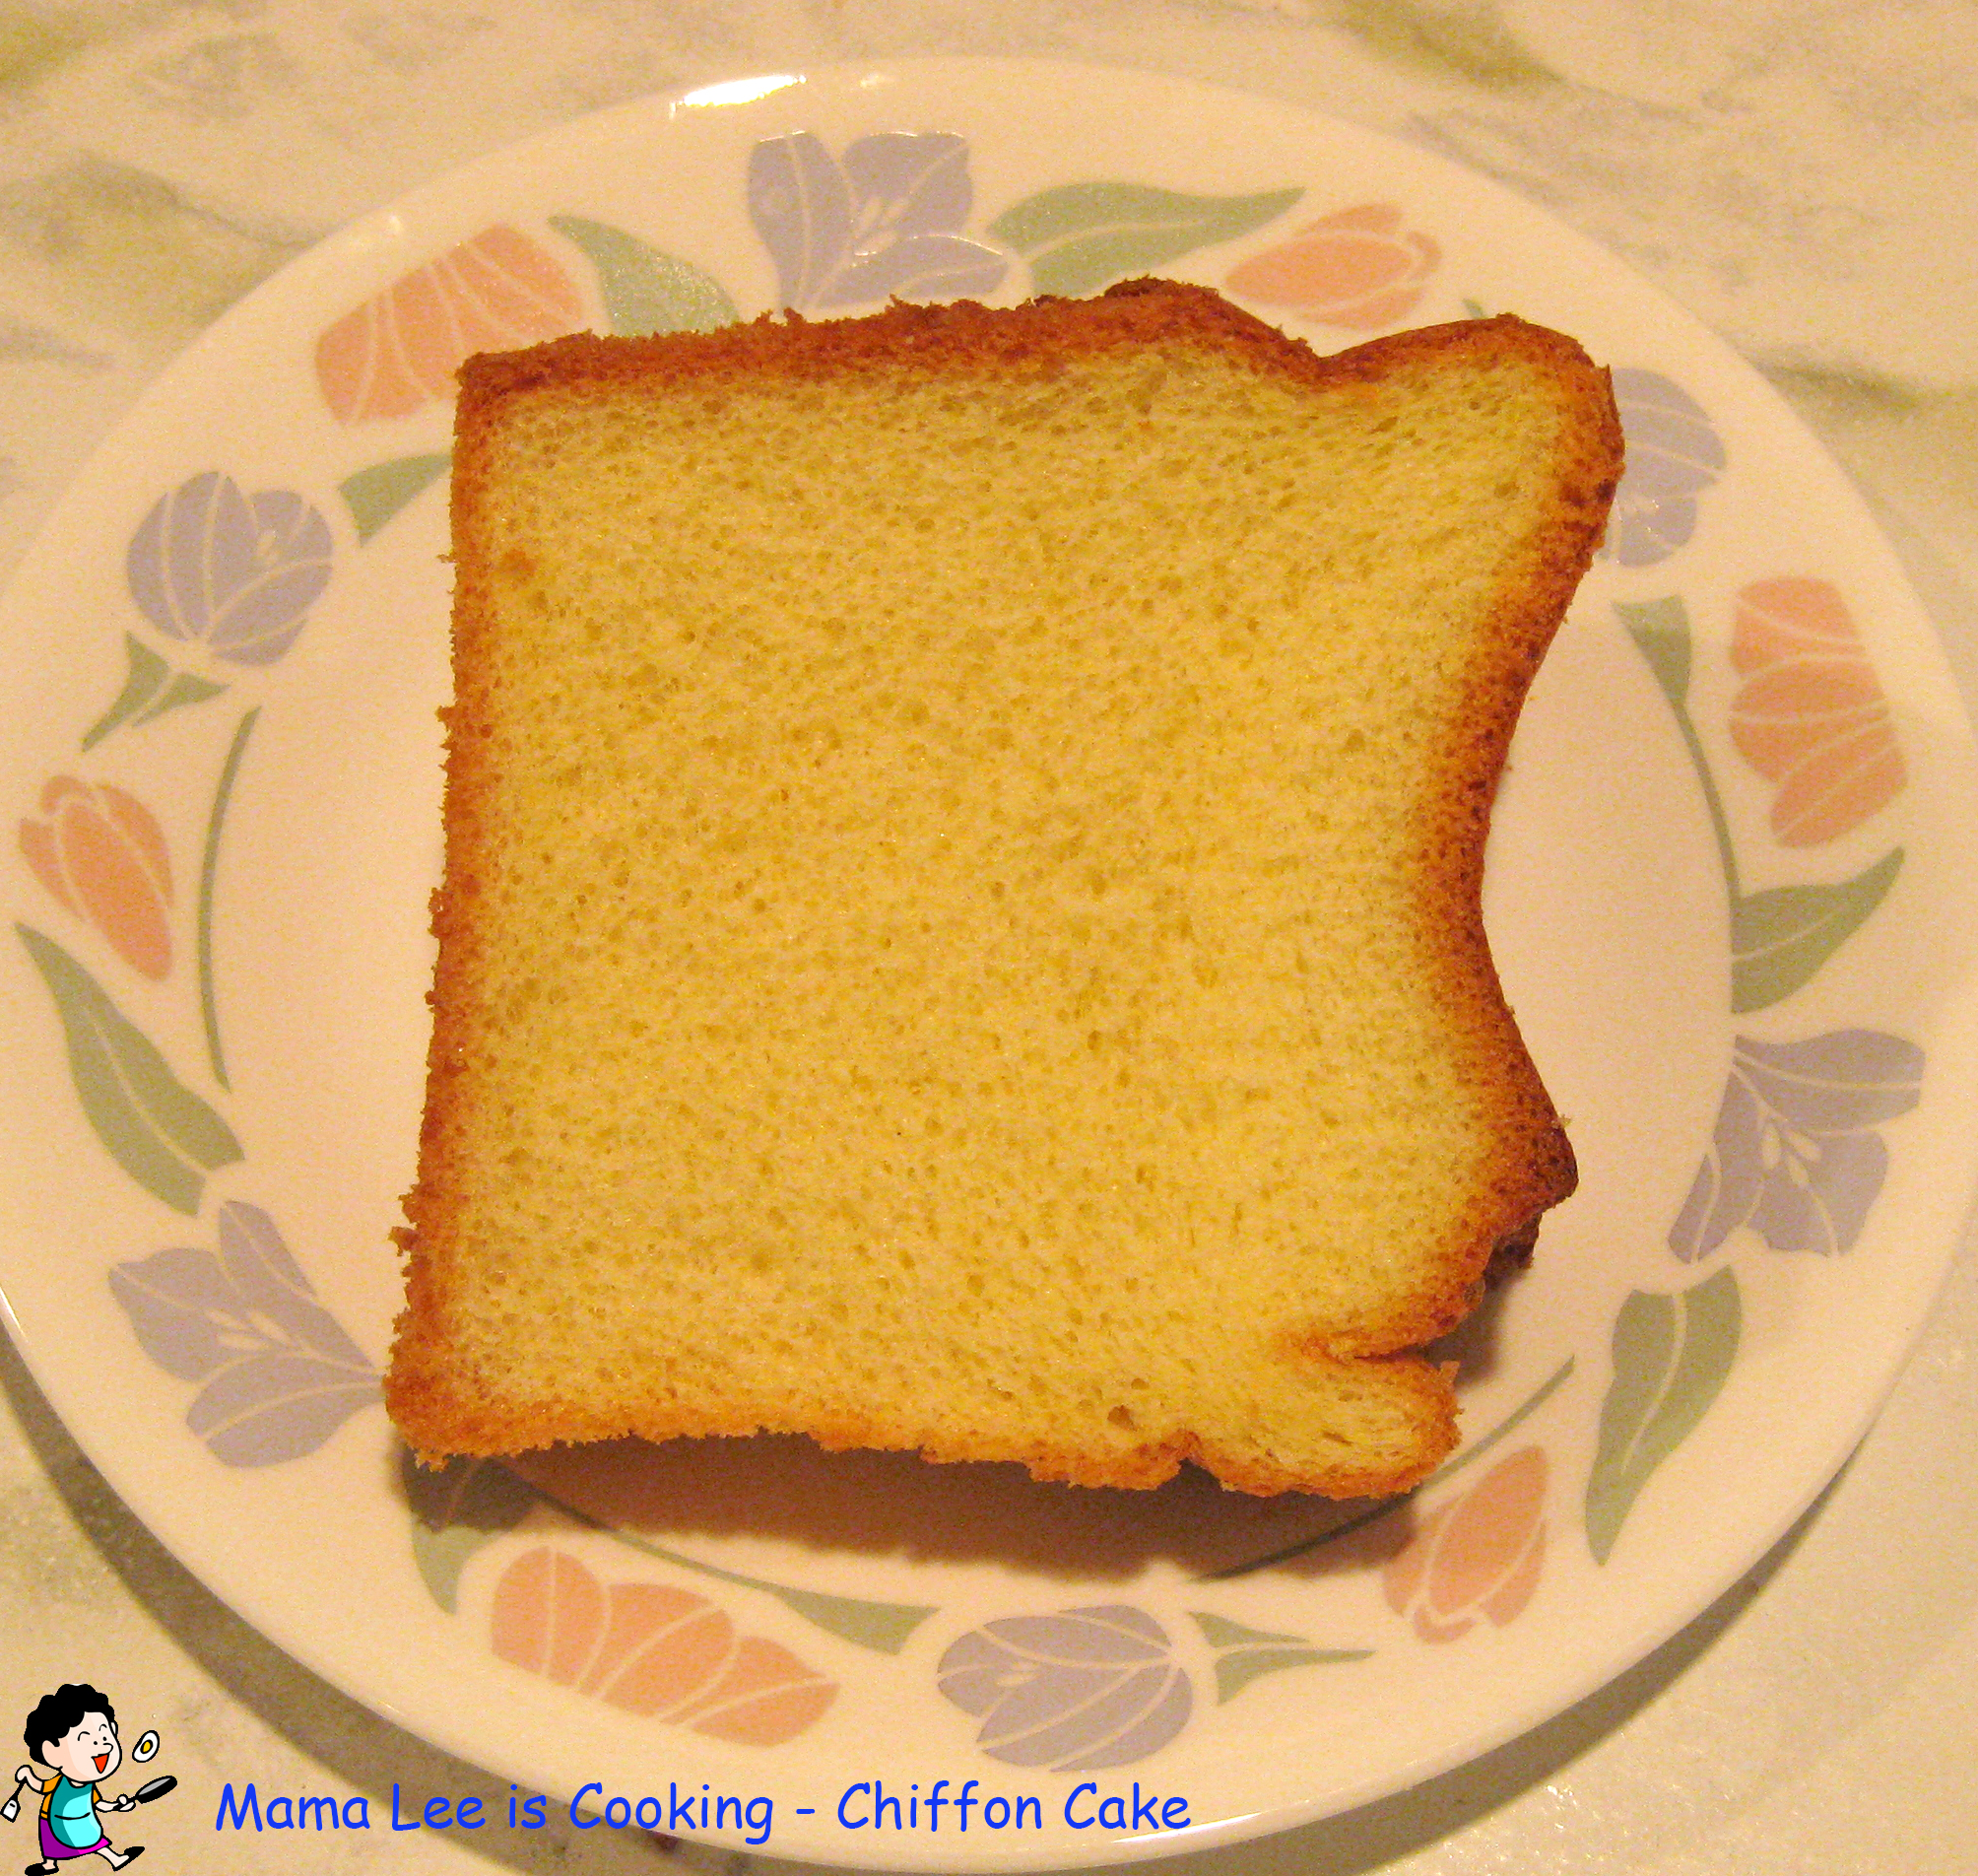
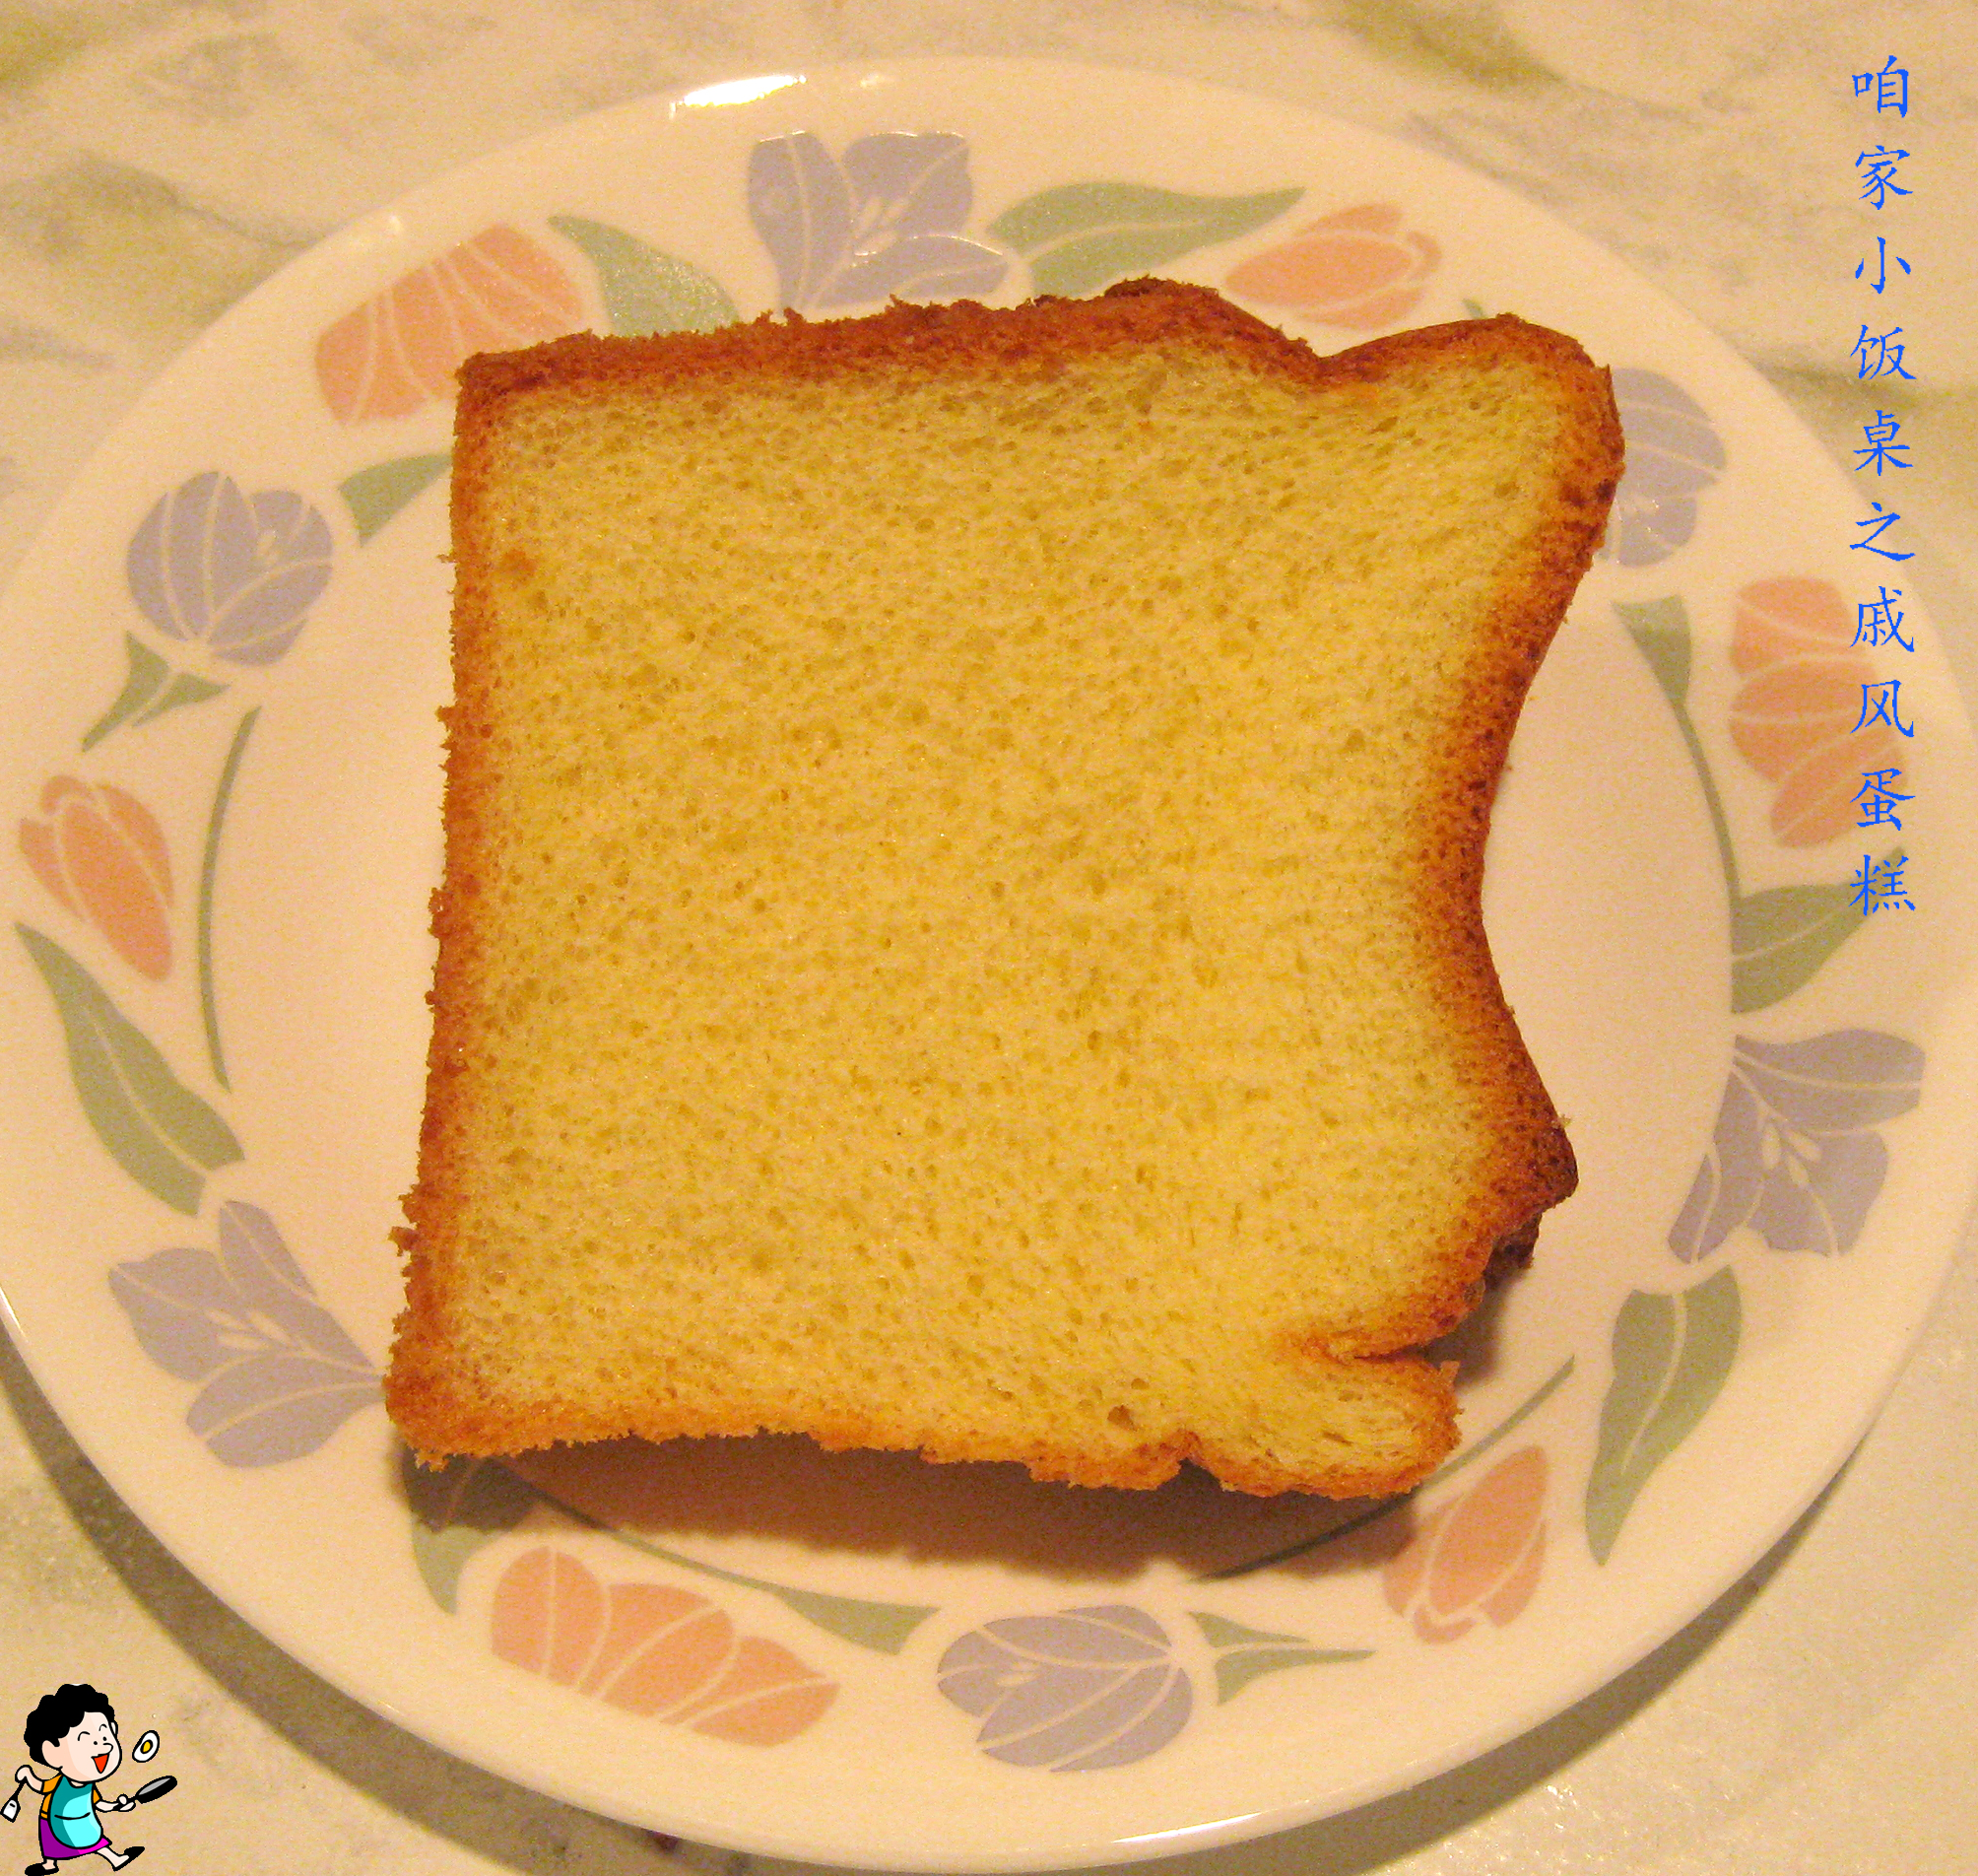
I’m not a big Chiffon Cake fun. It is so complicated, and so many steps to make and you can make mistakes. It’s really not my type of cake.

But I accidentally got myself a chiffon cake pan, so I decided to try it at least one time, so the cake pan won’t go completely waste.
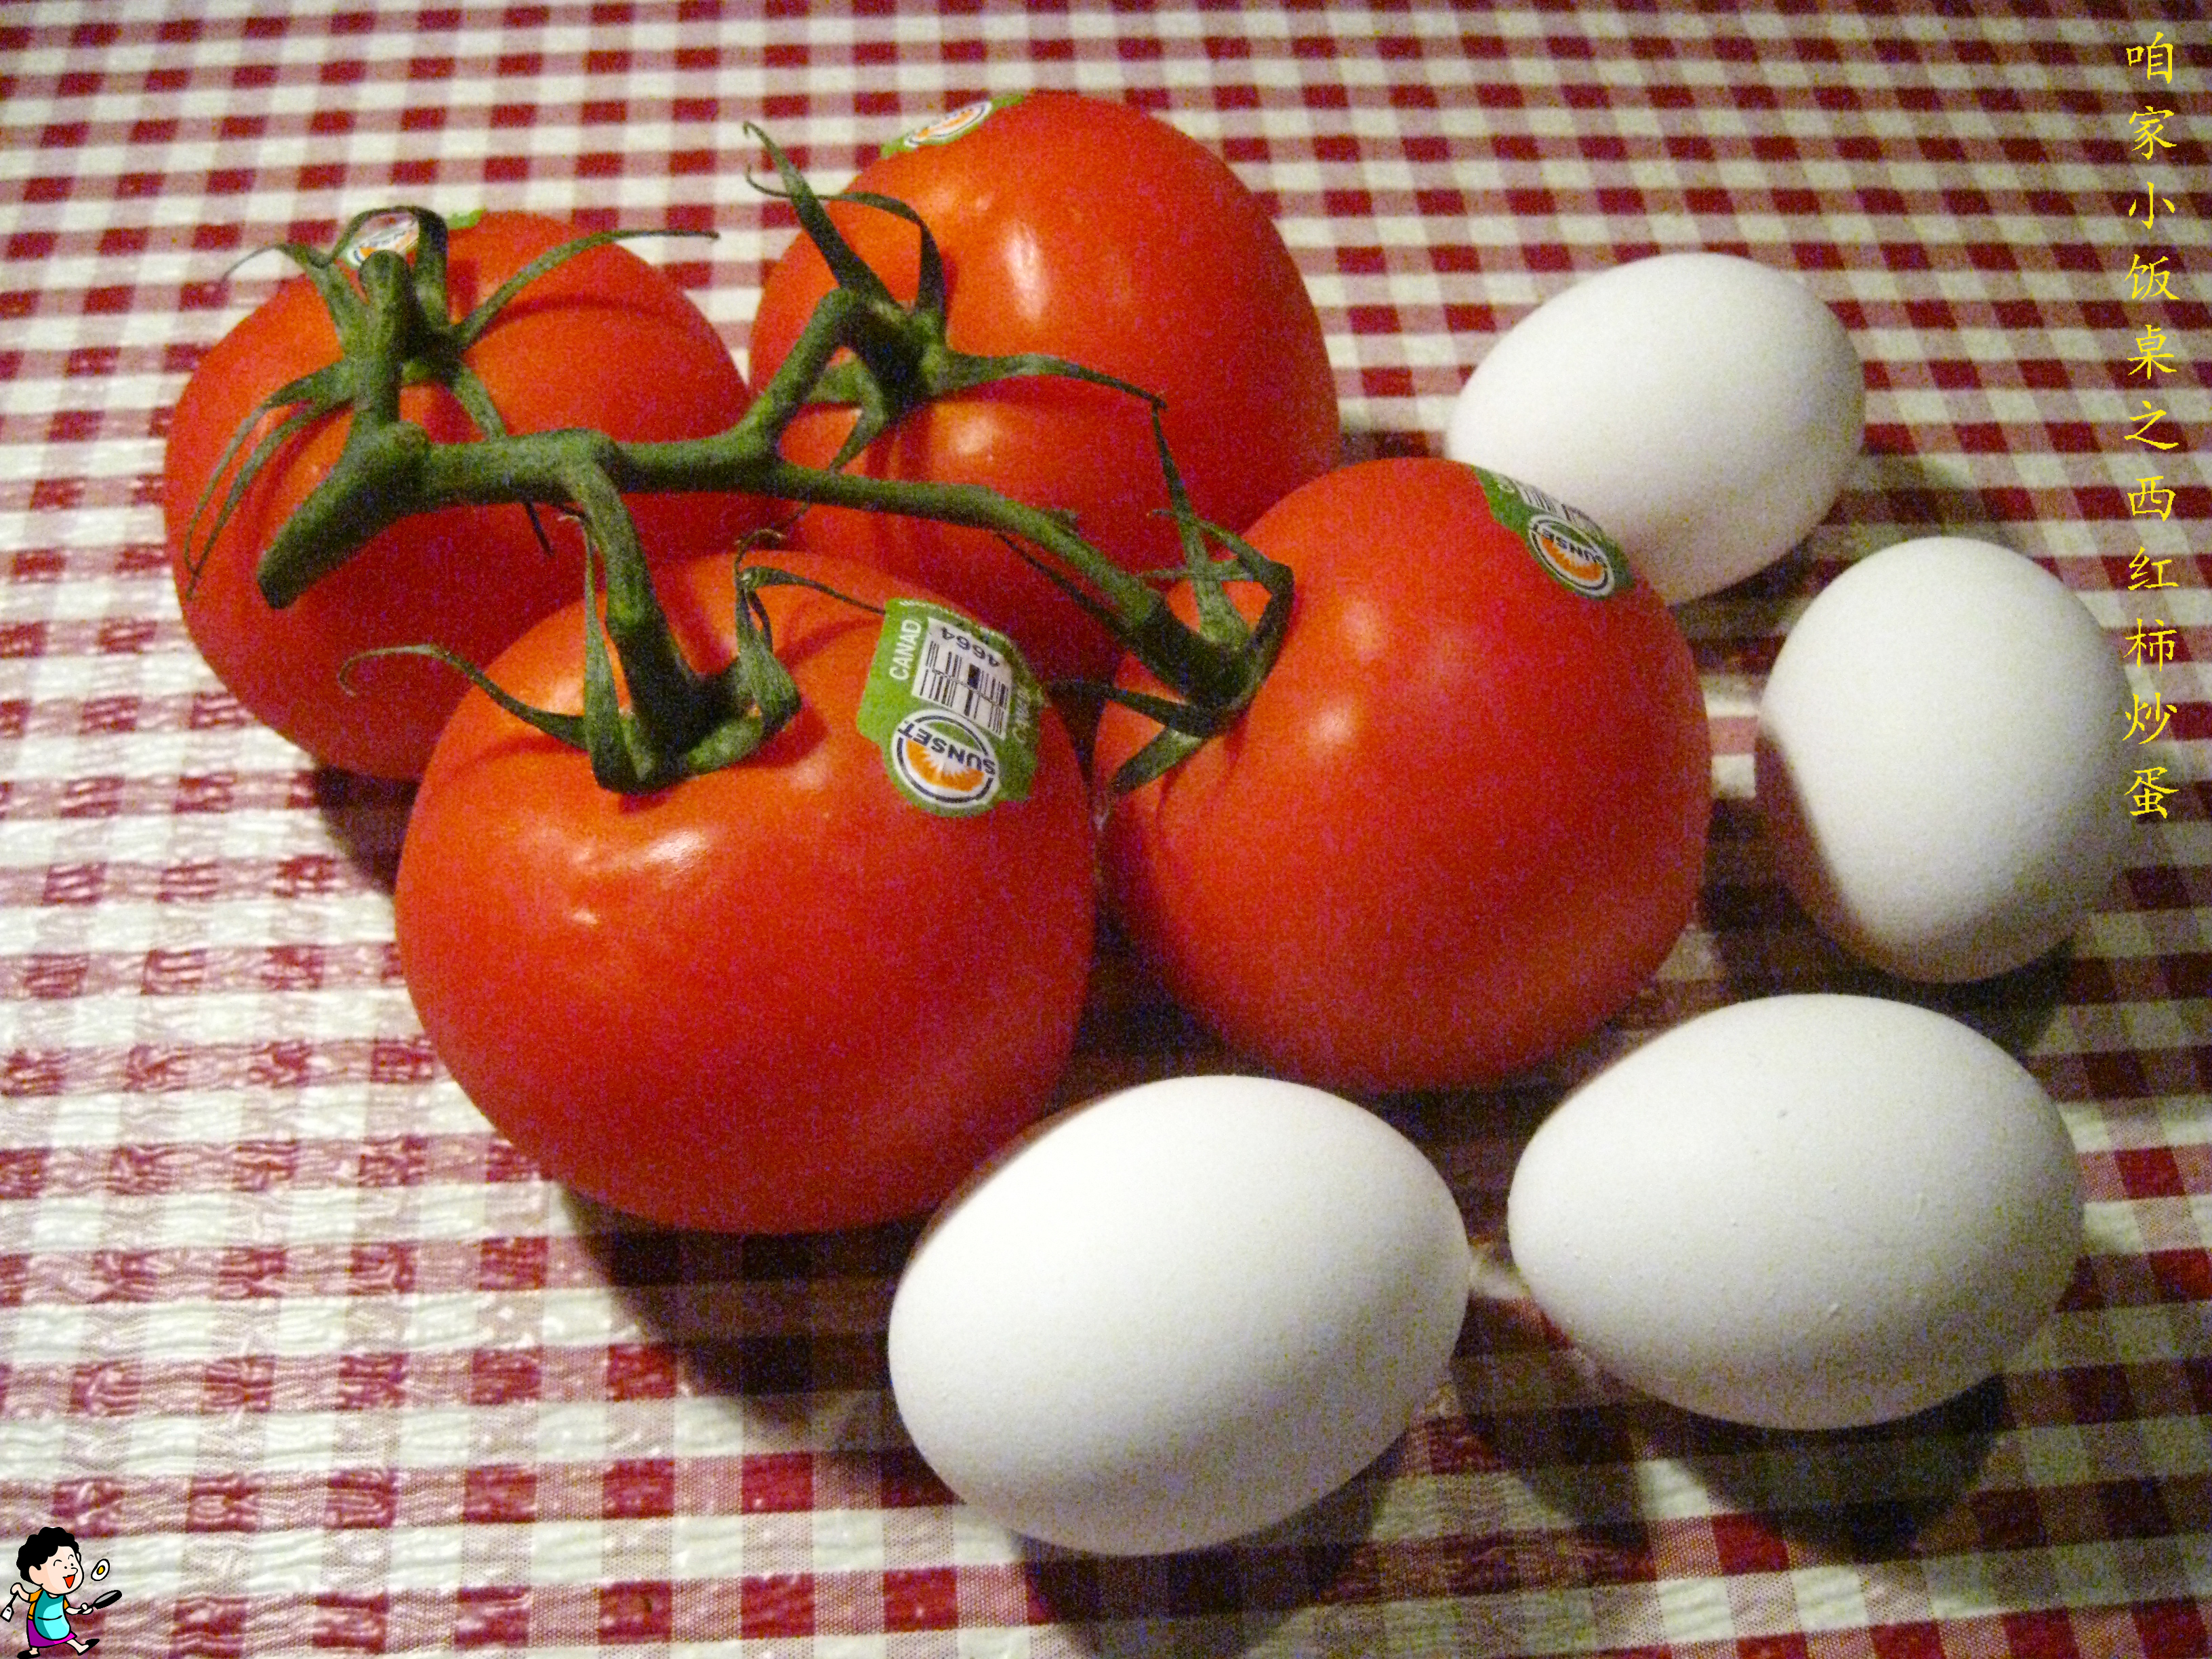
Ingredients:

5 egg yolk, 7 egg white, 80 gram flour, 20 + 10 gram corn starch, 40 + 60 gram sugar, 65ml cooking oil, 65ml milk, several drops lemon juice, a pinch salt.
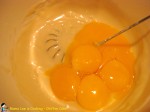
Chiffon Cake

Methods:

1. Set everything to room temperature.

2. Mix flour and 20g corn starch, sift twice.

If you have cake flour, you can use 100g cake flour instead.Chiffon Cake

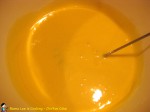
3. In a large mixing bowl, beat egg white, salt and lemon juice at low speed until you see big bubbles, then add 20g sugar, keep beating until smaller bubbles, add 40g sugar and 10g corn starch.

4. Speed up the beater, keep beating egg mixture until stiff.Chiffon Cake

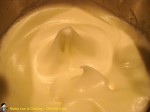
5. In another mixing bowl, mix milk and 40g sugar until sugar melt completely.

6. Add cooking oil into milk mix, beat until they mix completely.

7. Add sifted flour into mix, beat until it mix until smooth.Chiffon Cake

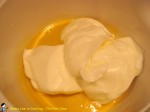
8. Add egg yolk into flour mix, mix until smooth.

9. Preheat oven to 340ºF.

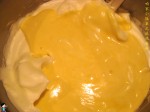
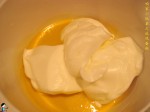
10. Pour 1/3 of the egg white mixture over egg yolk batter, folding in with rubber spatula.

Do not stir, but fold.Chiffon Cake

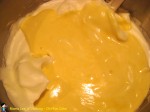
11. Pour the mixture over the rest egg white, folding in with rubber spatula until smooth.

Do not stir, but fold.

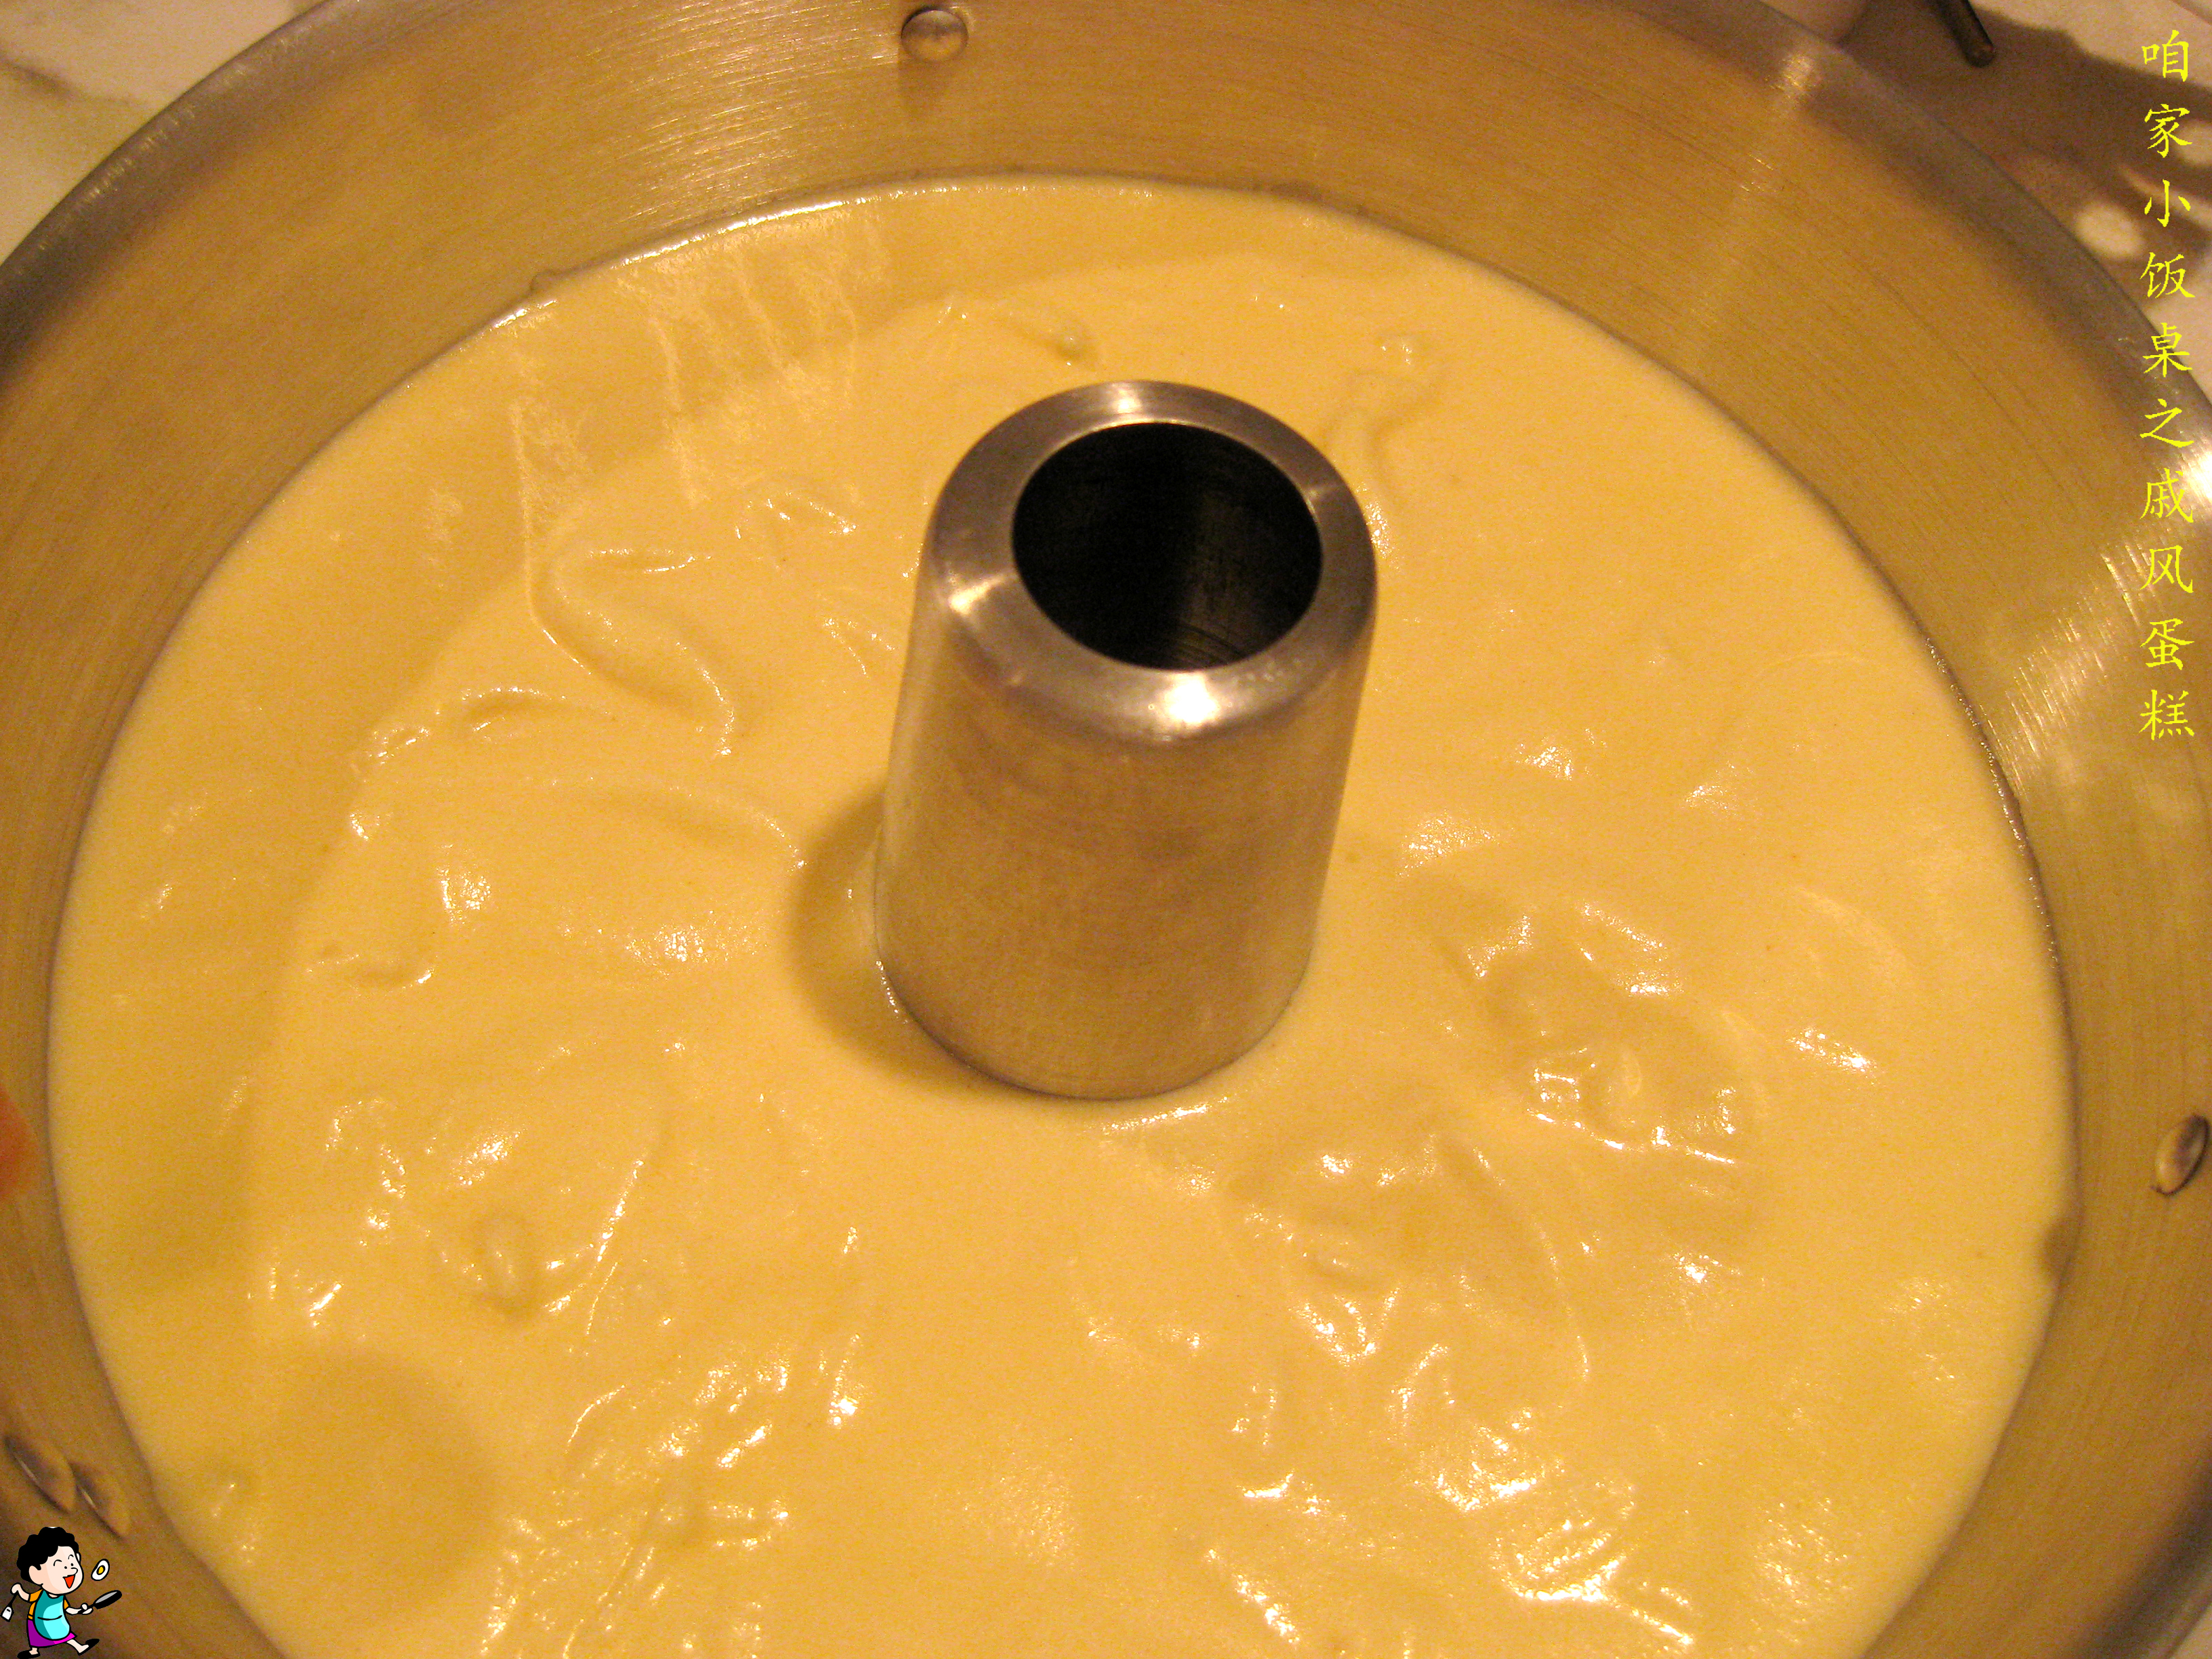
12. Pour batter into baking pan.Chiffon Cake

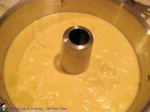
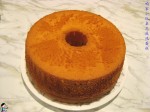
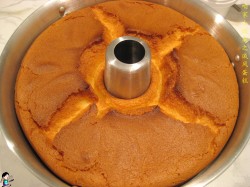
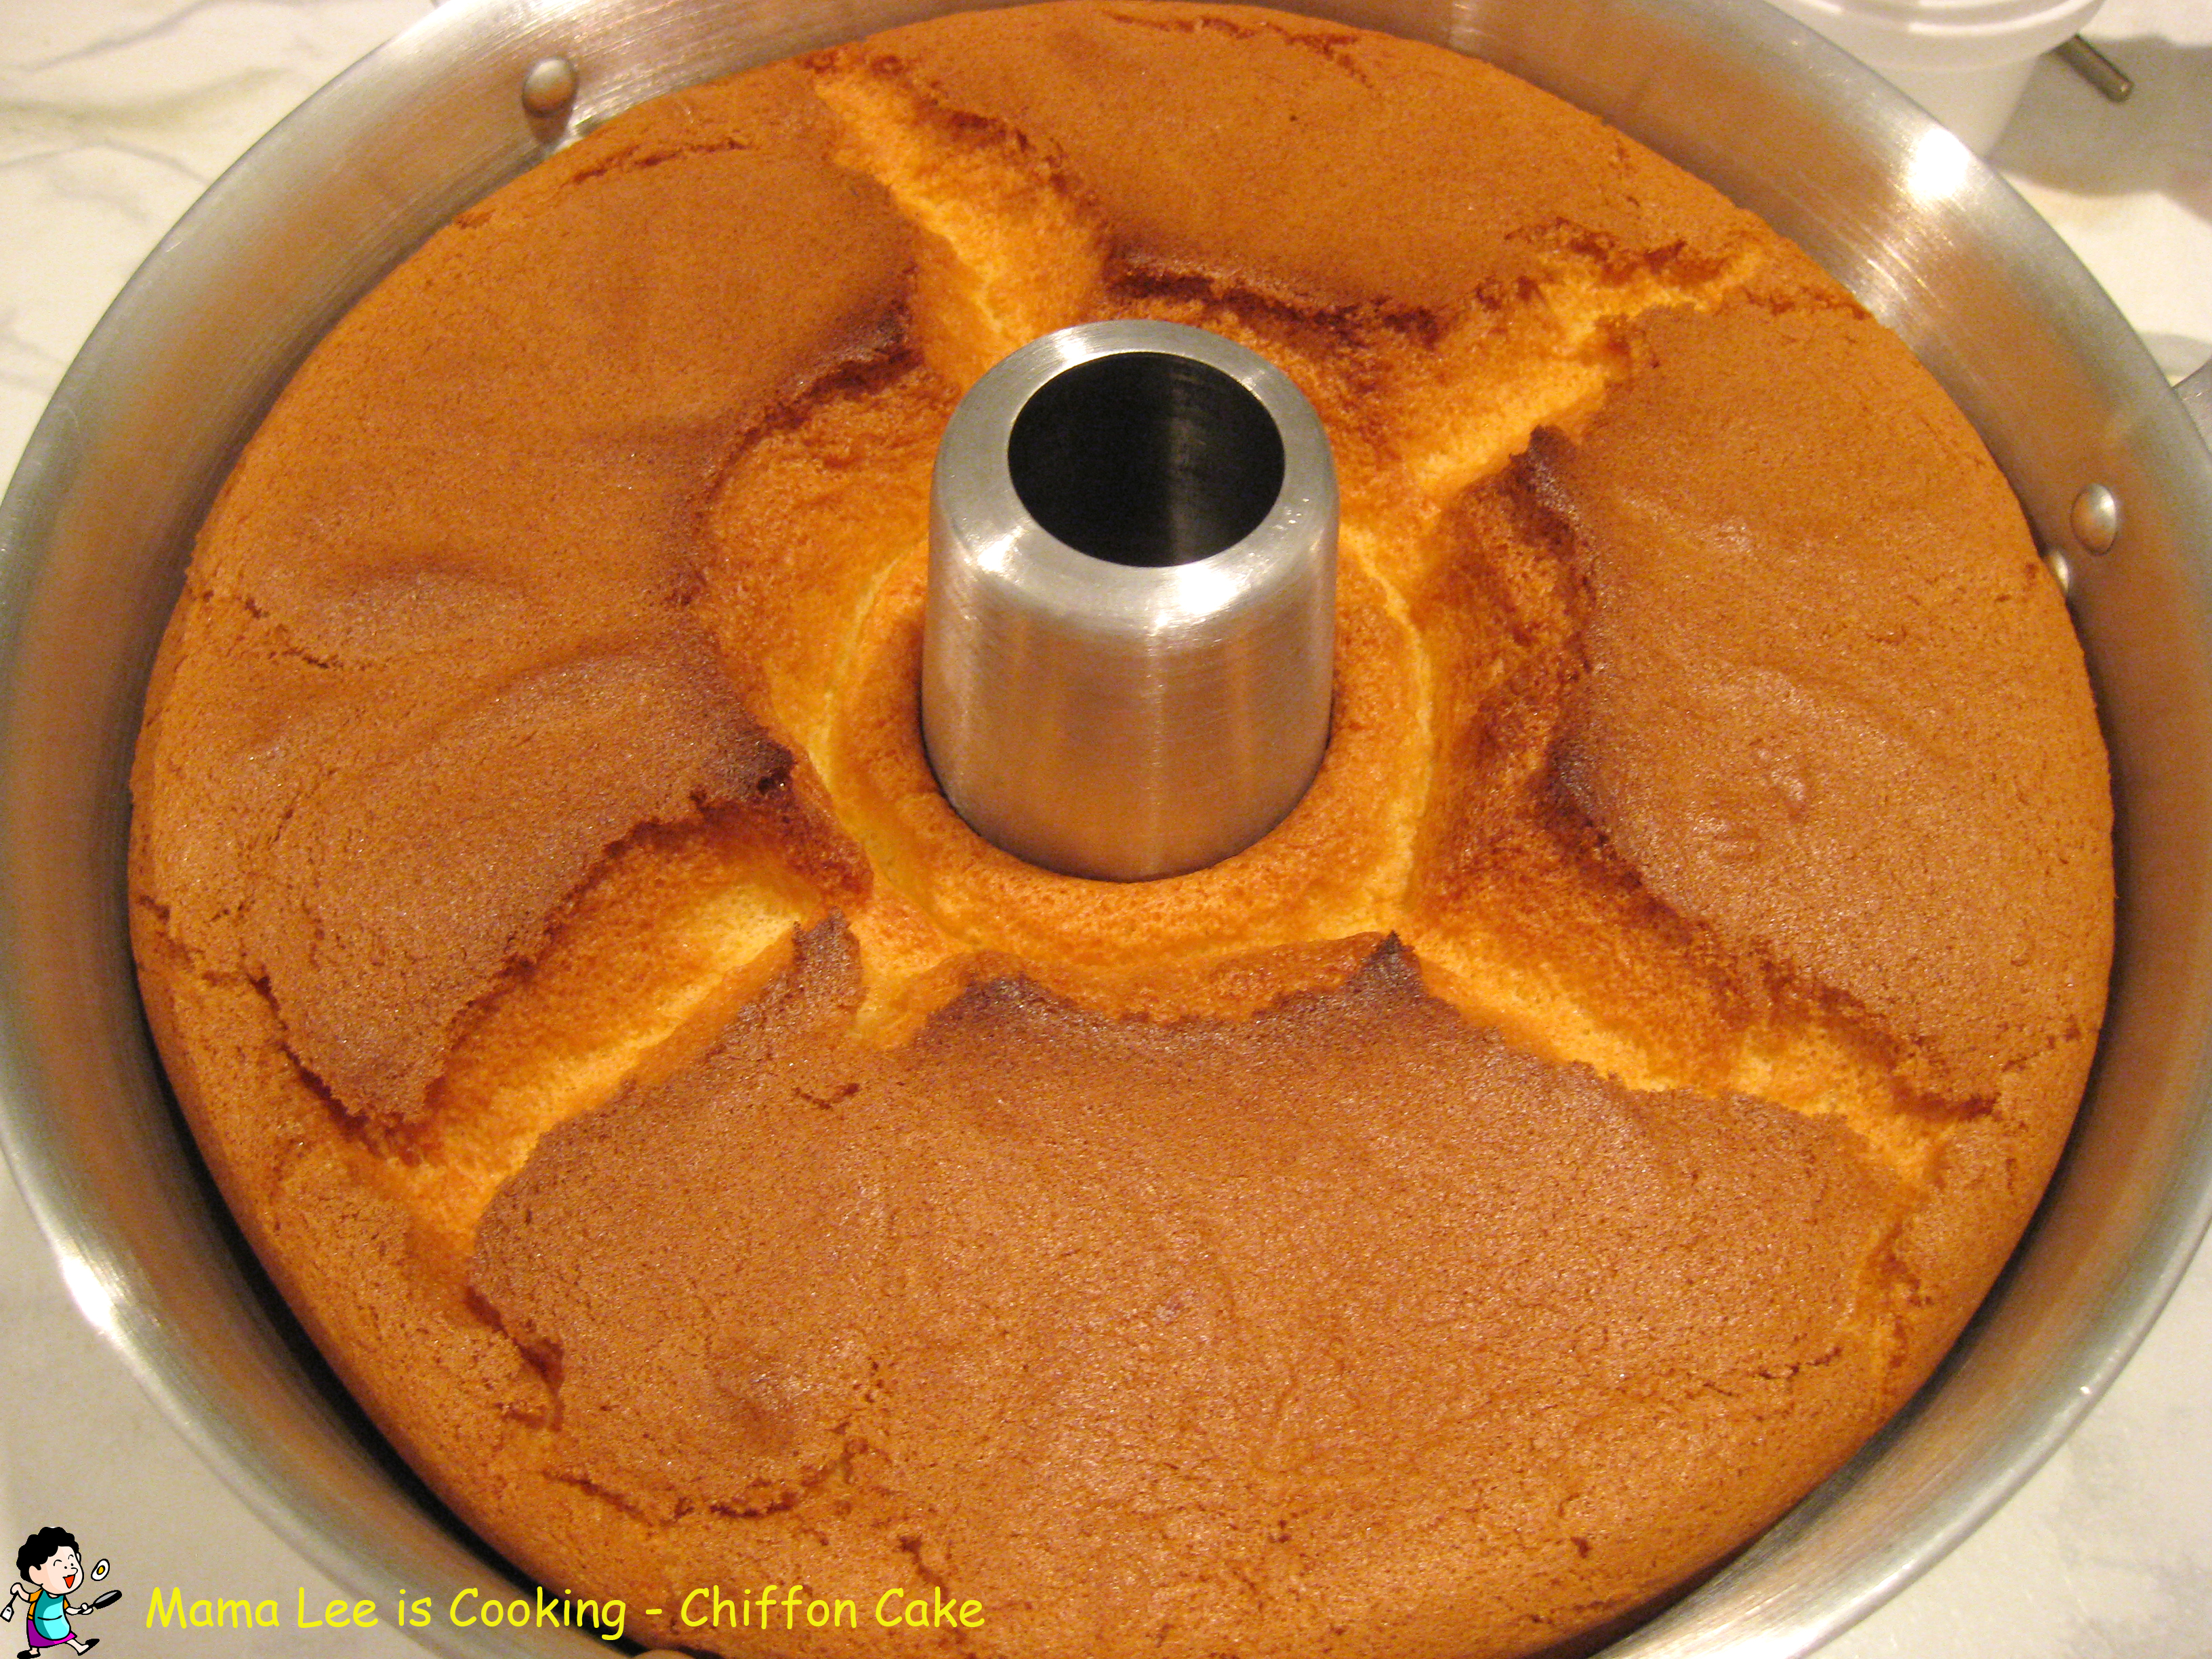
13. Bake for about 50 minutes or until done. Turn baking pan upside down immediately after
taking out of oven.

14. Take cake out of pan when it’s completely cool.

Chiffon Cake

原味戚风蛋糕


原味戚风蛋糕


一直以来,我都没想过要做戚风。网络上关于戚风的文章千千万,有人成功,有人失败,做得精致、完美的,
基本没有几个,但是依然有无数人前仆后继,为戚风蛋糕倾倒。

我是个没什么追求的人,那种要严格按照配方、按照步骤来做的东西,我是真的没什么兴趣,所以一直都没有动心过。前几天淘了一个戚风蛋糕模。既然连模子都有了,不用一回好象蛮对不起那个模子的,于是就开始在网上搜索有关的配方,看了几个心得体会,找齐了材料,俺也戚风一回。

材料:

蛋黄 5 个,蛋白 7 个,面粉 80 克,玉米淀粉 20 + 10 克,白糖 40 + 60 克,色拉油 65 毫升,牛奶 65 毫升,柠檬汁少许,盐少许。

做法:原味戚风蛋糕

1、所有材料回温。

2、面粉和 20 克玉米淀粉混匀,过筛两次。

如果有低筋面粉,可以直接用 100 克低筋面粉。

原味戚风蛋糕3、准备两个深型盆,一个用来打蛋白,一个用来打蛋黄糊。打蛋白的那个一定要大,而且要无油无水。

4、牛奶和 40 克白糖混合,搅打直到白糖完全溶化。

5、色拉油倒入牛奶中,搅打到牛奶和色拉油完全溶合到一起。

6、准备好的面粉再次过筛,倒入牛奶糊中拌匀,直到没有面粉颗粒。原味戚风蛋糕

其实没什么面粉颗粒的,这一步比想象的容易。

7、把蛋黄加入面粉糊,搅匀即可。

8、烤箱预热 340 华氏度。

9、蛋白里加一点盐和柠檬汁,打蛋器低速打出粗泡,然后加入 20 克白糖,继续搅打到蛋白出细原味戚风蛋糕小泡沫,再加入剩下的白糖和 10 克玉米淀粉。

据说加了玉米淀粉可以减少蛋白消泡,柠檬汁也是同样的作用。

10、打蛋器略微提速,把蛋白打至湿性发泡,打蛋器降速,把蛋白打至干、湿性发泡之间。

如果把蛋白打至干性发泡,蛋白就太硬了,那样一会儿搅拌的时候会有很多蛋白块不易搅匀,如果提前收手,蛋白会比较容易搅拌。原味戚风蛋糕

11、取三分之一的蛋白霜倒入蛋黄糊中,搅匀。

搅的时候要注意用翻拌法,不要在盆里划圈。

原味戚风蛋糕所谓翻拌法,就是不停的用橡皮刮刀把蛋黄糊从盆底翻上来。

12、拌匀的蛋黄糊全部倒入剩下的蛋白霜中拌匀。

继续用翻拌法哦。

13、拌好的面糊倒入蛋糕模中,在桌子上面震几下,尽量震掉大气泡。

14、蛋糕模放入烤箱中,烤 40 – 50 分钟,拿出后立即倒扣。原味戚风蛋糕

15、蛋糕完全冷却后脱模。

因为蛋糕和模具已经成为一体,所以要先用刀插进蛋糕和模具之间,让蛋糕的侧面和模具分离,拿掉蛋糕模的侧圈。然后用竹签插进烟囱和蛋糕之间,分离蛋糕的中心部分,再用刀插进蛋糕底部和活底之间分离蛋糕的底部。至此蛋糕和模具完全分离。

原味戚风蛋糕

香酥乳酪条


香酥乳酪条


这个东西是我从网上看来的,当时觉得好奇,就试验了一回。处理过的乳酪比原来的好吃多了,连我这个不爱吃的人也能吃那么一点。

材料:

乳酪片,黑白芝麻,胡椒粉,辣椒粉,或者随你喜欢的调味料。

做法:香酥乳酪条

1、乳酪片切成小片。

2、在乳酪条上面撒上黑胡椒和辣椒粉。

不爱吃辣的就省略辣椒粉好了。

3、盘子上面铺一张烤盘纸(parchment paper)然后把乳酪条散放在上面。

4、放进微波炉 1-1.5 分钟。

我家的微波炉功率偏低,我用了一分钟半。

5、晾凉即可开吃。

香酥乳酪条

Cheese Slice with Seasoning


Cheese Slice

This is a quick and easy snack. It gives plain cheese slice a new look, adds some taste and flavor.

Ingredients:

cheese slices, black pepper, chili powder, white and black sesame seed, whatever seasoning you want to use.

Method:

1. Cut cheese slices into 3-4 little pieces.Cheese Slice

2. Put seasoning on top of the cheese slices.

3. Put sesame seeds on top of the cheese slices.

4. Put a layer of parchment paper on the plate, then put cheese stick on the paper.

5. Microwave for 1-1.5 minutes.

cheese00102

虾皮糊塌子


虾皮糊塌子


这个造型是我在网上看到的,看到了就爱上了,忍不住就要做一次试试。味道还真是不错,比一般的糊塌子多了洋葱香。

材料:虾皮糊塌子

面粉,虾皮,紫洋葱,西葫芦(角瓜),鸡蛋,调味料。

做法:

虾皮糊塌子1、西葫芦洗净切(刨)丝。

2、西葫芦丝和虾皮还有调味料一起拌匀。

调味料我用了盐、糖和白胡椒粉。

虾皮是咸的,所以盐不能放太多。虾皮糊塌子

3、拌好的西葫芦静置几分钟,让西葫芦略微出一点水。

4、把鸡蛋加入拌好的西葫芦丝中搅匀。

我临时决定加了一个蛋,所以一共用了三个蛋。

虾皮糊塌子5、加入适量的面粉搅匀,拌成不太浓稠的面糊。

如果面糊太过浓稠,可以适当加一点水。

6、紫洋葱横向切片,然后一个一个分开成洋葱圈。

7、炒锅倒油烧热,调成中小火,放入洋葱圈摆好。 虾皮糊塌子

8、把面糊用勺子舀入洋葱圈中,一面煎好之后翻面再煎好另一面。

9、装盘、开吃!

吃的时候可以调一点蘸料。可以只用醋,或者酱油、醋、香油等等调在一起,和吃饺子的蘸料差不多。自己喜欢就好。

虾皮糊塌子

Pancake with Zucchini and Dried Shrimp


Pancake with Zucchini


I cooked this type of pancake before, but never tried cooking it with a frame. I thought it looks pretty neat when I first saw it online. It actually tastes pretty good. 

Ingredients:Pancake with Zucchini

1 medium size zucchini, 3 eggs, some all-purpose flour, some dried shrimp*, 2 slices of purple onion, seasoning.

Method:

Pancake with Zucchini1. Chop zucchini into thin strips.

2. Mix dried shrimp and seasoning with zucchini.

For seasoning, I used salt, sugar and white pepper powder.Pancake with Zucchini

Dried shrimp is pretty salty, so be careful on how much salt you put in.

3. Let the zucchini mix sitting for several minutes.

Pancake with Zucchini4. Add eggs into zucchini mix, mix well.

5. Add flour into zucchini mix, then mix well.

Make sure the batter is not too thick. Add water if needed.

6. Slice onion, then break onion slice into onion ring.Pancake with Zucchini

7. Heat up skillet, add cooking oil, adjust heat to medium high, put onion ring in skillet.

8. Scoop batter into onion ring, flip when the bottom side turn lightly brown.

Pancake with Zucchini9. When both sides turn lightly brown, transfer to plate.

10. Serve when hot.

You can serve with some dipping sauce. I normally would serve with some vinegar, or mix vinegar, soybean sauce and sesame oil.

driedshrimp

* For “dried shrimp”, please see link below:

http://en.wikipedia.org/wiki/Dried_shrimp