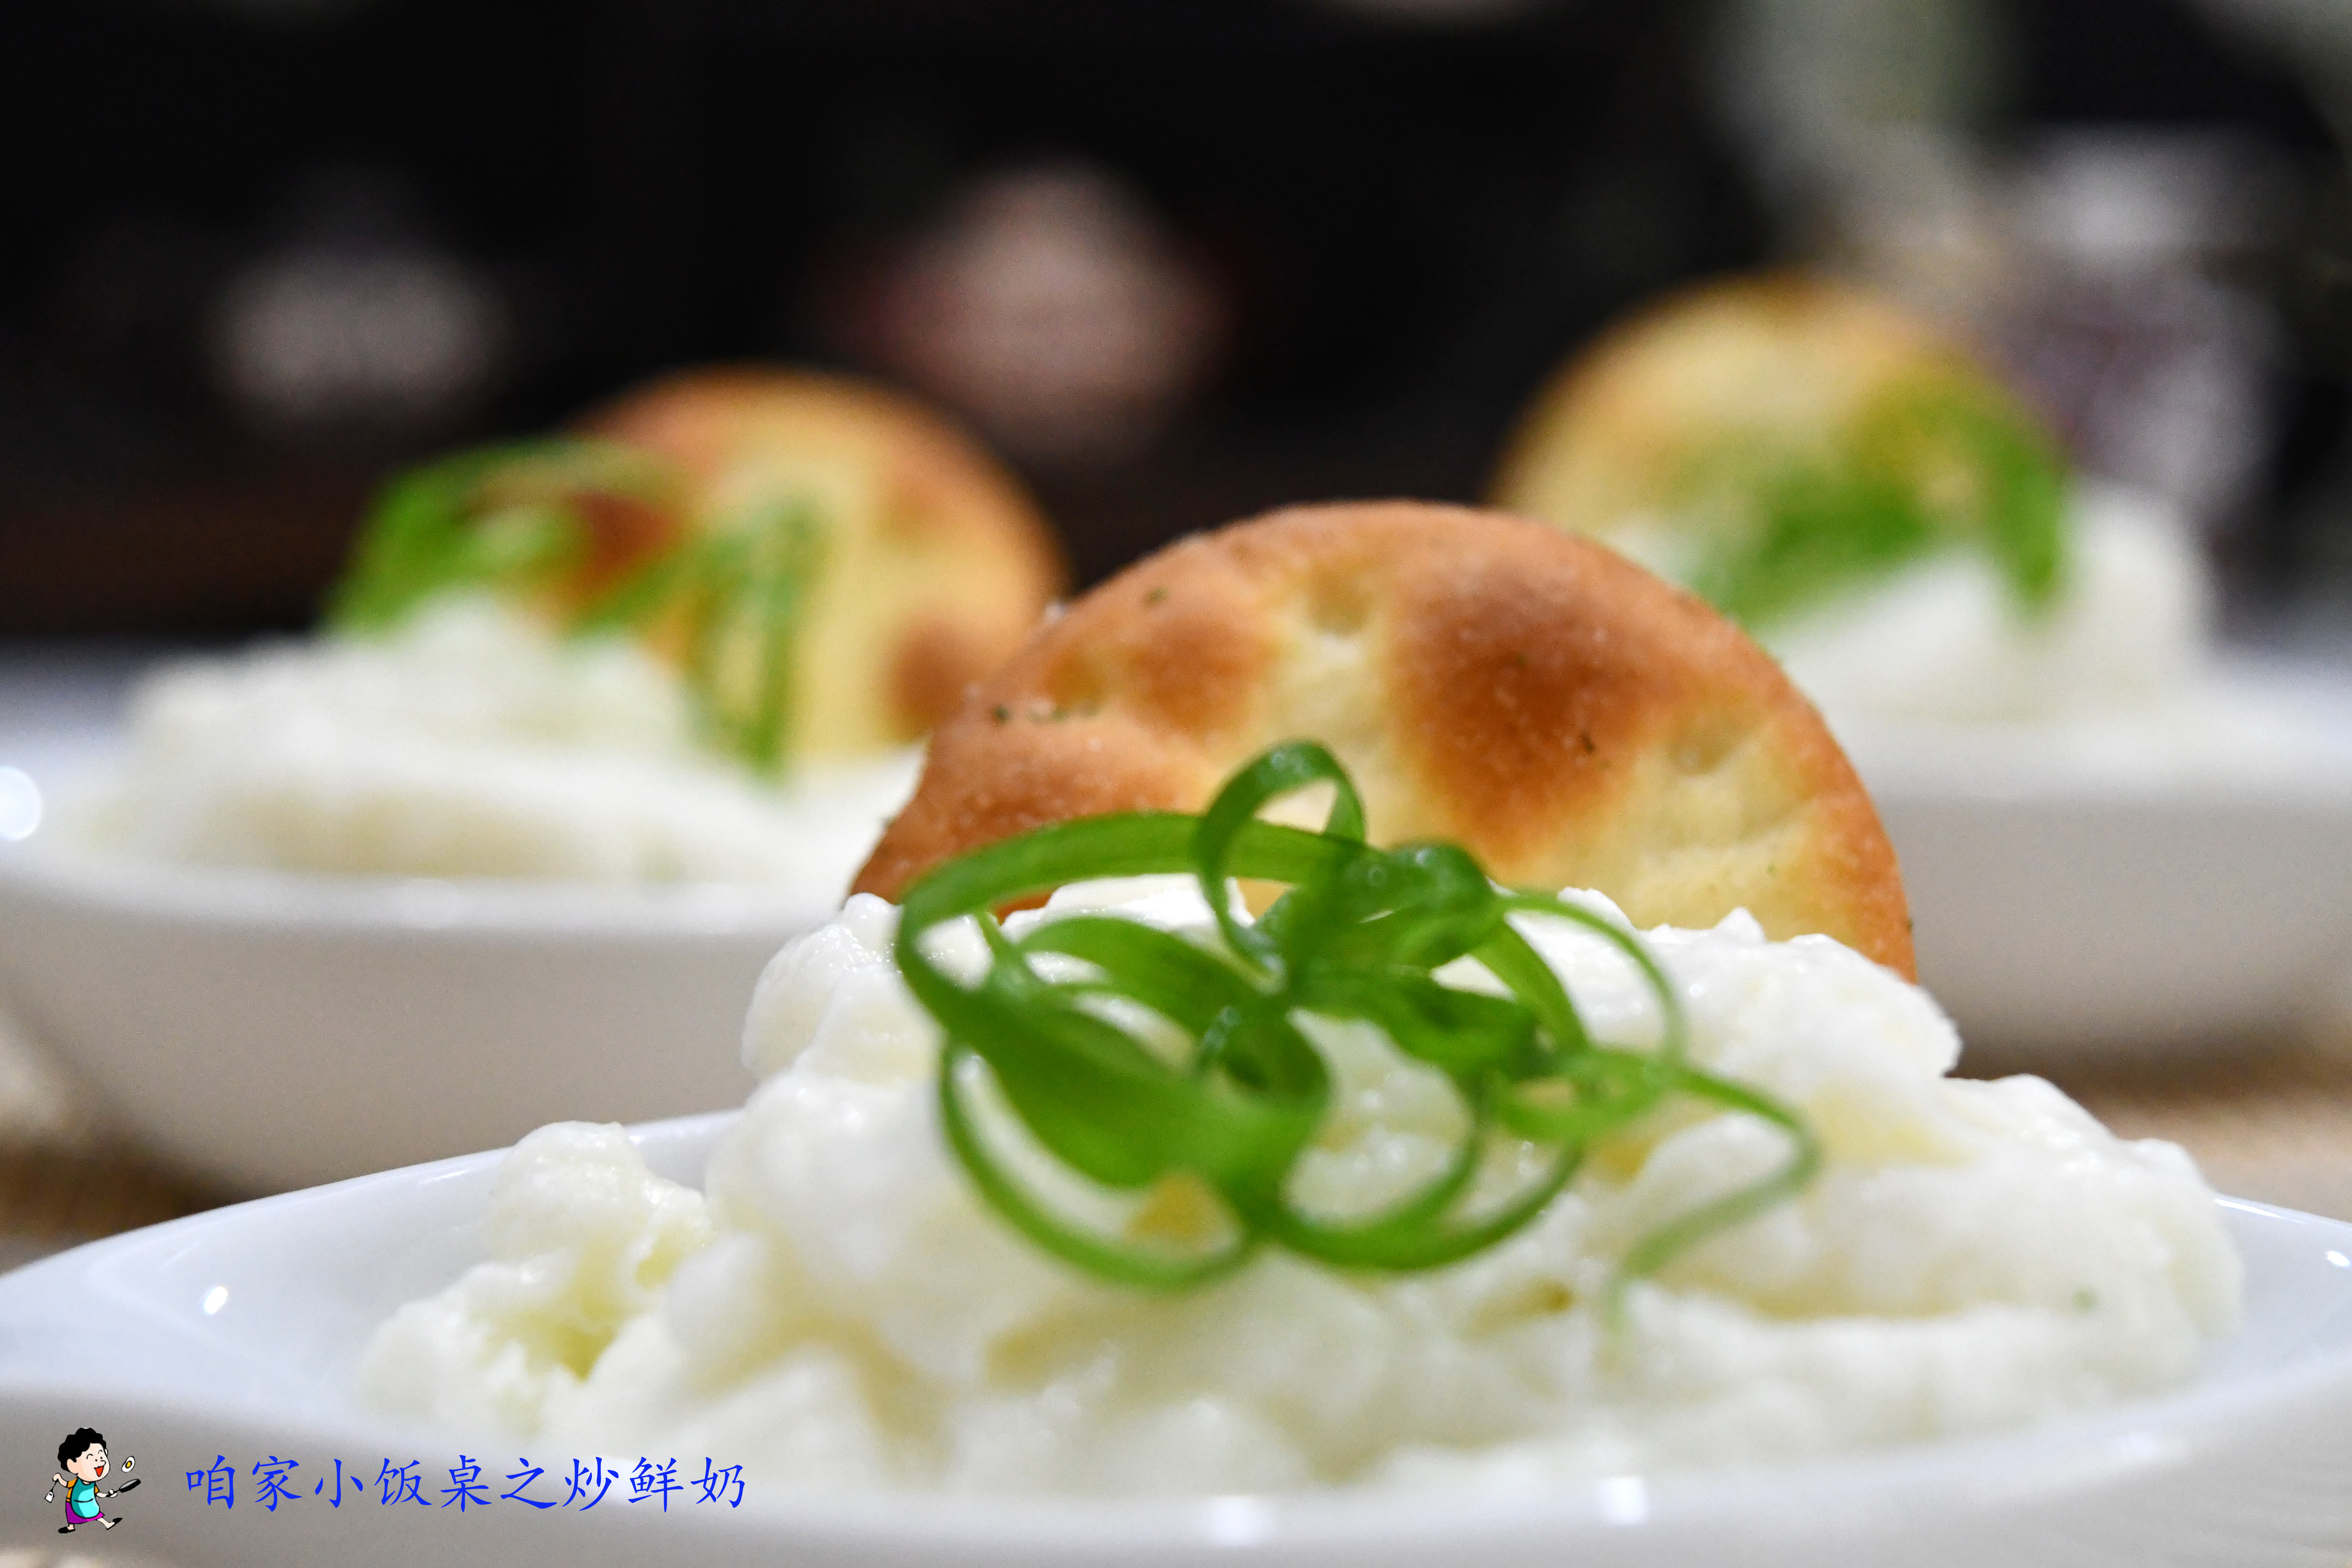
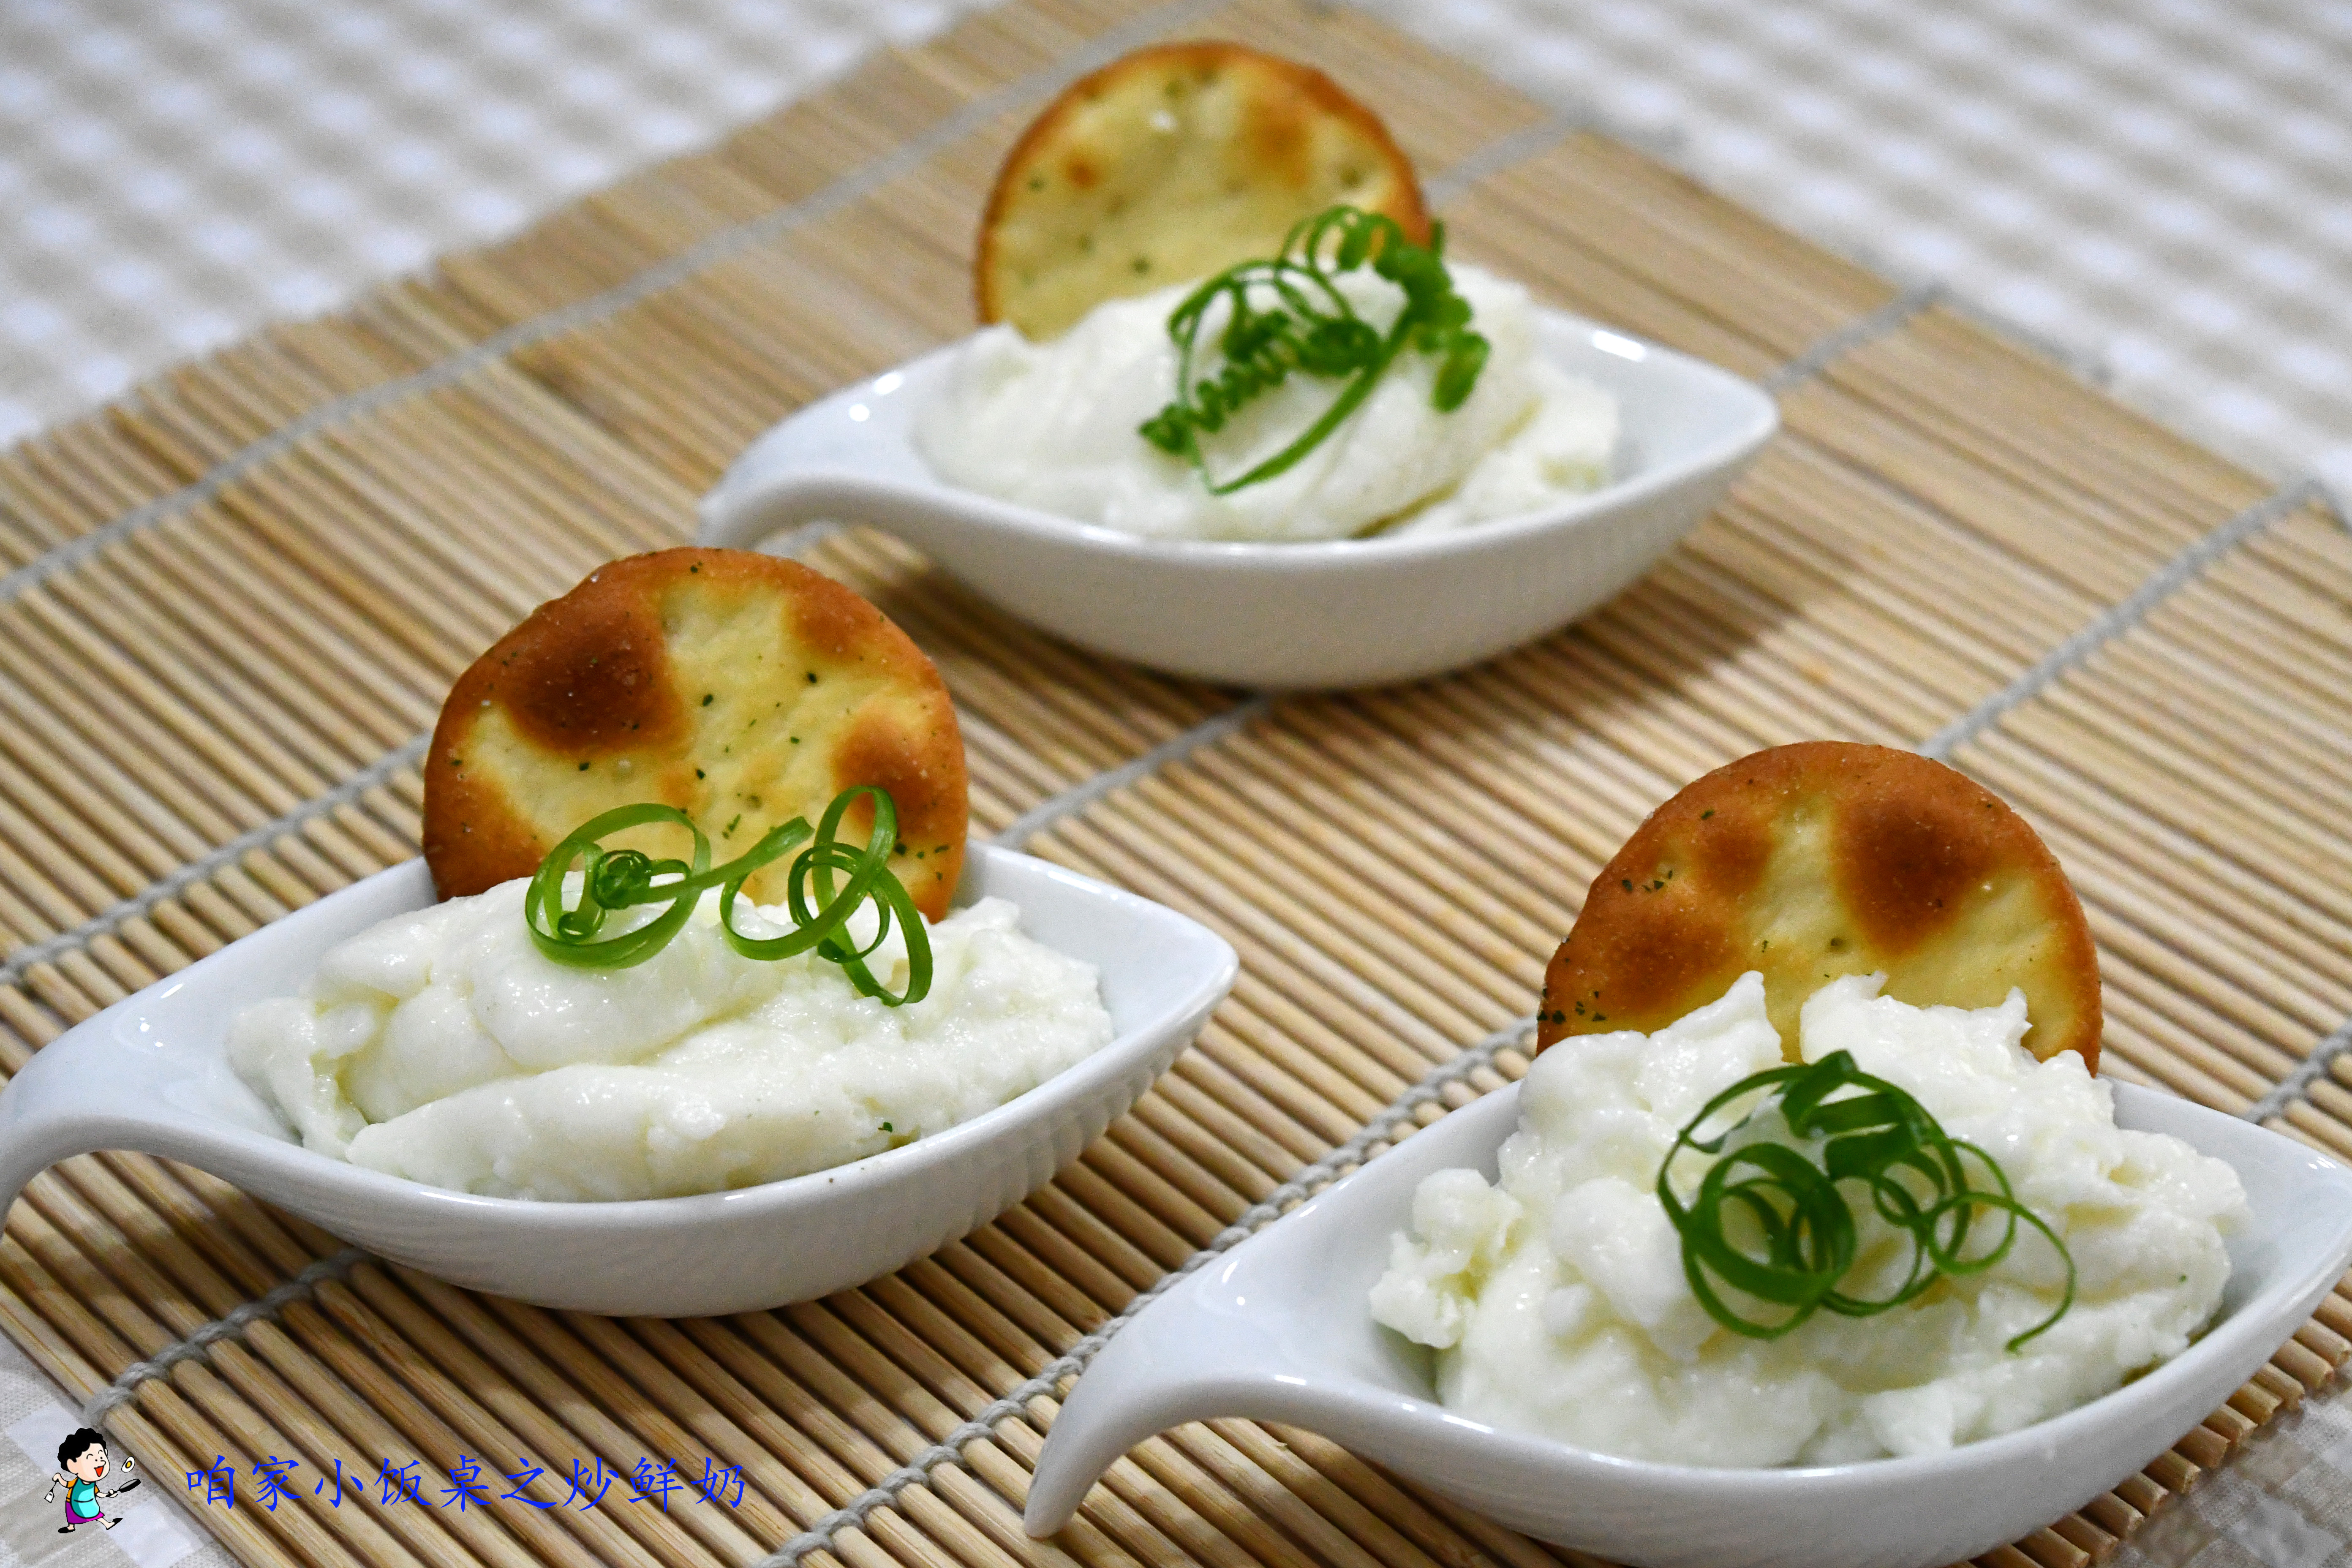
第一次做炒鲜奶之前,很是好奇牛奶怎么可以炒的。做了之后,便爱上了。
 材料:
材料:
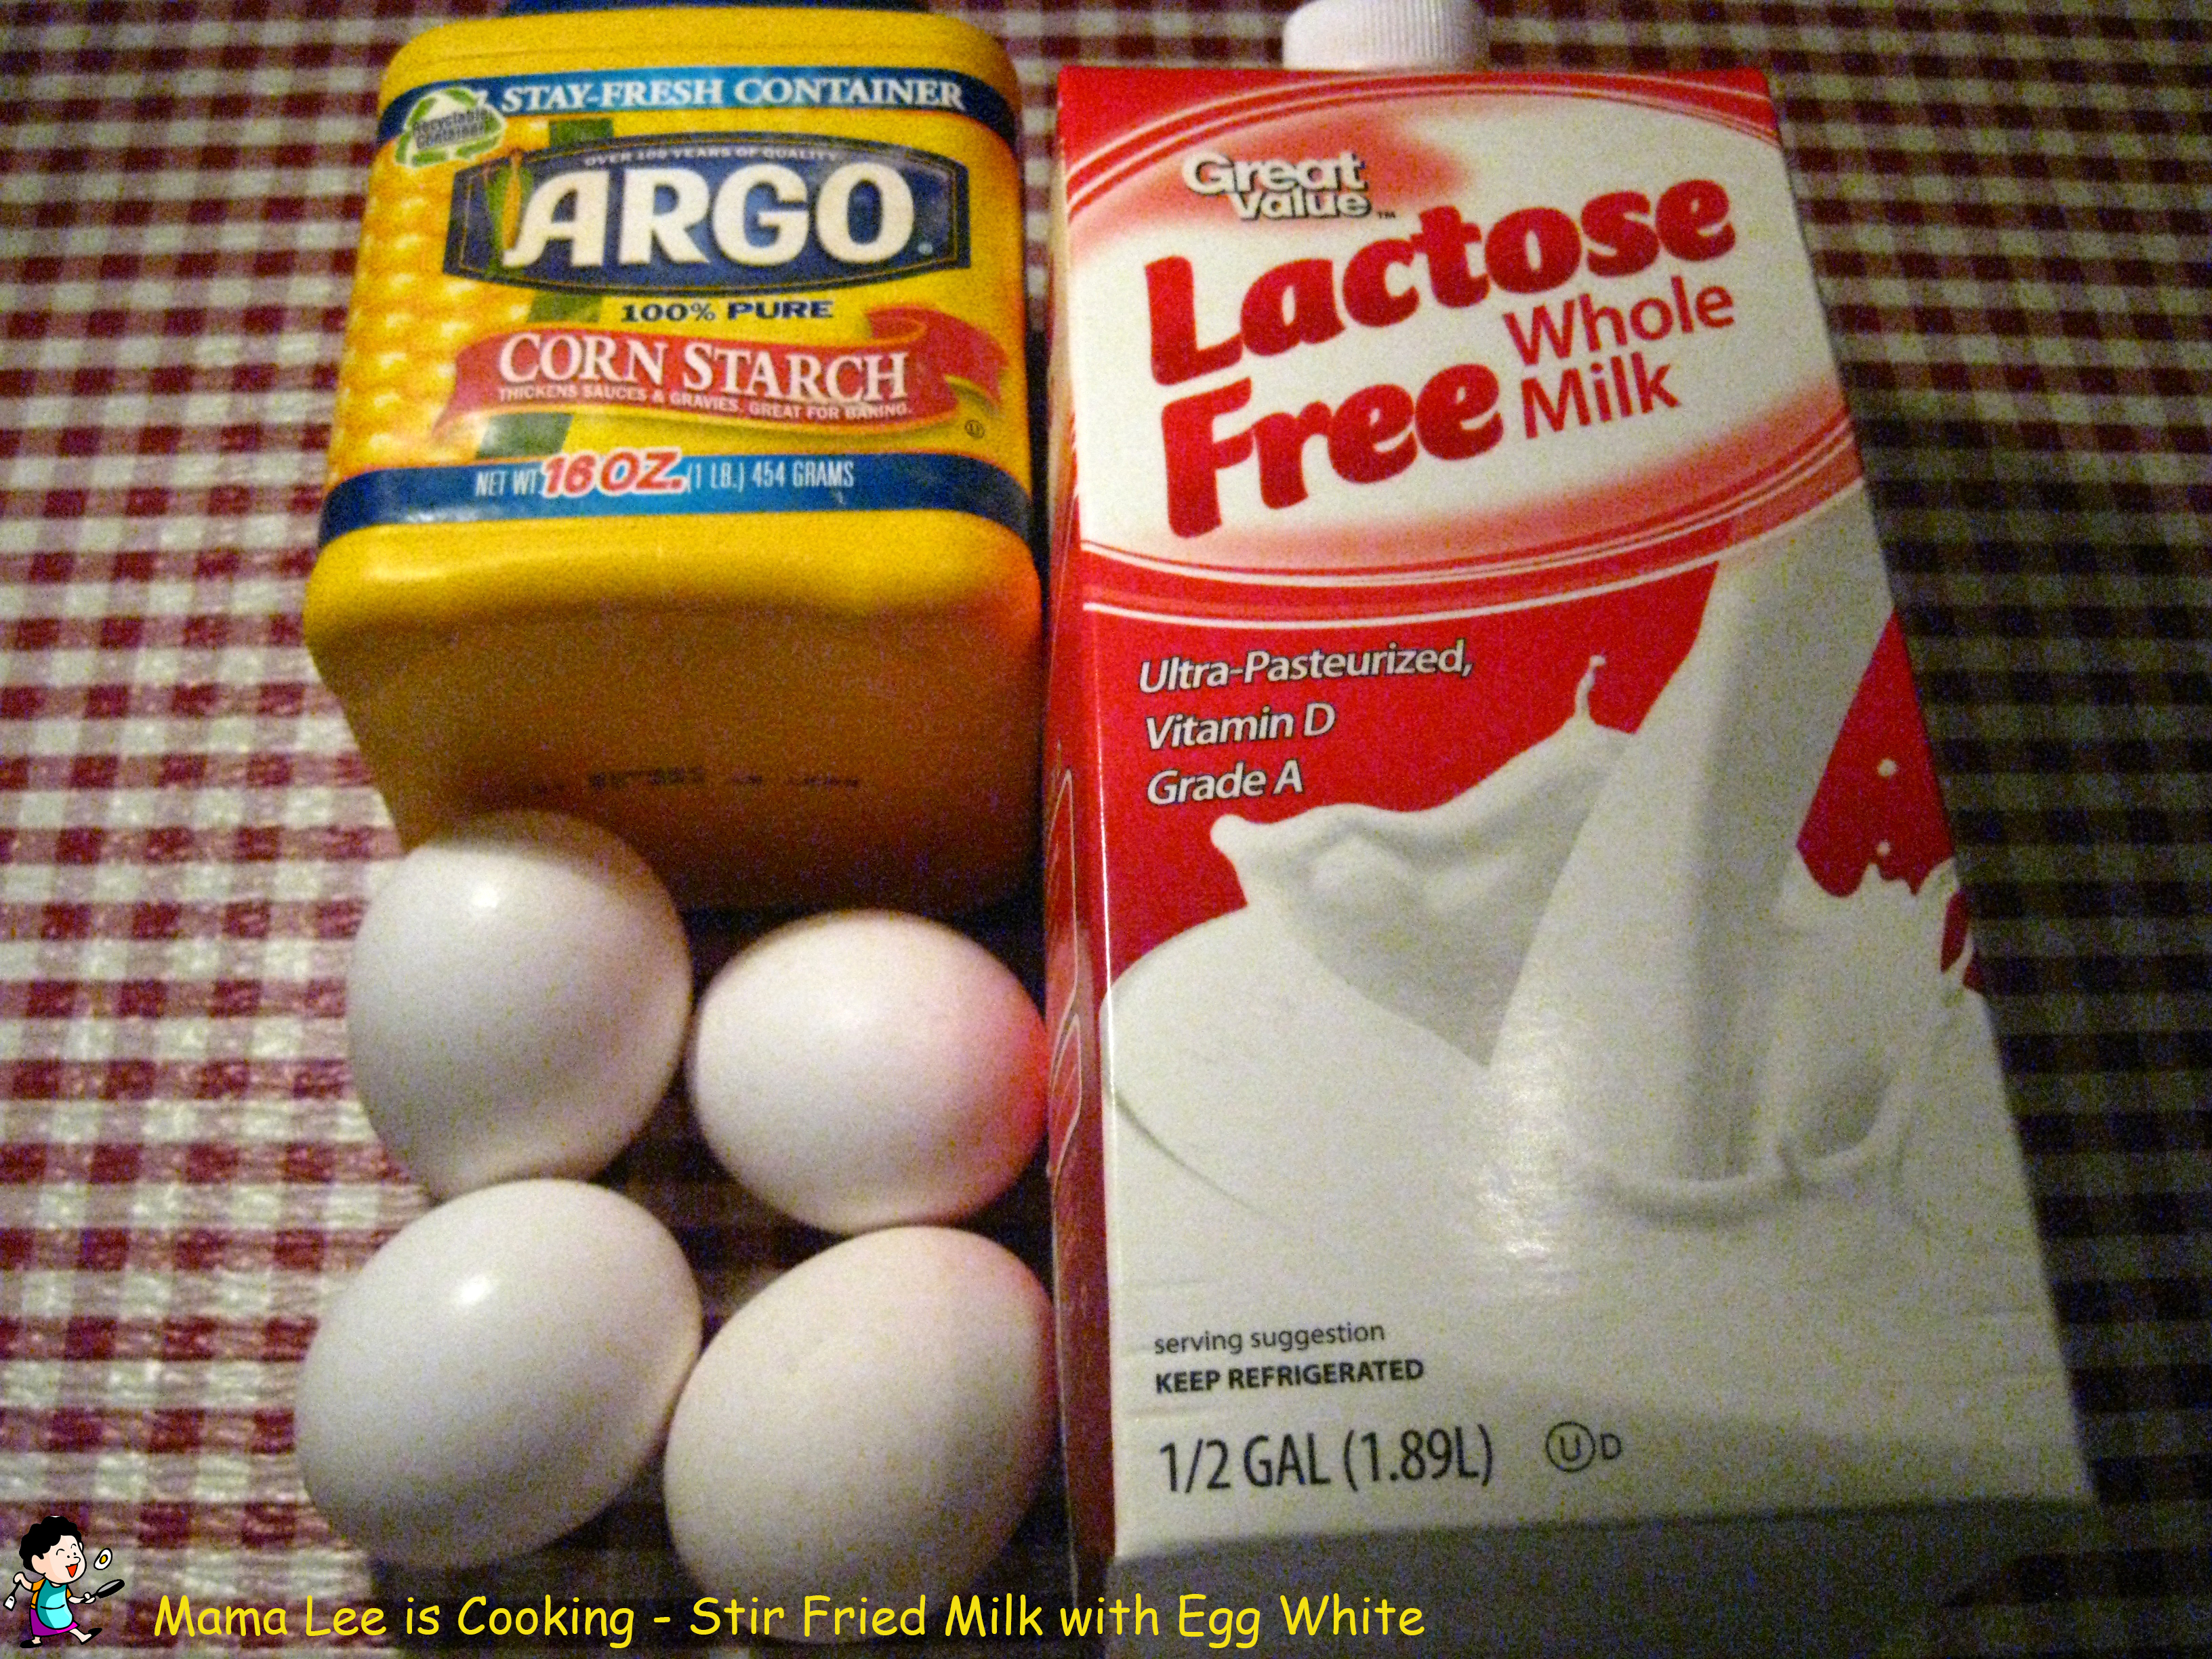
牛奶,蛋清,淀粉,盐或者糖。
做法:
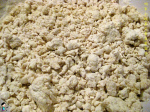
1、蛋清打散。
 2、牛奶和淀粉混匀,然后和蛋清拌在一起。
3、炒锅倒油烧热,调中火。
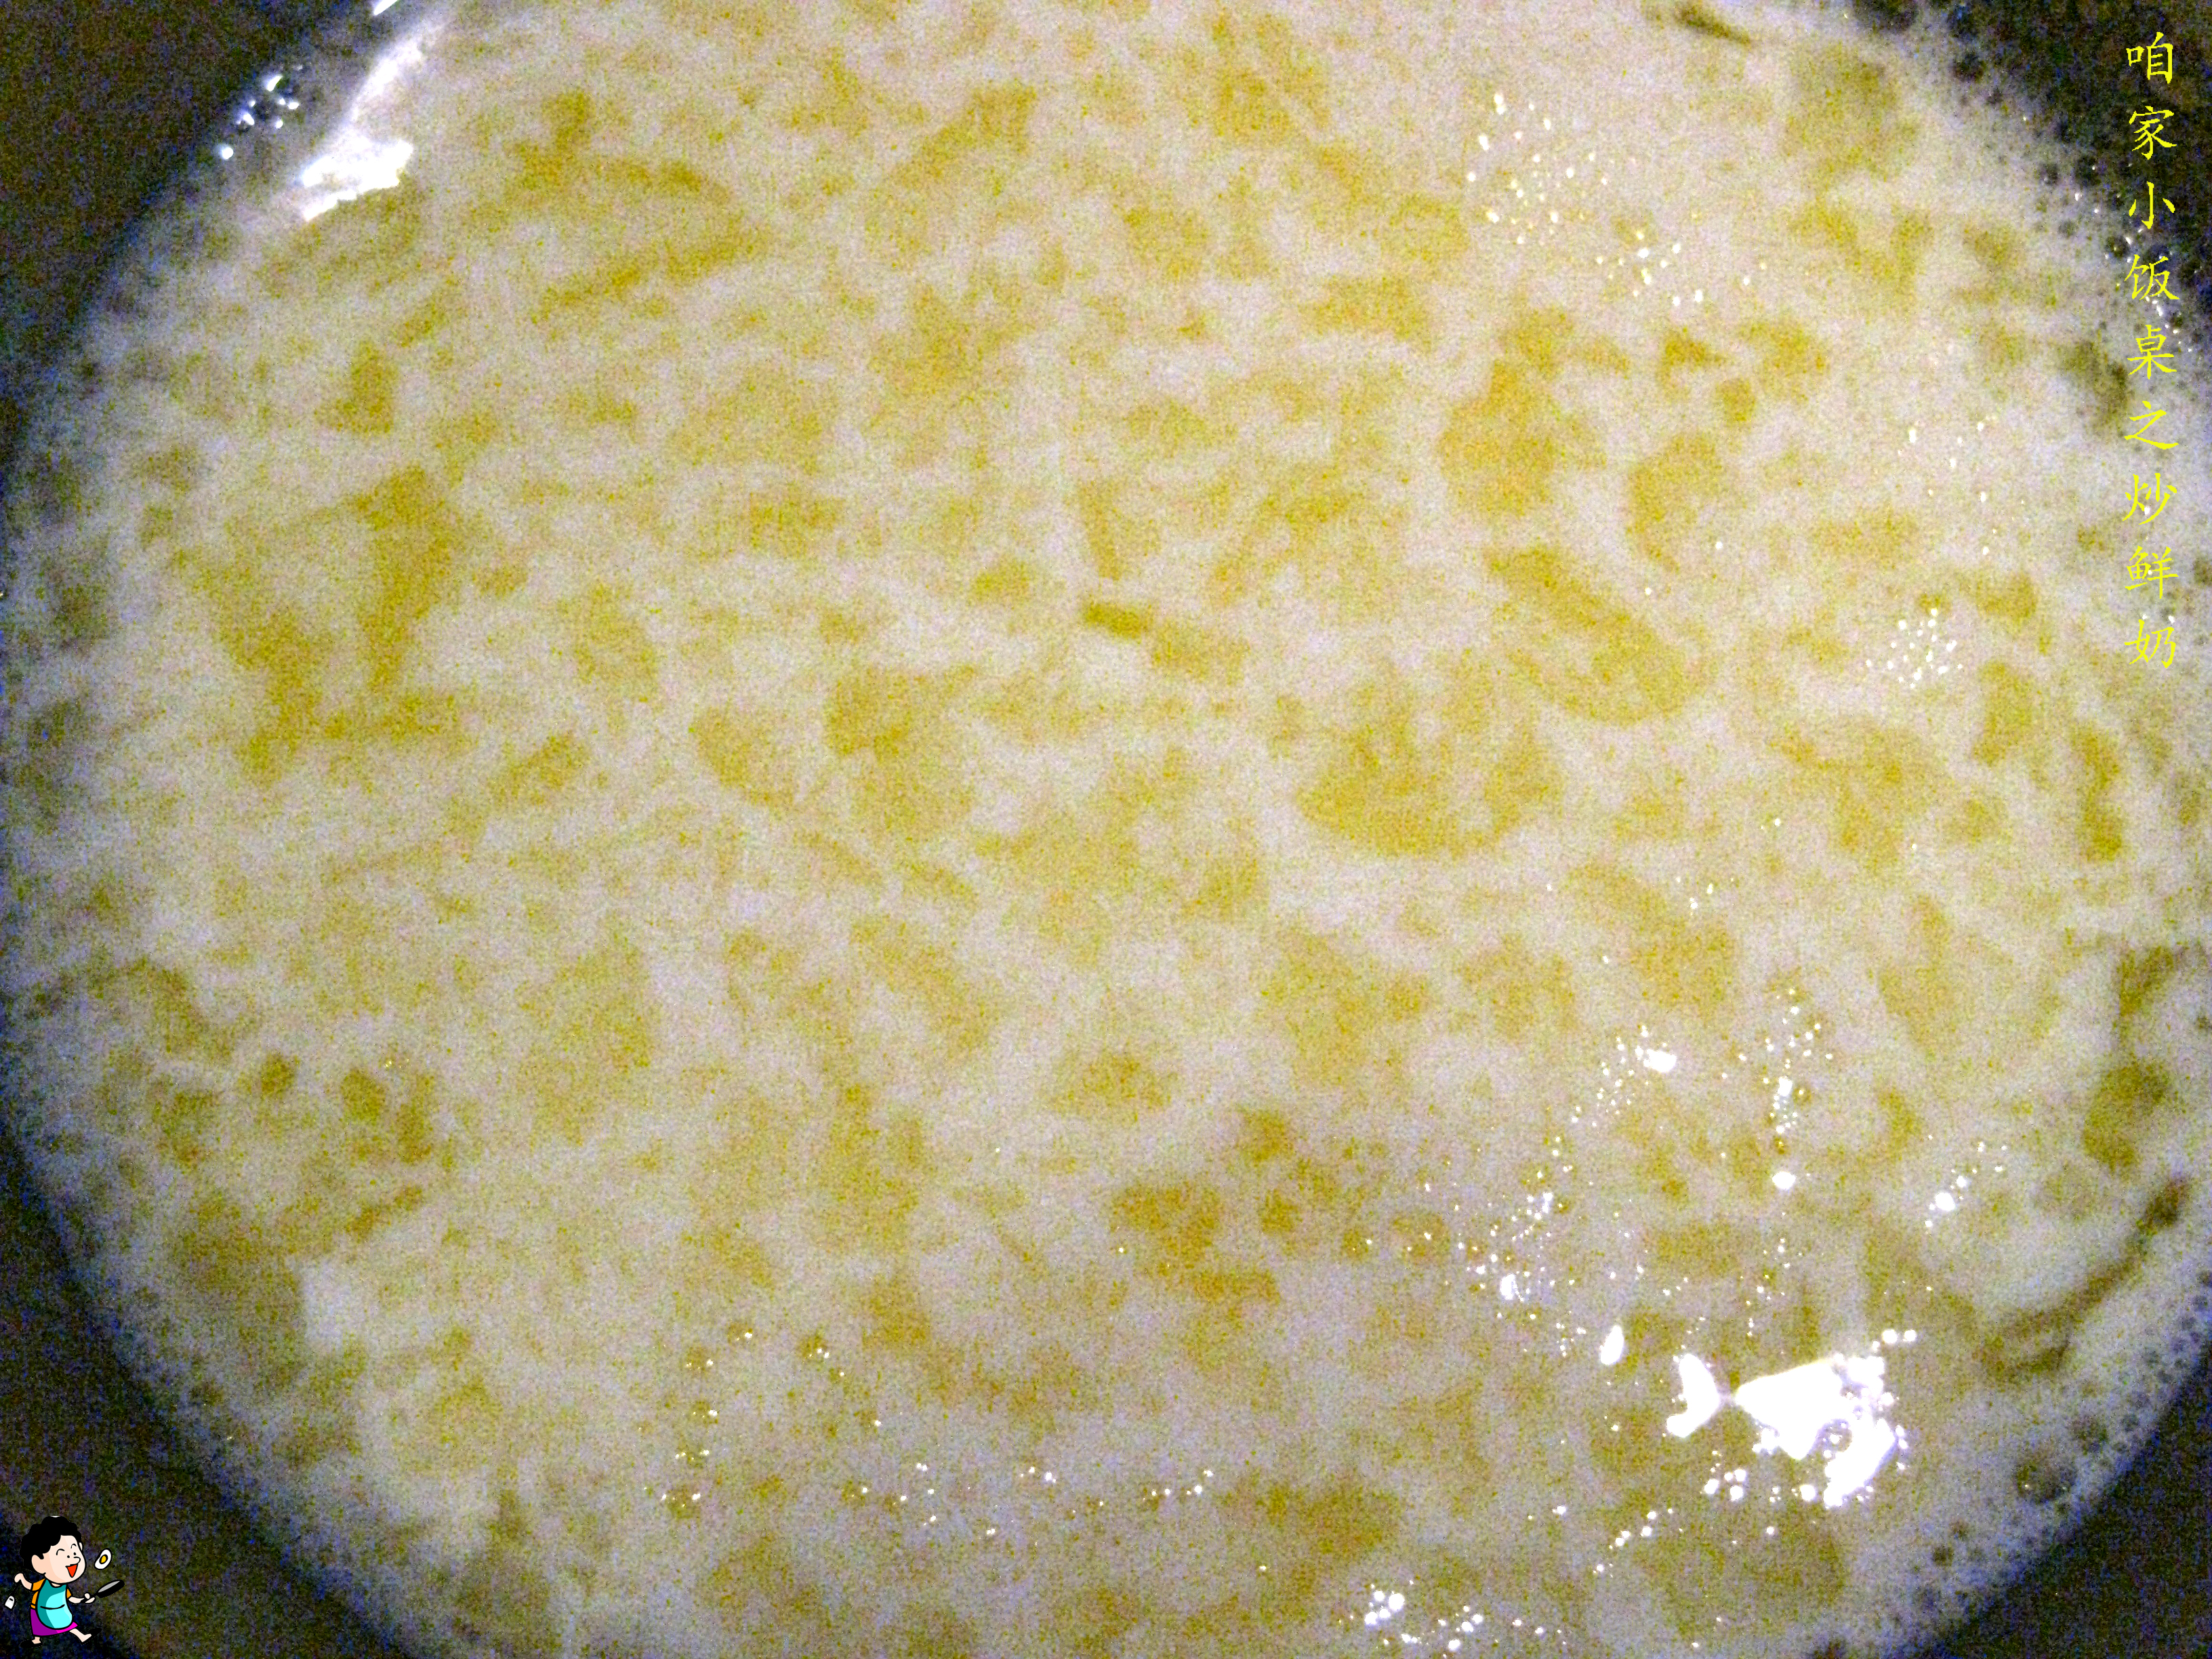
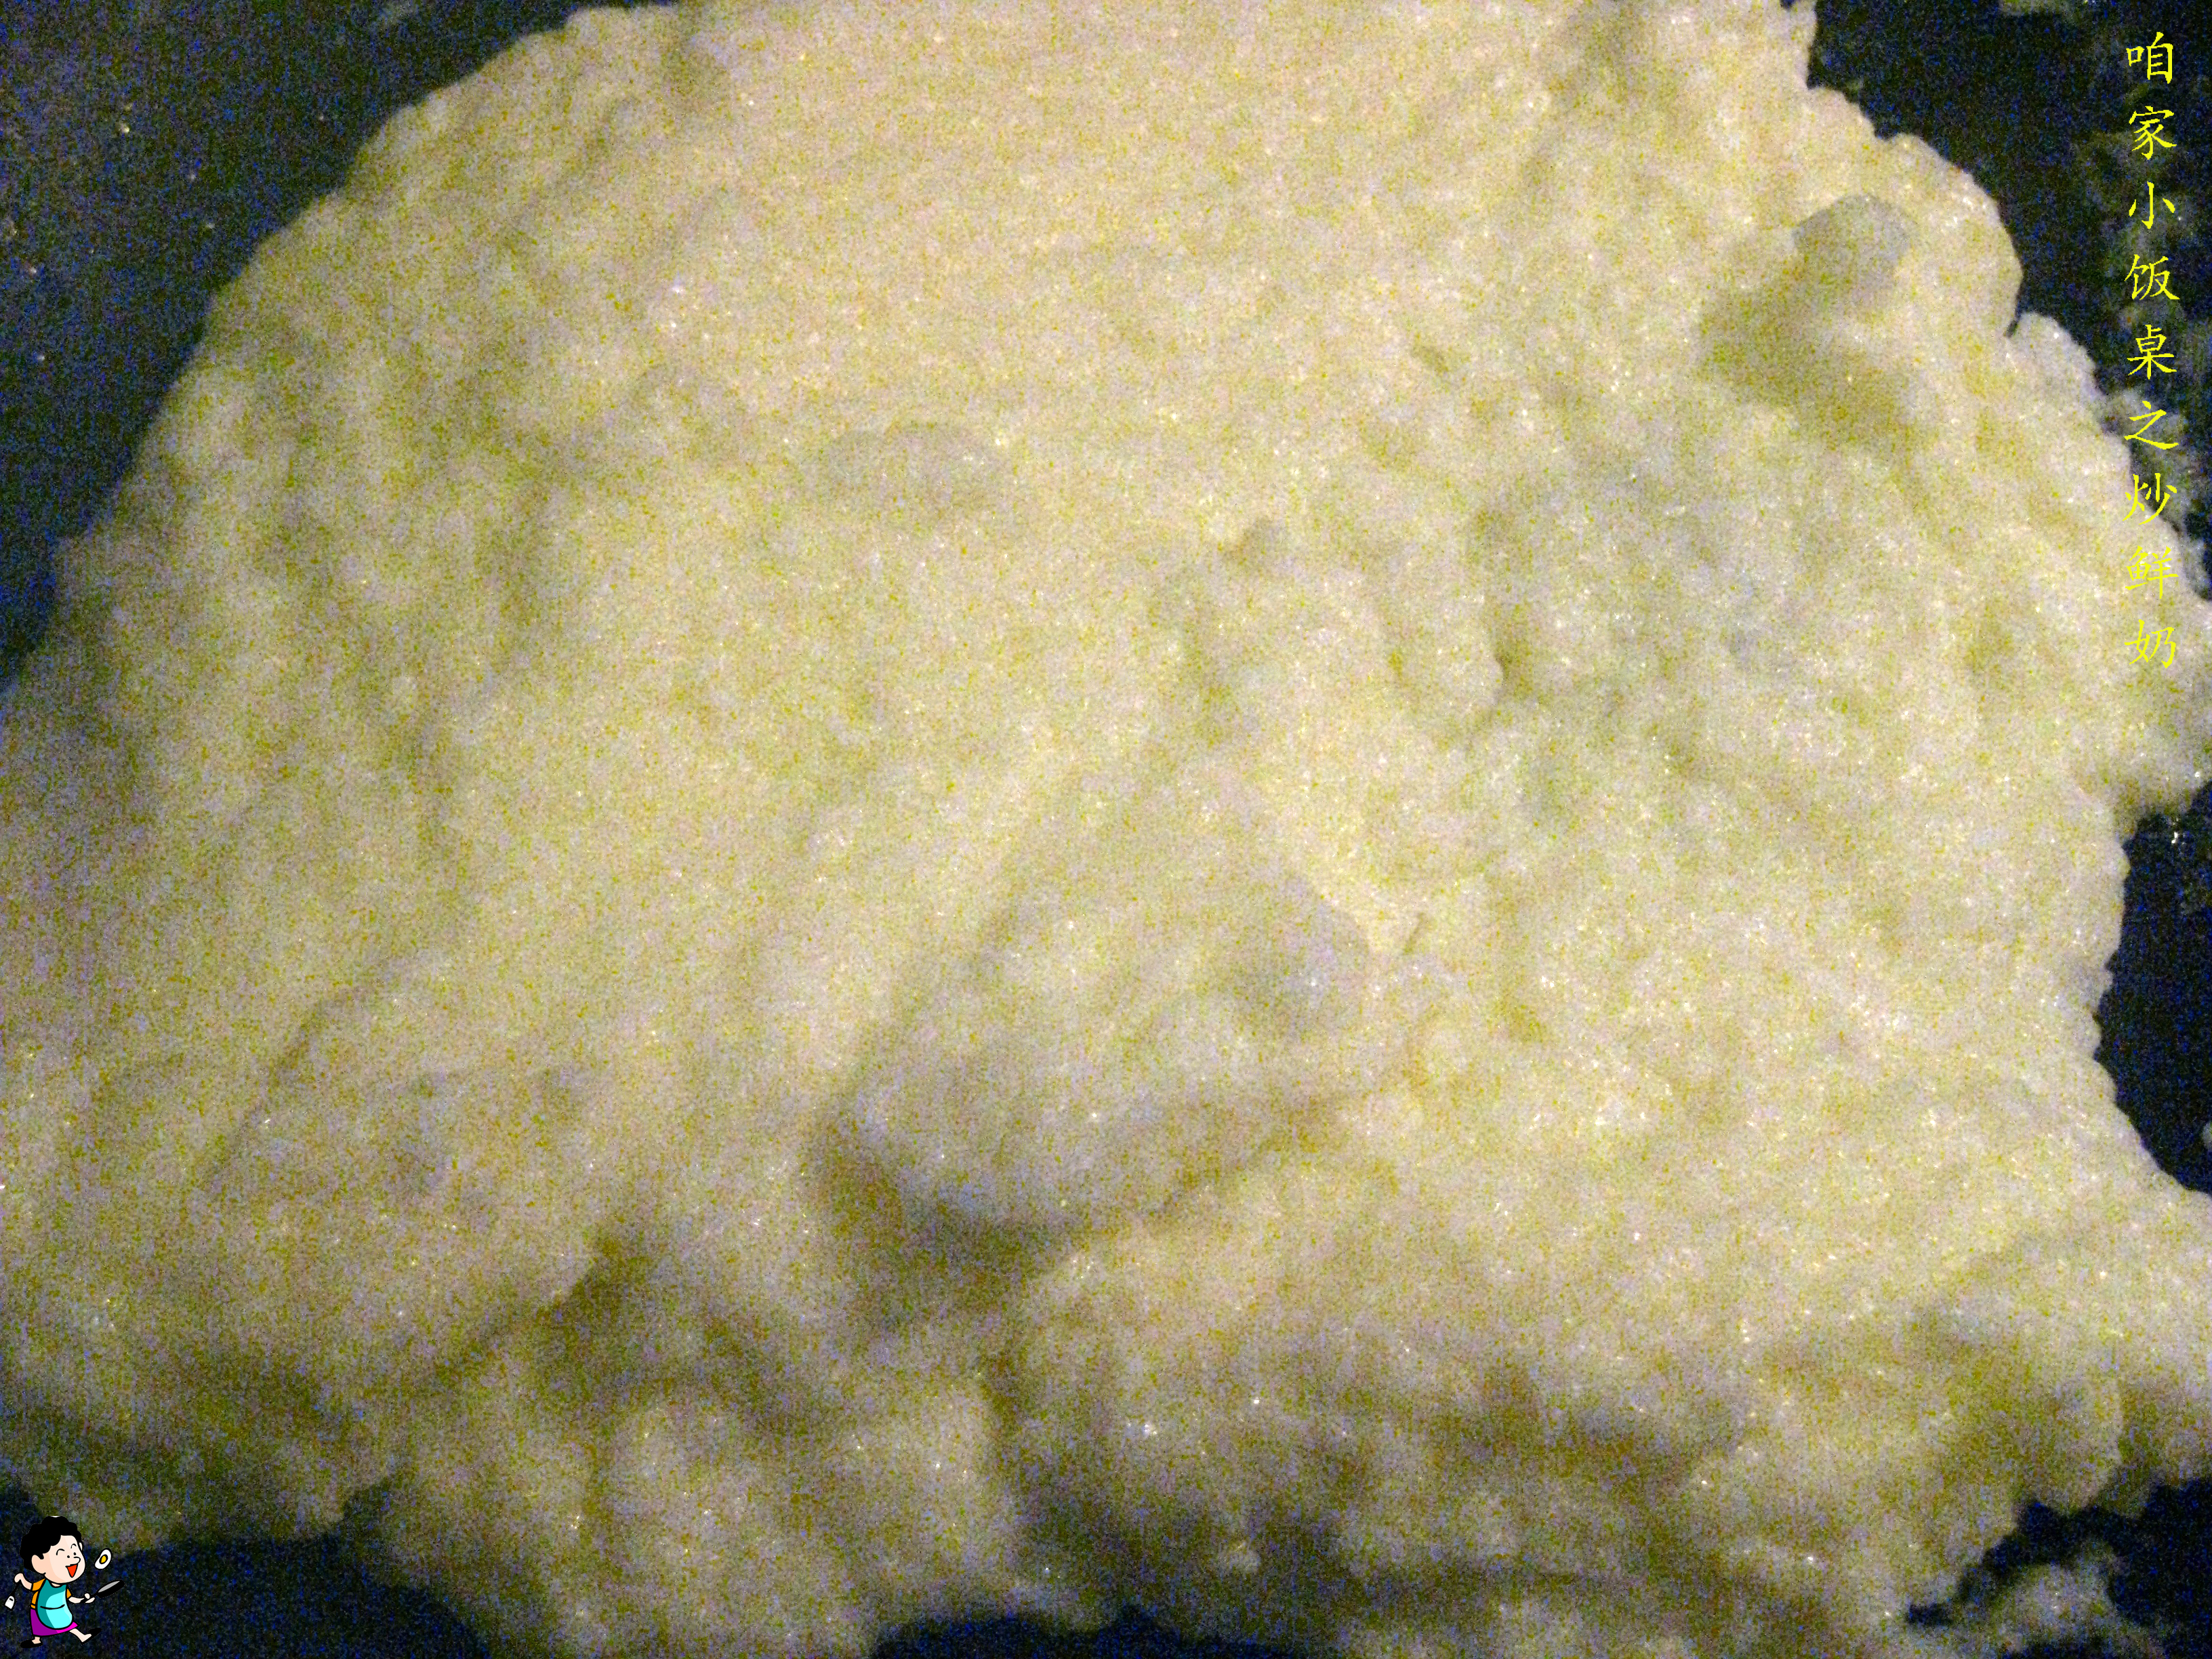
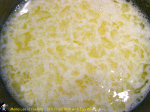
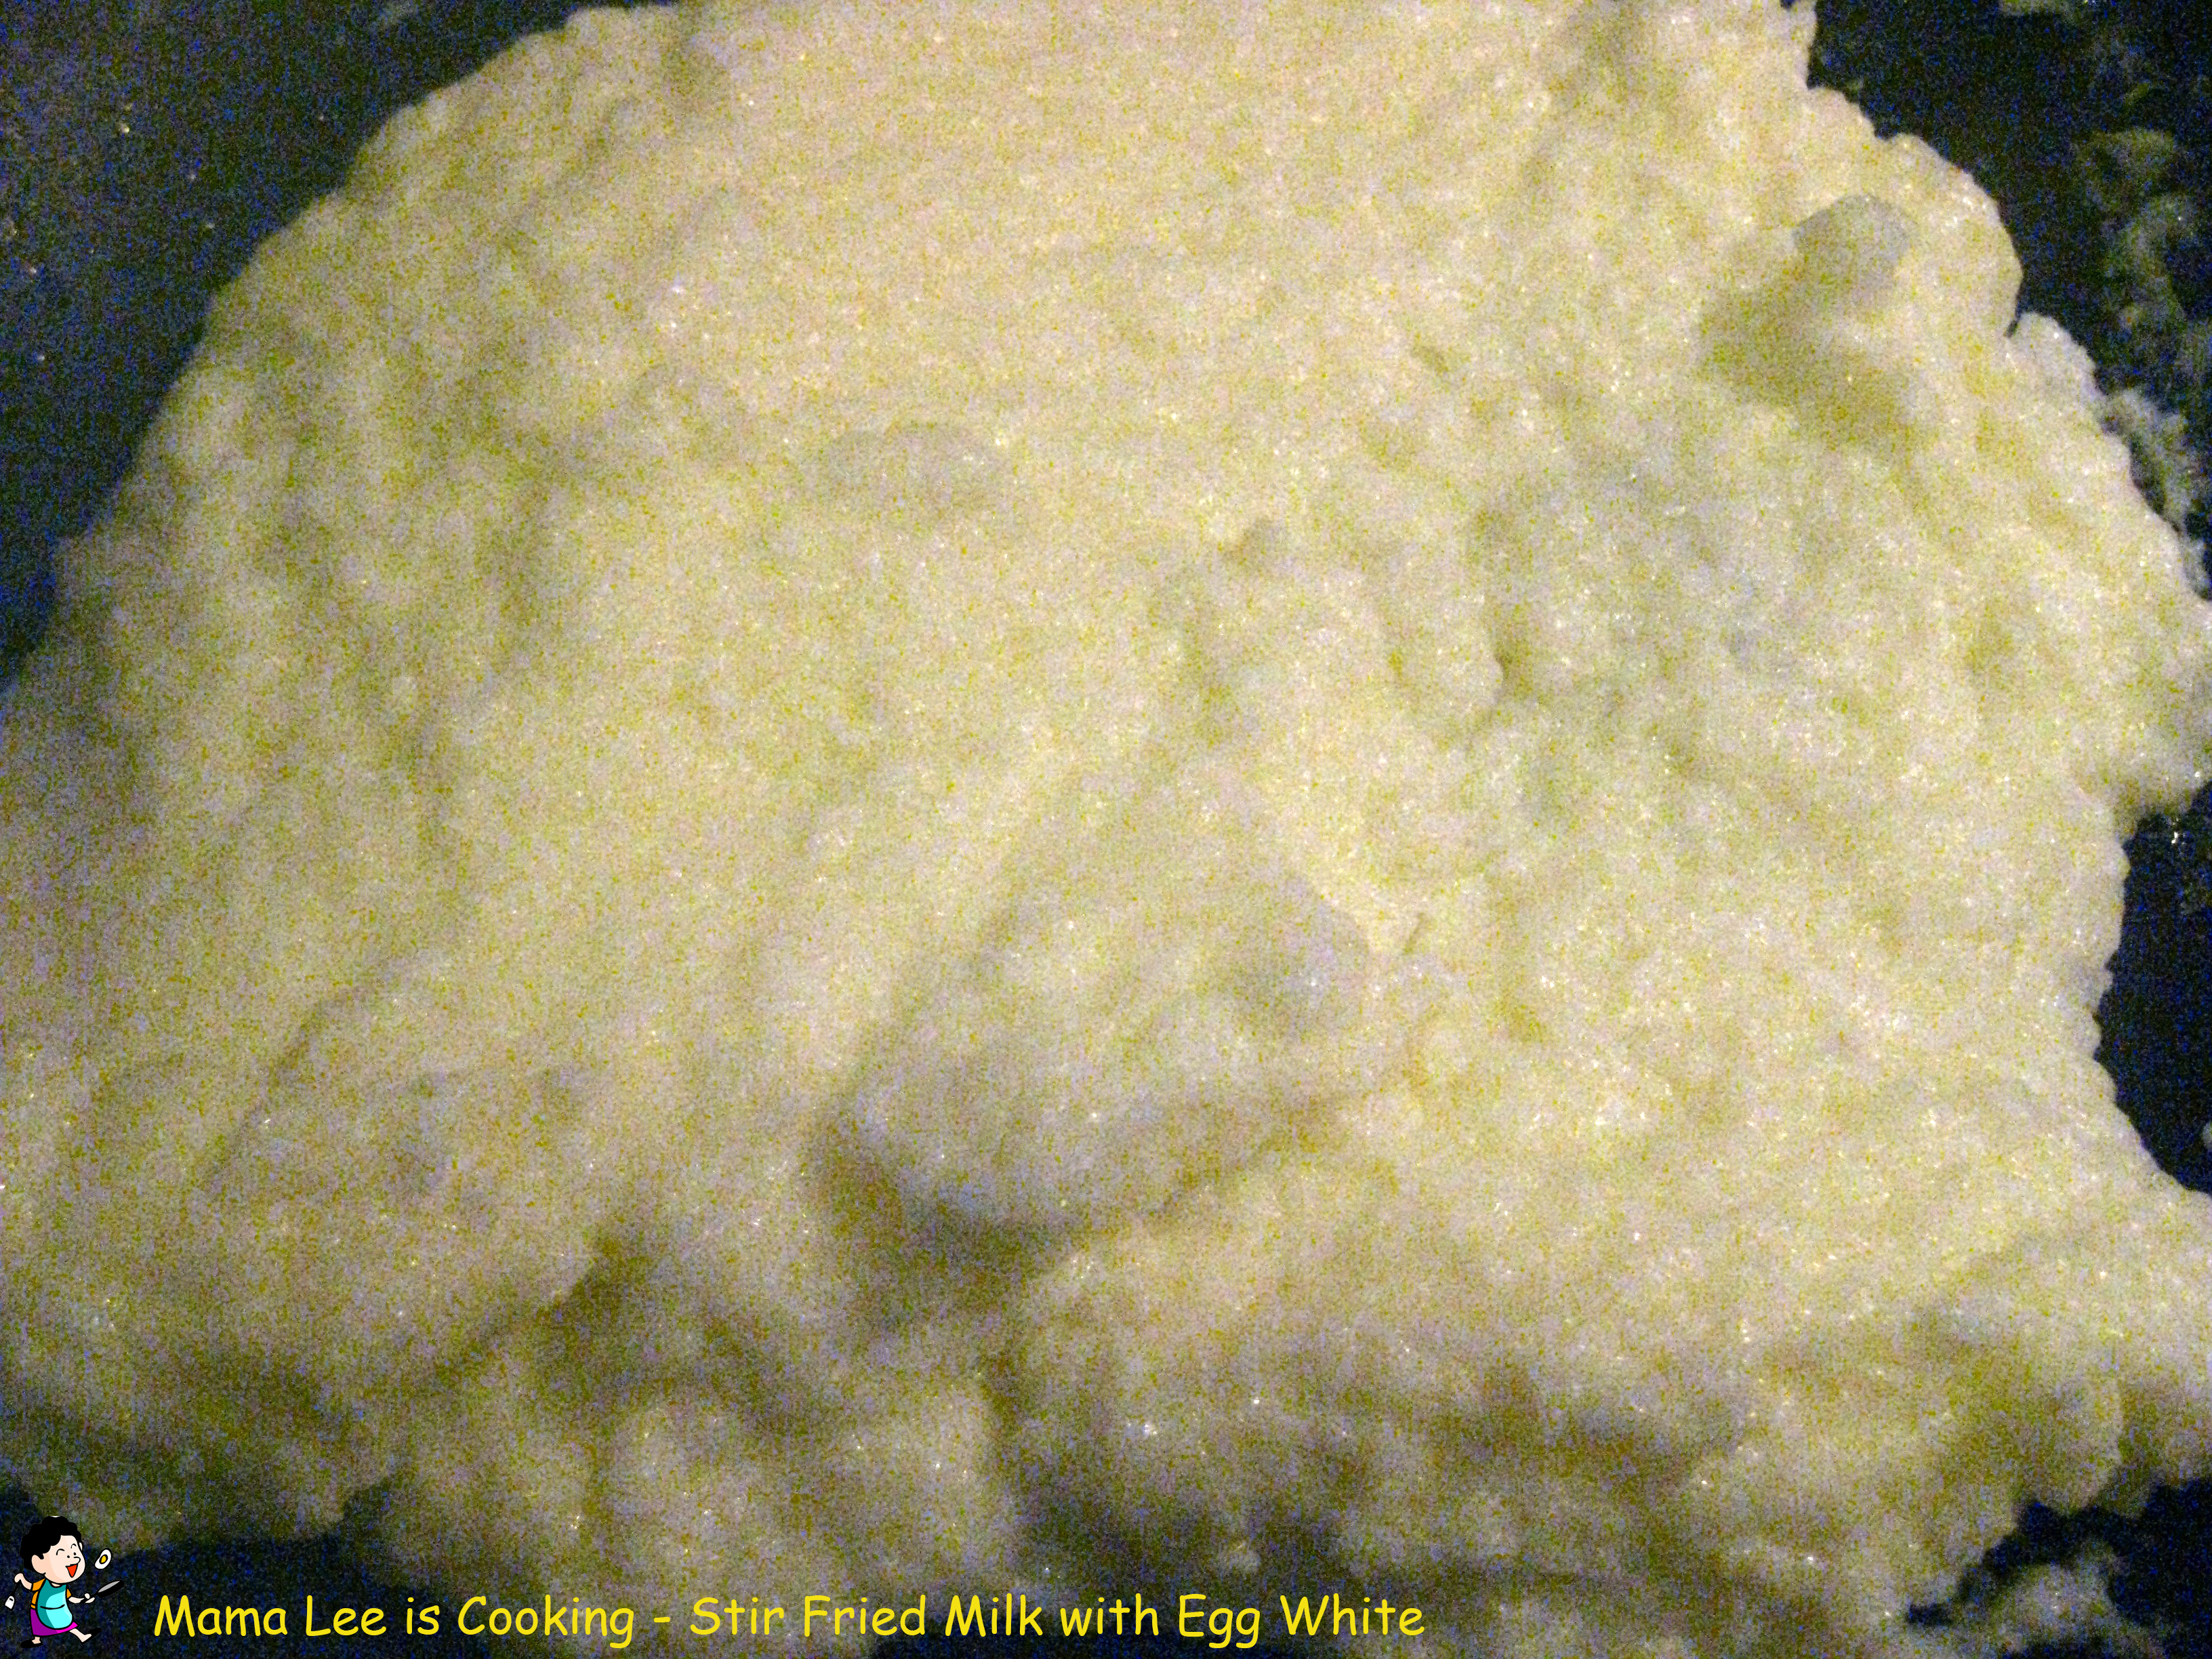
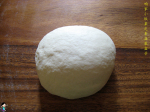
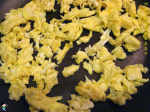
4、把牛奶倒进锅,用锅铲慢慢从前向后推,直至牛奶慢慢凝固。
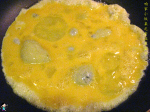
5、加盐或者糖调味。
 我喜欢甜的,所以加的是糖。
6、炒匀即可装盘。
第一次做炒鲜奶之前,很是好奇牛奶怎么可以炒的。做了之后,便爱上了。
材料:
牛奶,蛋清,淀粉,盐或者糖。
做法:
1、蛋清打散。
2、牛奶和淀粉混匀,然后和蛋清拌在一起。
3、炒锅倒油烧热,调中火。
4、把牛奶倒进锅,用锅铲慢慢从前向后推,直至牛奶慢慢凝固。
5、加盐或者糖调味。
我喜欢甜的,所以加的是糖。
6、炒匀即可装盘。
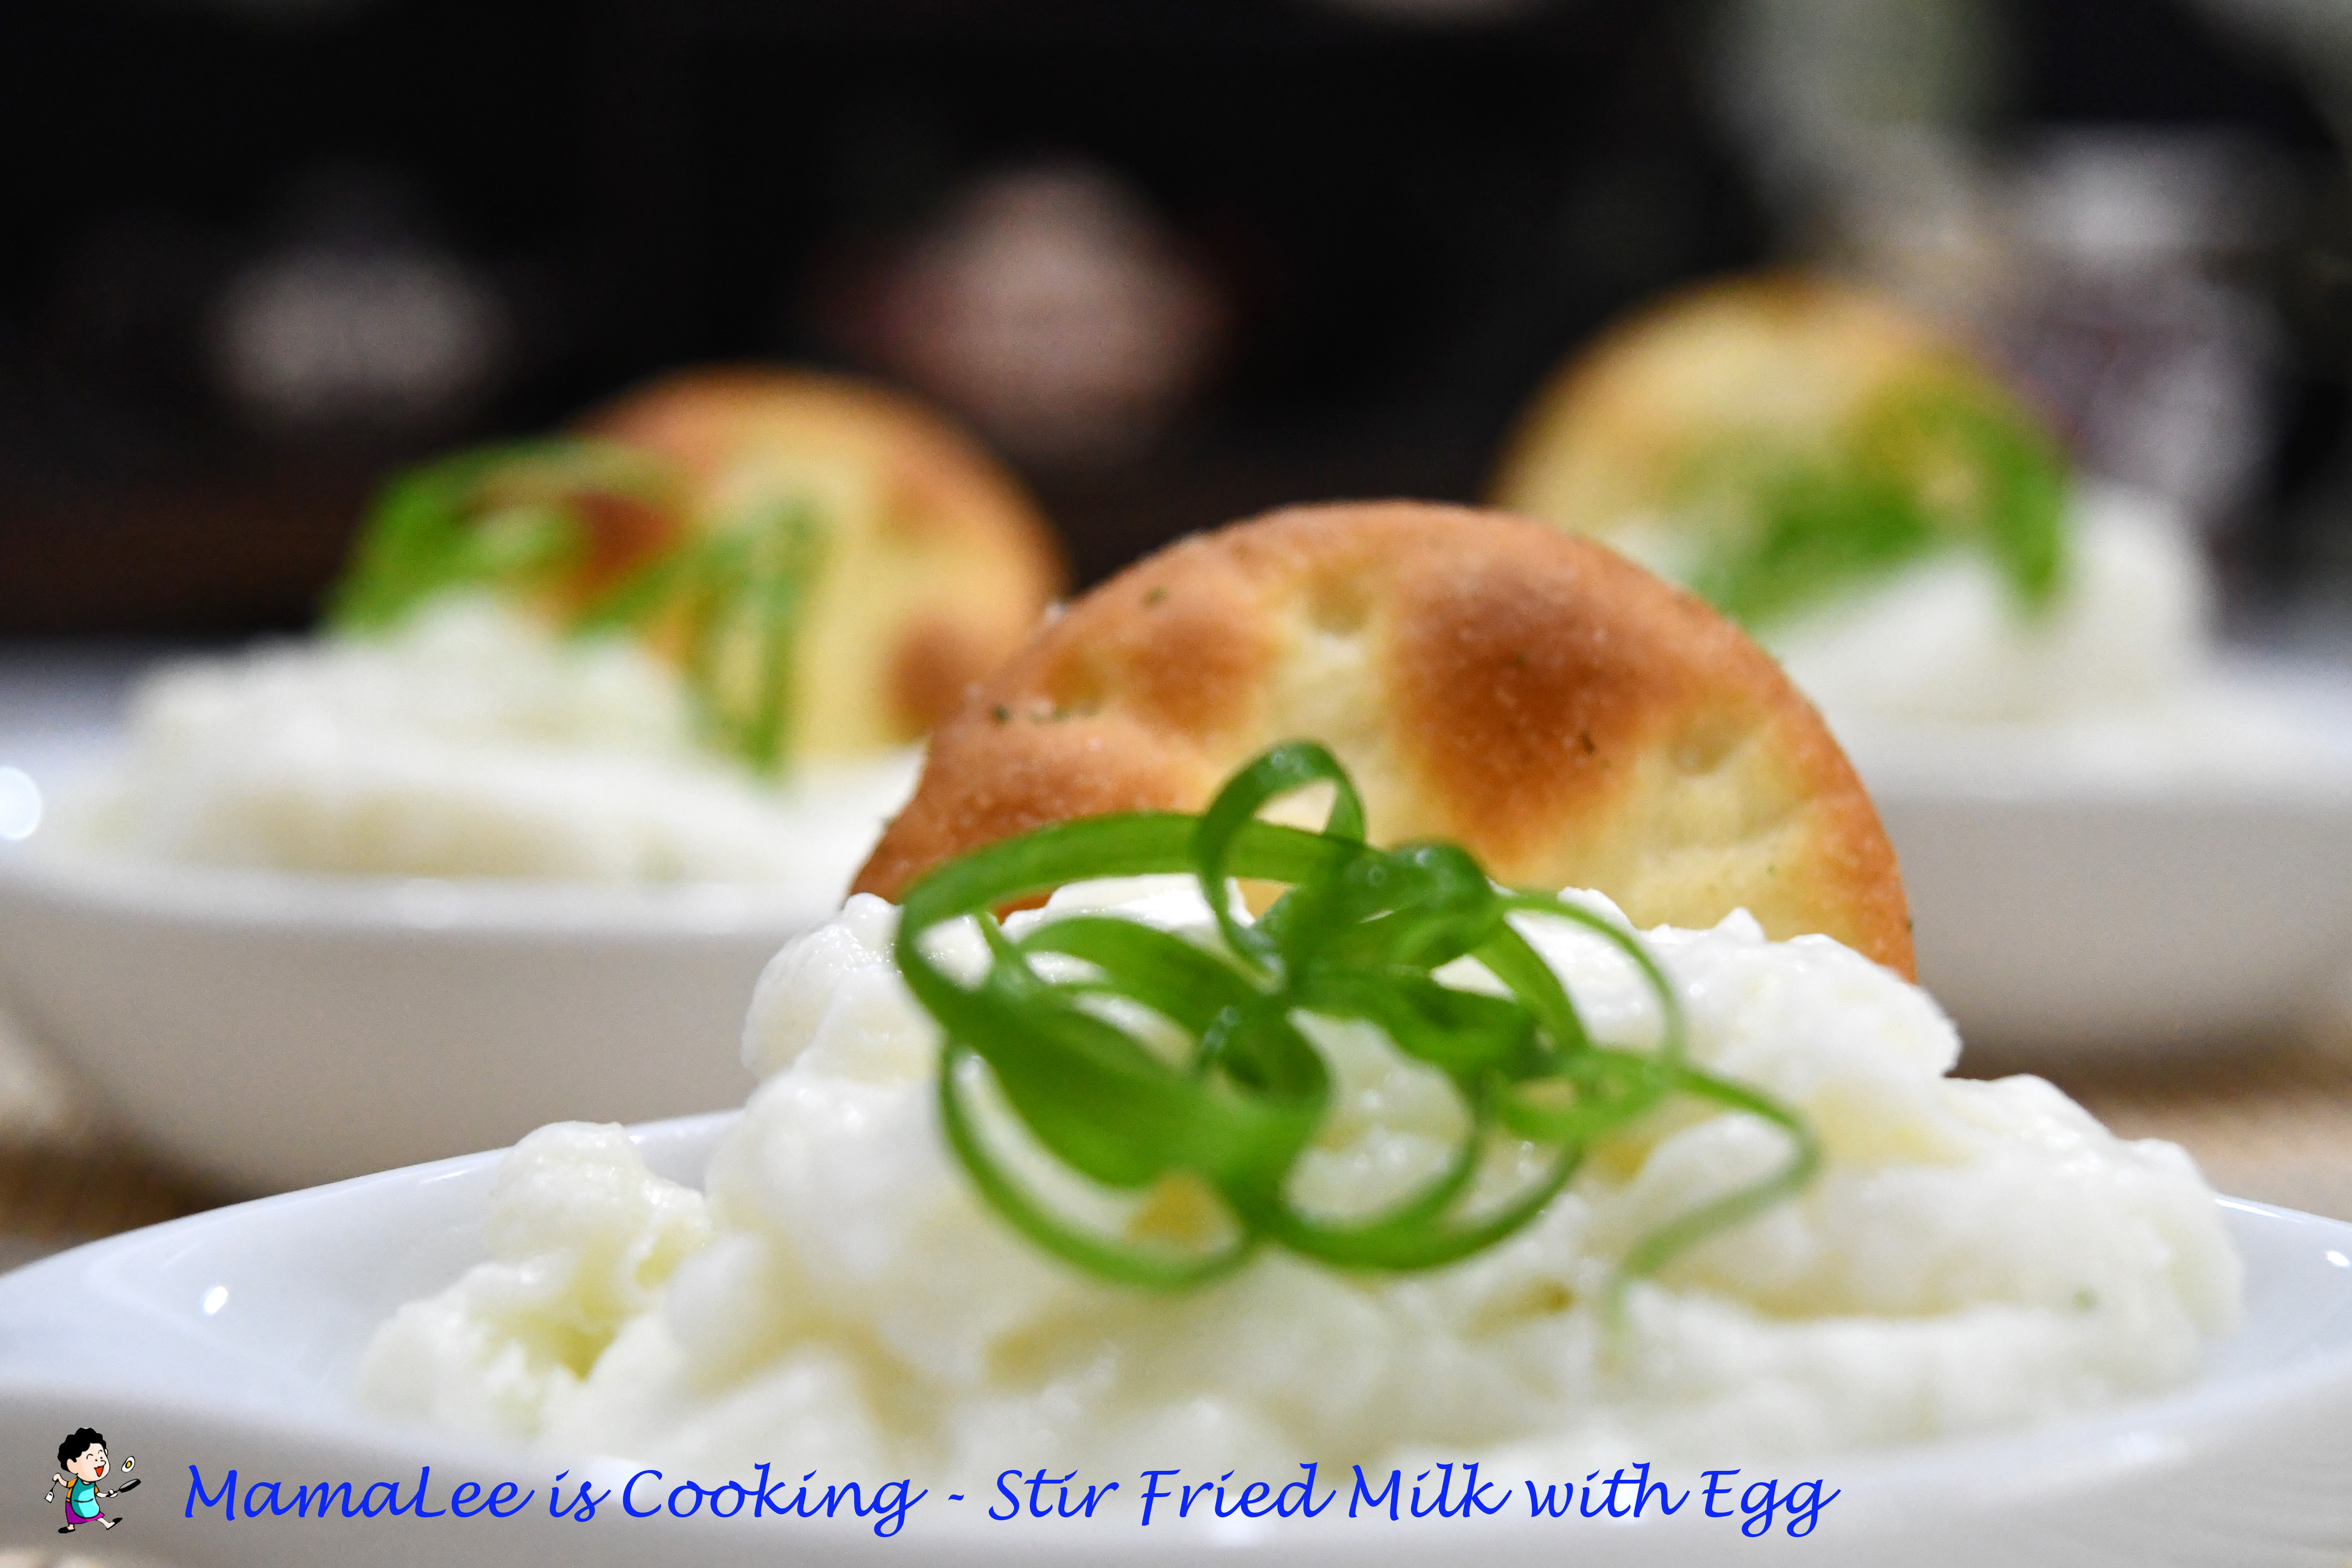
This is a flexible dish. It can be salty, can be sweet, just up to you.
 Ingredients:
1 cup milk, 4 egg white, 1 tbsp corn starch, sugar/salt to taste.
Method:
1. Beat egg white well.
 2. Mix corn starch and milk, then mix with egg white.
3. Heat up skillet, add cooking oil.
4. Adjust heat to medium, pour milk mixture into skillet, use spatula to push slowly from bottom of skillet until milk starting get firm.
 Do not stir fry.
5. Add sugar or salt to your taste.
I like it sweet, so I used sugar.

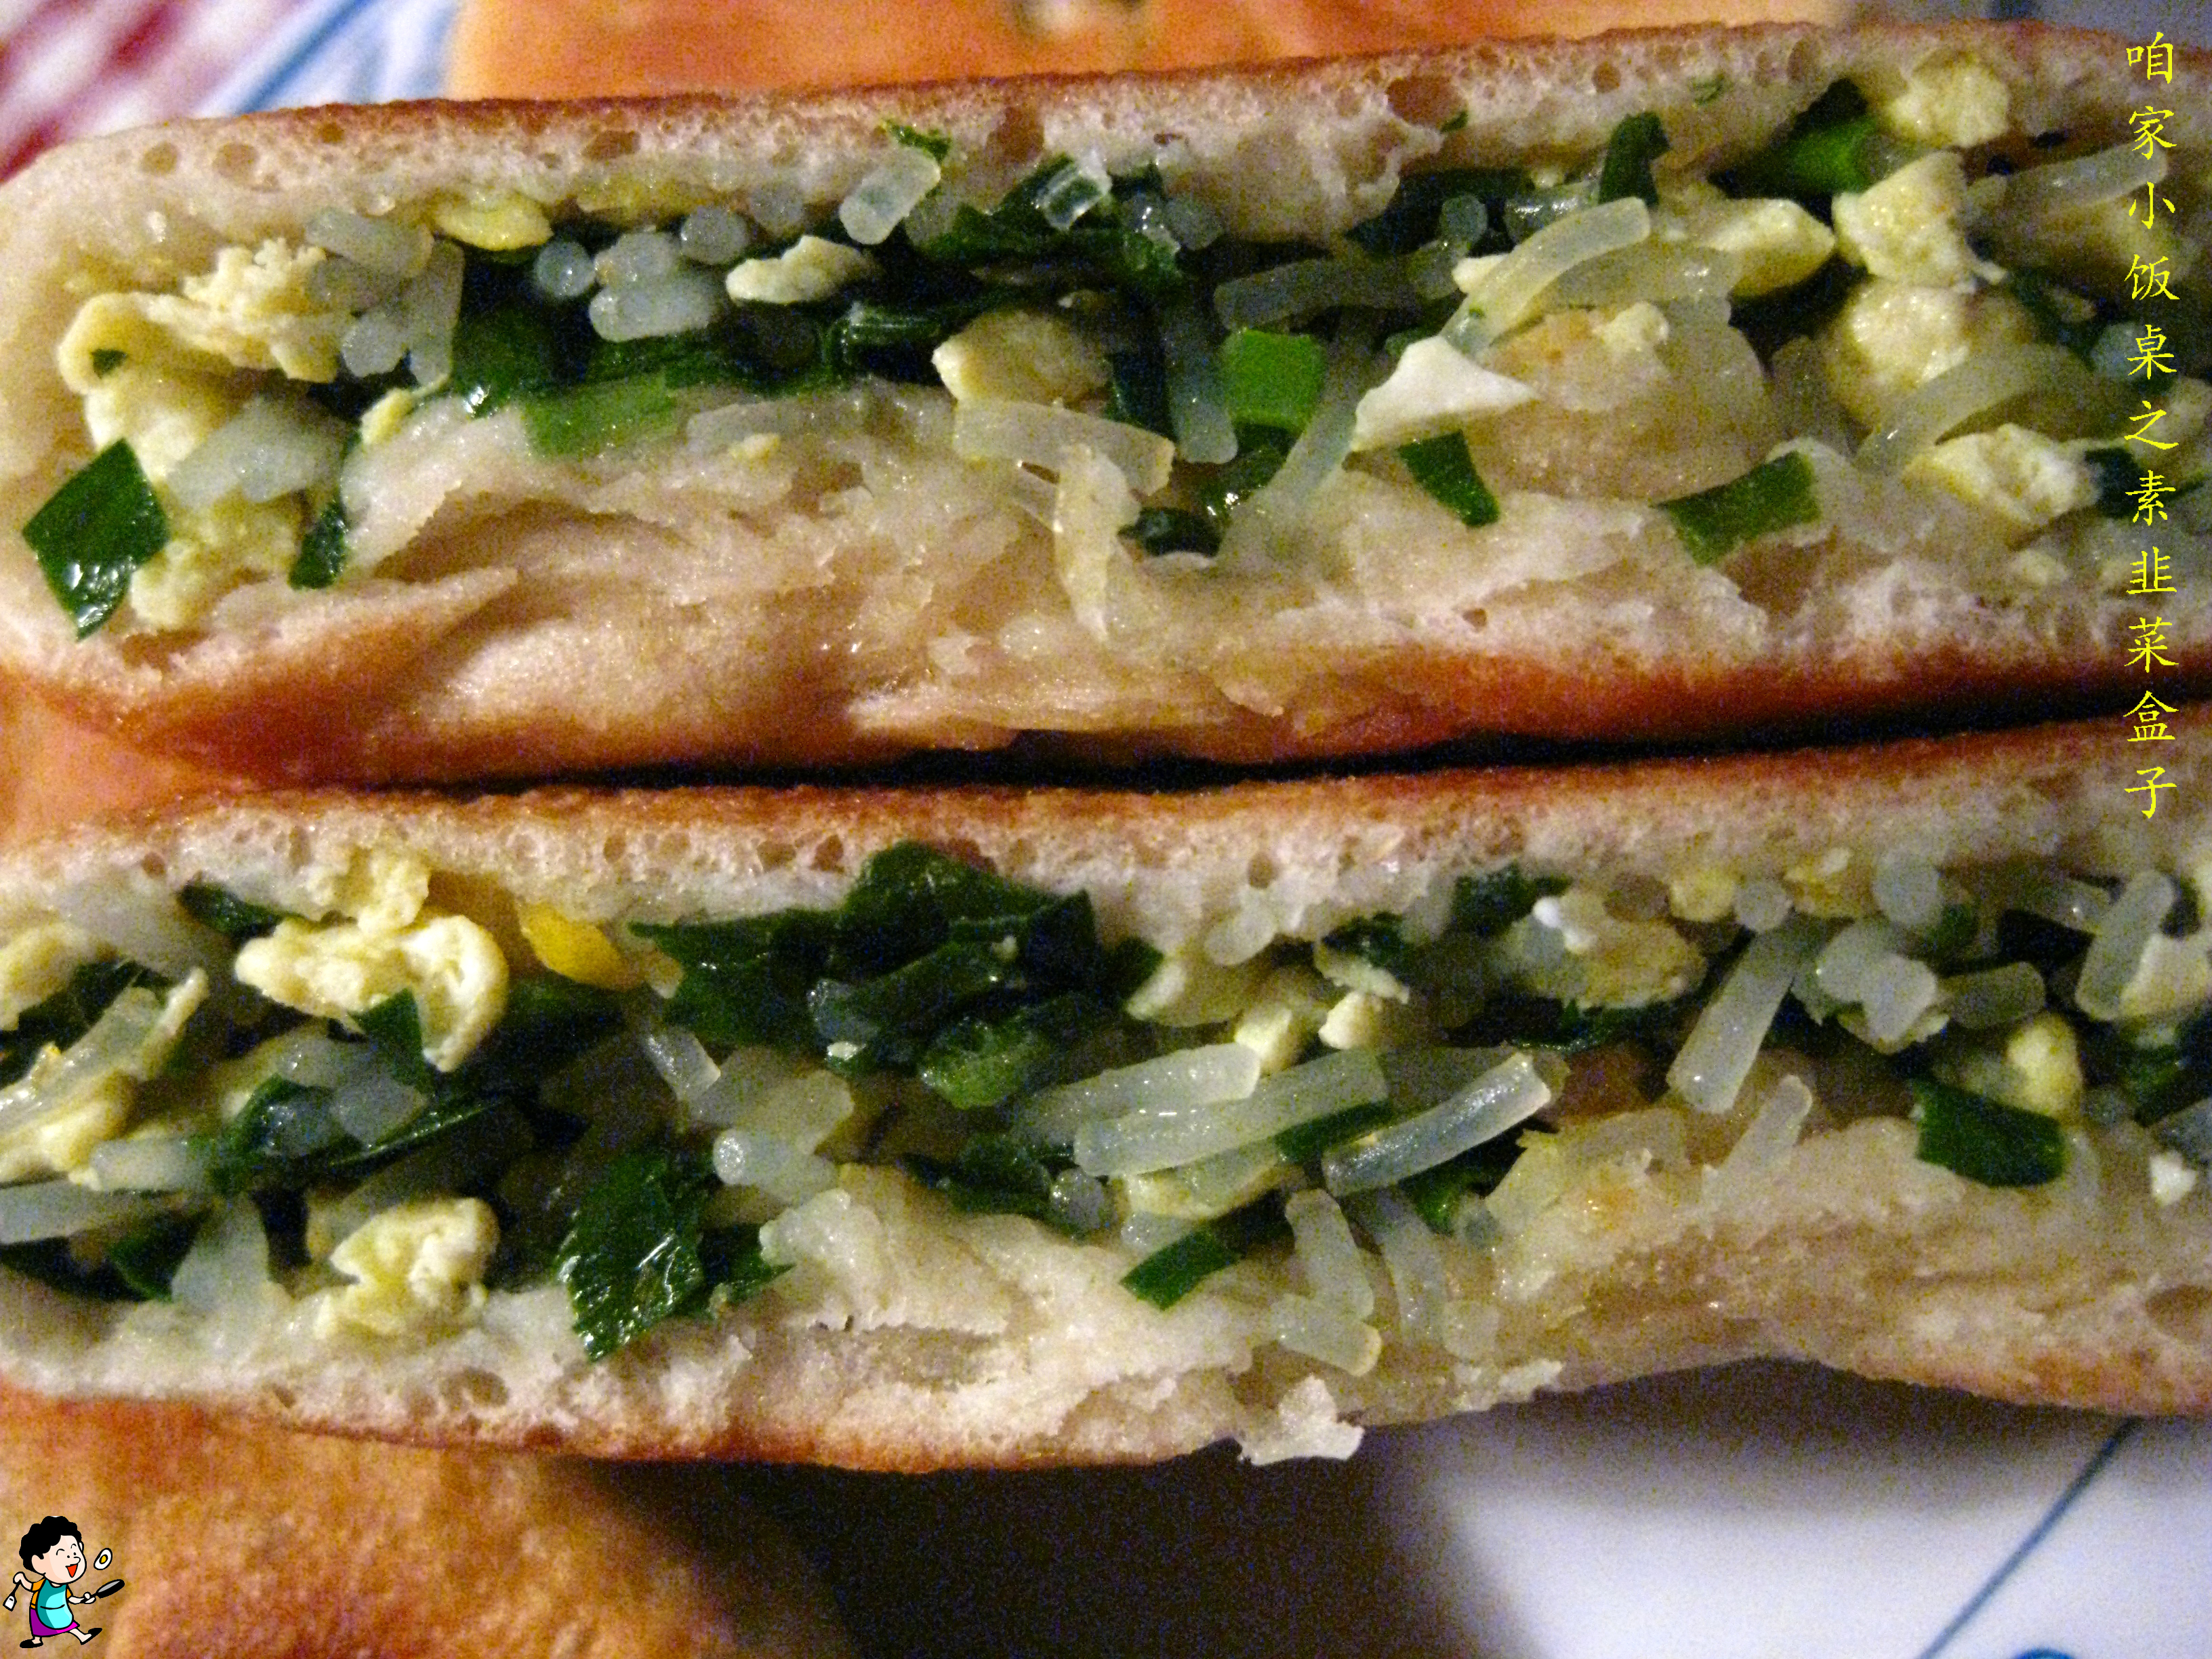
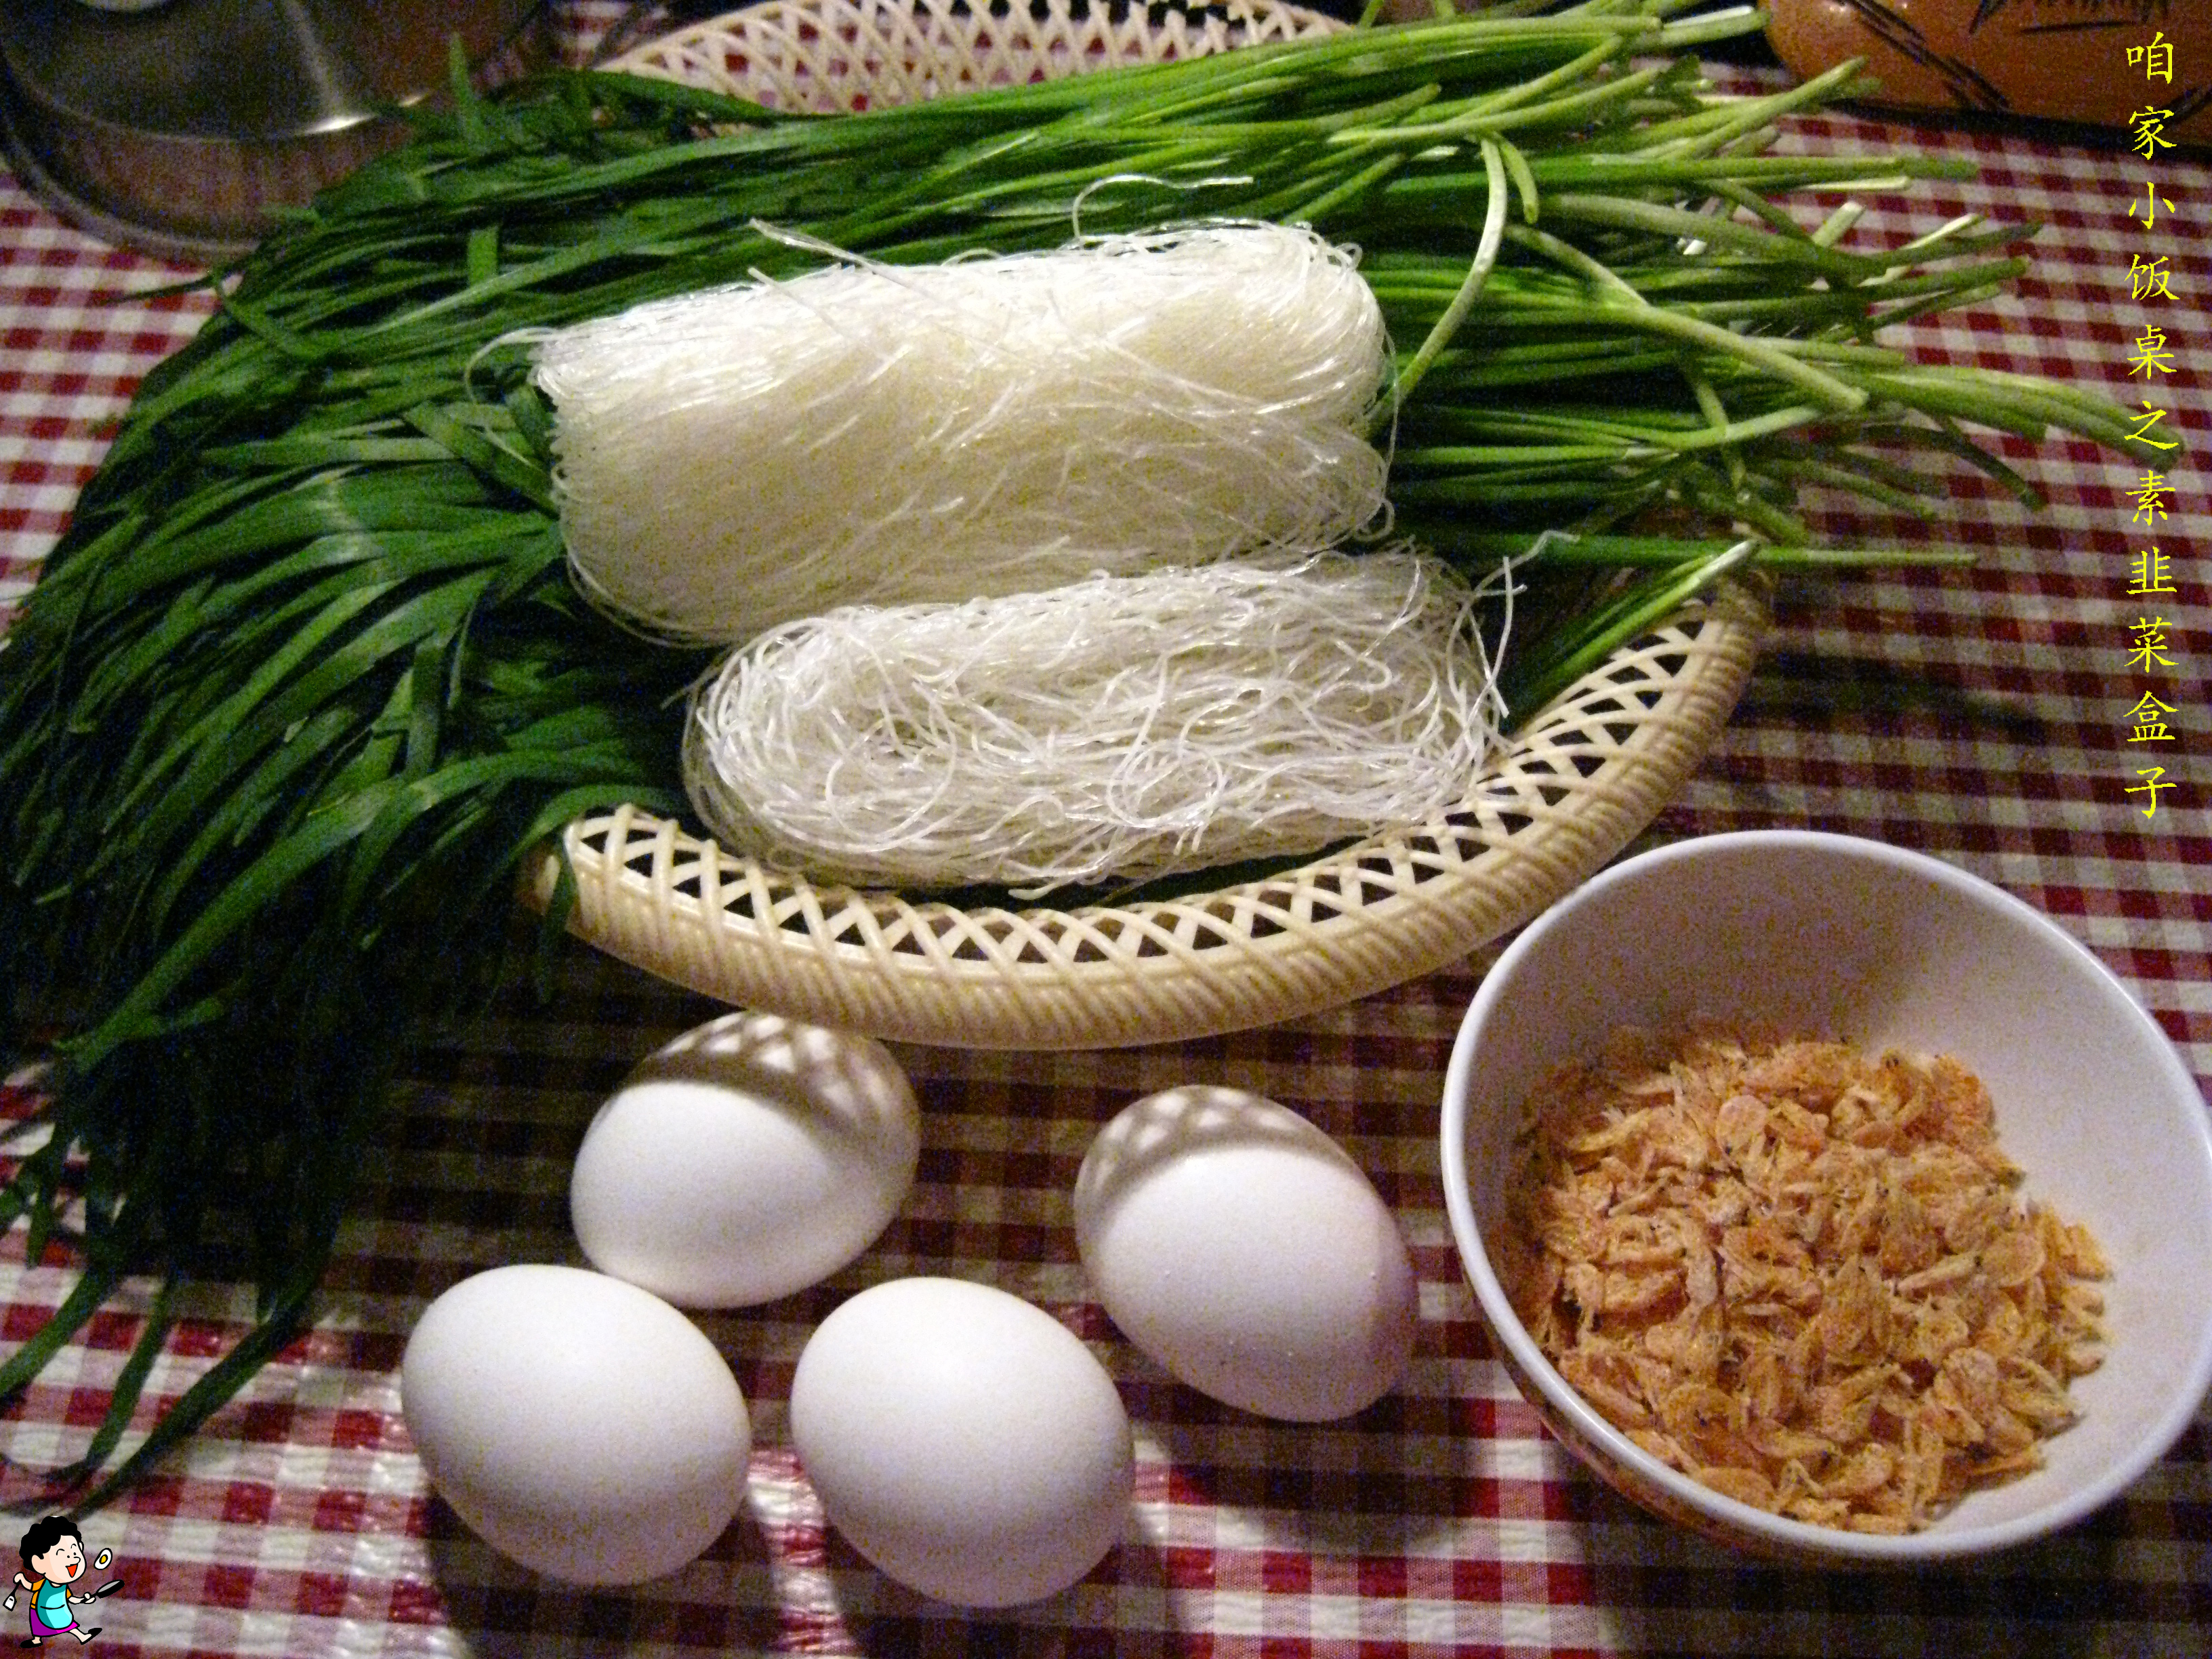
我一向都喜欢吃带馅的面食。这些面食里面,韭菜盒子就是我的最爱了。
 材料:
材料:
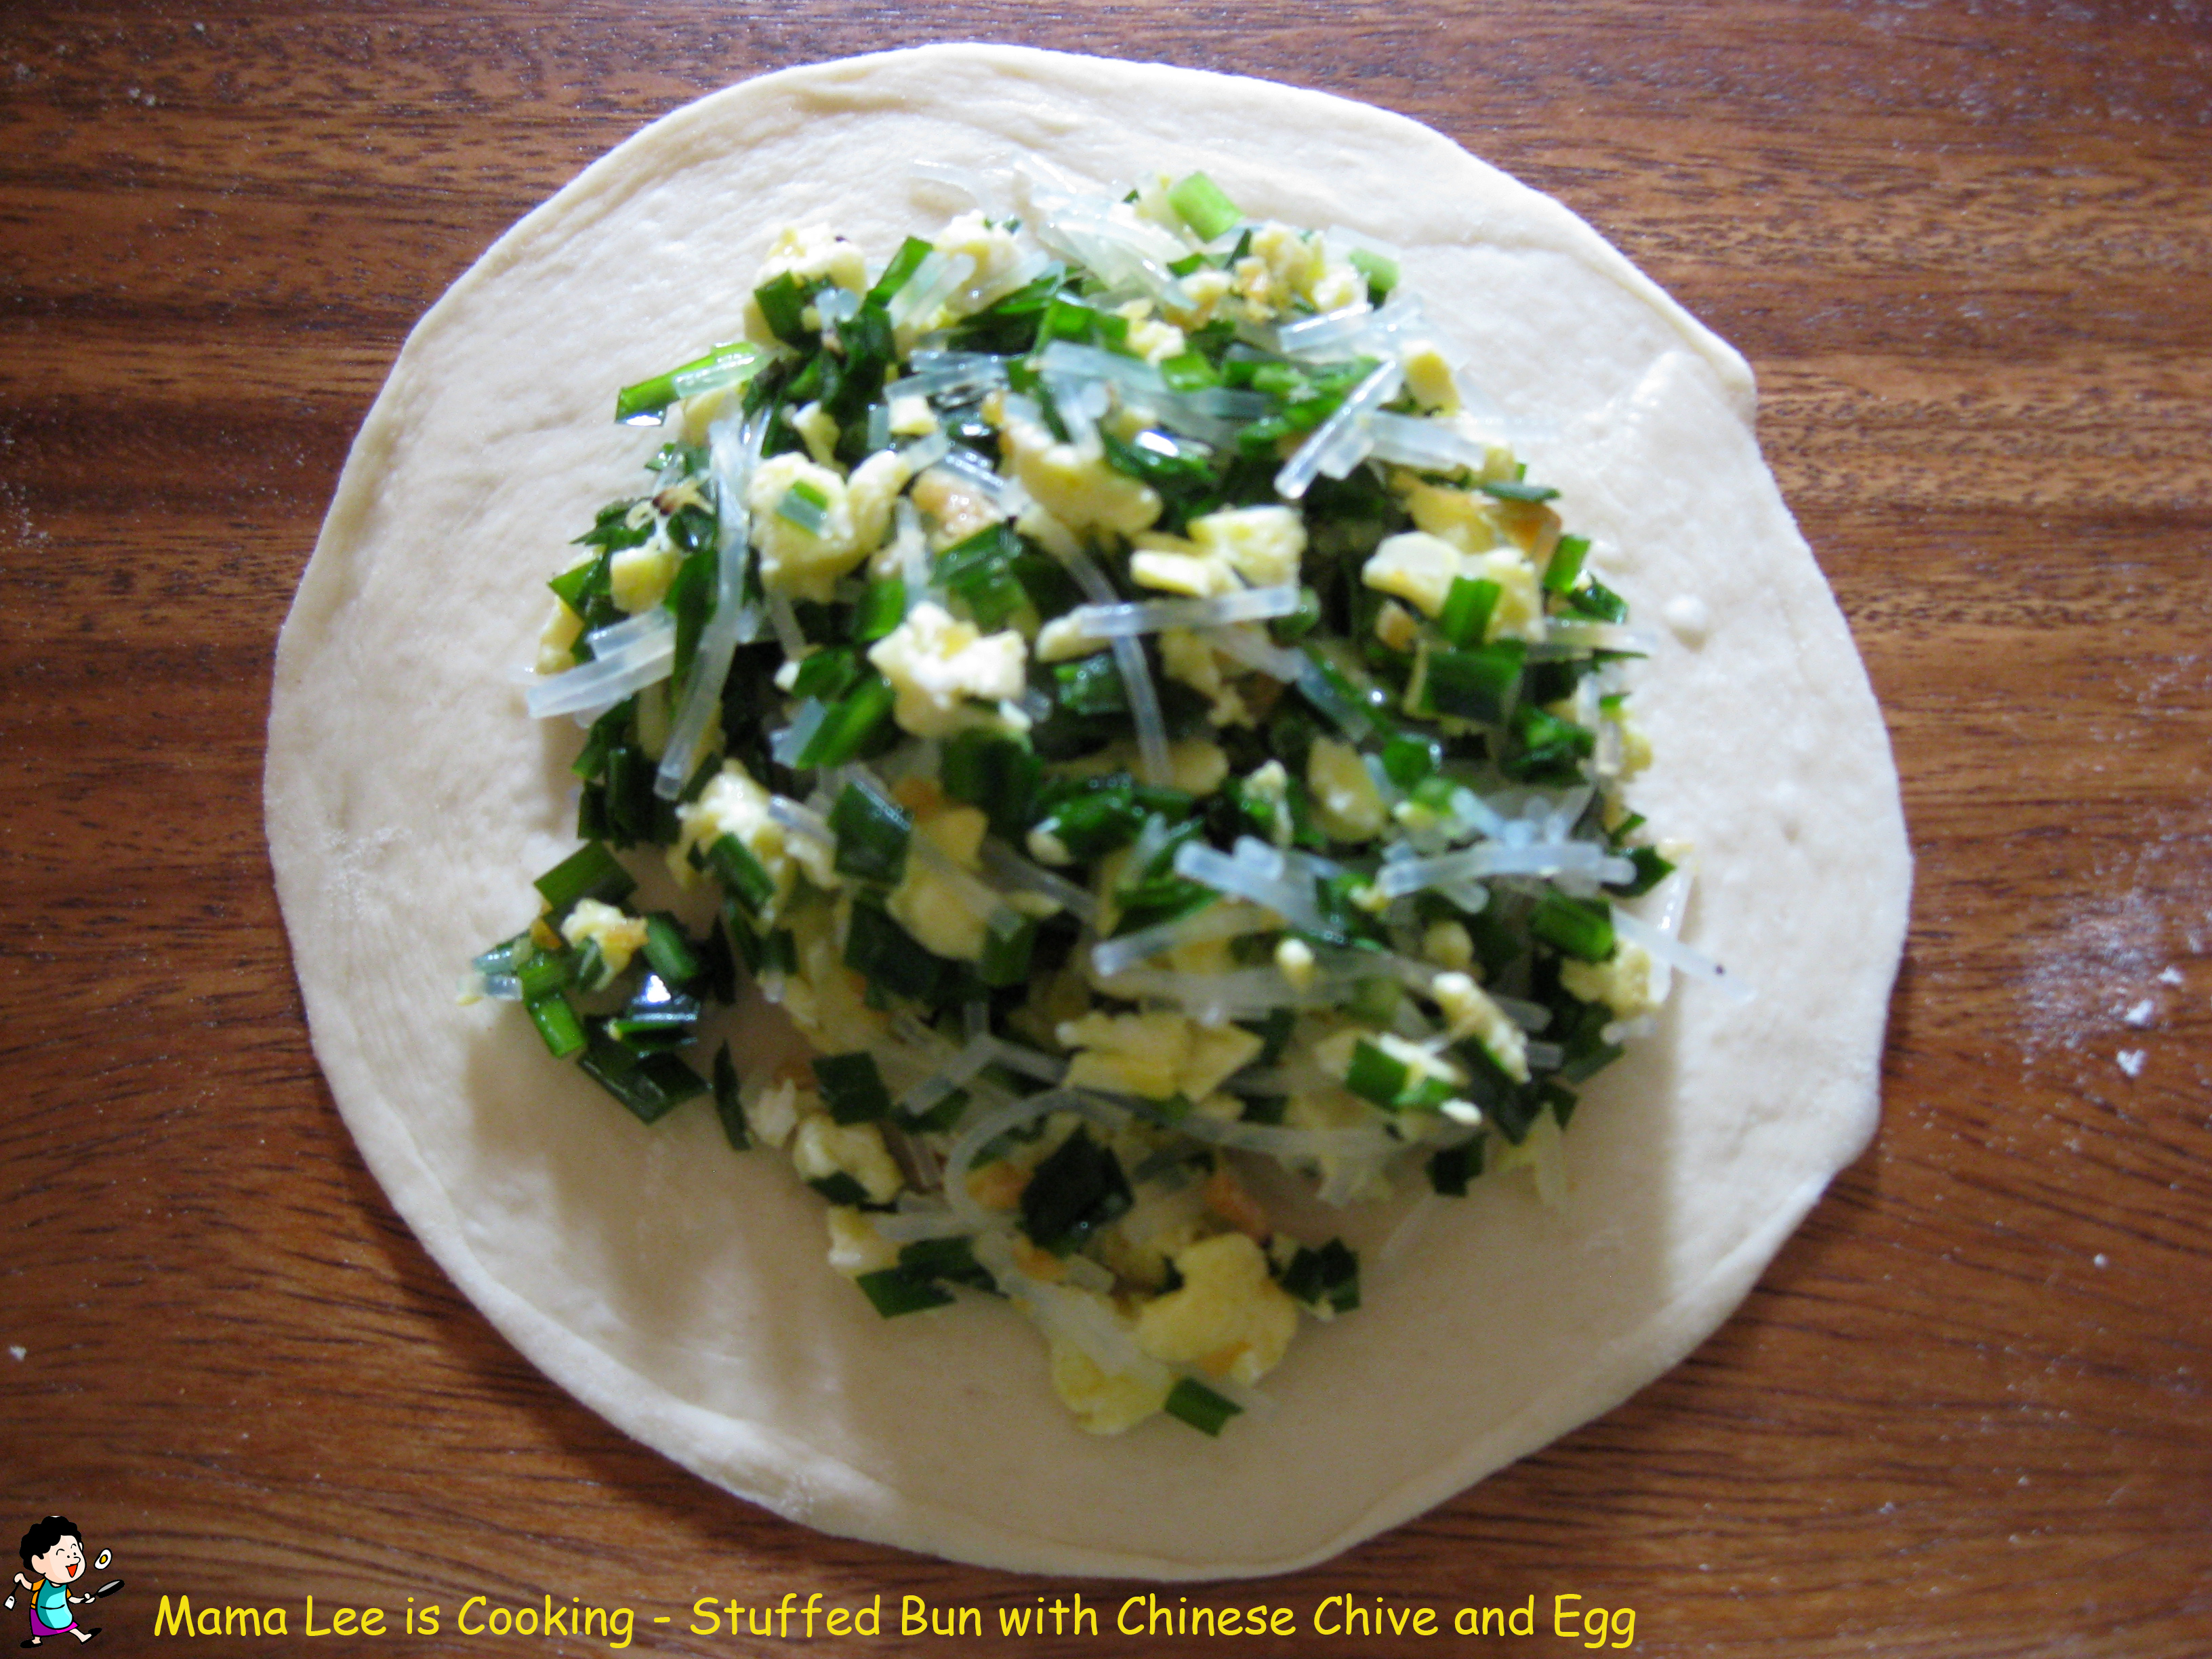
馅:鸡蛋,韭菜,粉丝,虾皮,调味料。
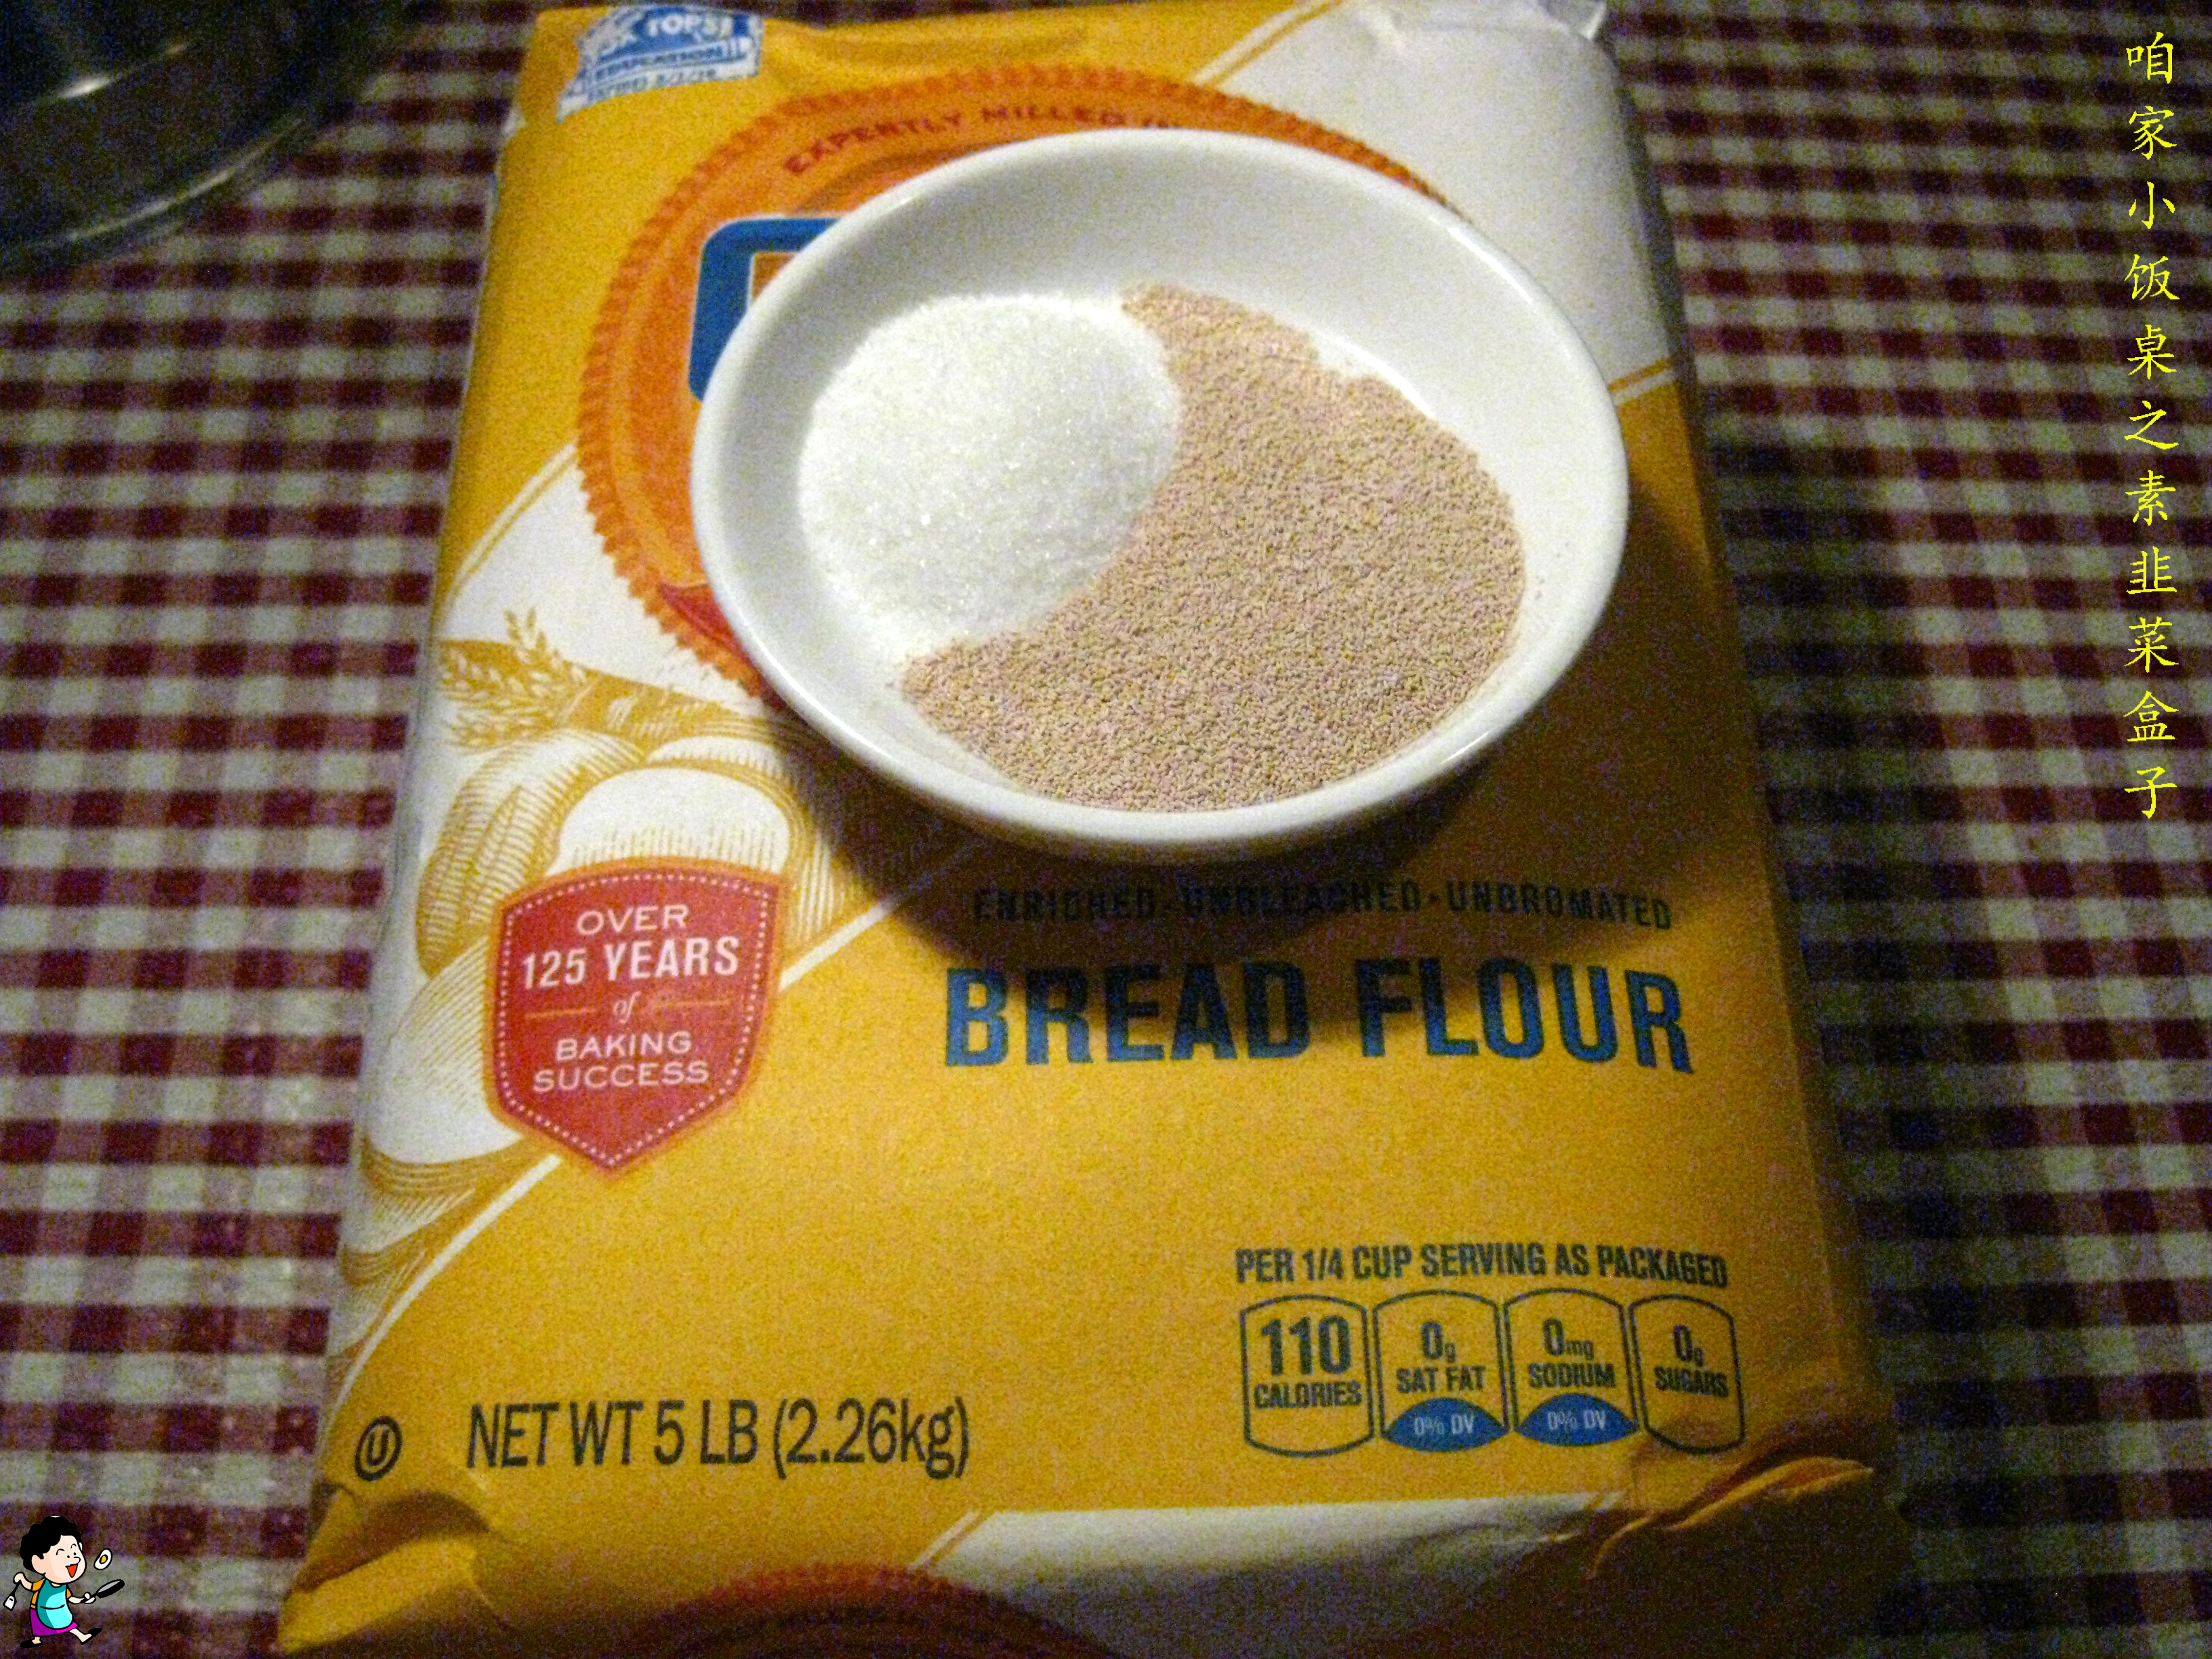
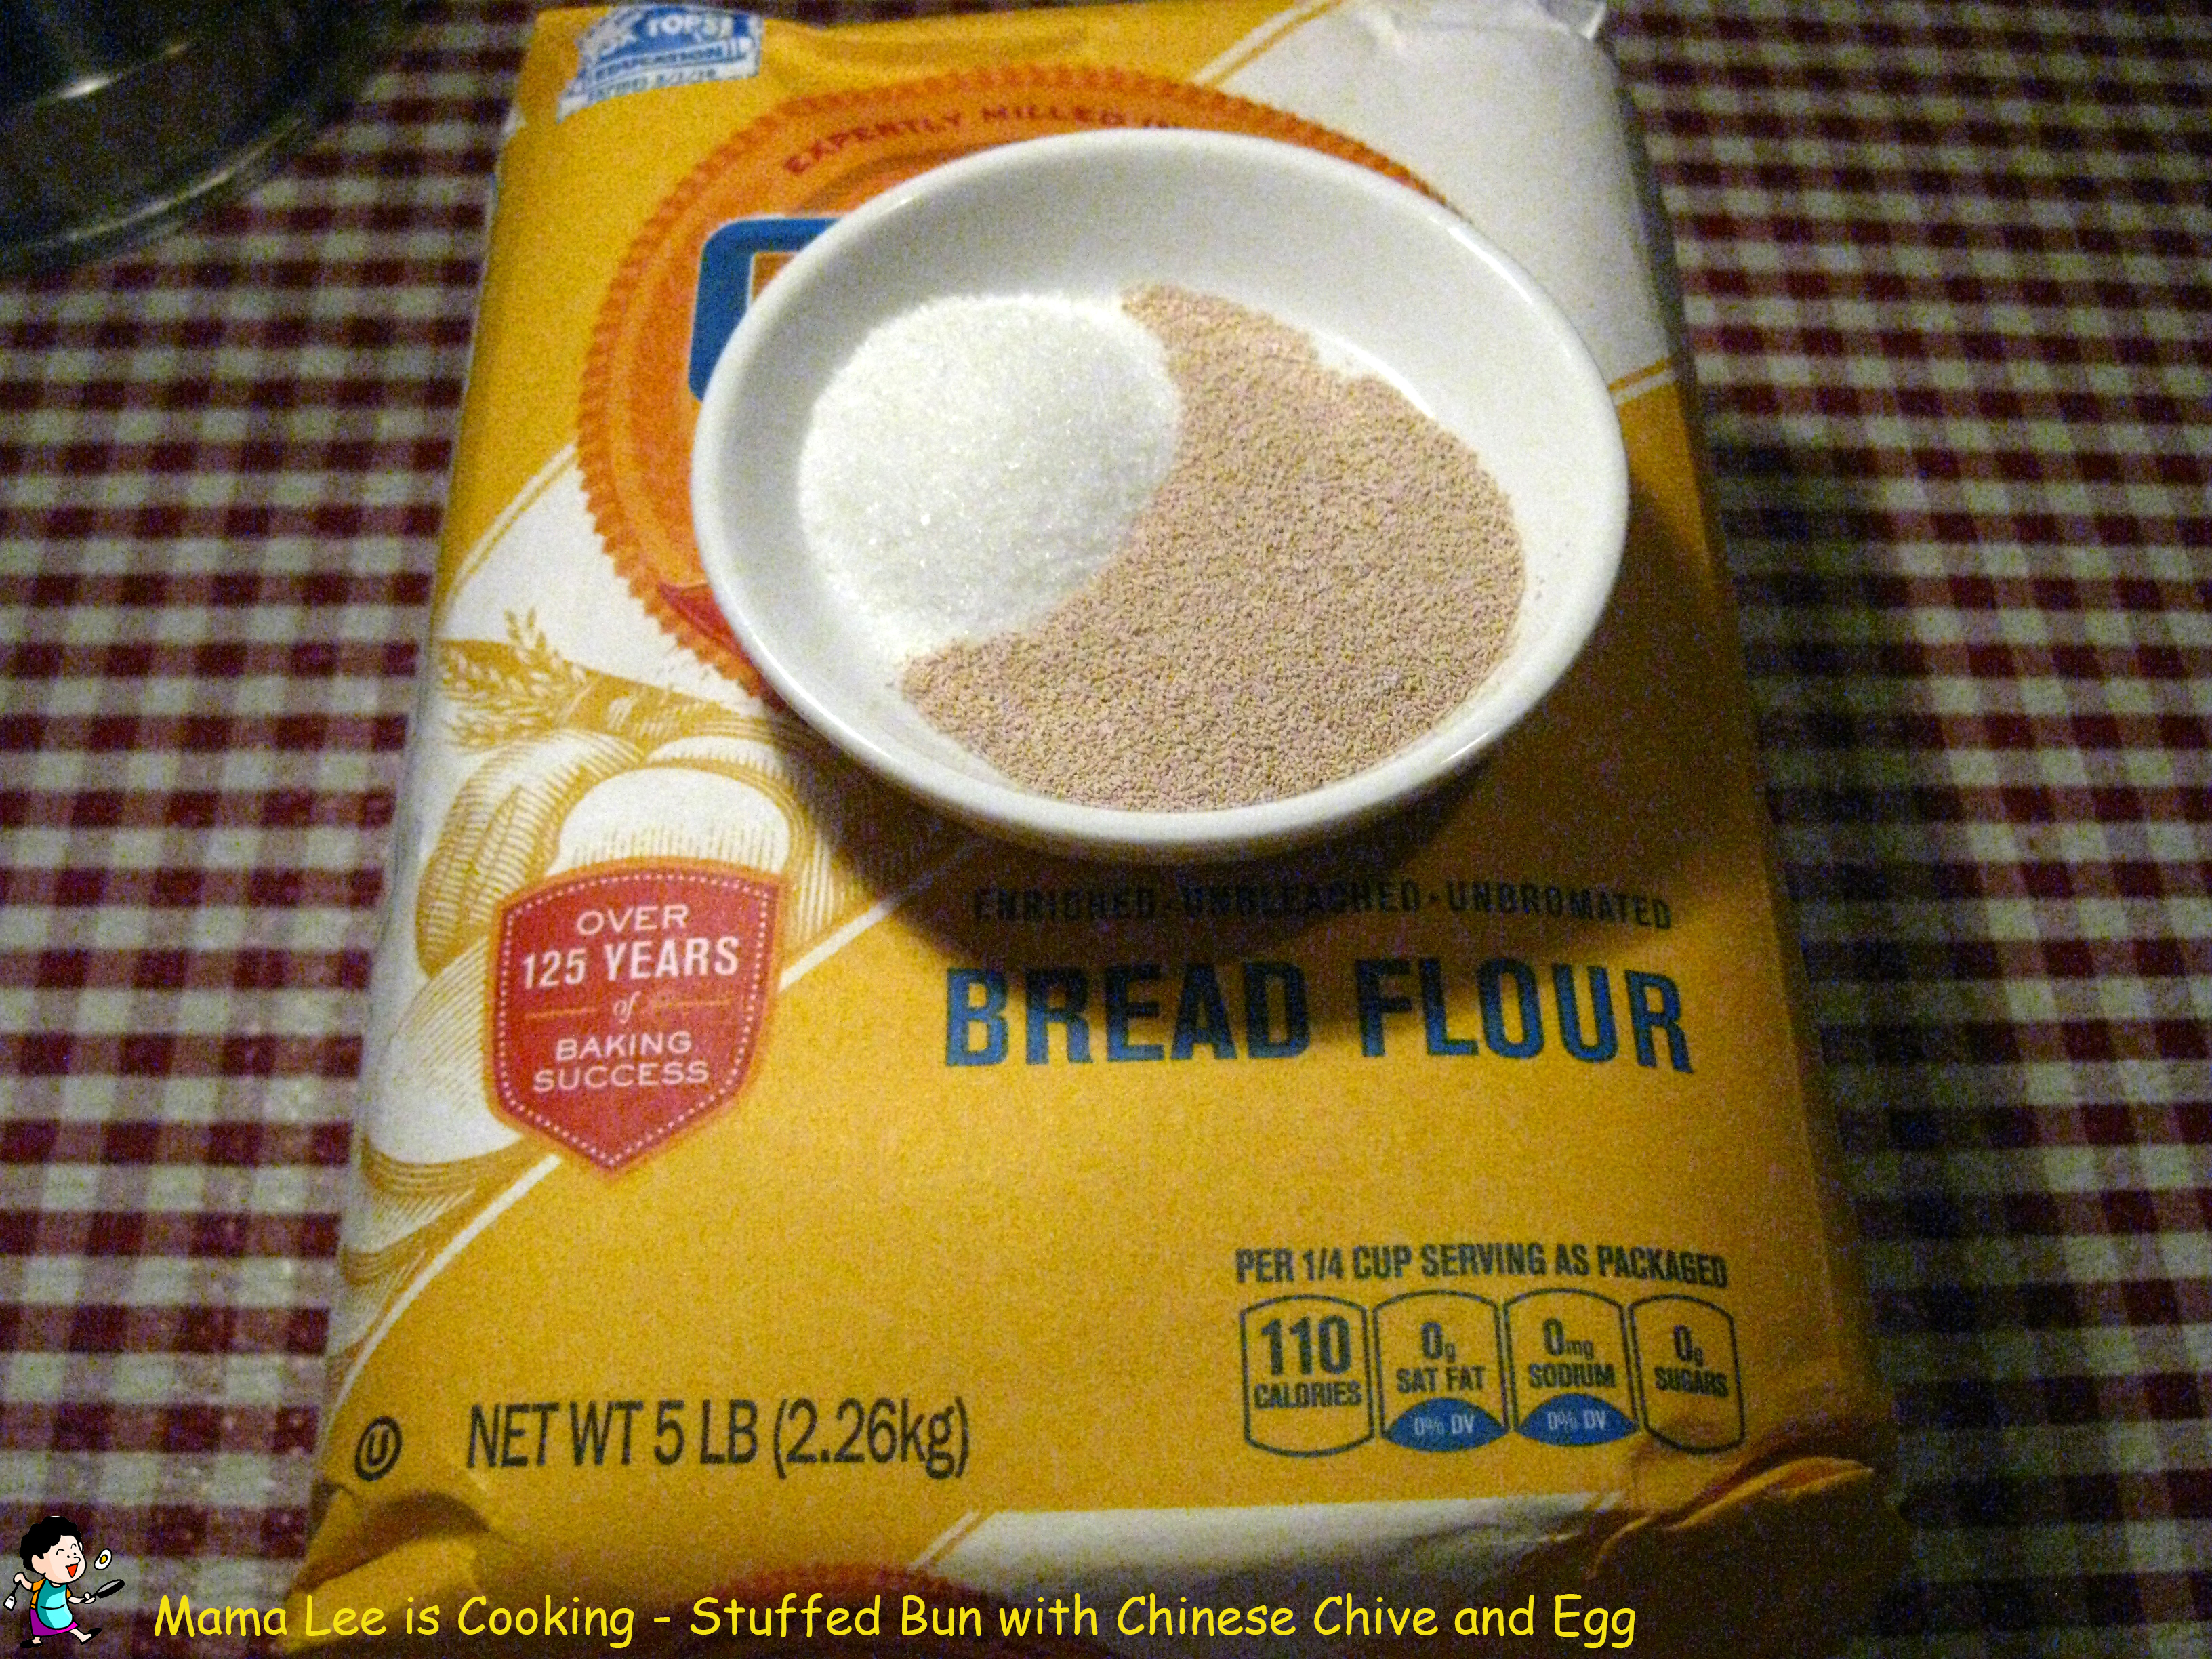
皮:2 小勺/1 小袋酵母,2 小勺白糖,面粉适量
 做法:
做法:
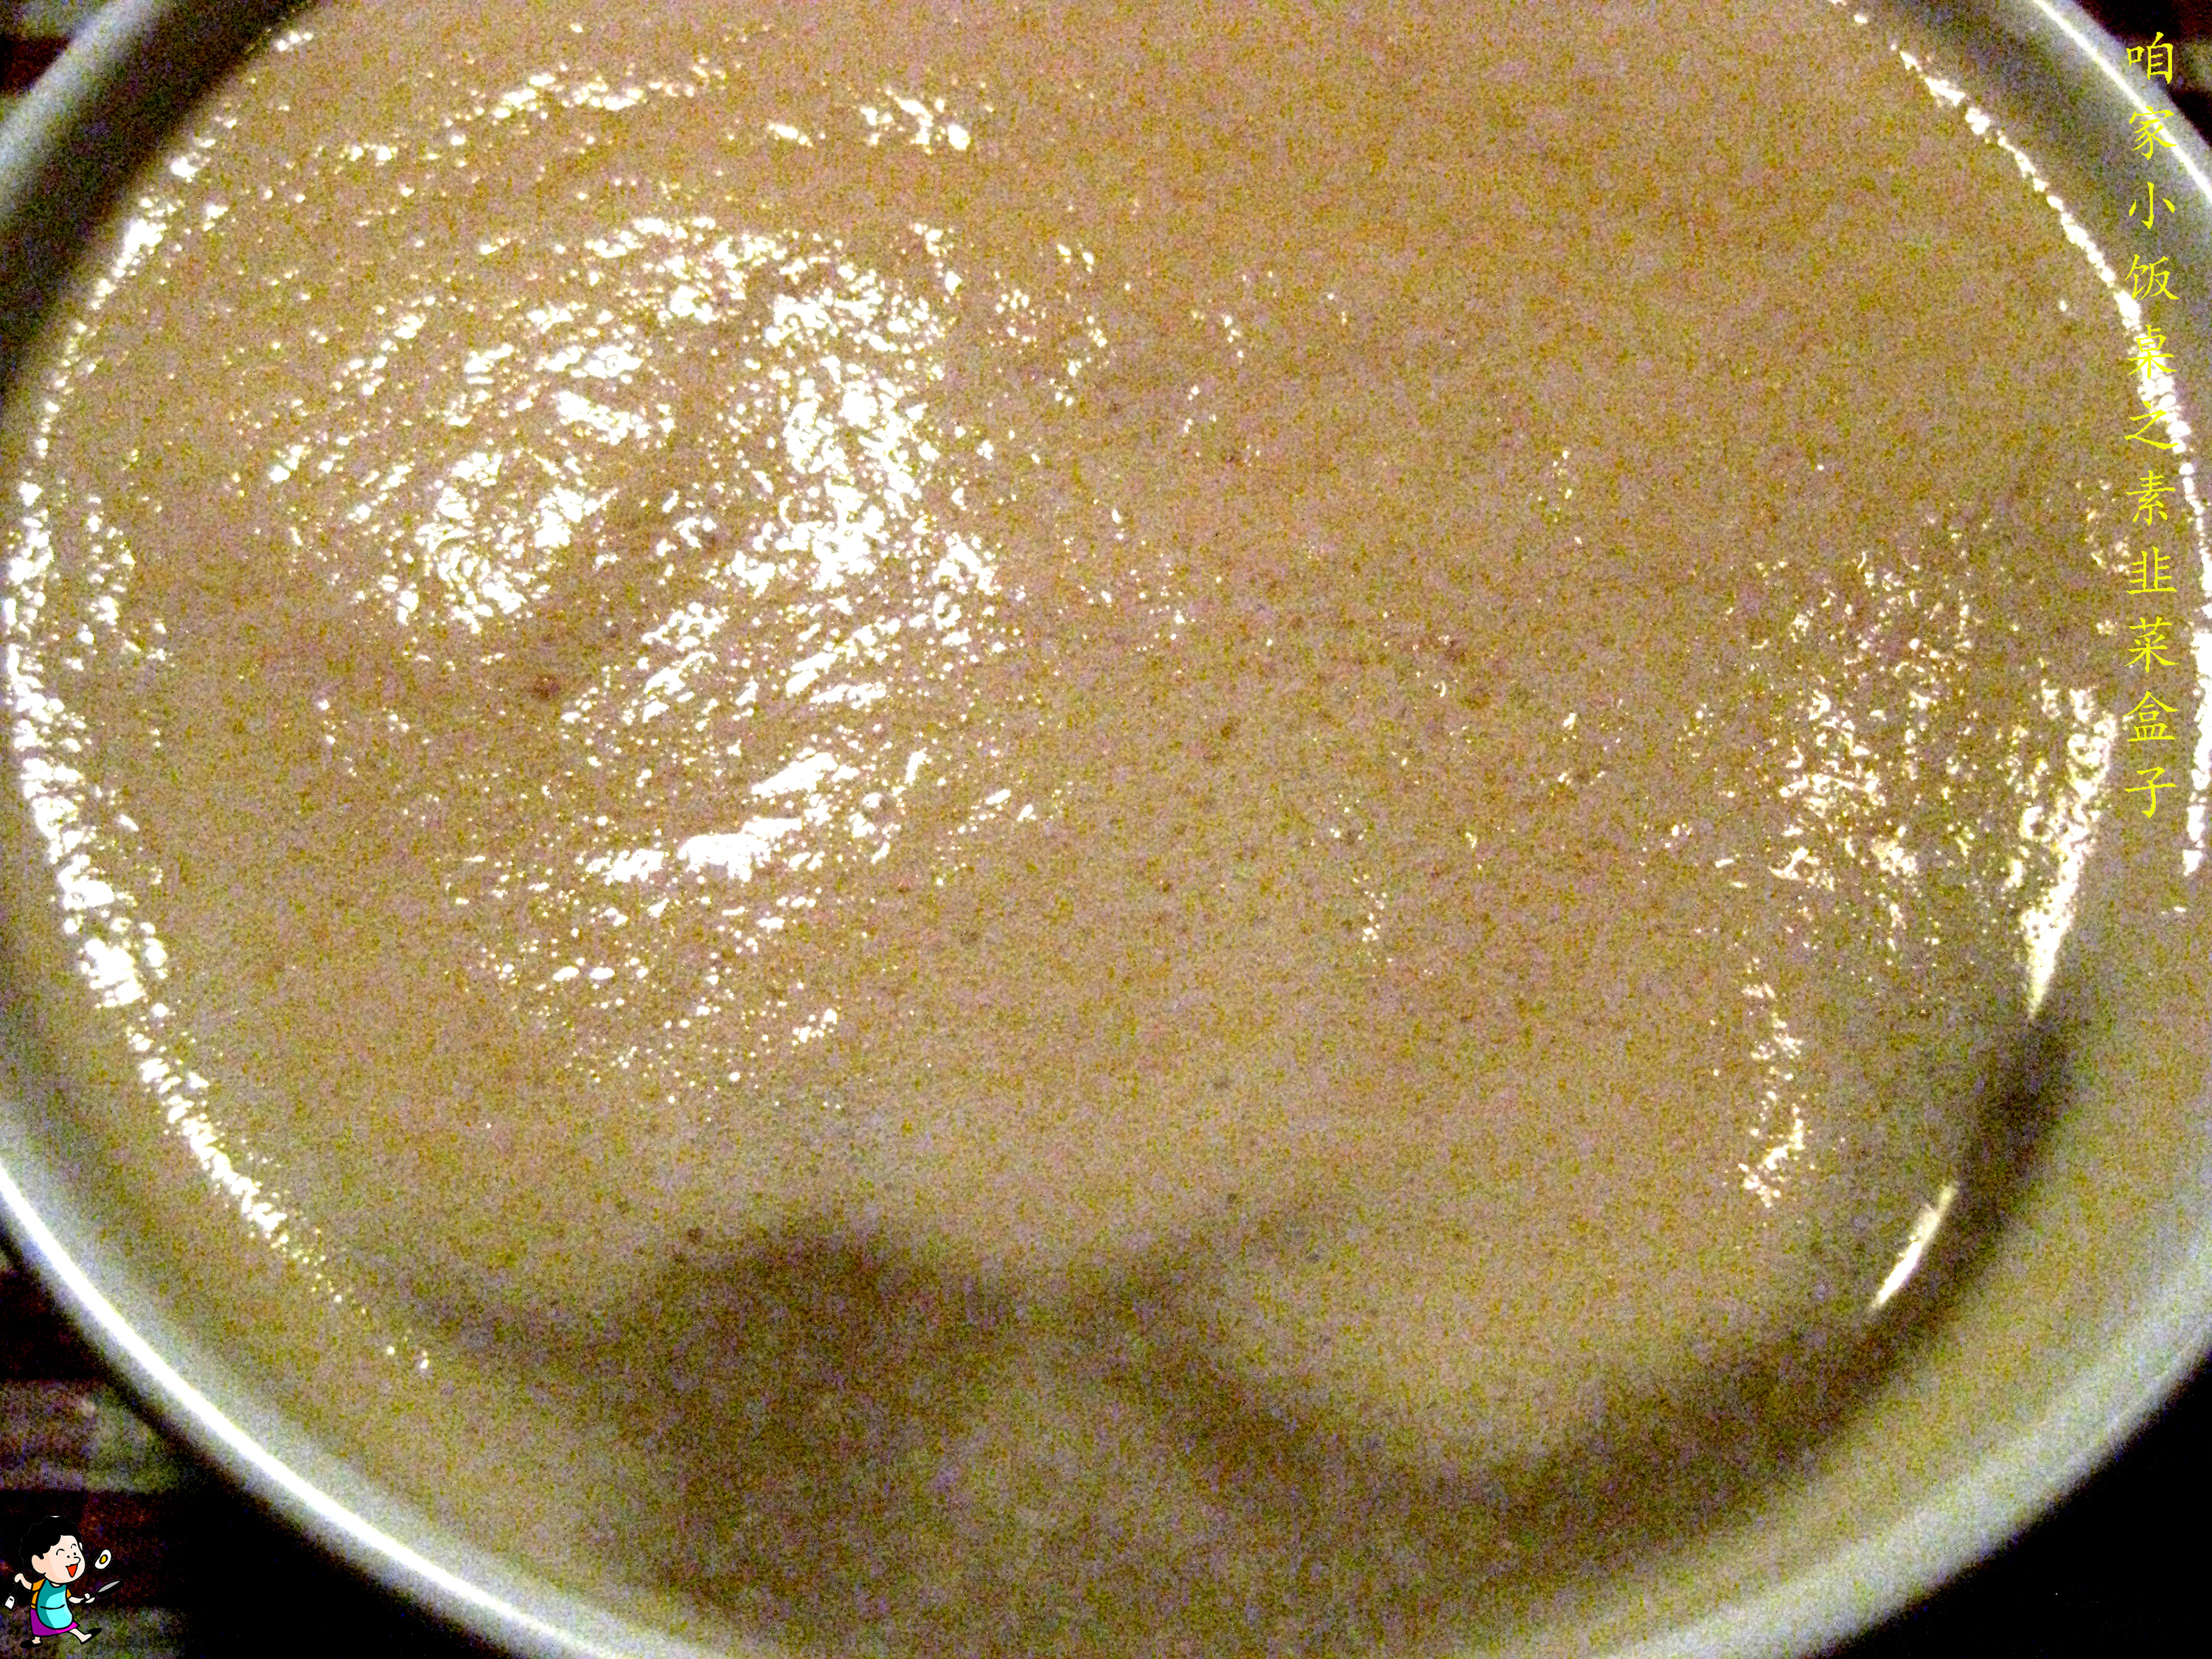
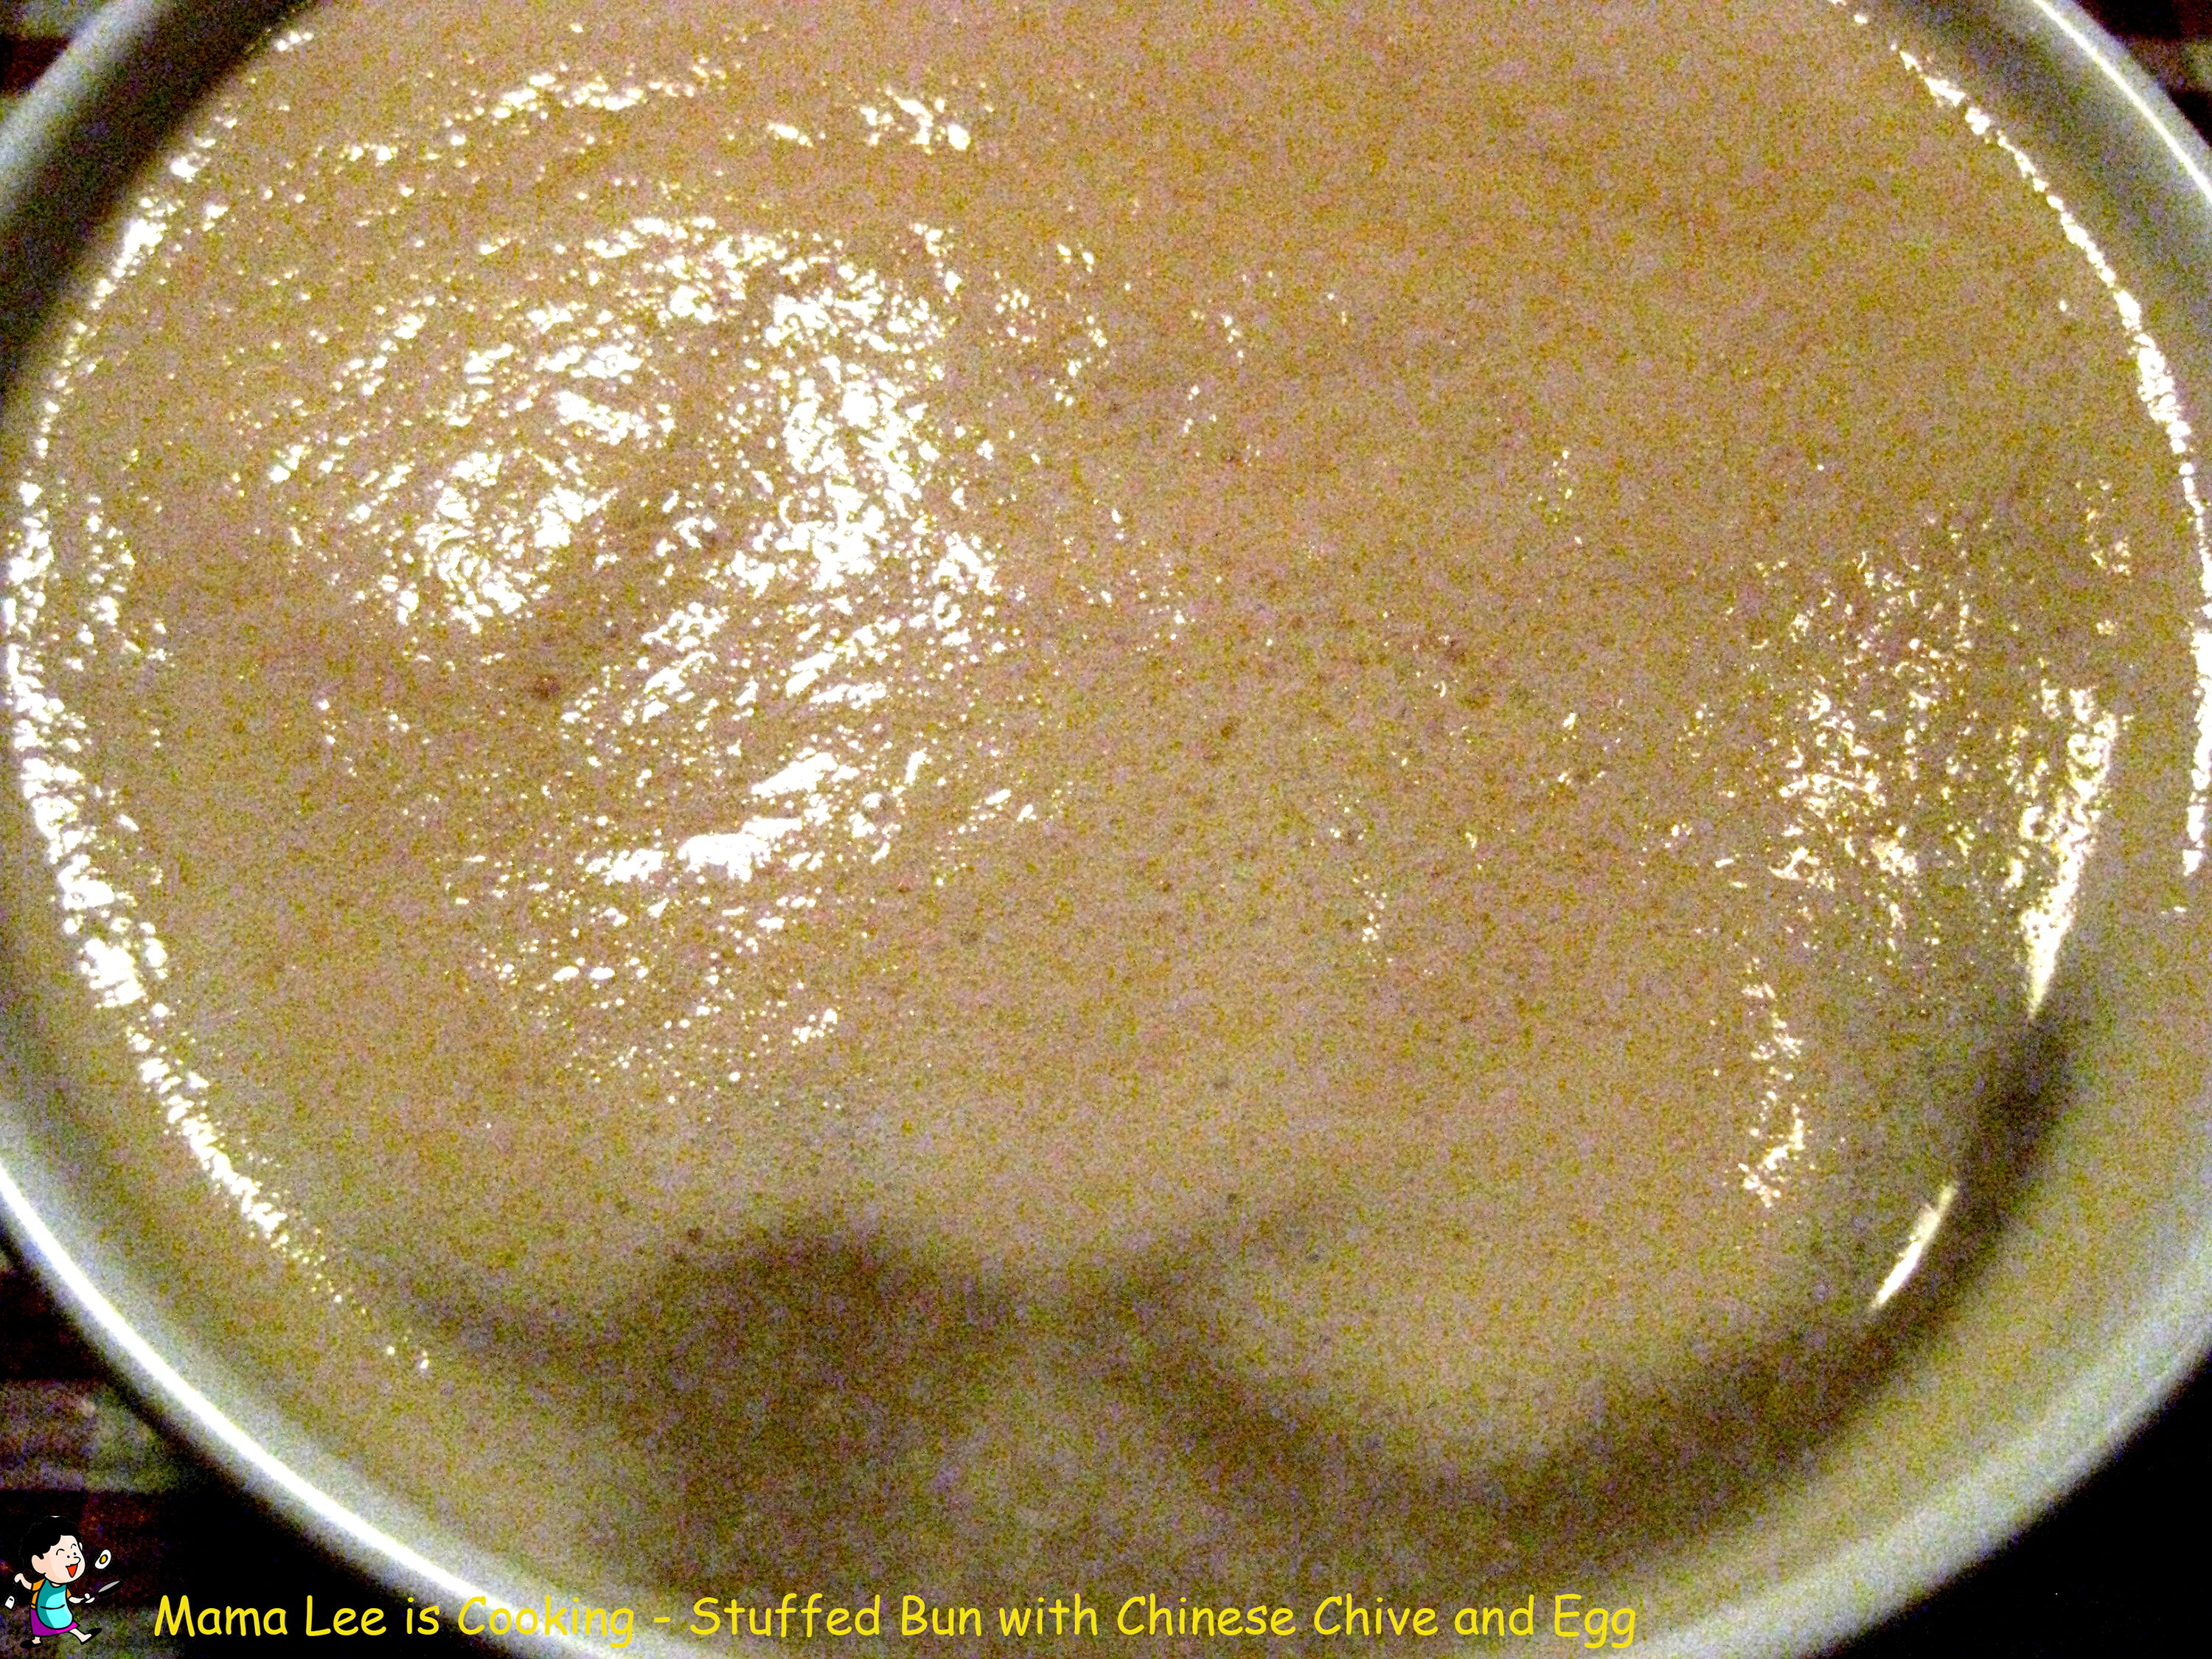
1、酵母和白糖混合,用温水化开。然后静置,让酵母液表面充满气泡。
可以略微搅拌一下,让酵母融化的快些。
 2、粉丝先用冷水泡软,然后用热水泡至透明,沥干水分待用。
3、把酵母液 慢慢倒进面粉里,同时用筷子/叉子快速搅拌,让面粉变成面絮。
4、如果还有很多干面粉,可以再加一些温水。
 剩余干面粉的多少决定了面的软硬。如果基本没有干面粉剩下,面团会很软。
一般来说,用来煎烙的面团我都会和的比较软。
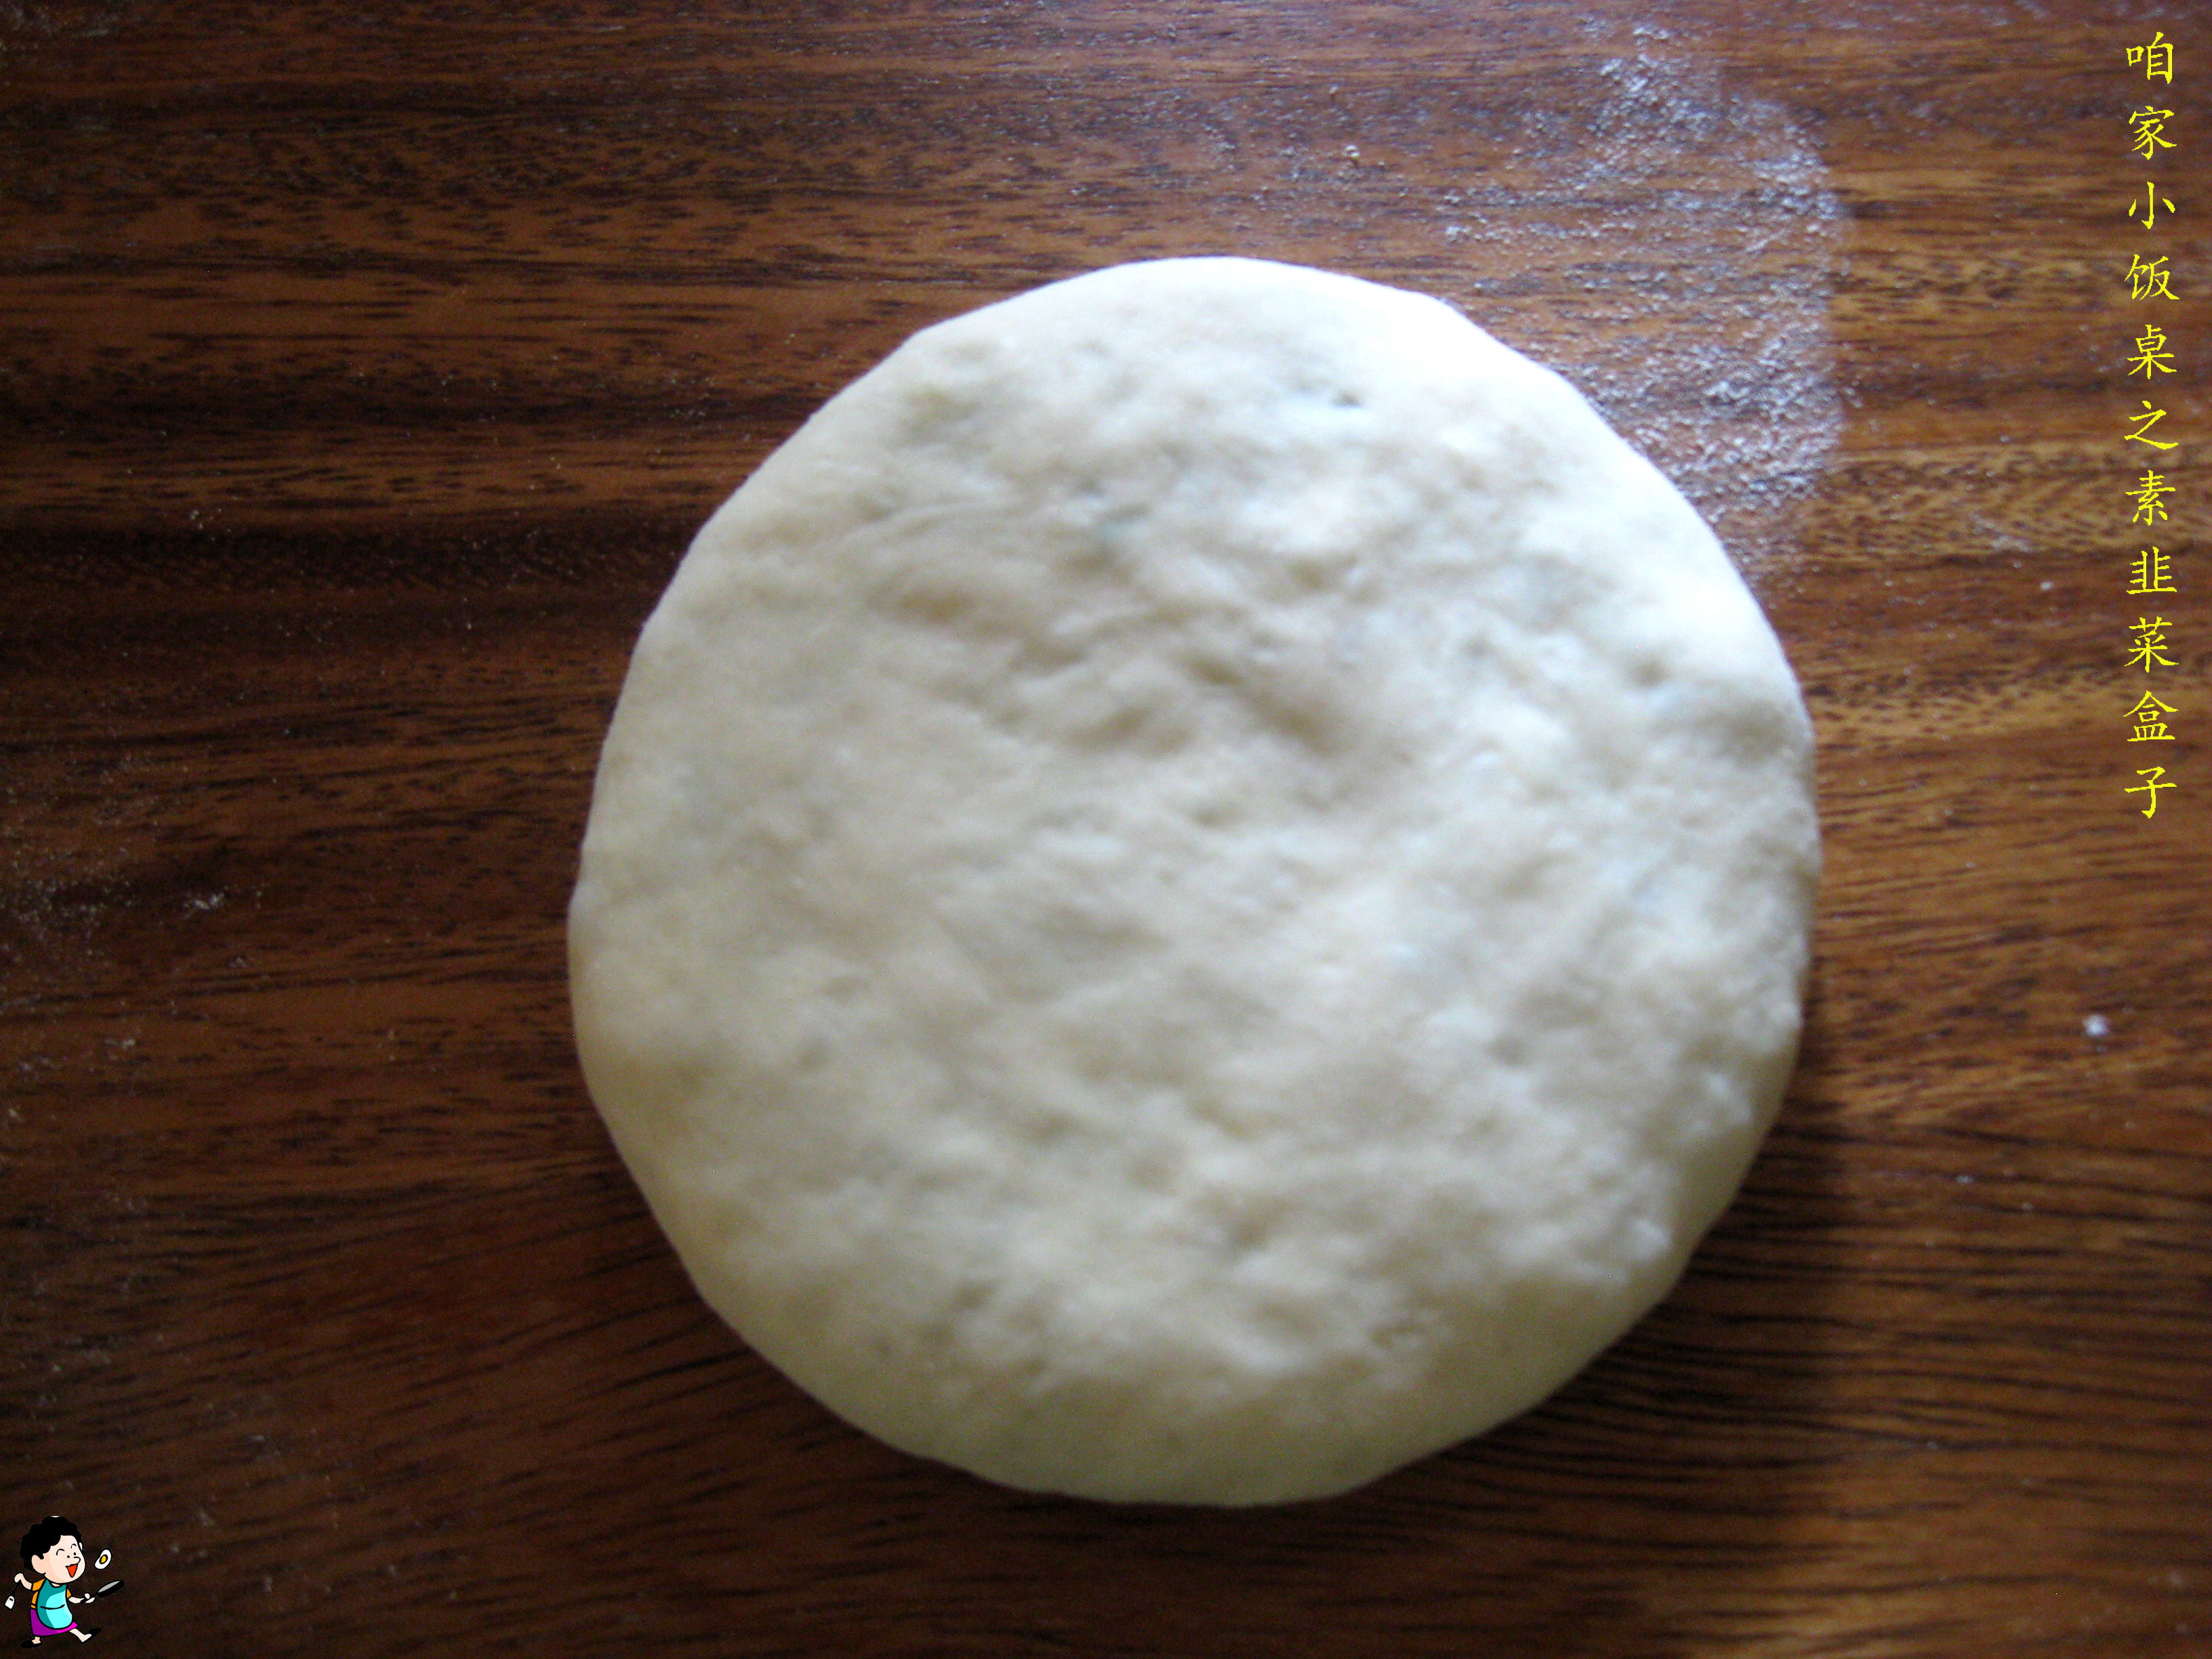
5、把面絮和成一个光滑的面团,静置略饧。
 面团和好之后,都要略微饧一会儿。
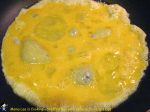
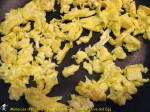
6、鸡蛋炒熟炒散,然后晾凉切碎。
7、韭菜切碎,用油拌匀。
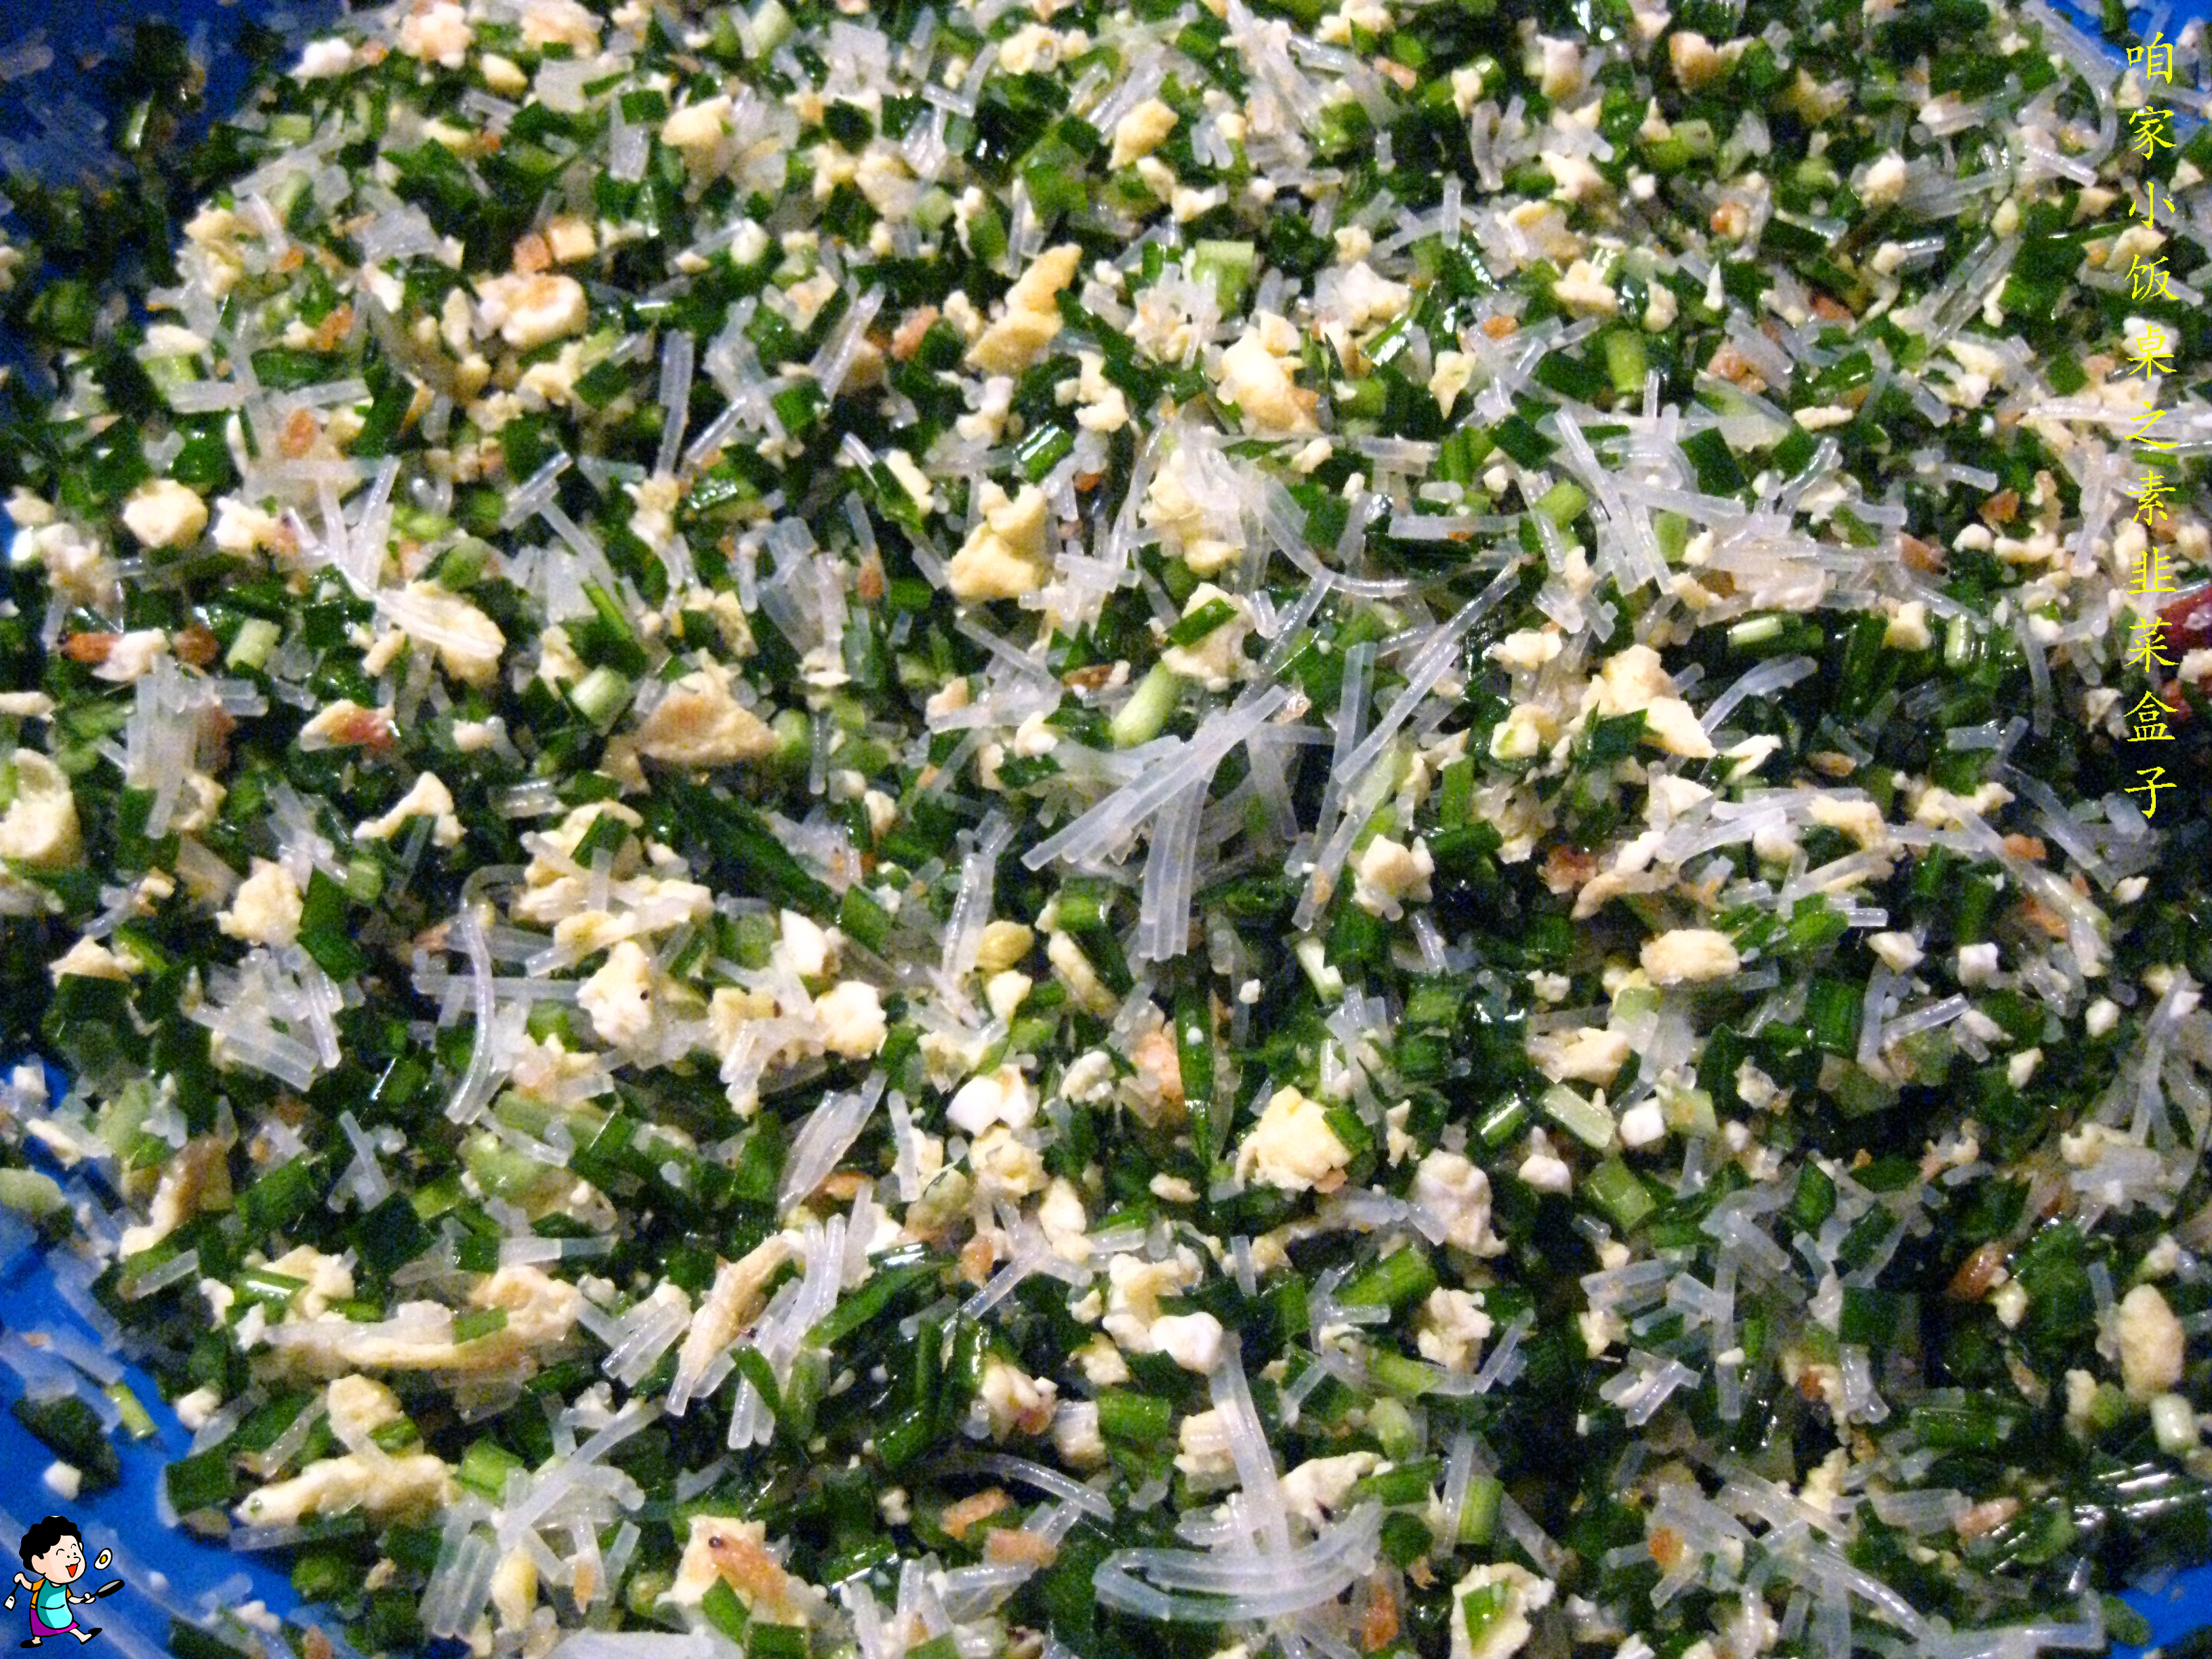 韭菜用油拌过之后,出水会少很多。
8、粉丝、虾皮切碎,和韭菜、鸡蛋拌在一起,加入适当调味料。
因为韭菜本身味道就比较重,所以我一般只加盐和少量的糖来调味。
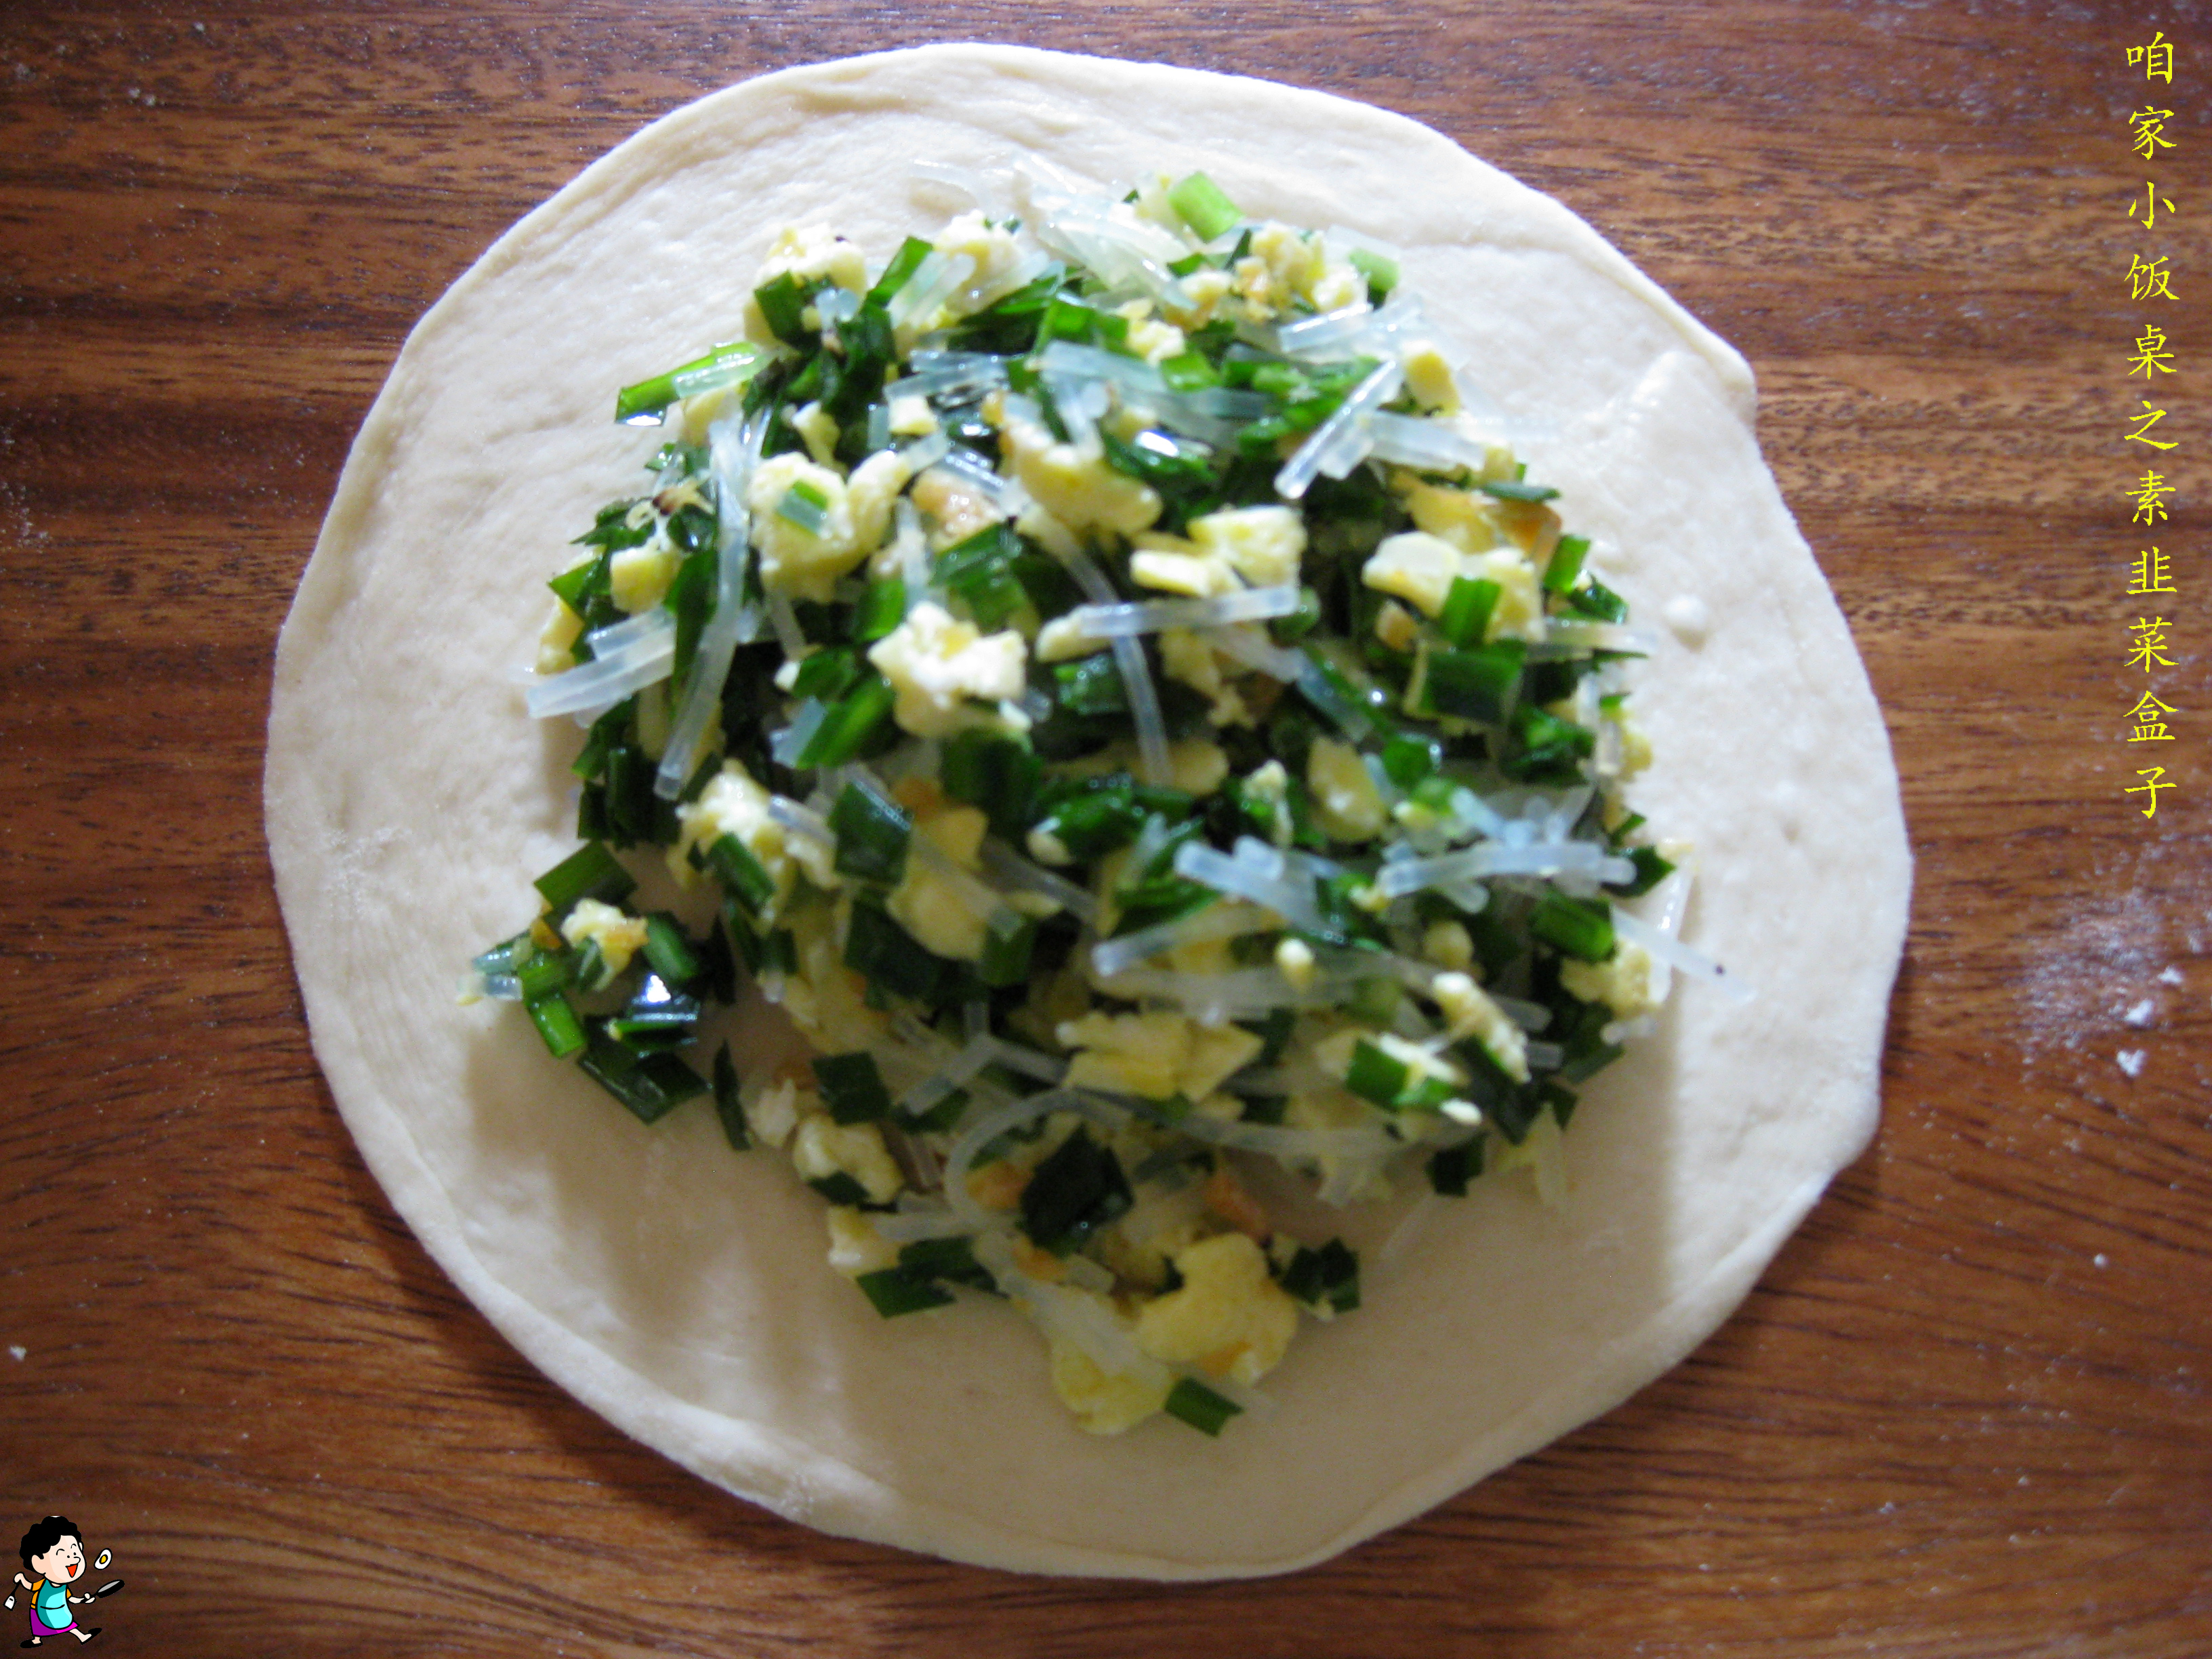
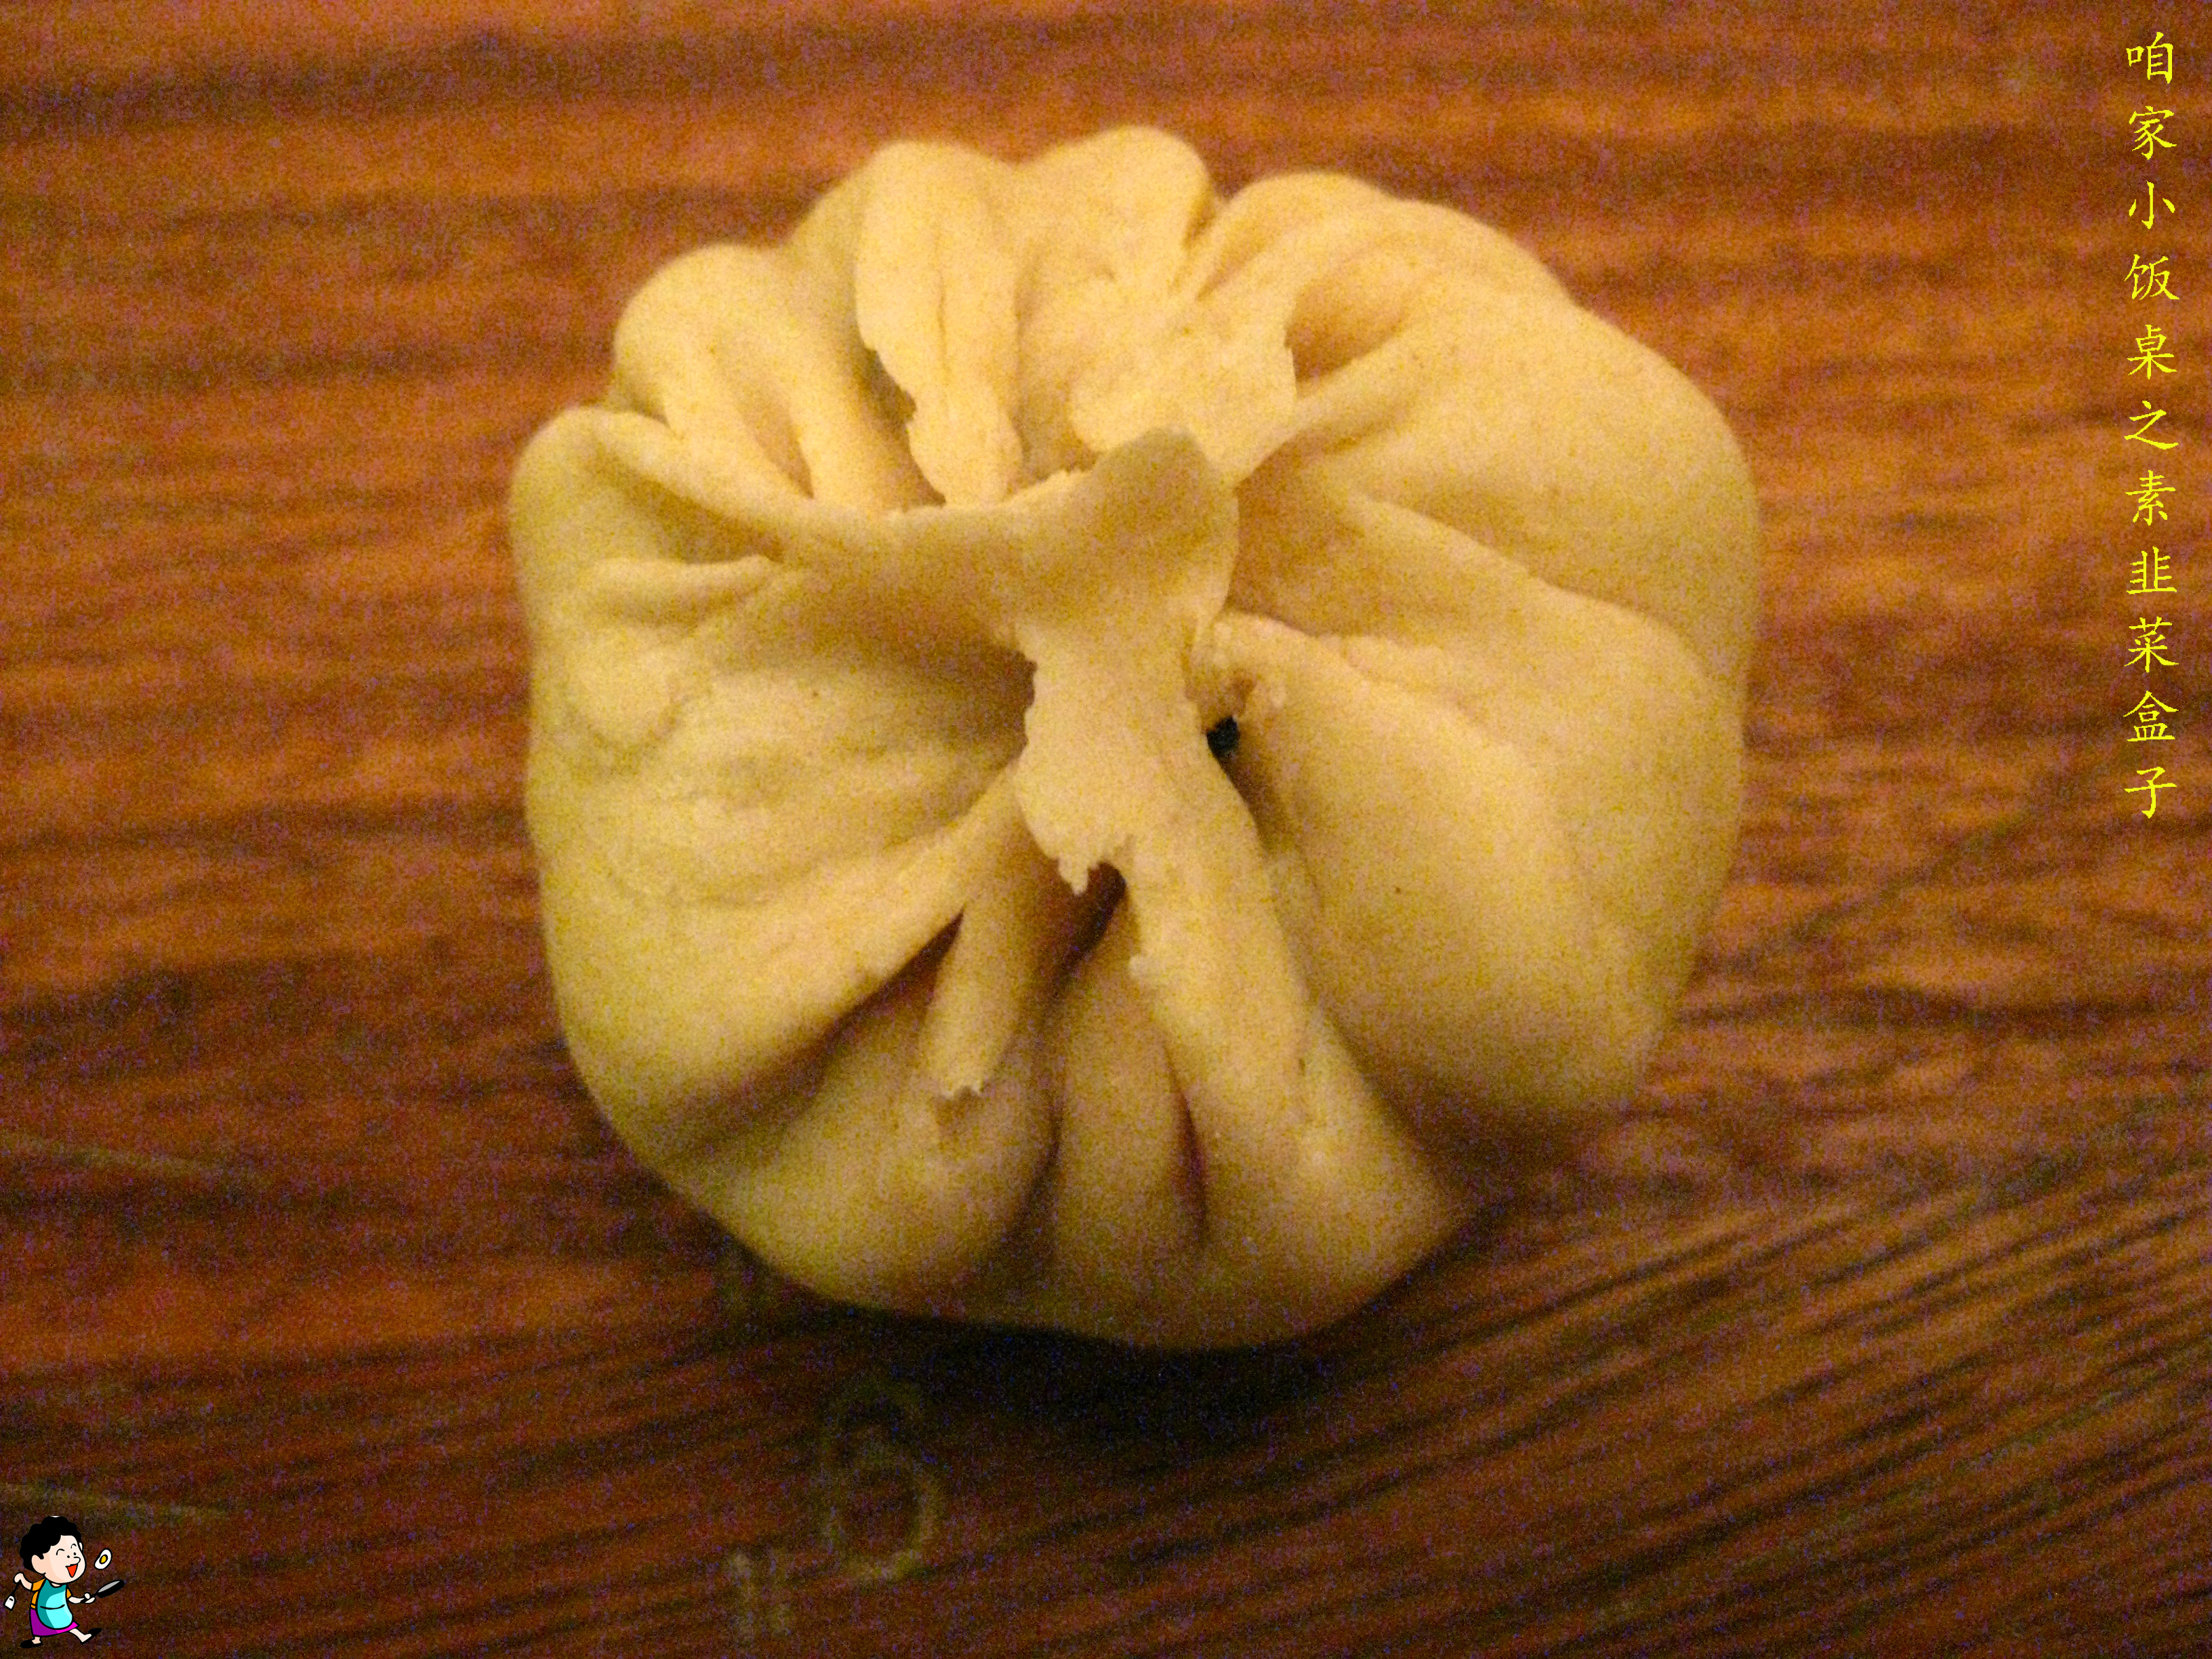
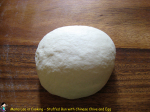
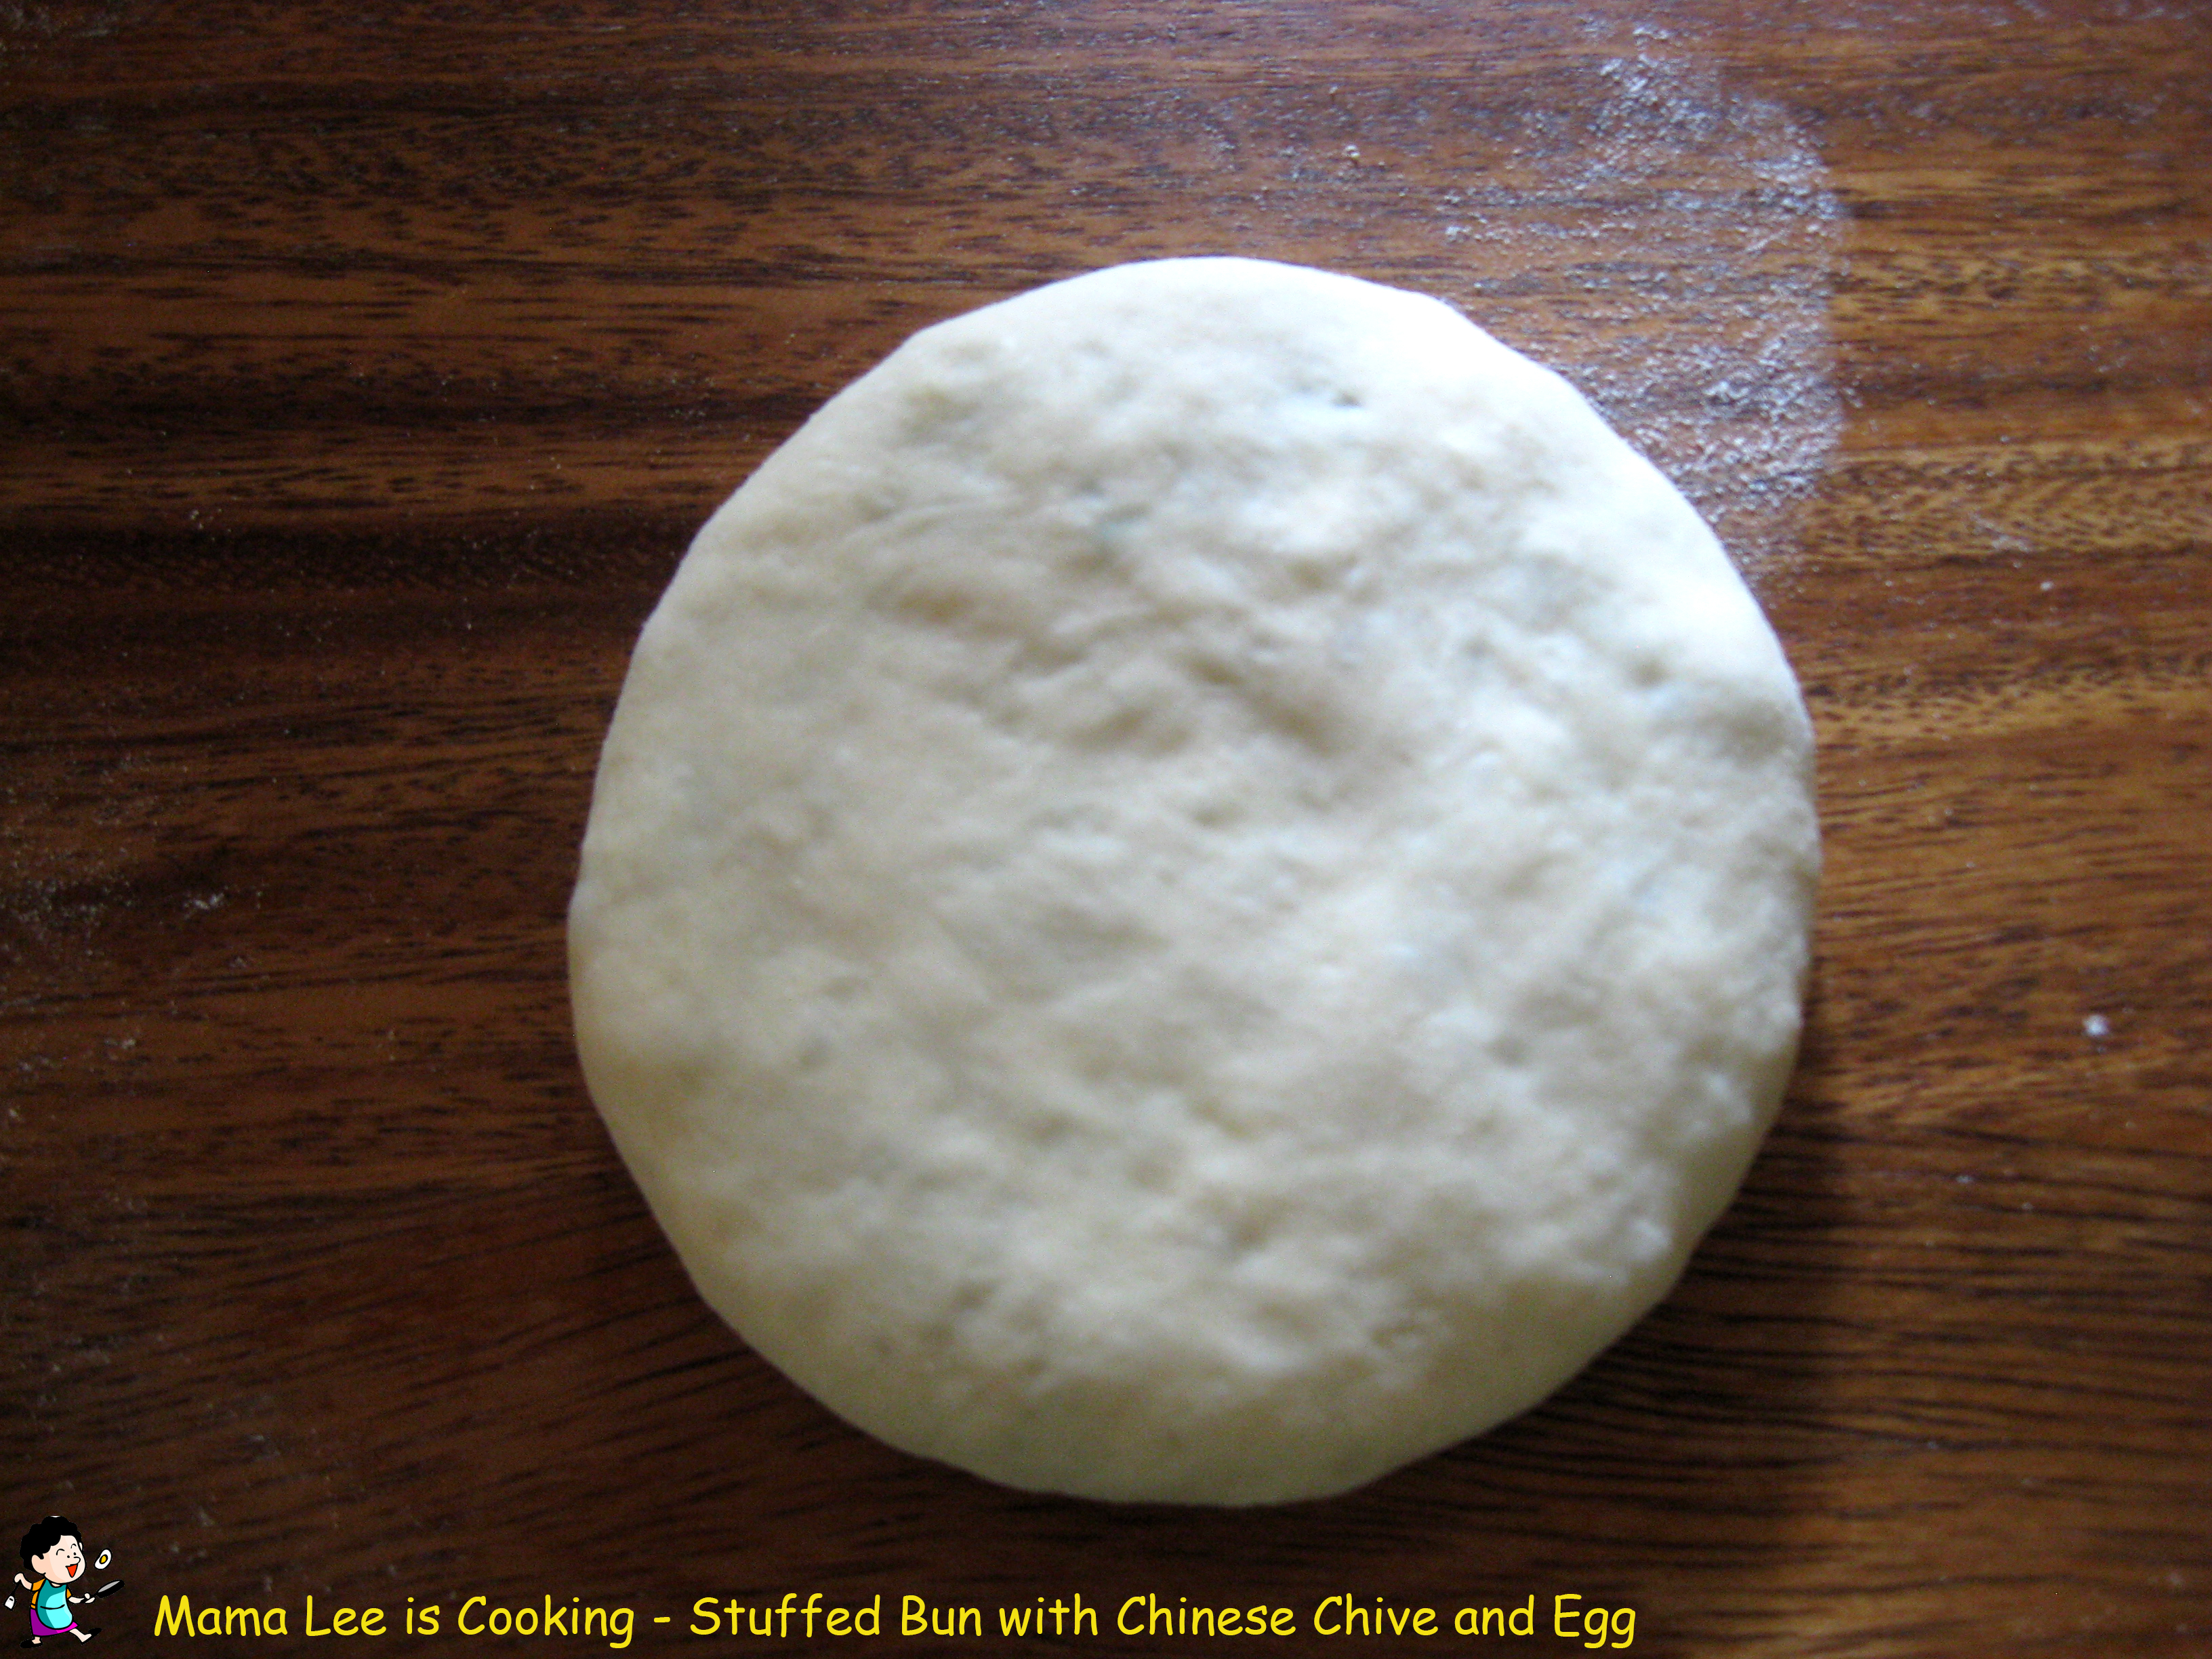
9、饧好的面团分成小份,擀成圆皮,包馅,捏紧,包成包子状,然后翻转,封口朝下。
 10、平底锅倒油烧热,中小火。
11、把包好的盒子放进锅里慢慢煎至底部金黄,翻面再煎至另一面金黄。
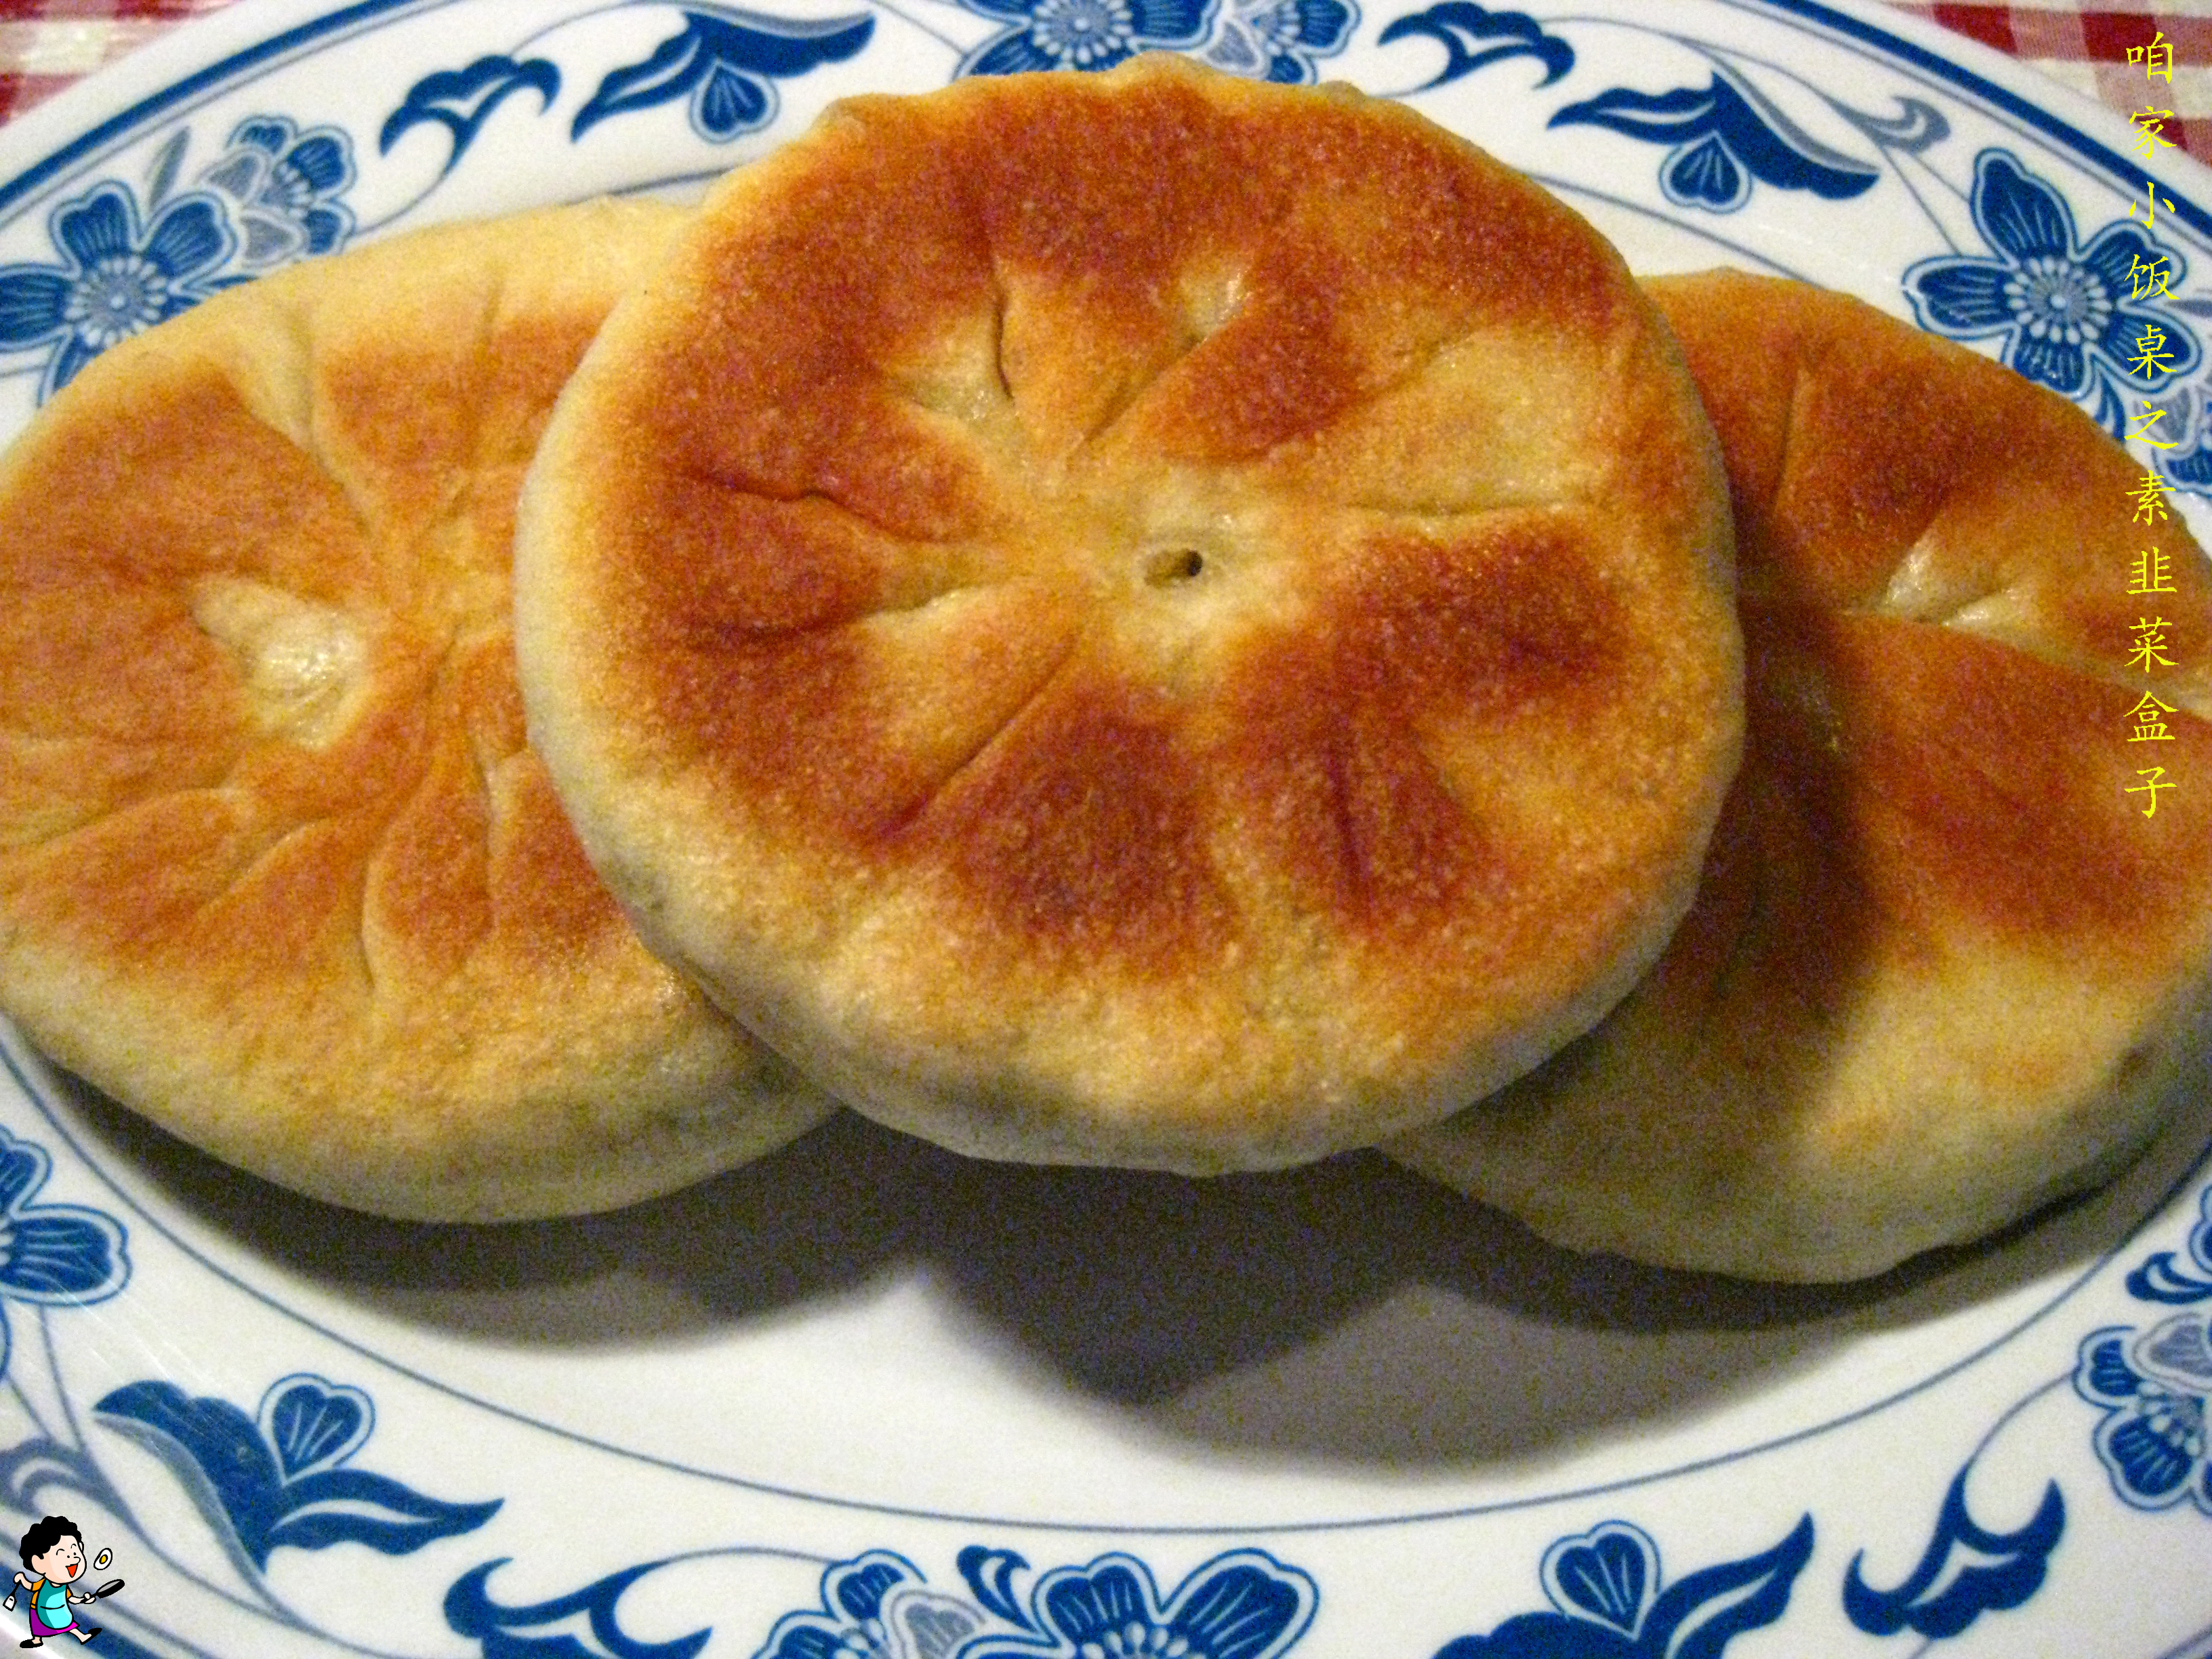

I love stuffed buns since the filling bring much more flavor to the buns. This is one of my favorites among all the buns.
 Ingredients:
Filling: Chines chive, eggs, dried shrimp, cell0phane noodle, seasoning
Wrap: flour, 2 tsp dry yeast, 2 tsp sugar

 Method:
1. Mix yeast and sugar, soak in warm water. Then set aside until it’s covered by bubbles.
You can stir some to speed up the dissolving process.
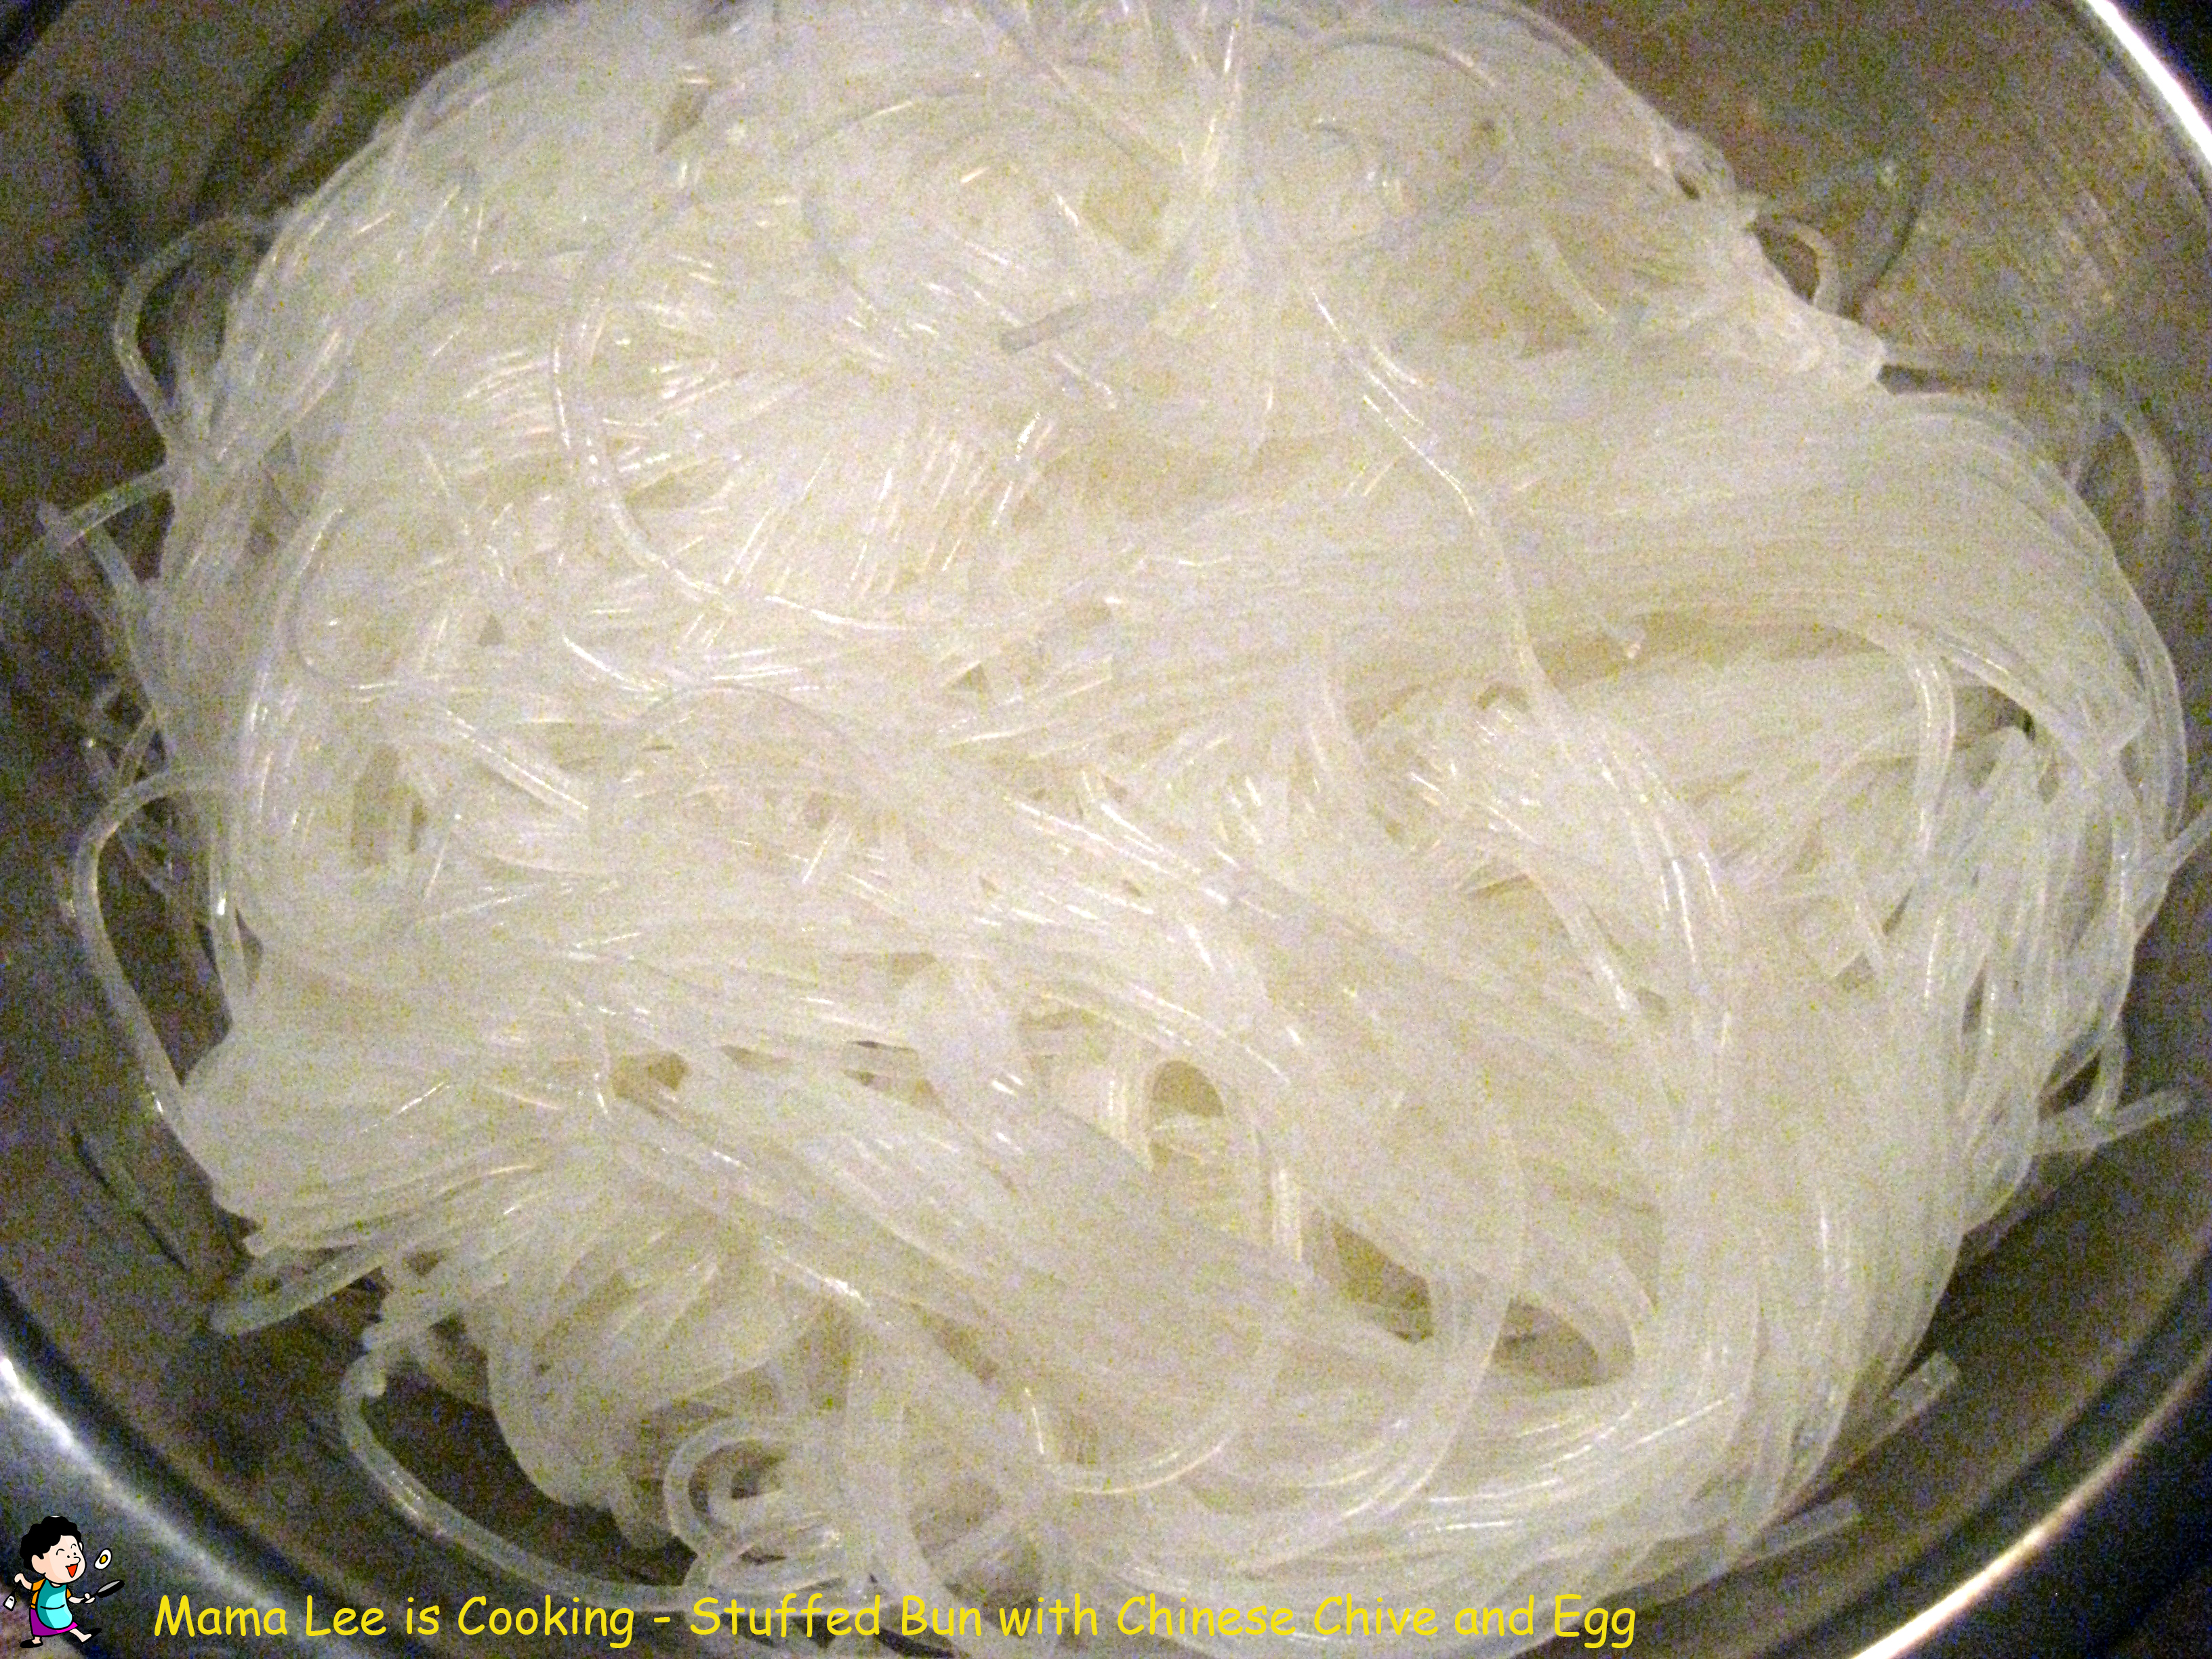 2. Soak cellophane noodles in water until they get tender. Then soak in hot water until they get clear. Drain good.
3. Slowly pour yeast mixture into flour, stir quickly meantime, so flour stick together, turn into little pieces. Stop until you only see little loose flour.
 Add more warm water if you need to. The dough needs to be really tender.
4. Form the flour pieces into a smooth ball, this is your yeast dough, set aside.
5. Stir Fry eggs, when eggs start getting firm, stir quickly so they turn into chunks instead of
a whole piece. Transfer to cutting board, wait until it’s cool, then chop into small pieces.
 6. Clean and chop the Chinese chive into really short string. Transfer to container, then coat with cooking oil.
7. Chop dried shrimp and cellophane noodles into small pieces, mix everything together, add seasoning to your taste.
For seasoning, I normally just use salt and little bit sugar, nothing else since Chinese chive has a strong flavor itself.
8. Separate dough into little even pieces, then roll into little round wrap, fill in fillings, seal good, then flip upside down.

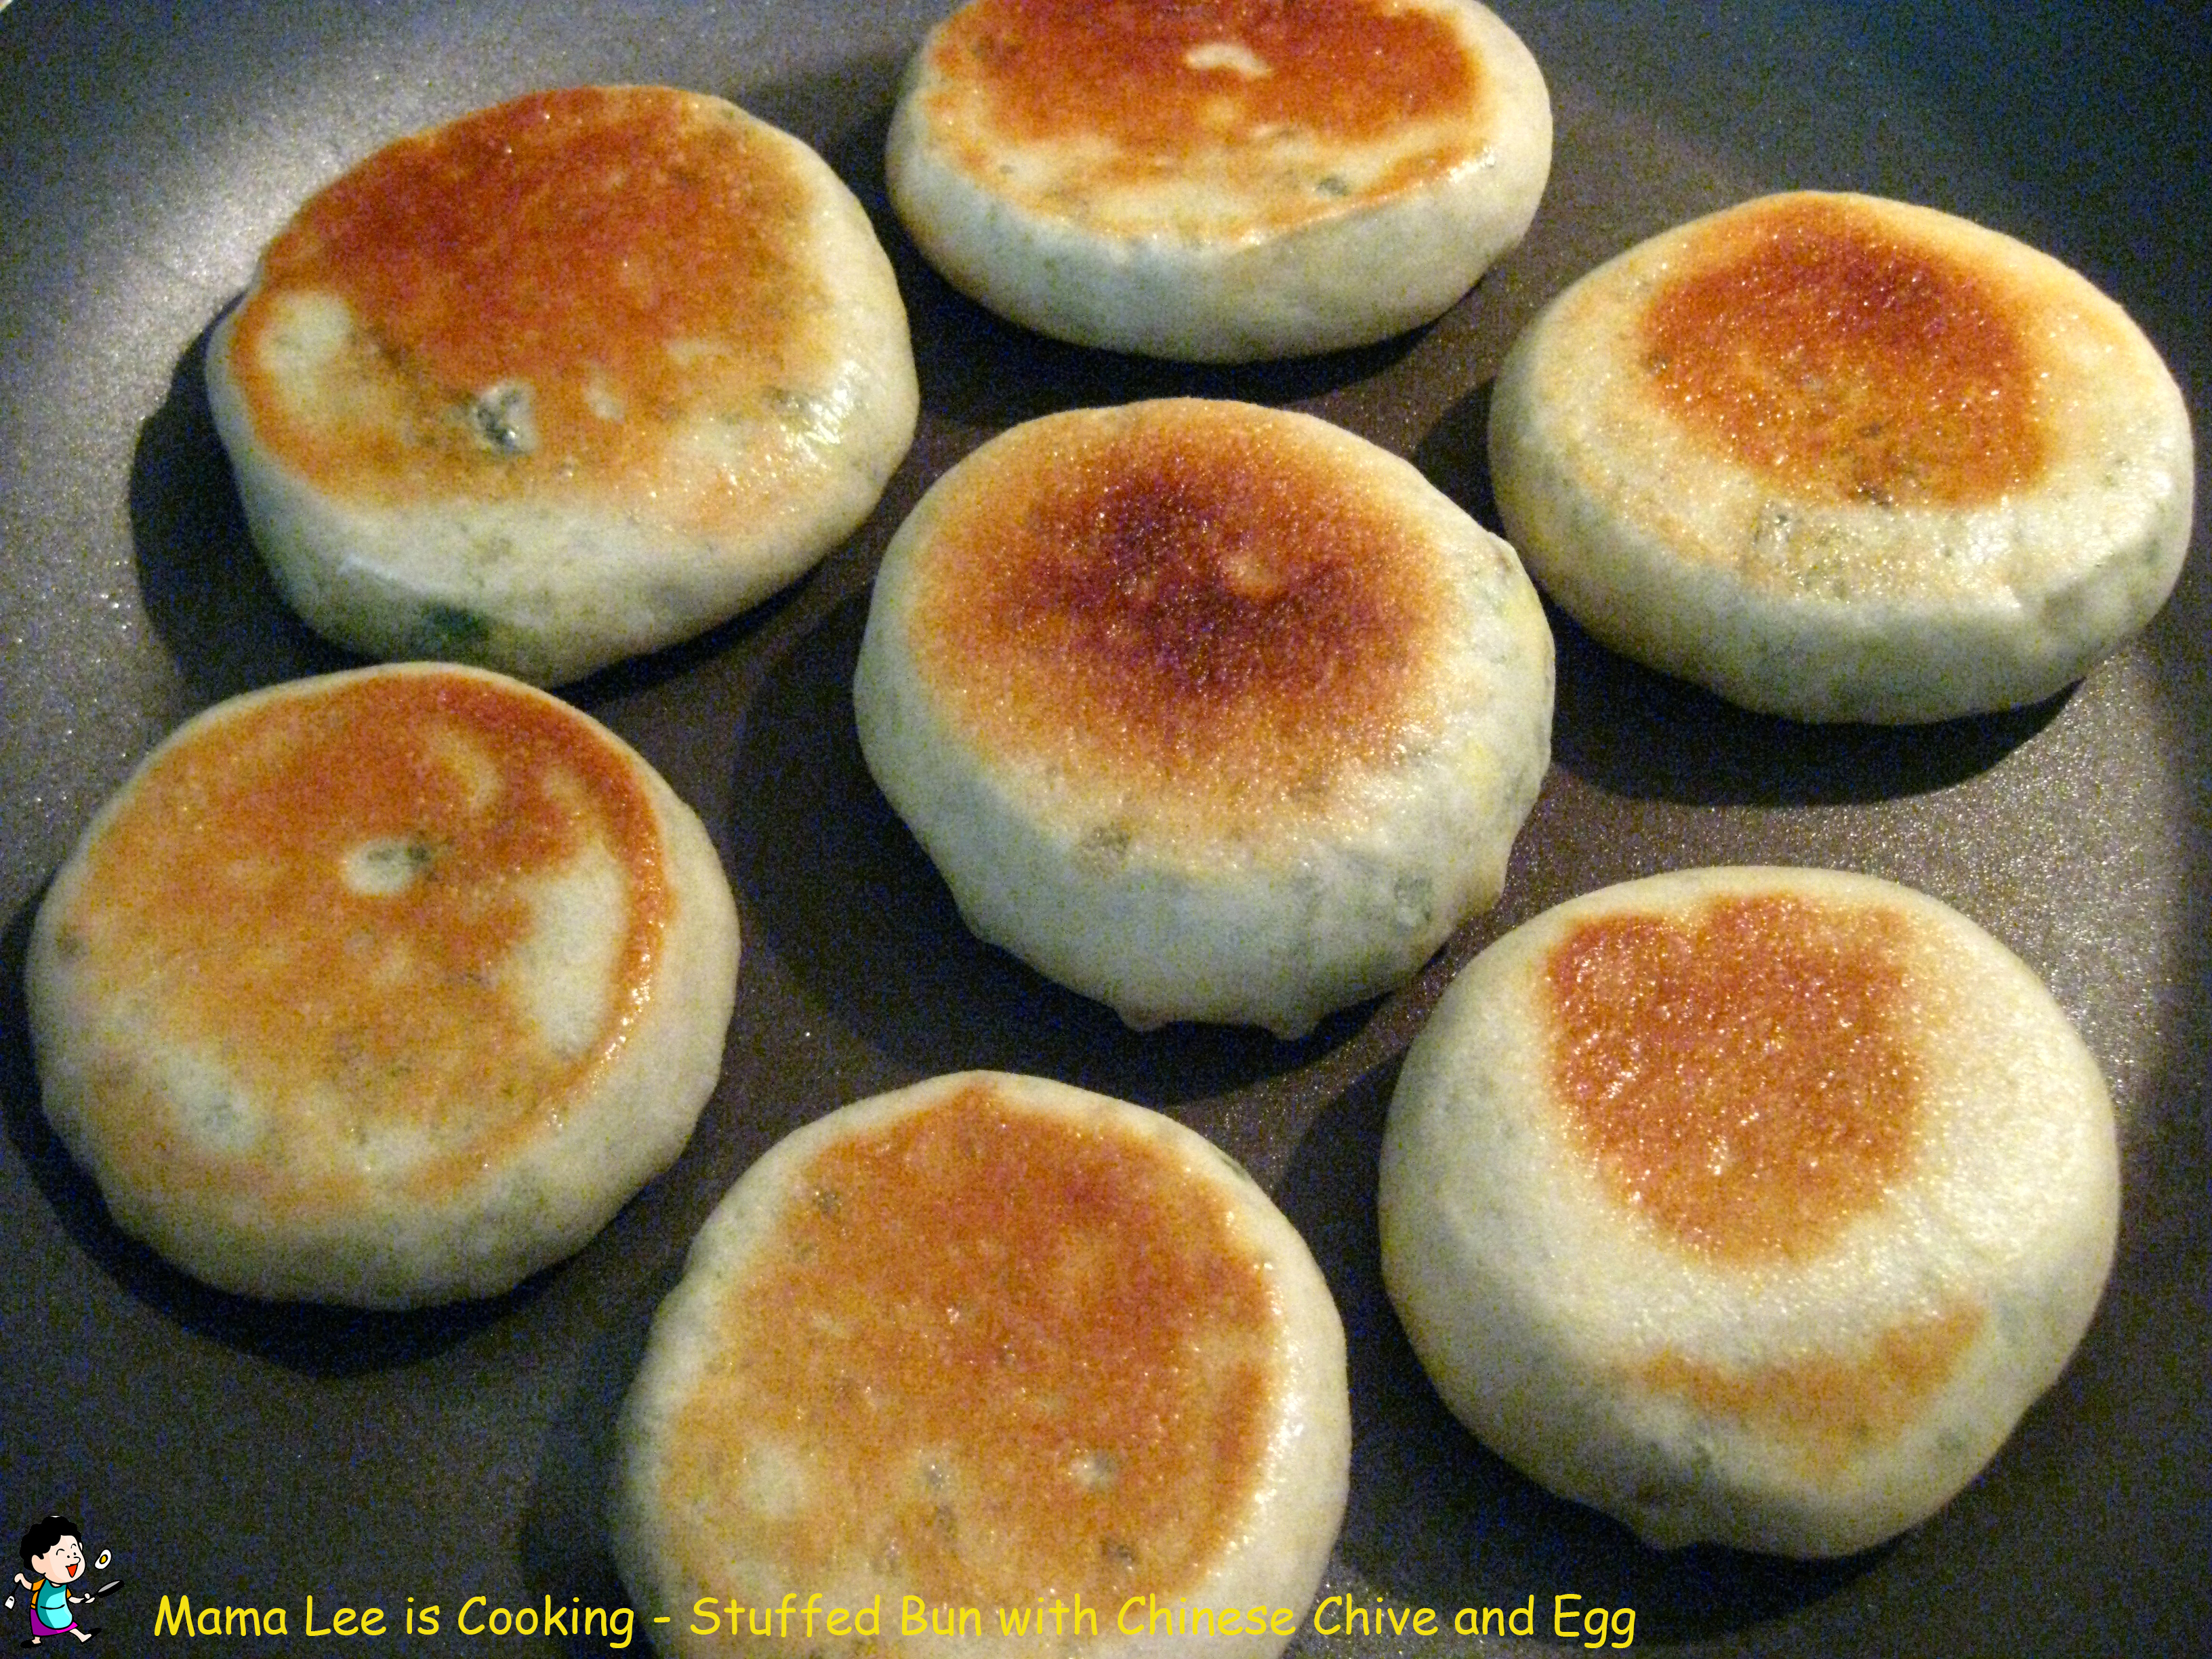 9. Heat up the frying pan, add cooking oil, adjust heat to medium low.
10. Fry the buns to golden brown, then flip, keep frying until both side turn golden brown.
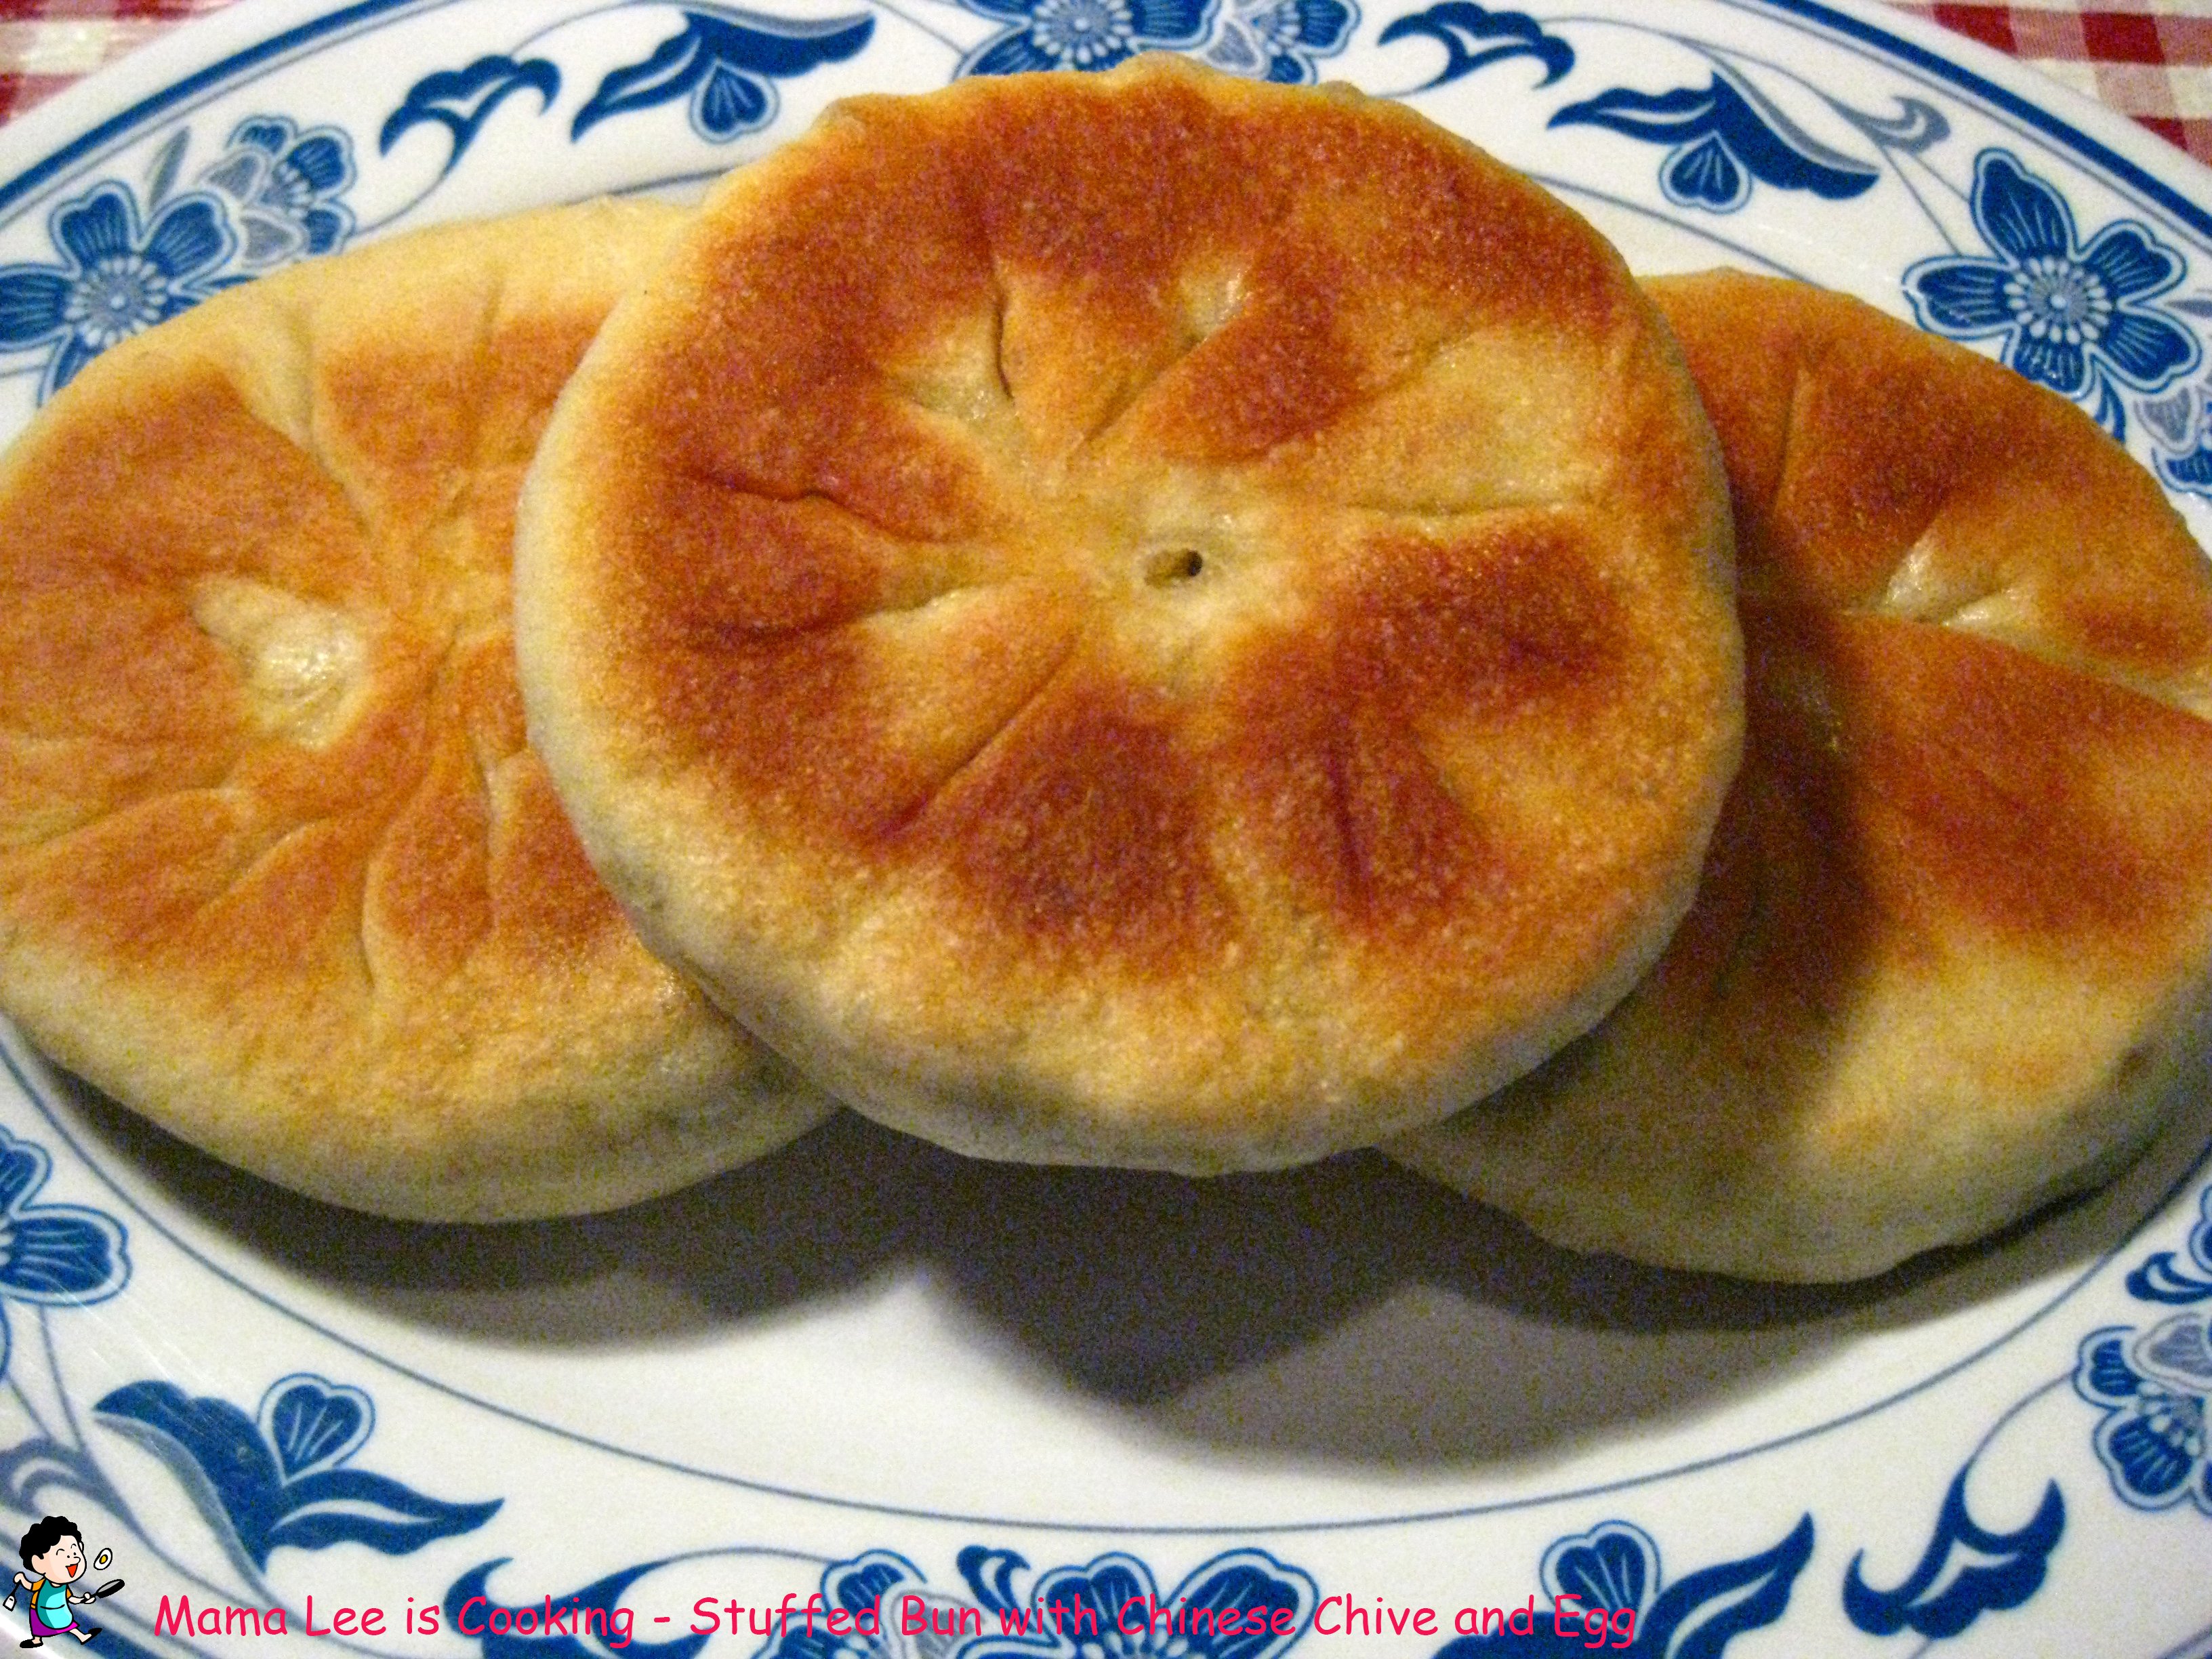
11. Serve when hot.
I like to mix vinegar, soybean sauce and sesame oil together as dipping sauce, serve with stuffed buns.
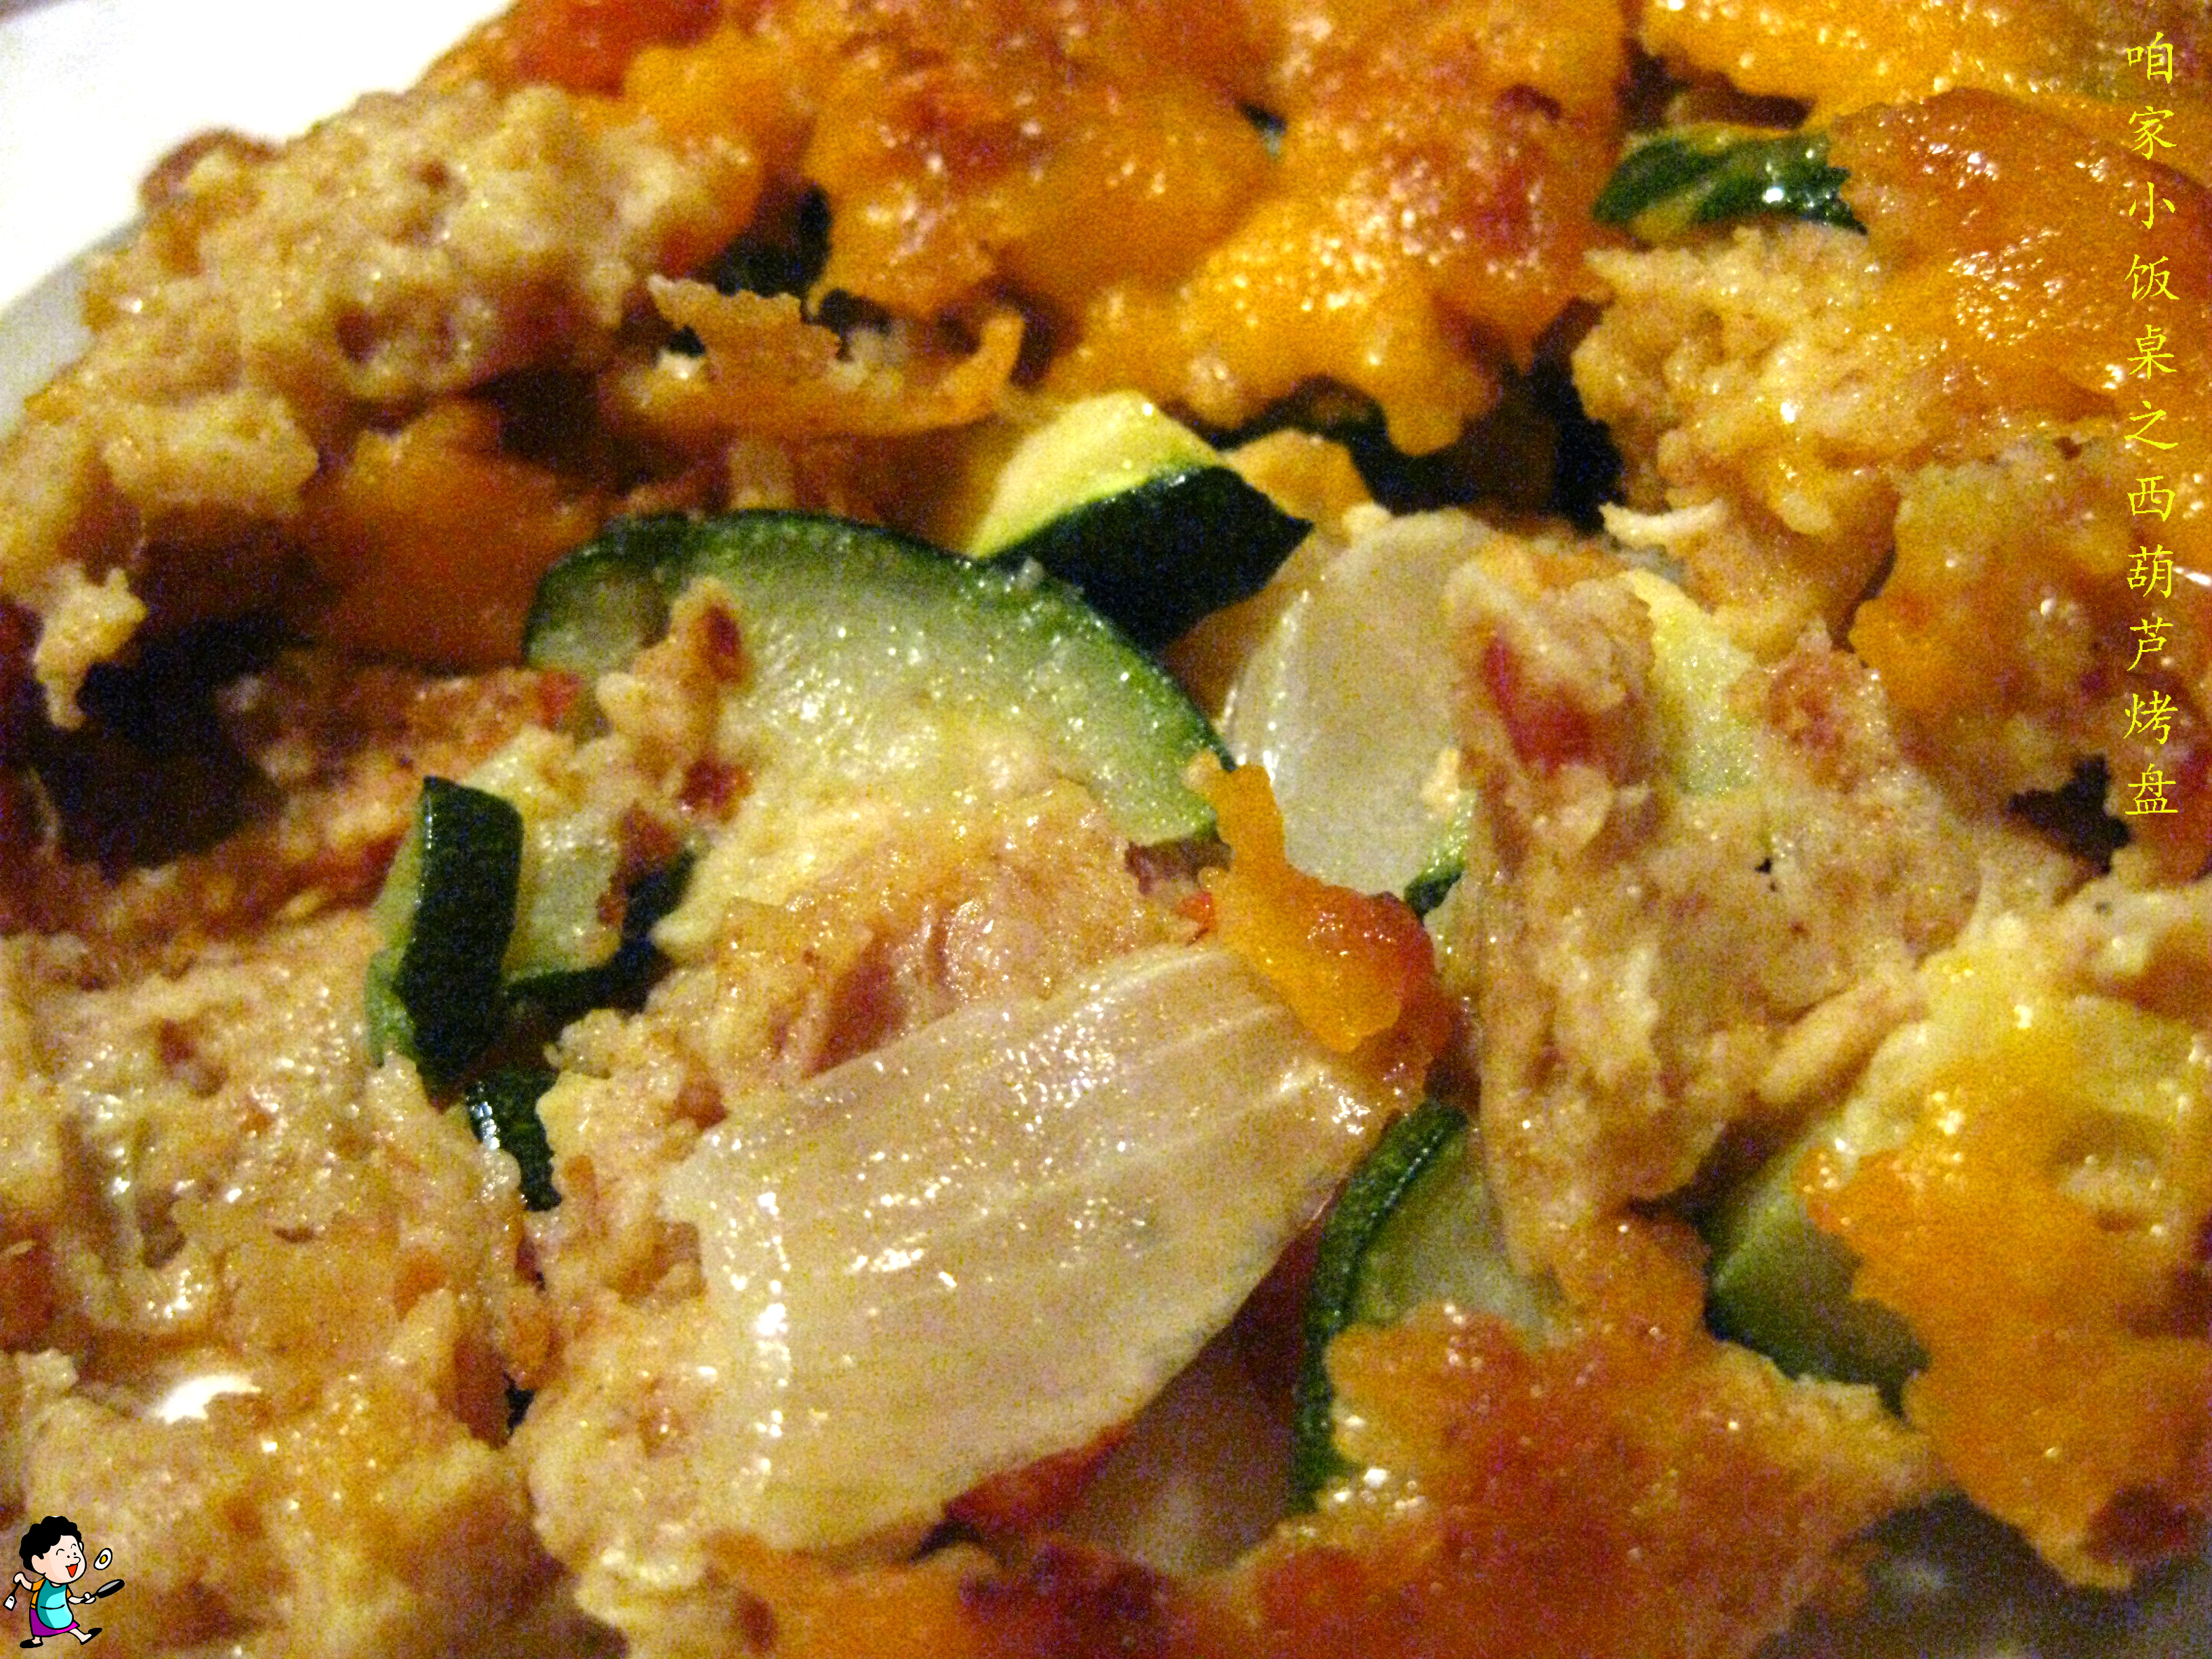
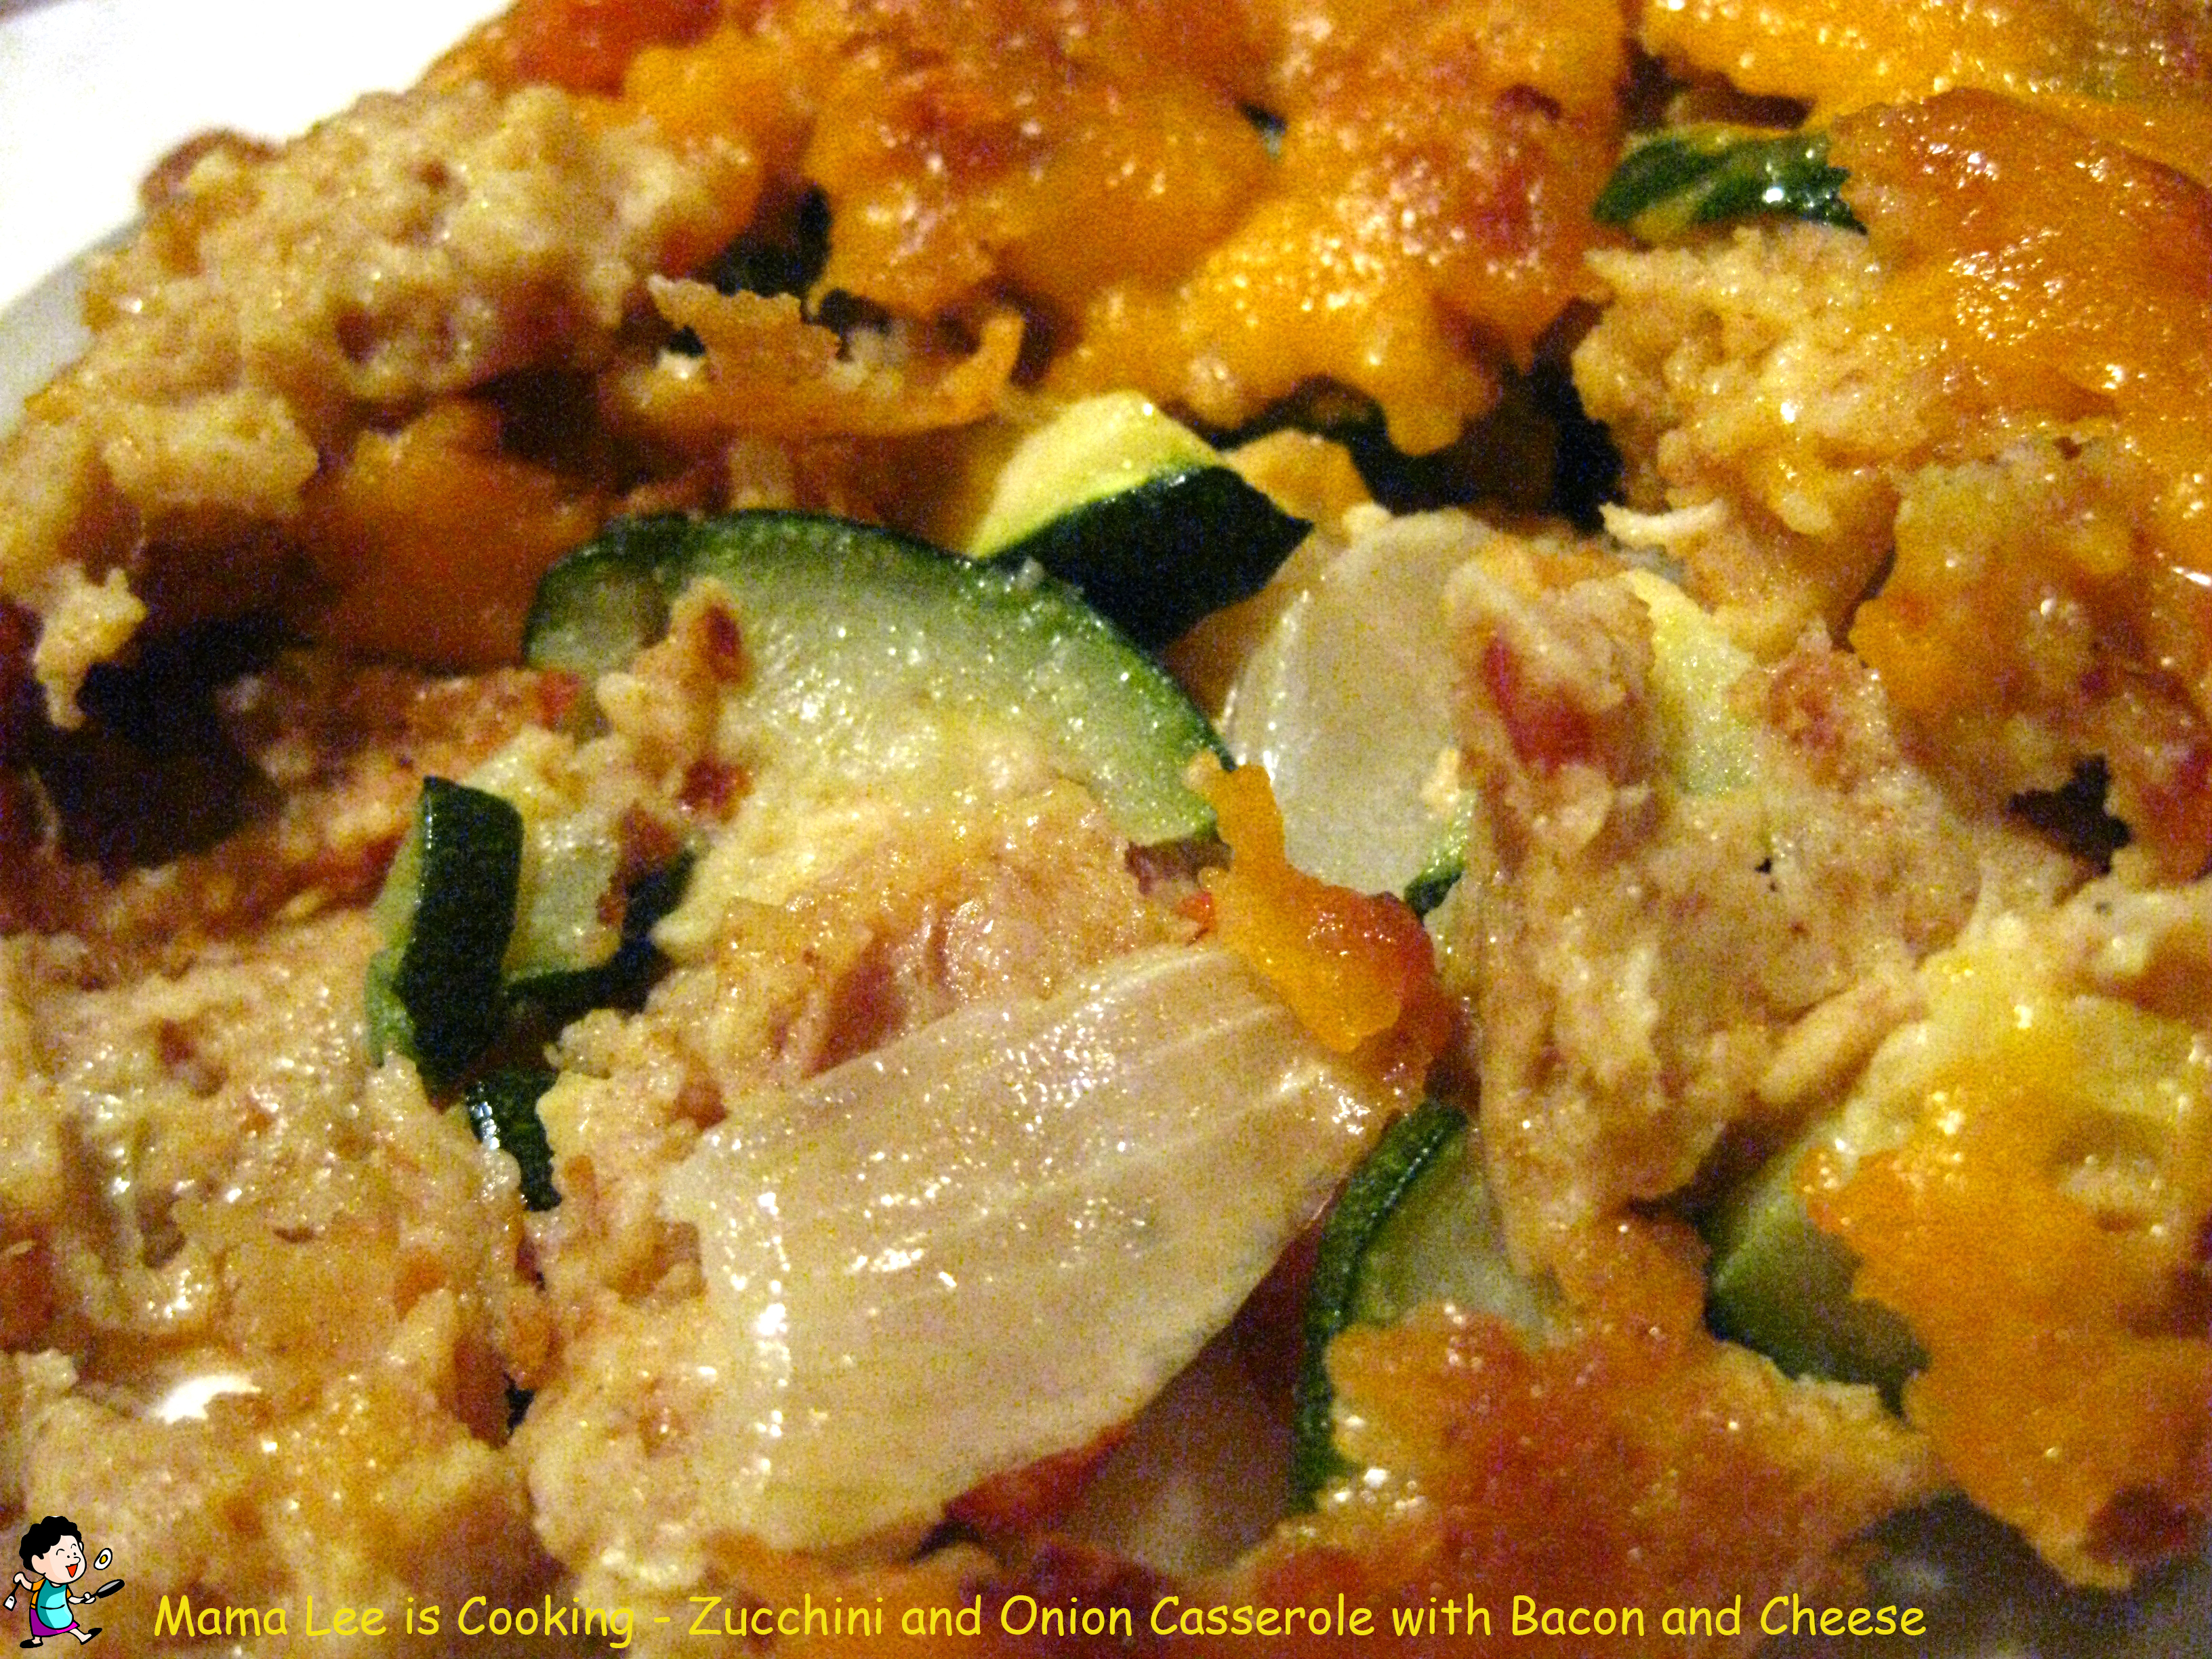
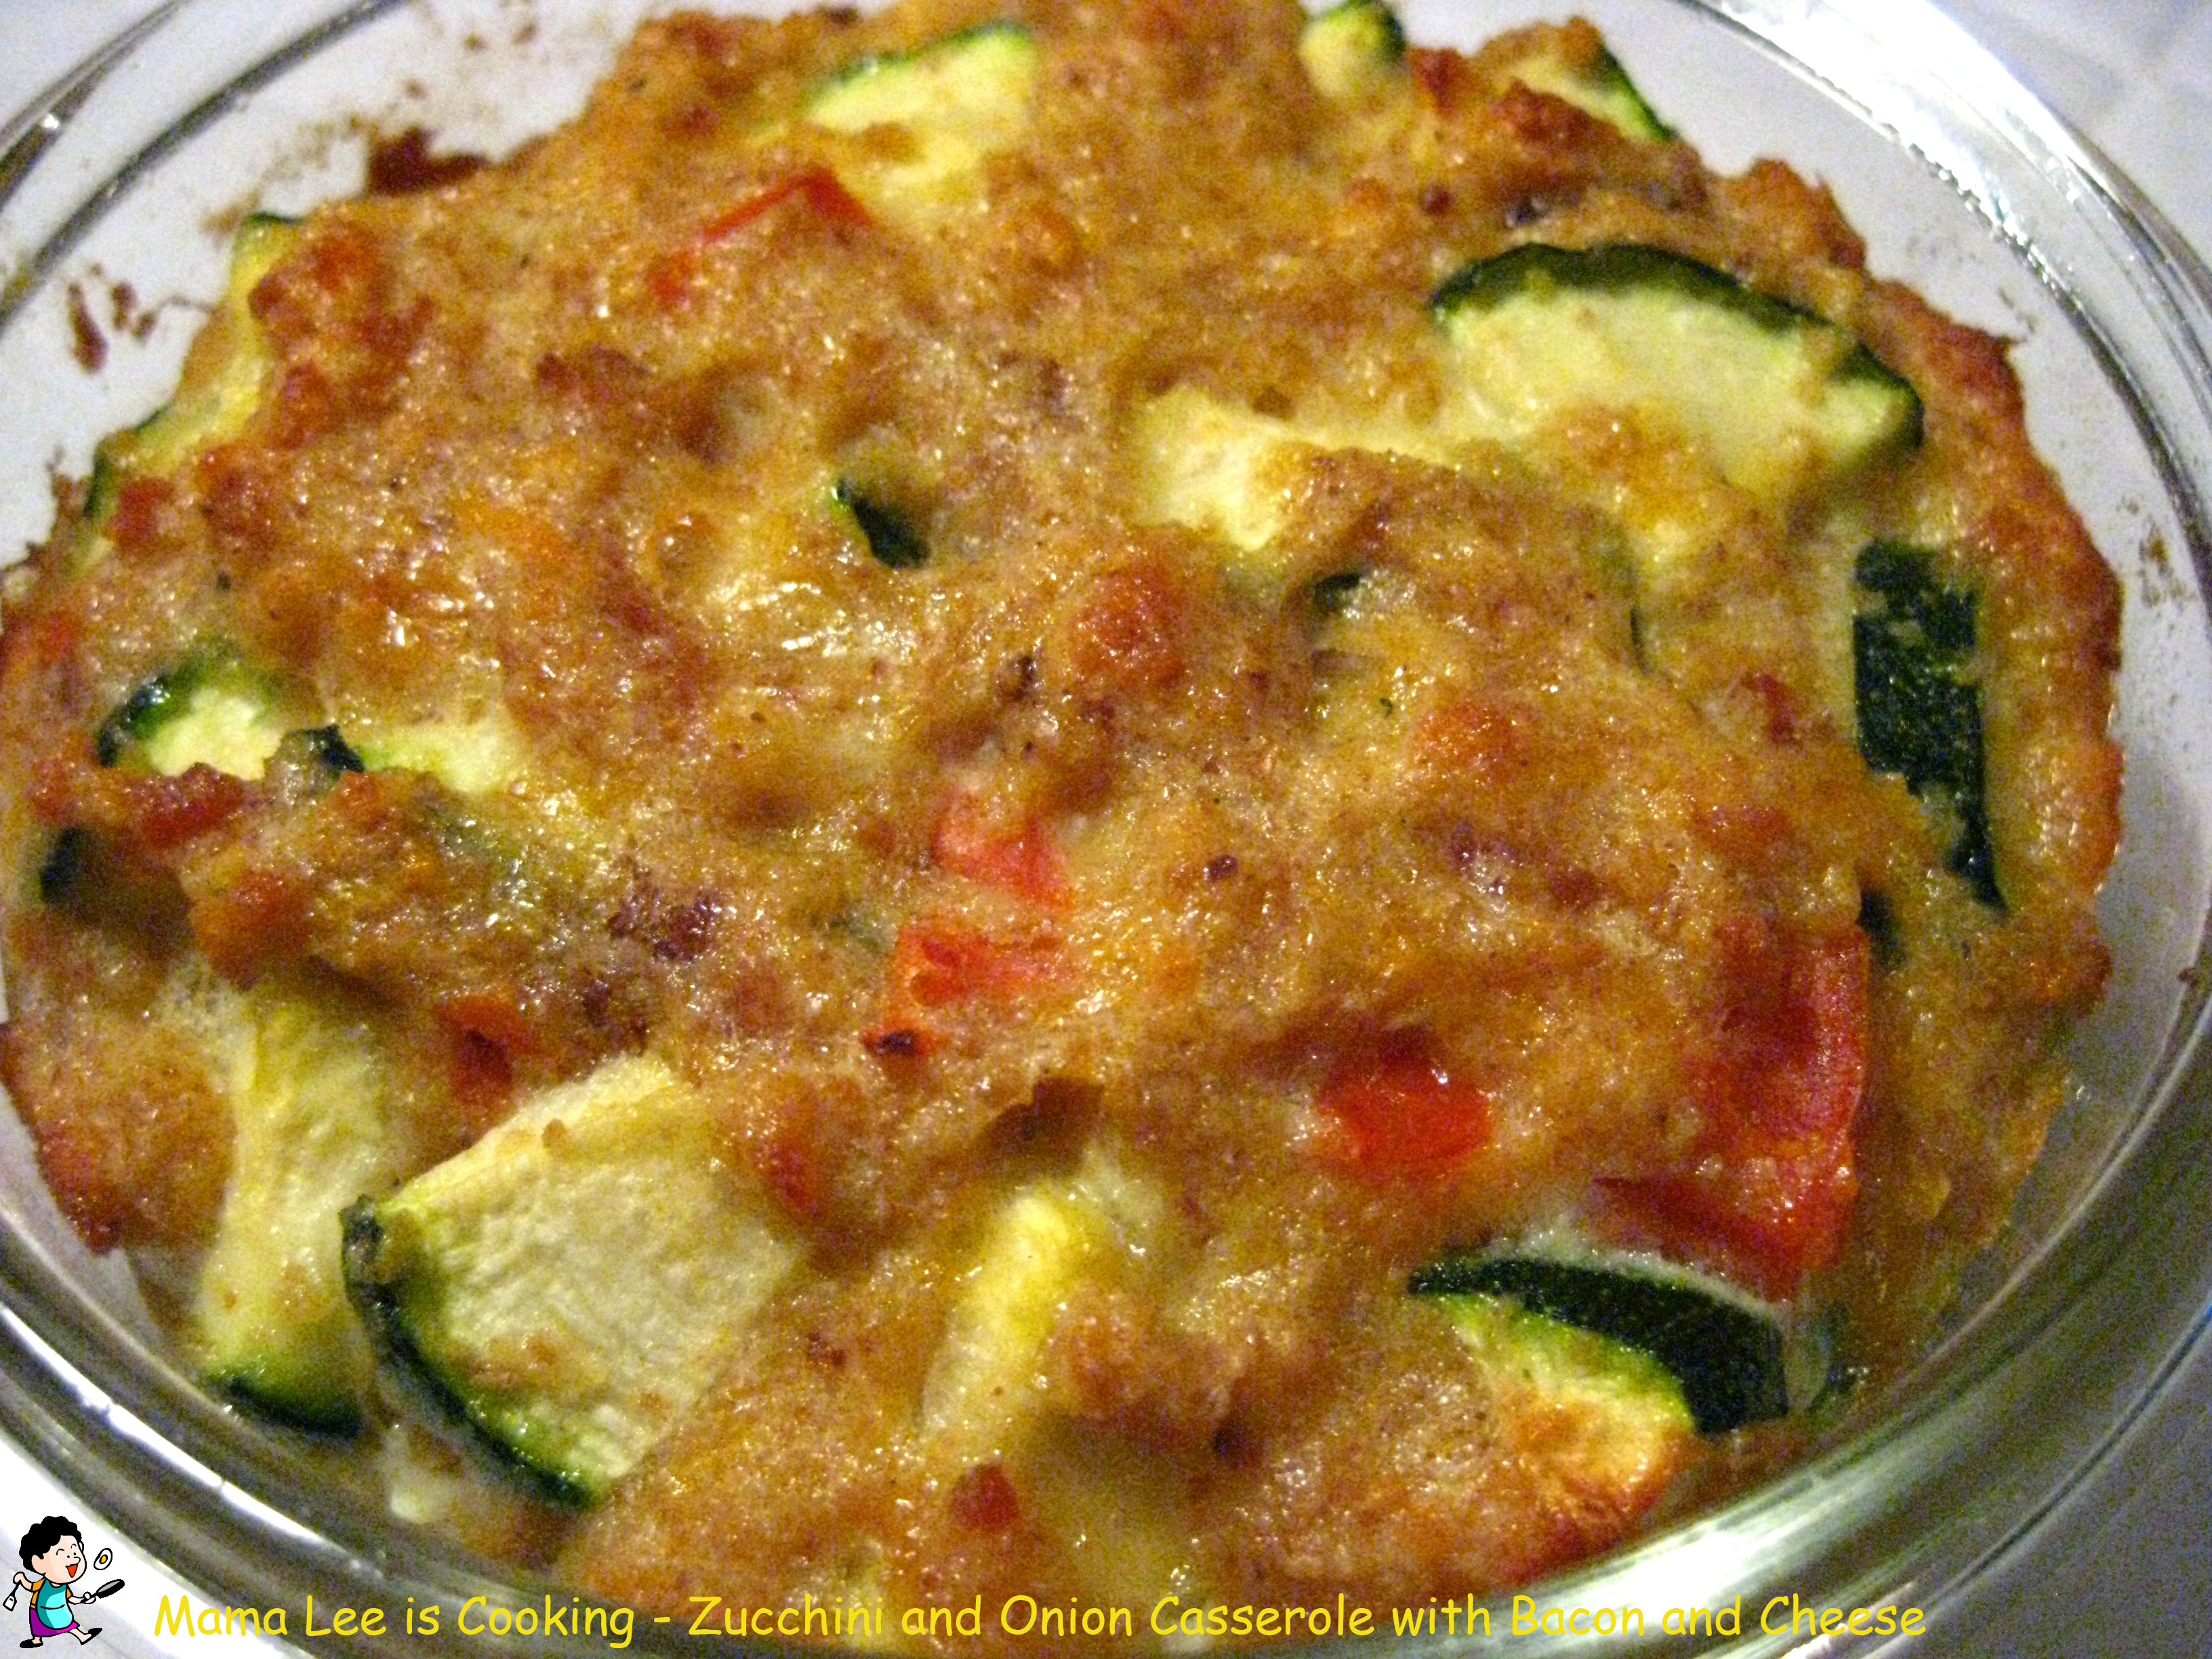
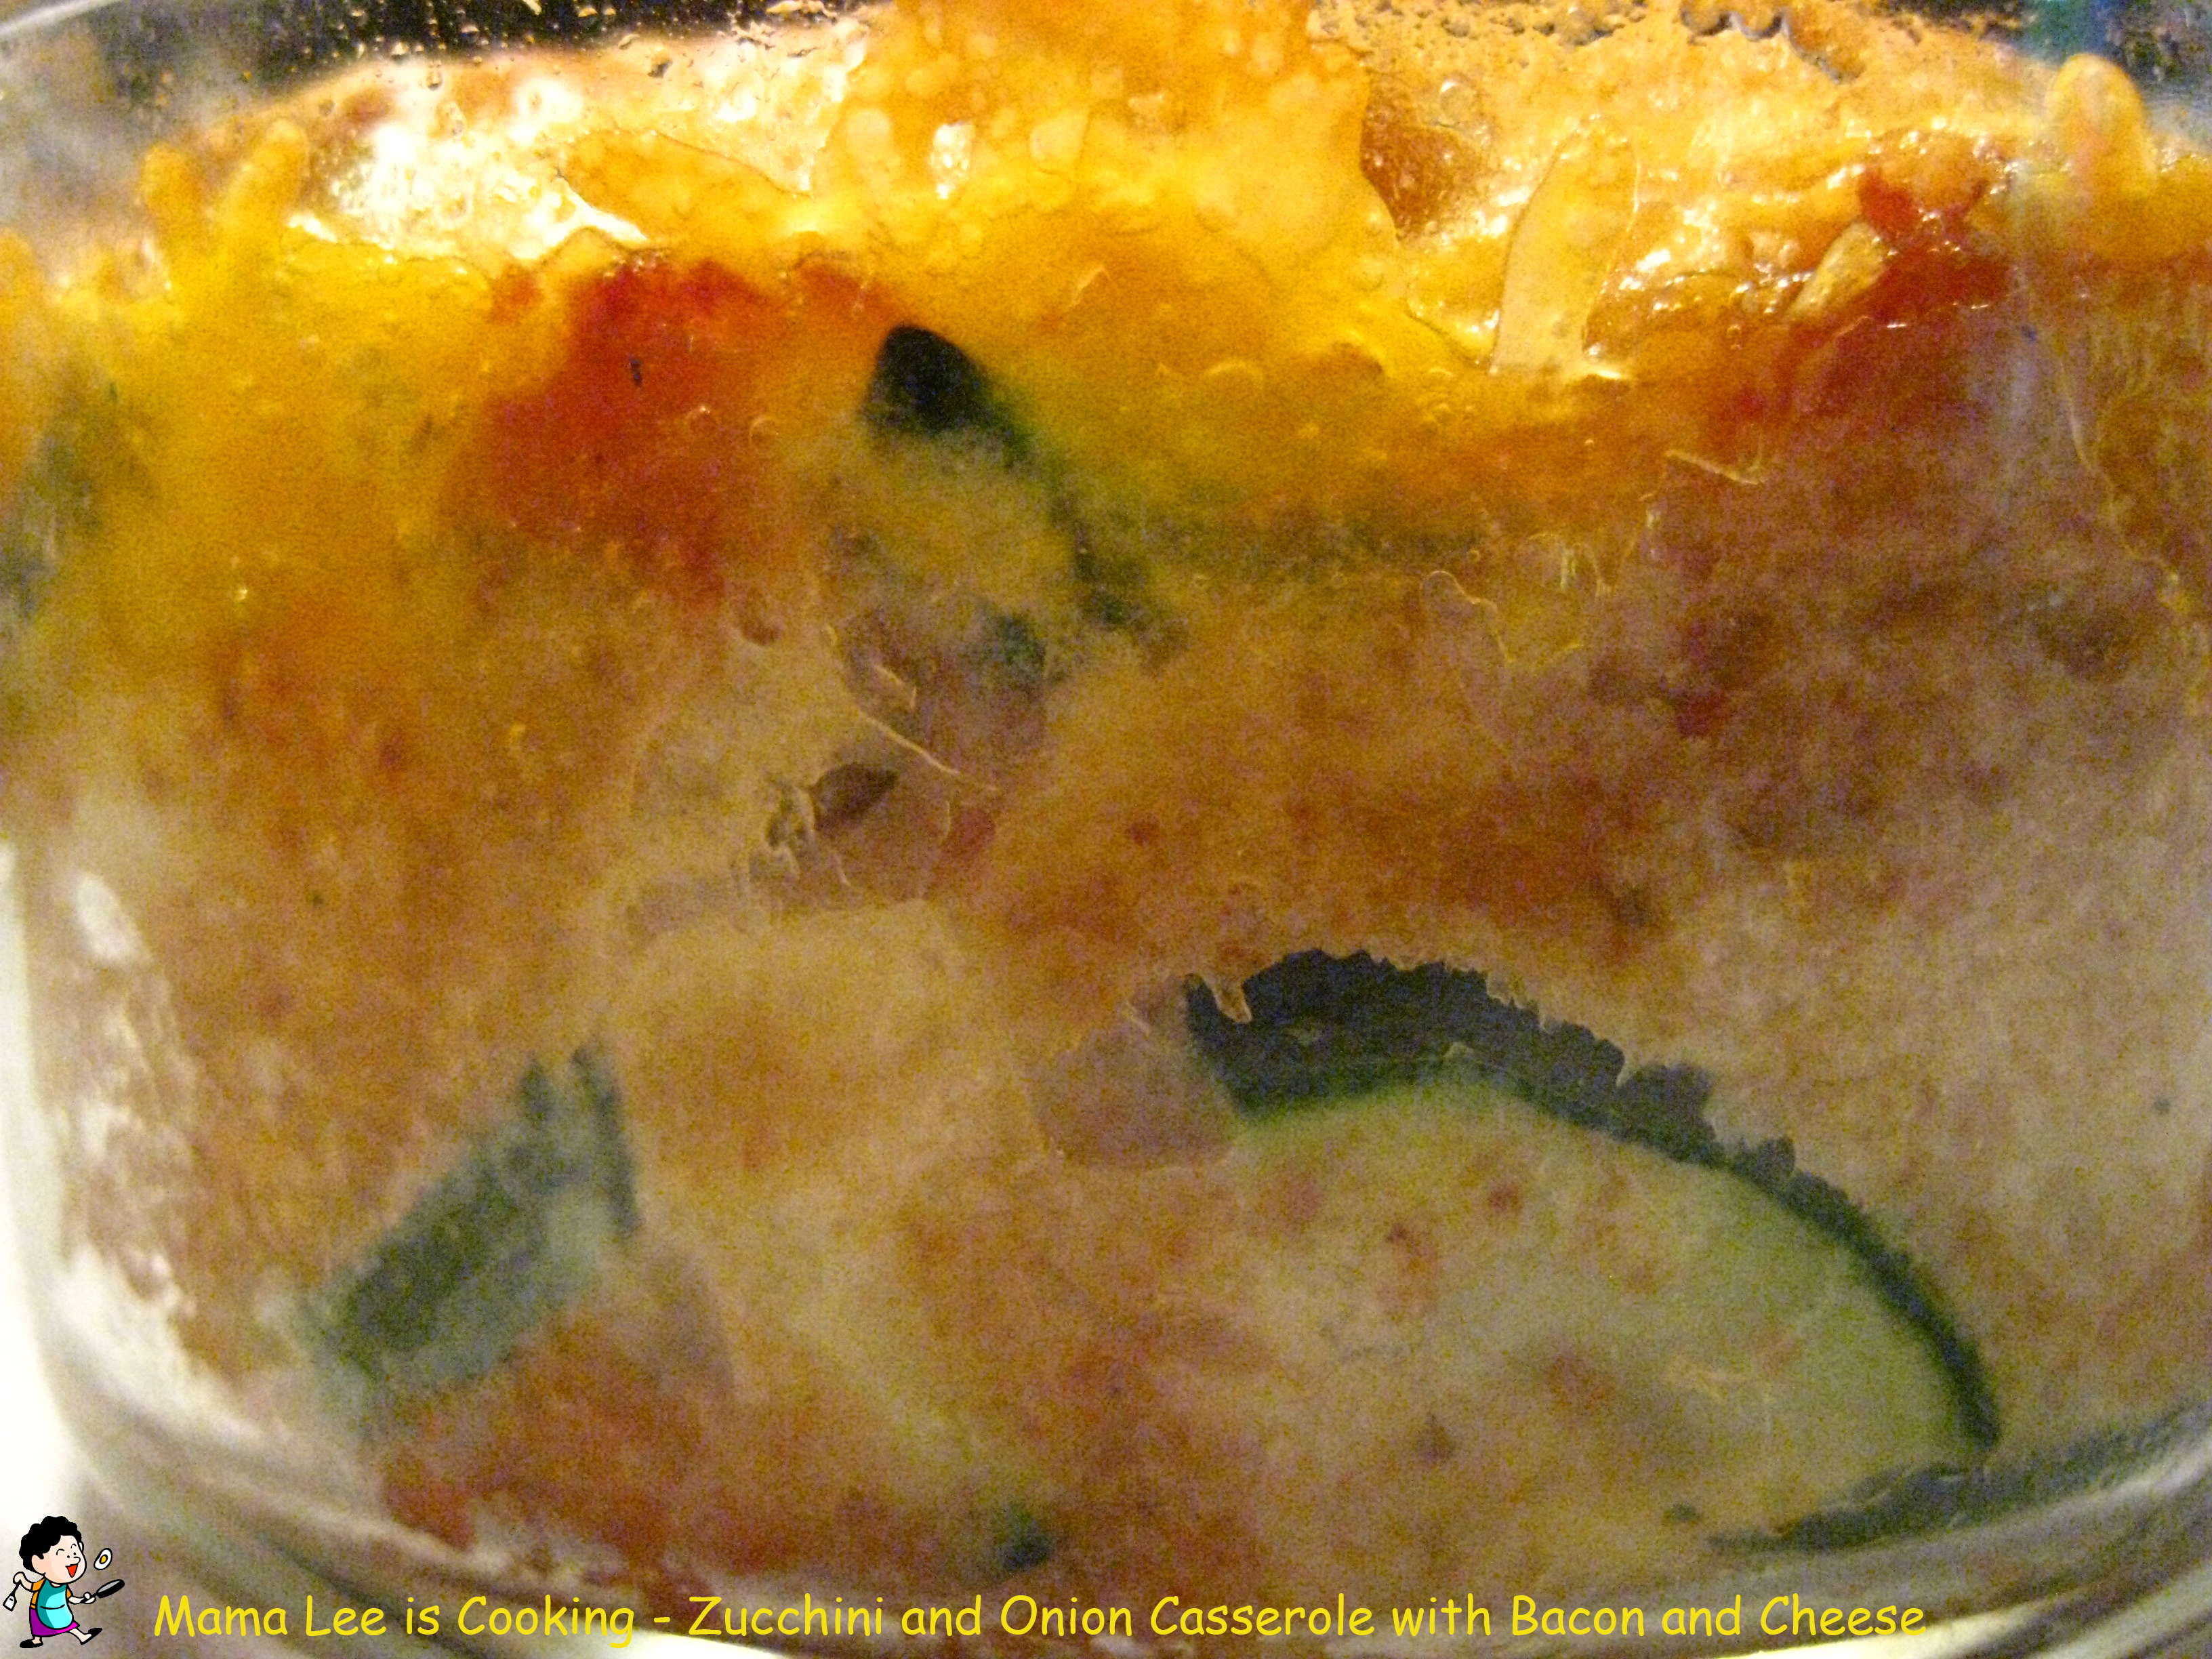
我最近喜欢上了美式的烤盘,不过,我比较喜欢放了几个小时以后的味道,觉得那样会比较入味,比刚做好的要好吃。
 材料:
材料:
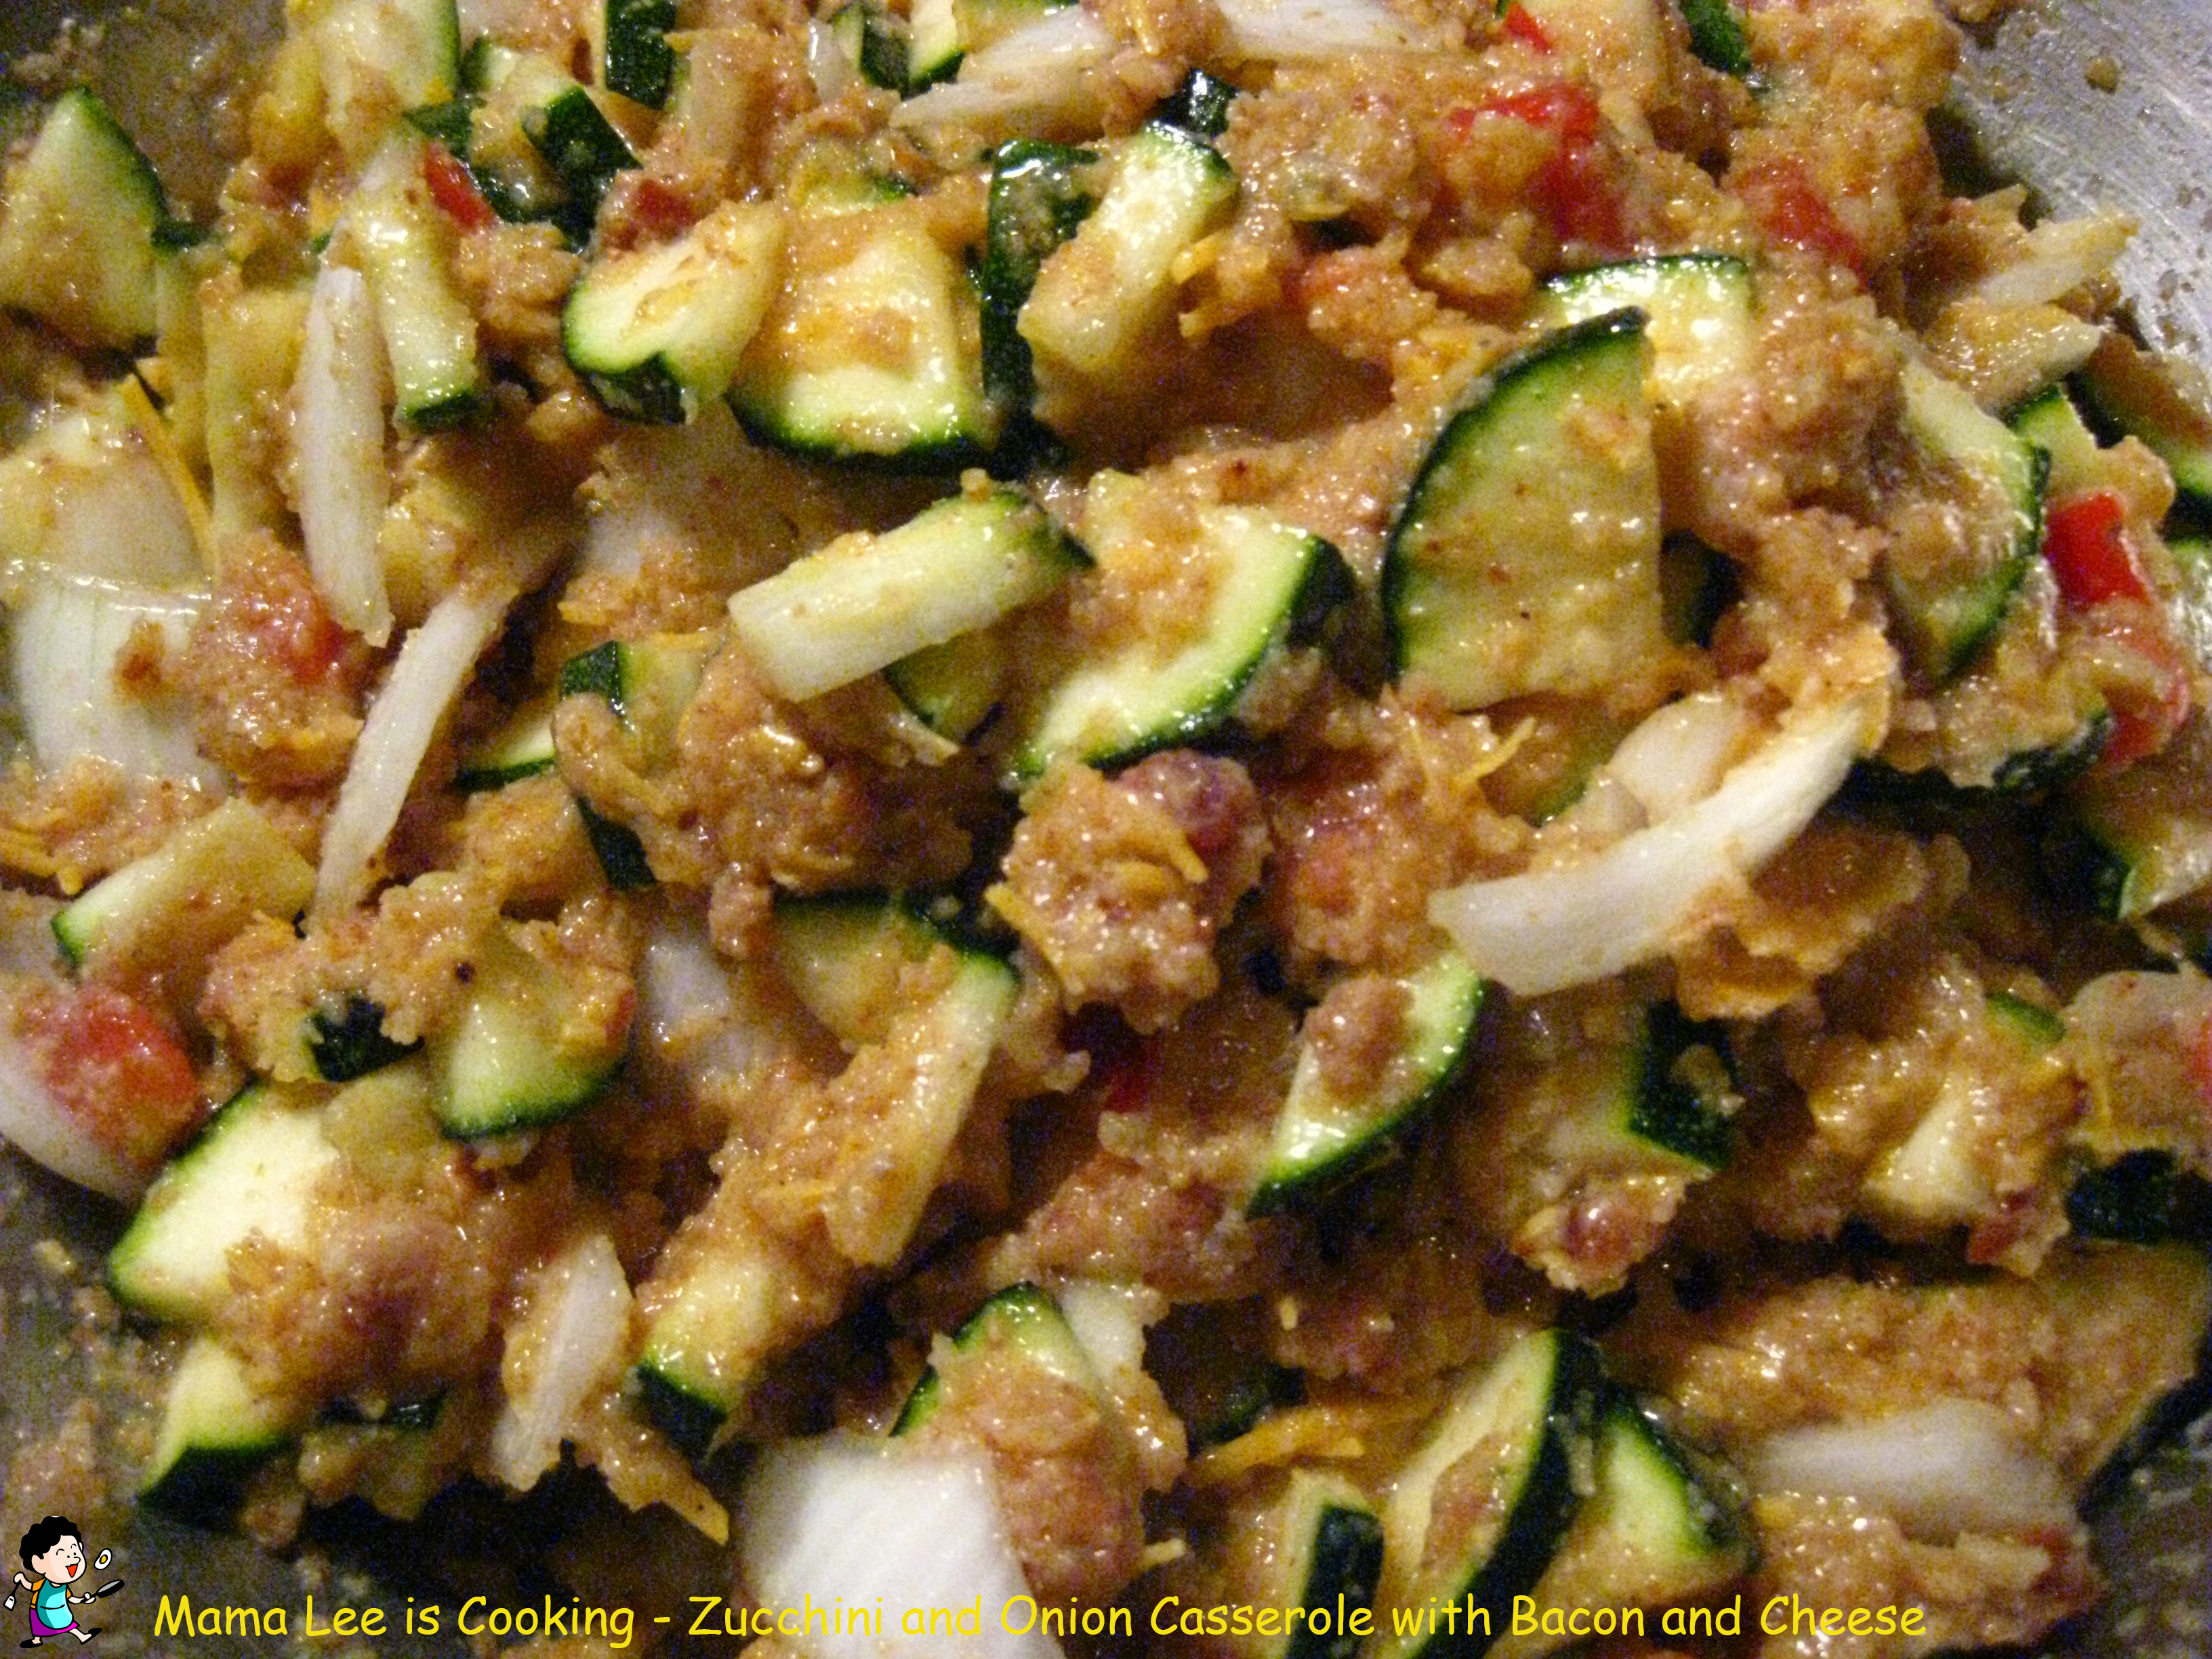
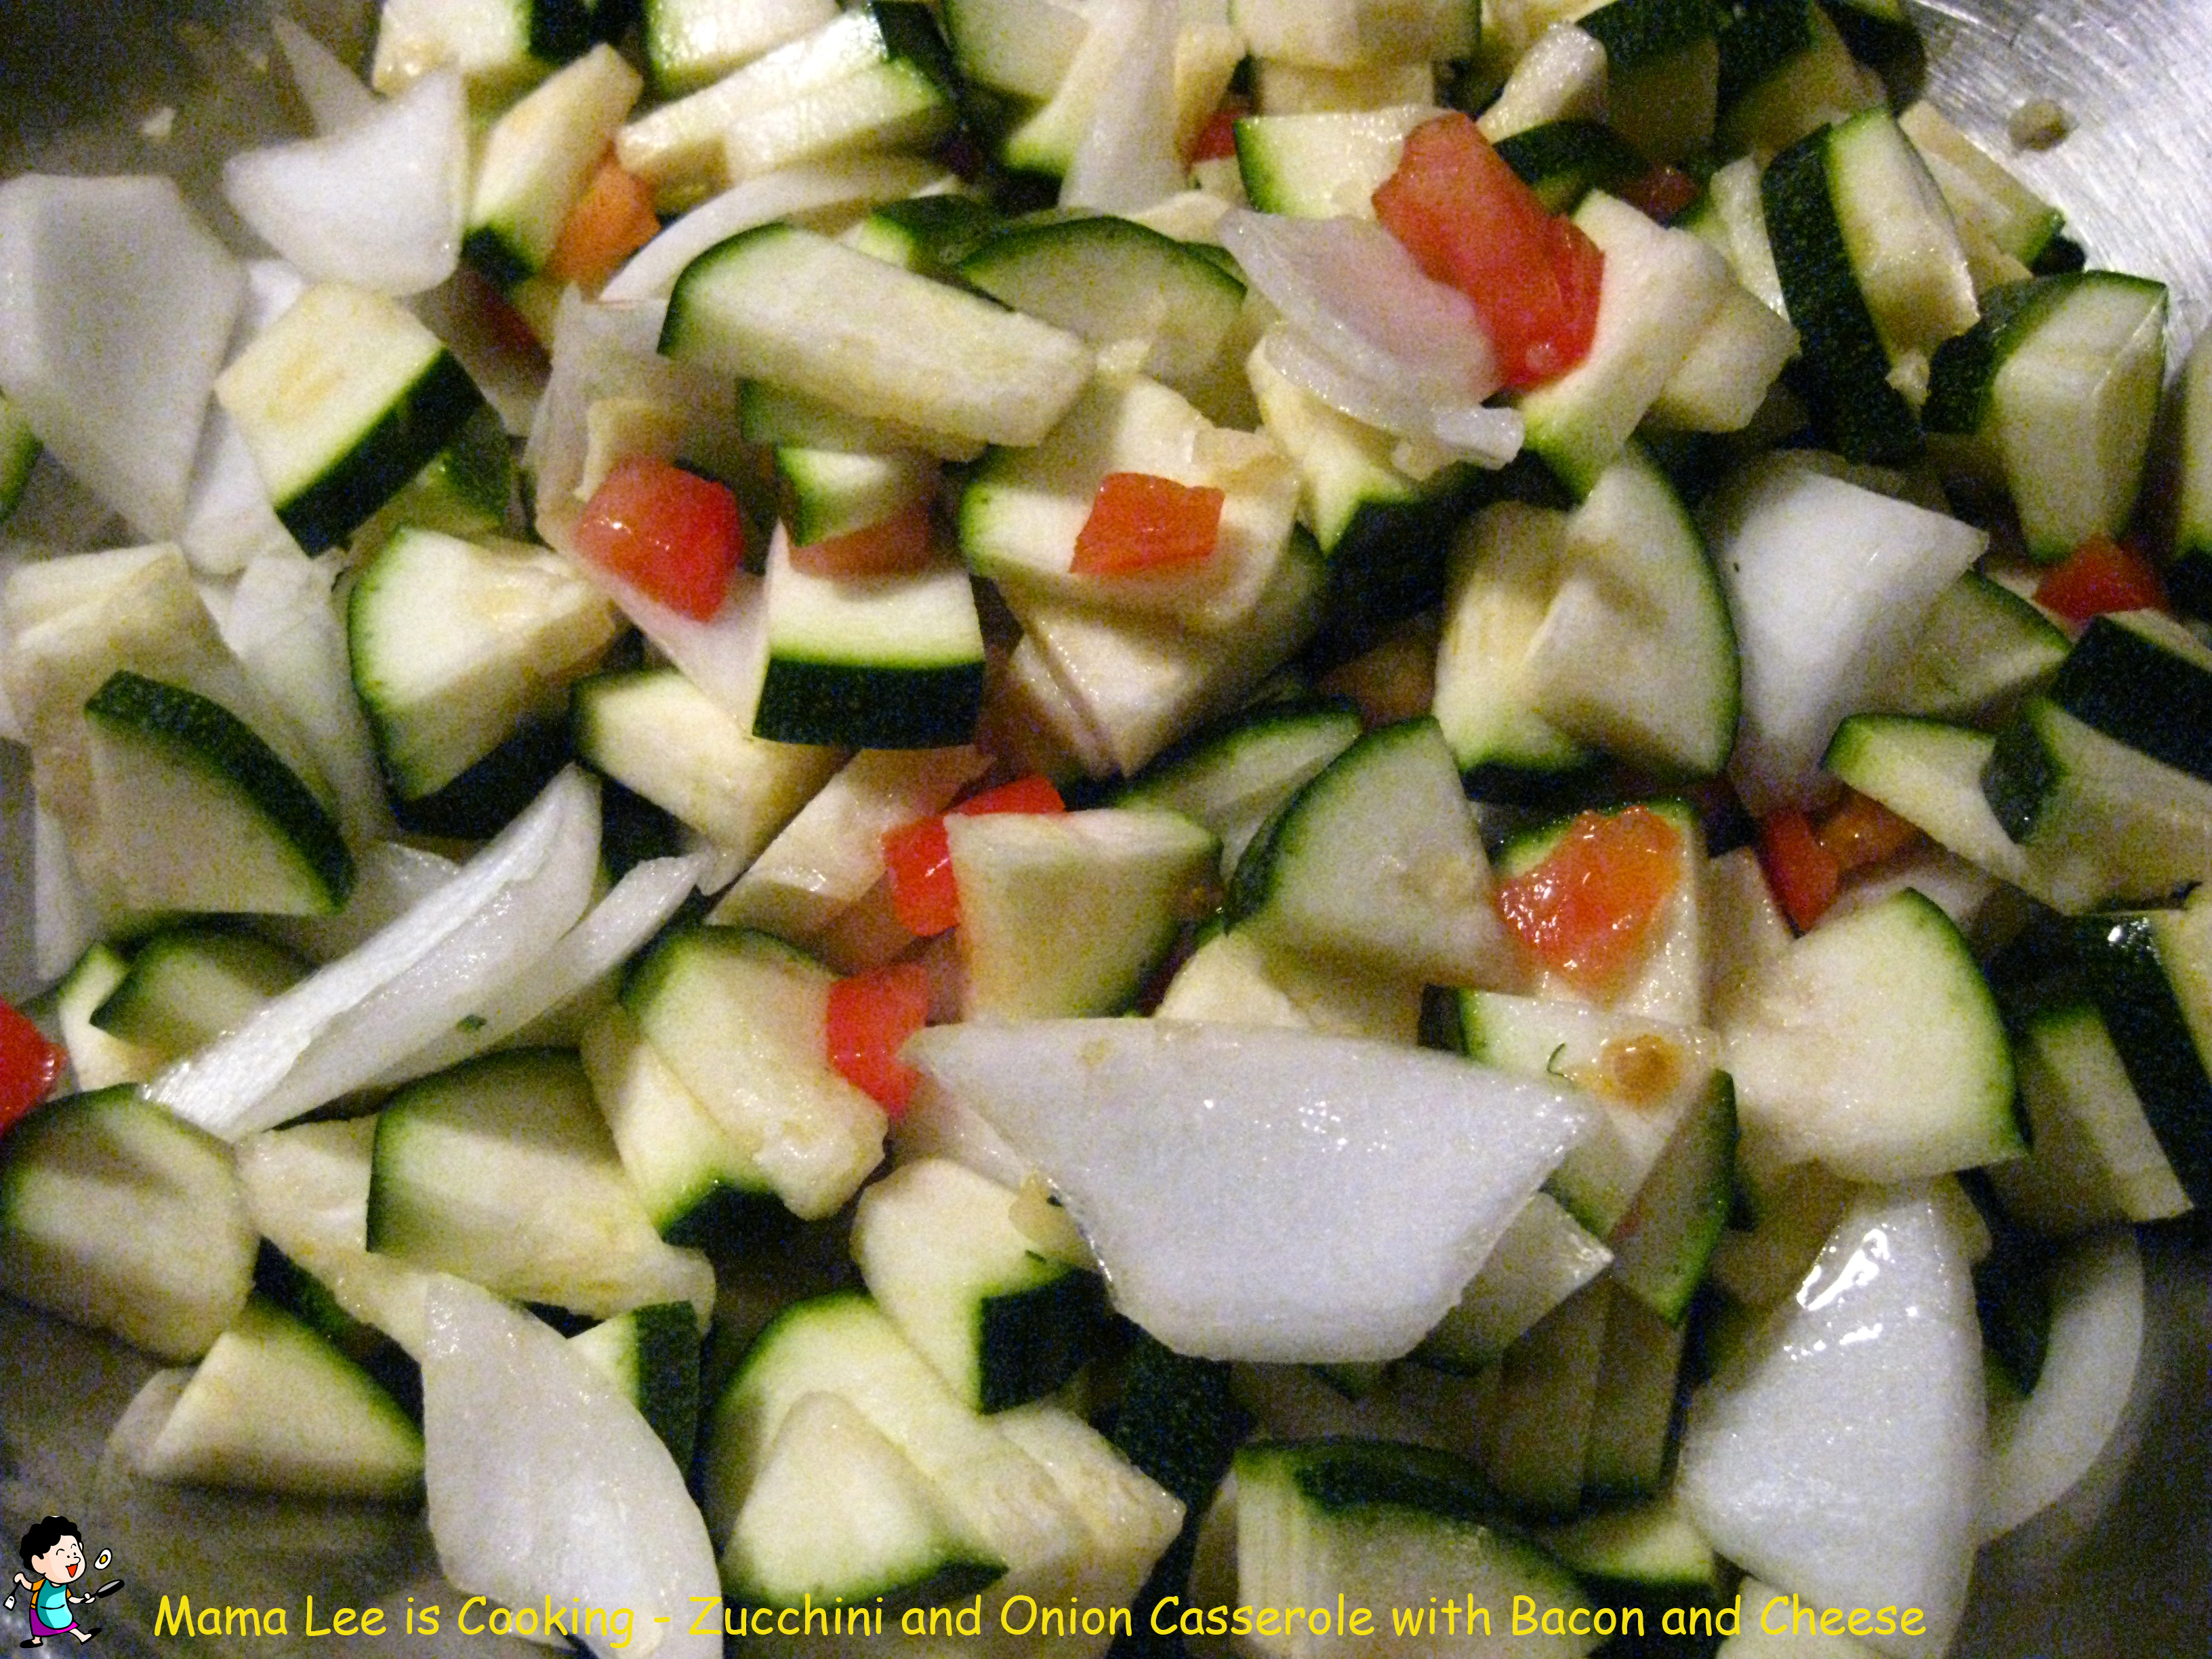
两根中等大小西葫芦,半个洋葱,1 个小西红柿,5 个鸡蛋,1 杯面包渣,1 杯乳酪碎,培根适量,1 瓣蒜,3 大勺食用油,调味料。
做法:

 1、西葫芦、洋葱、西红柿切块,蒜切碎。
2、乳酪碎留下一半,其他的材料一起拌匀。
3、烤箱预热 375 华氏度。
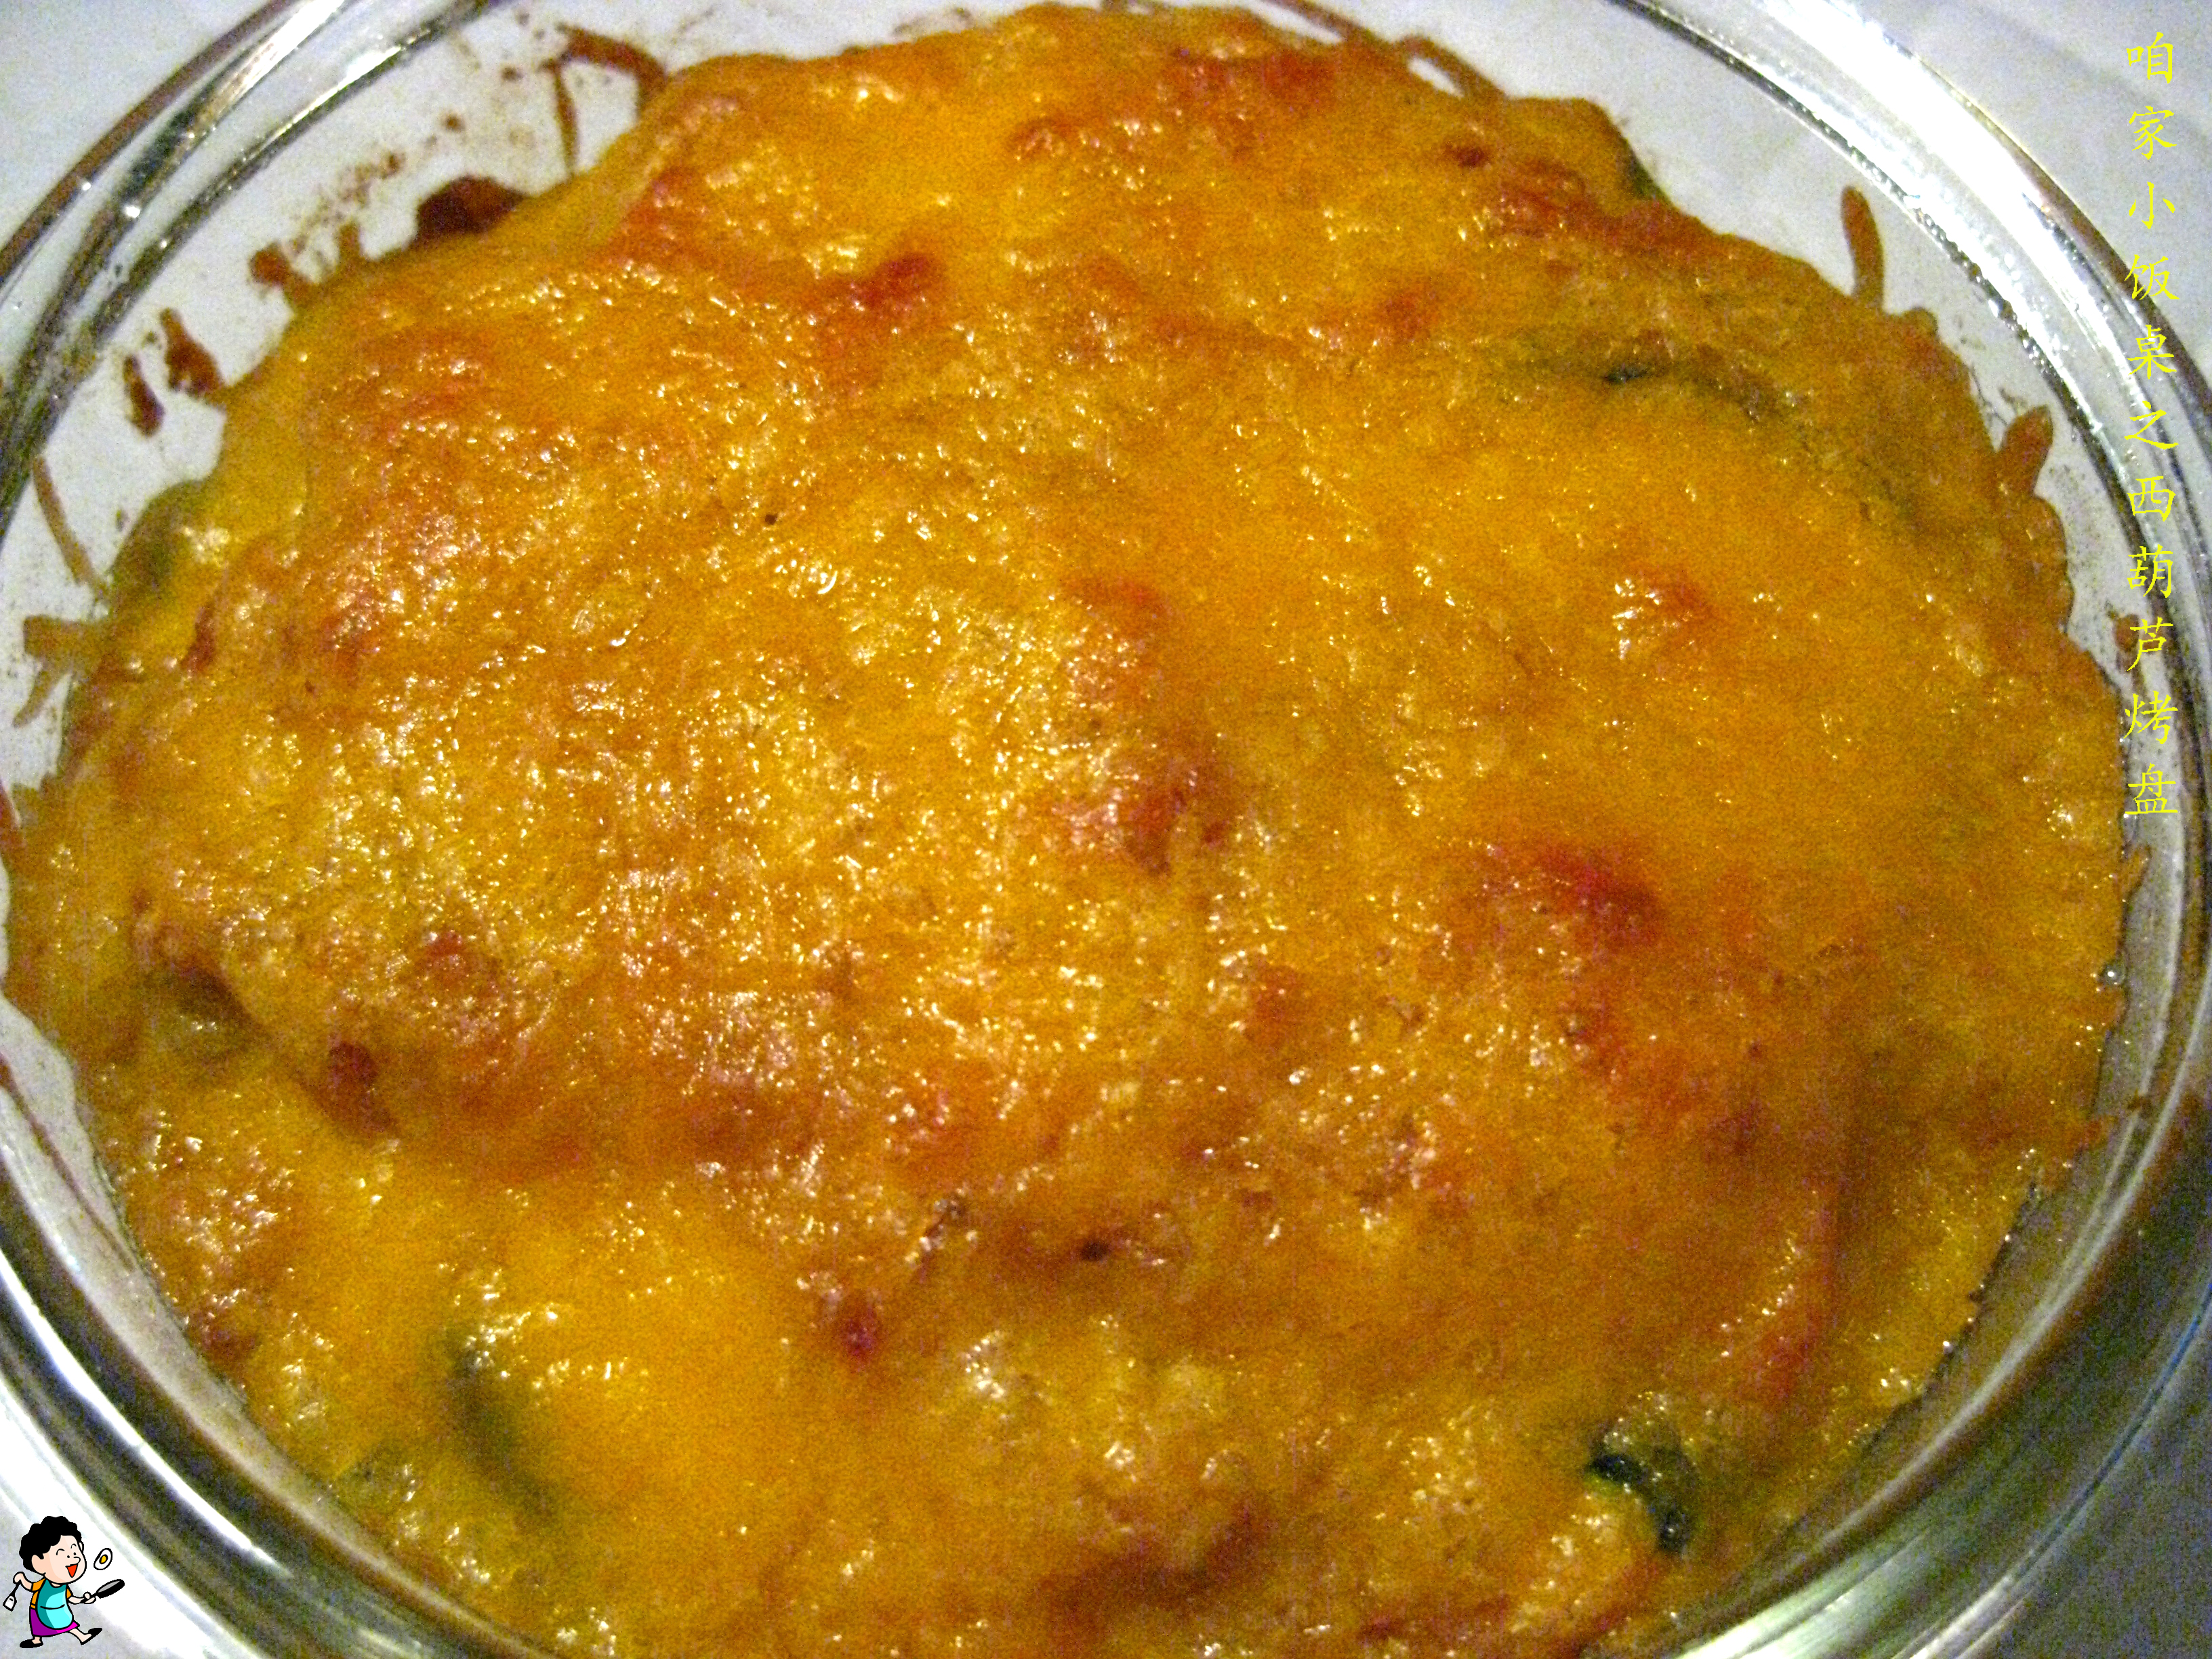
 4、烤盘刷/喷一层油防粘,然后把混合好的材料倒进去烤 40 分钟。
我用的几个小烤盘,烤了 25 分钟。
5、烤盘拿出来,撒上剩下的乳酪碎,烤到乳酪融化即可。
我喜欢烤的稍微过一点。

I started liking casseroles now. But I think I like the leftover better because the flavor really get soaked in several hours’ sitting.
 Ingredients:
2 medium size zucchini, half a onion, 5 eggs, 1 small tomato, 1 cup shredded cheese (divided into 2 portion), 1 cup bread crumb, 1 clove garlic, 3 tbsp cooking oil, seasoning to taste.
Method:
 1. Chop zucchini, onion and tomato into cube-shape.
2. Mince garlic.
3. Mix all the ingredients but 1/2 cup cheese together.
4. Pre-heat oven to 375ºF.

 5. Spray the baking dish with non-stick spray, then scoop the zucchini mixture in, bake for 30-40 minutes.
I used individual serving size baking dishes, baked 25 minutes.
6. Take baking dish out, sprinkle with leftover cheese, bake until cheese is done.
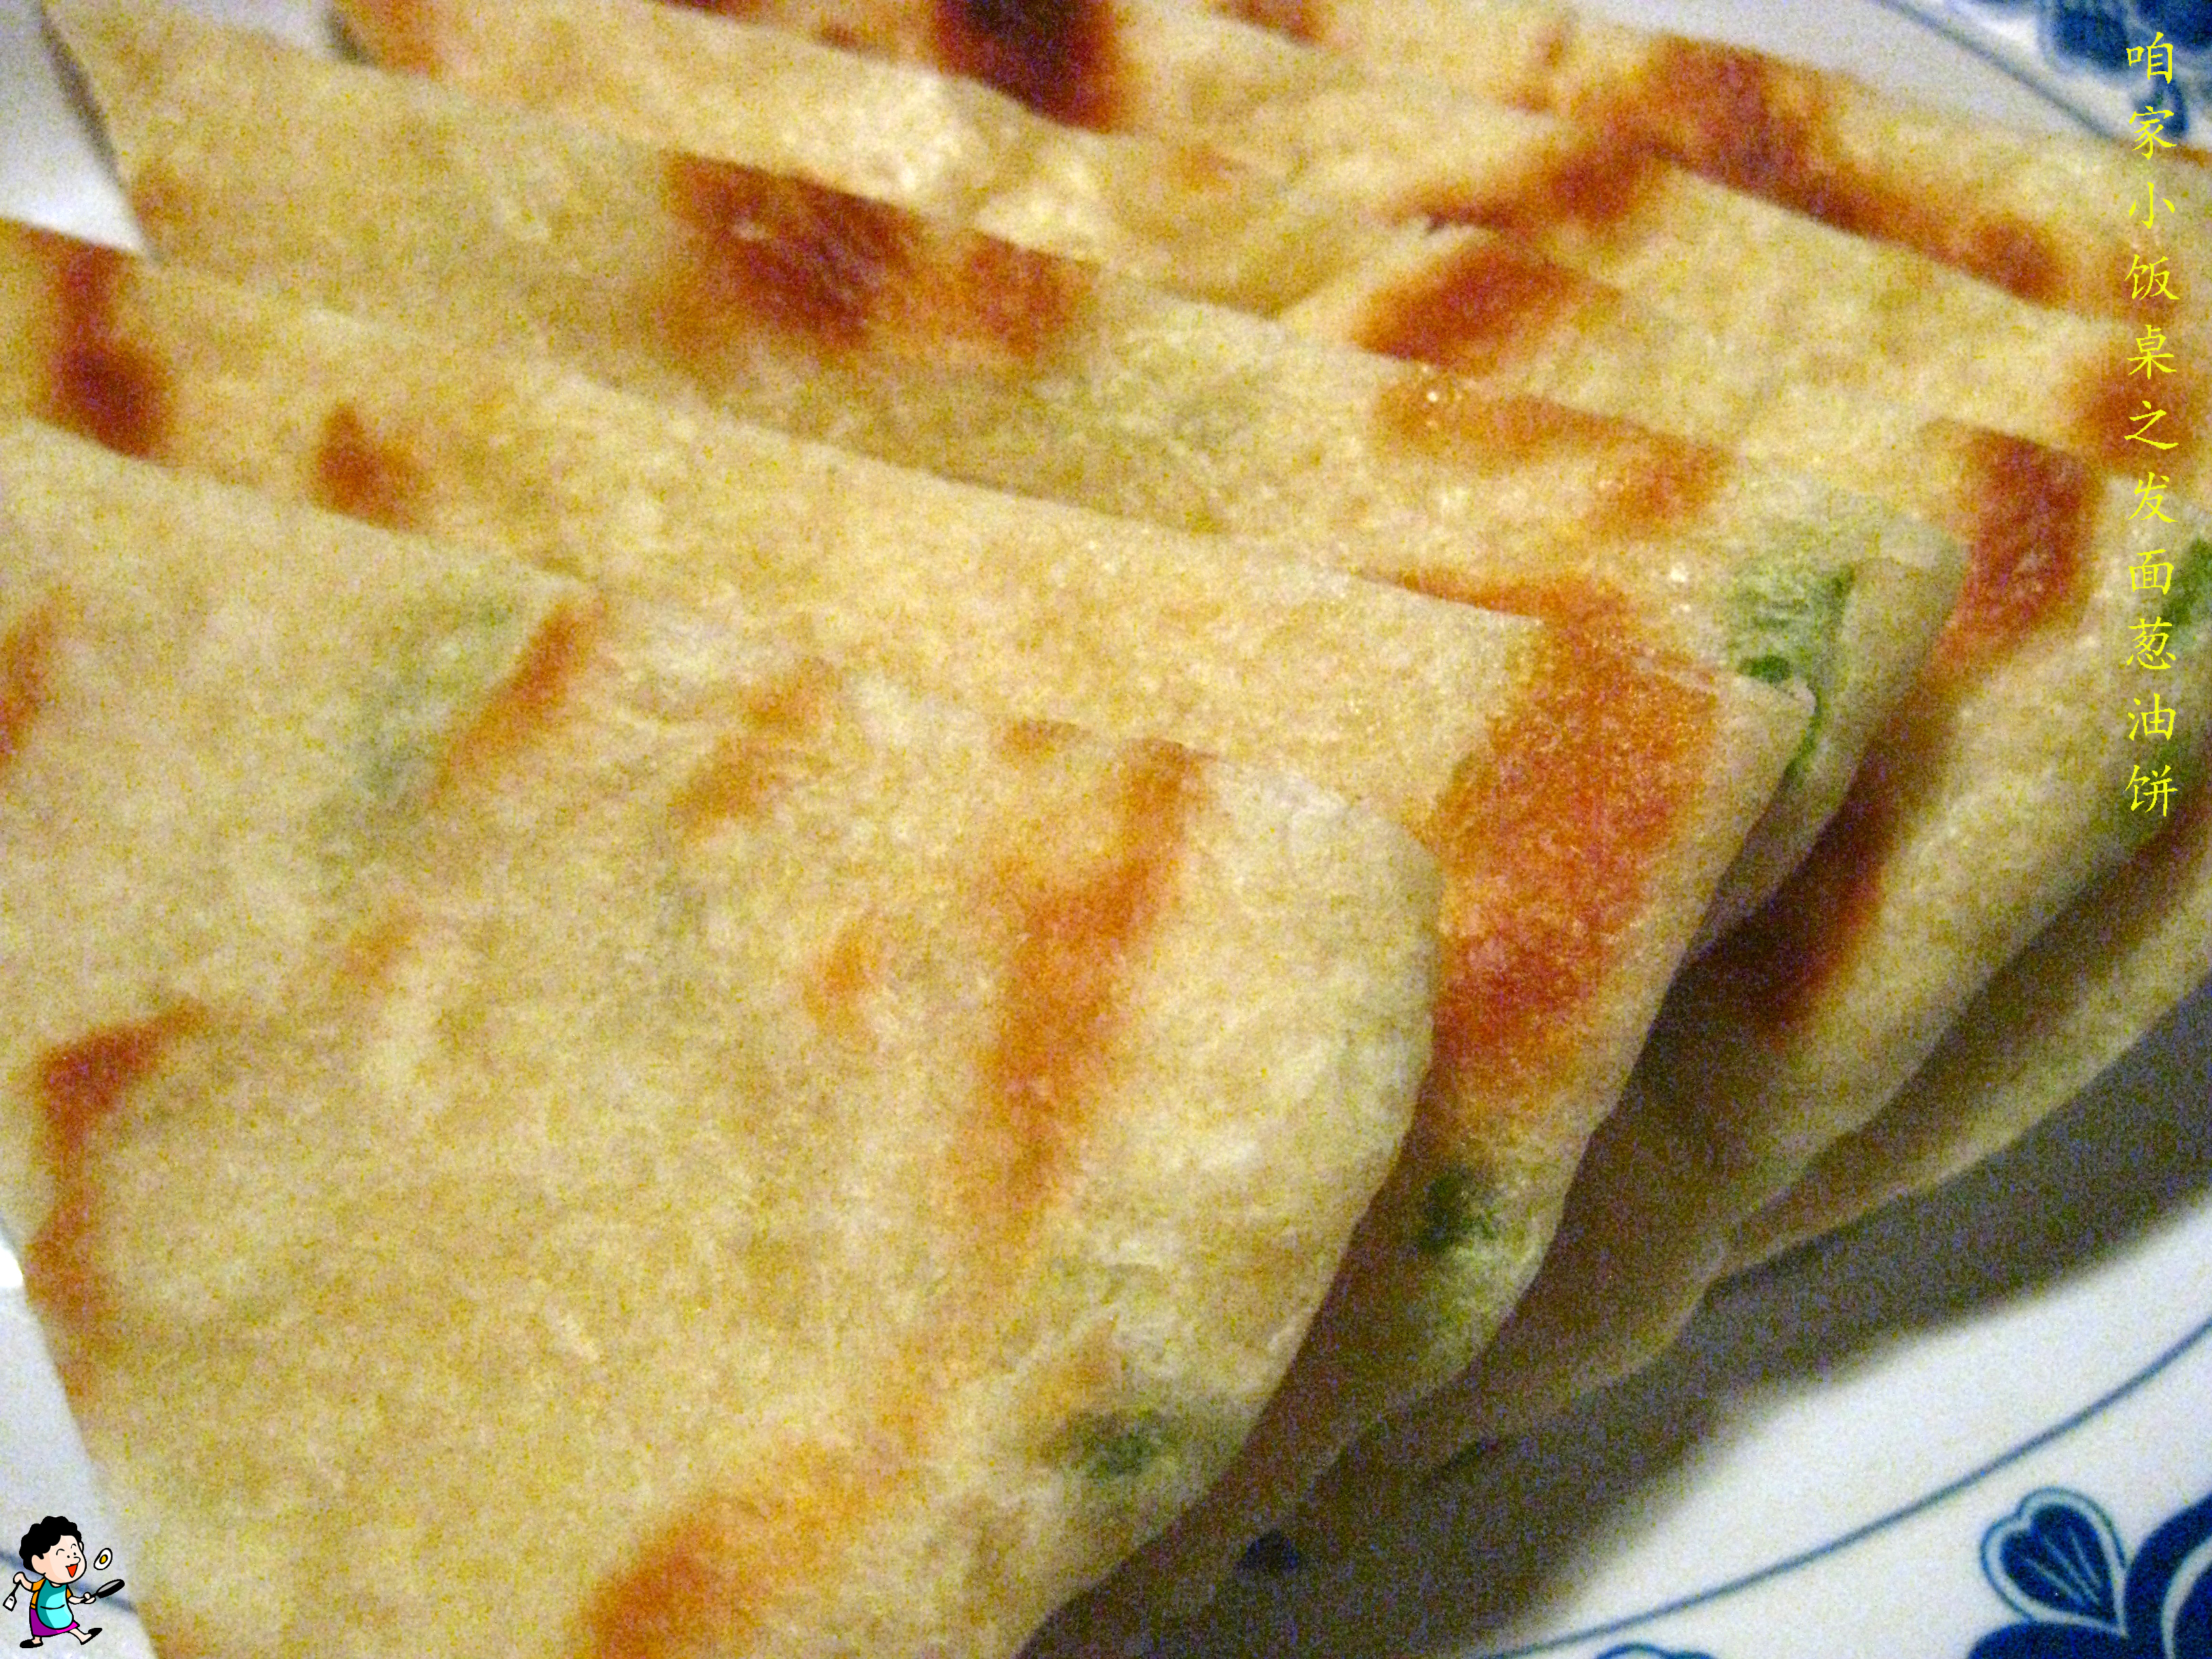
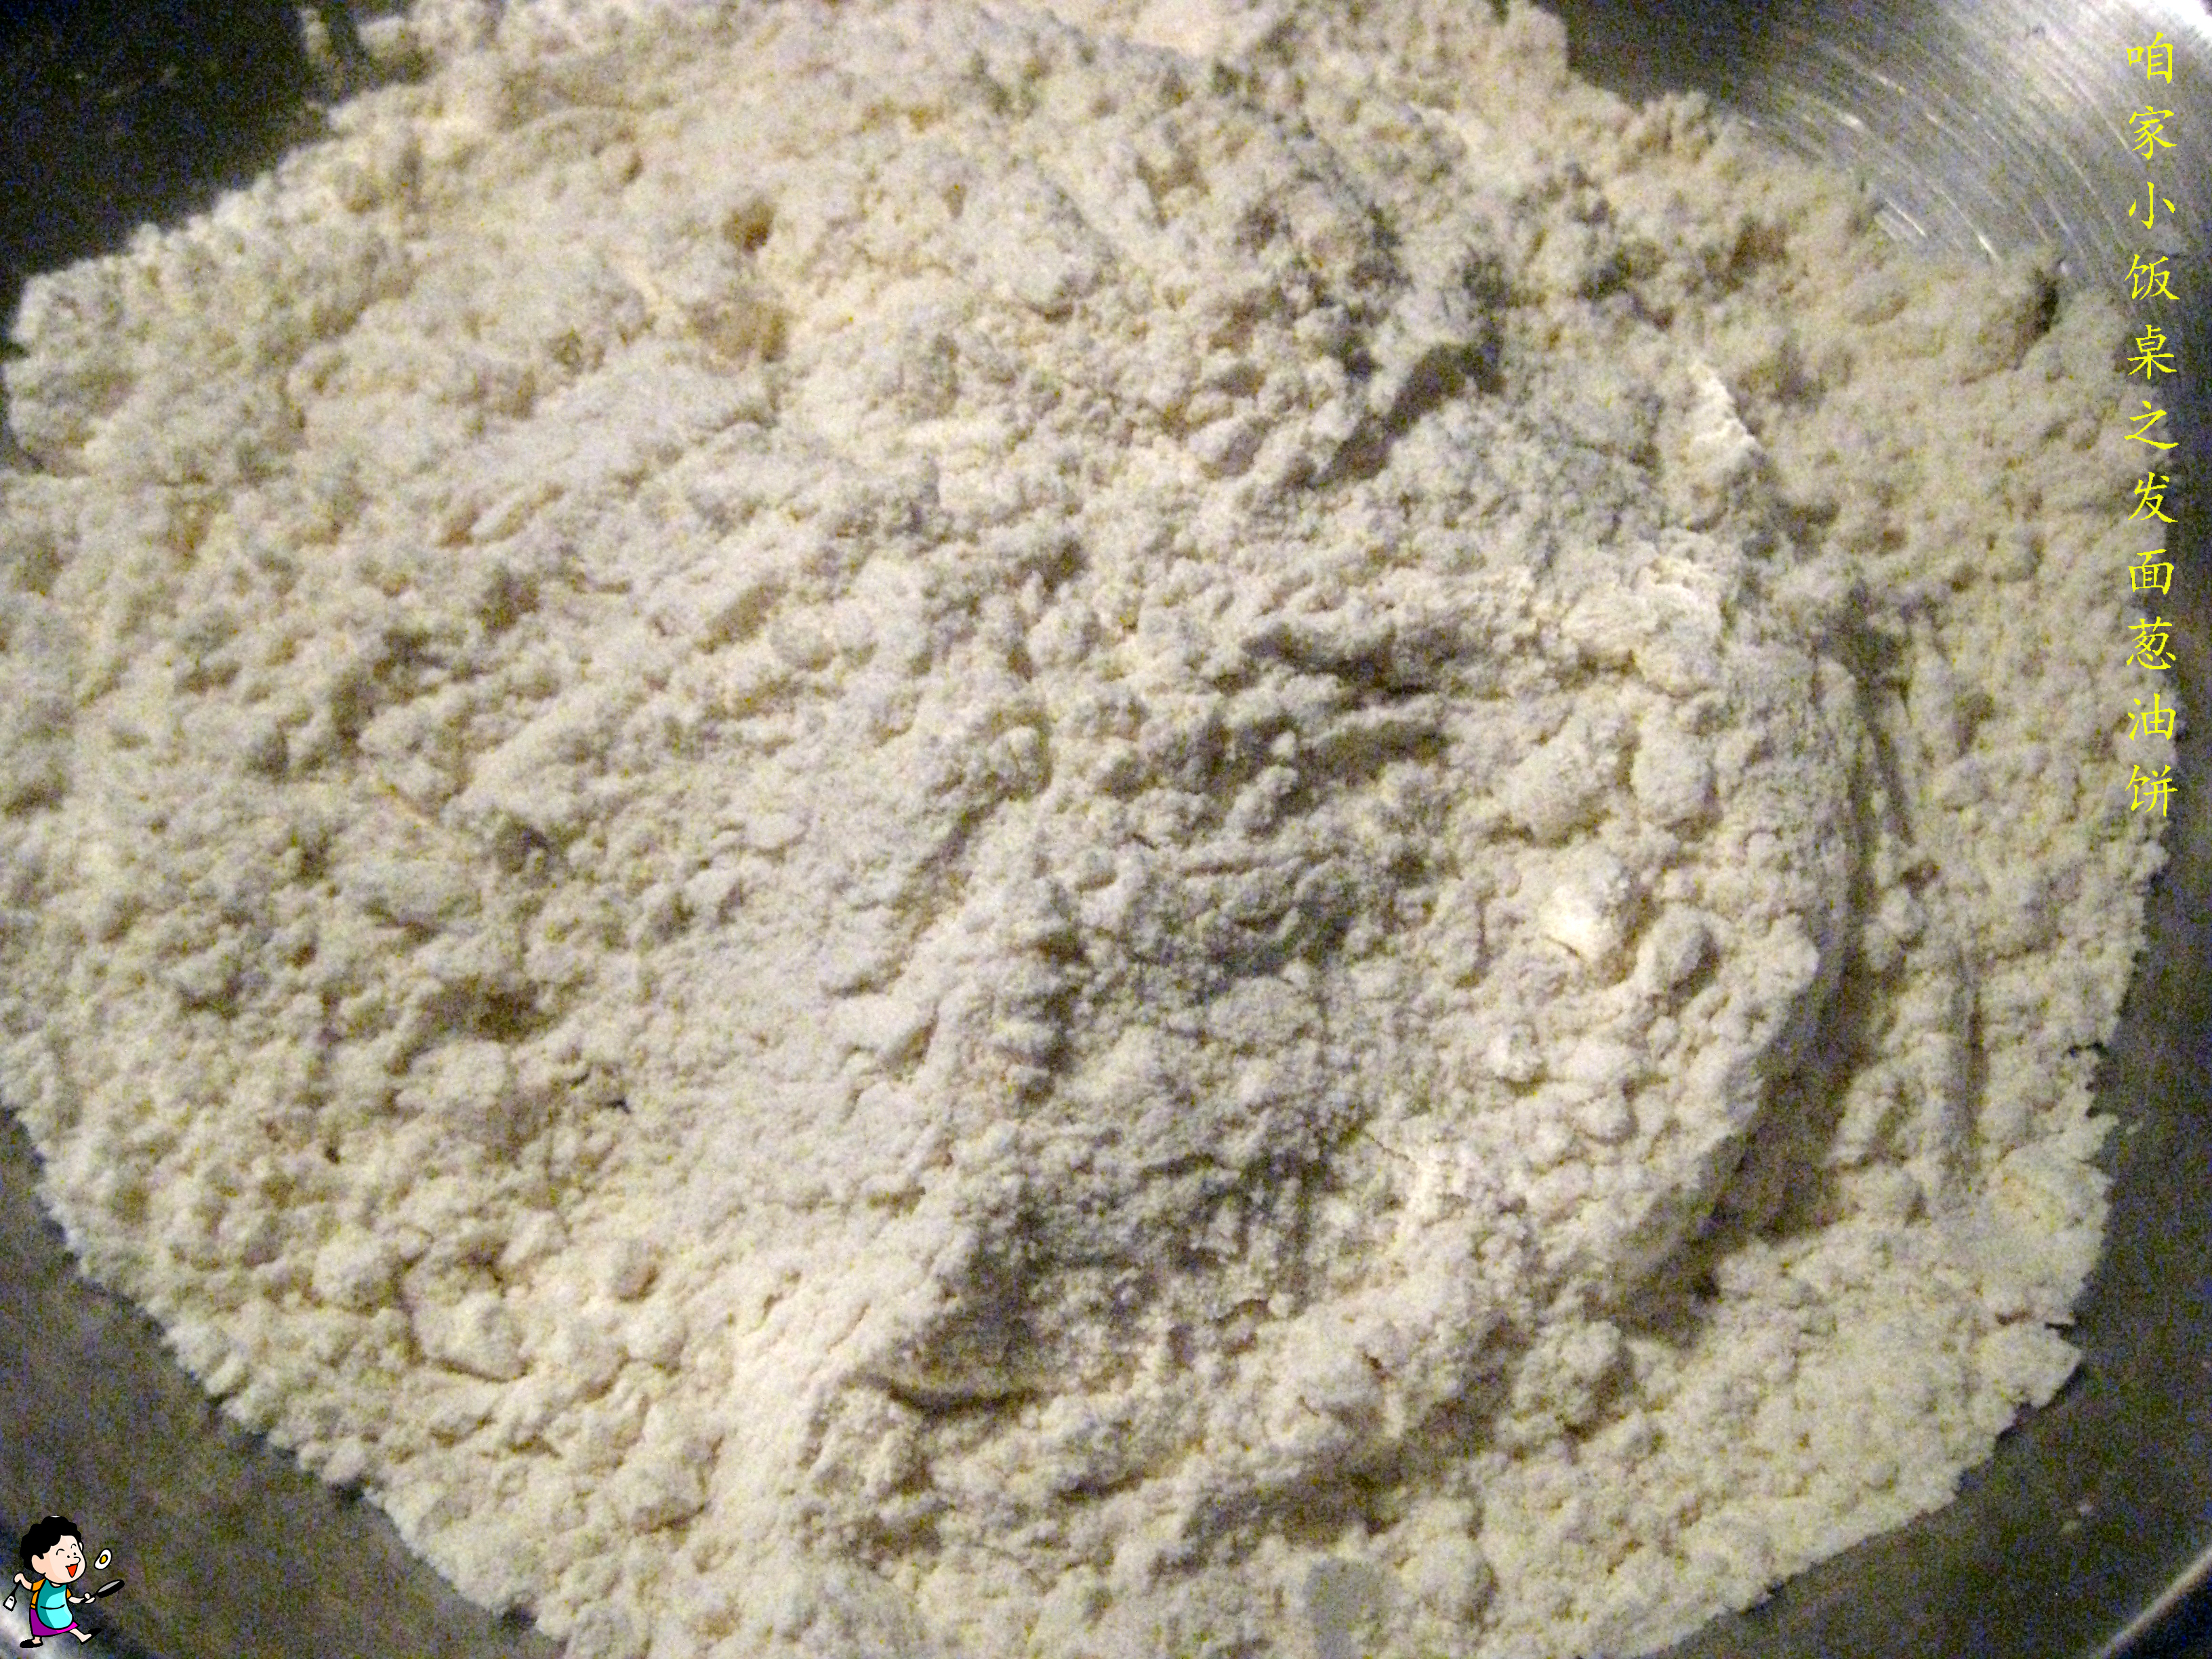
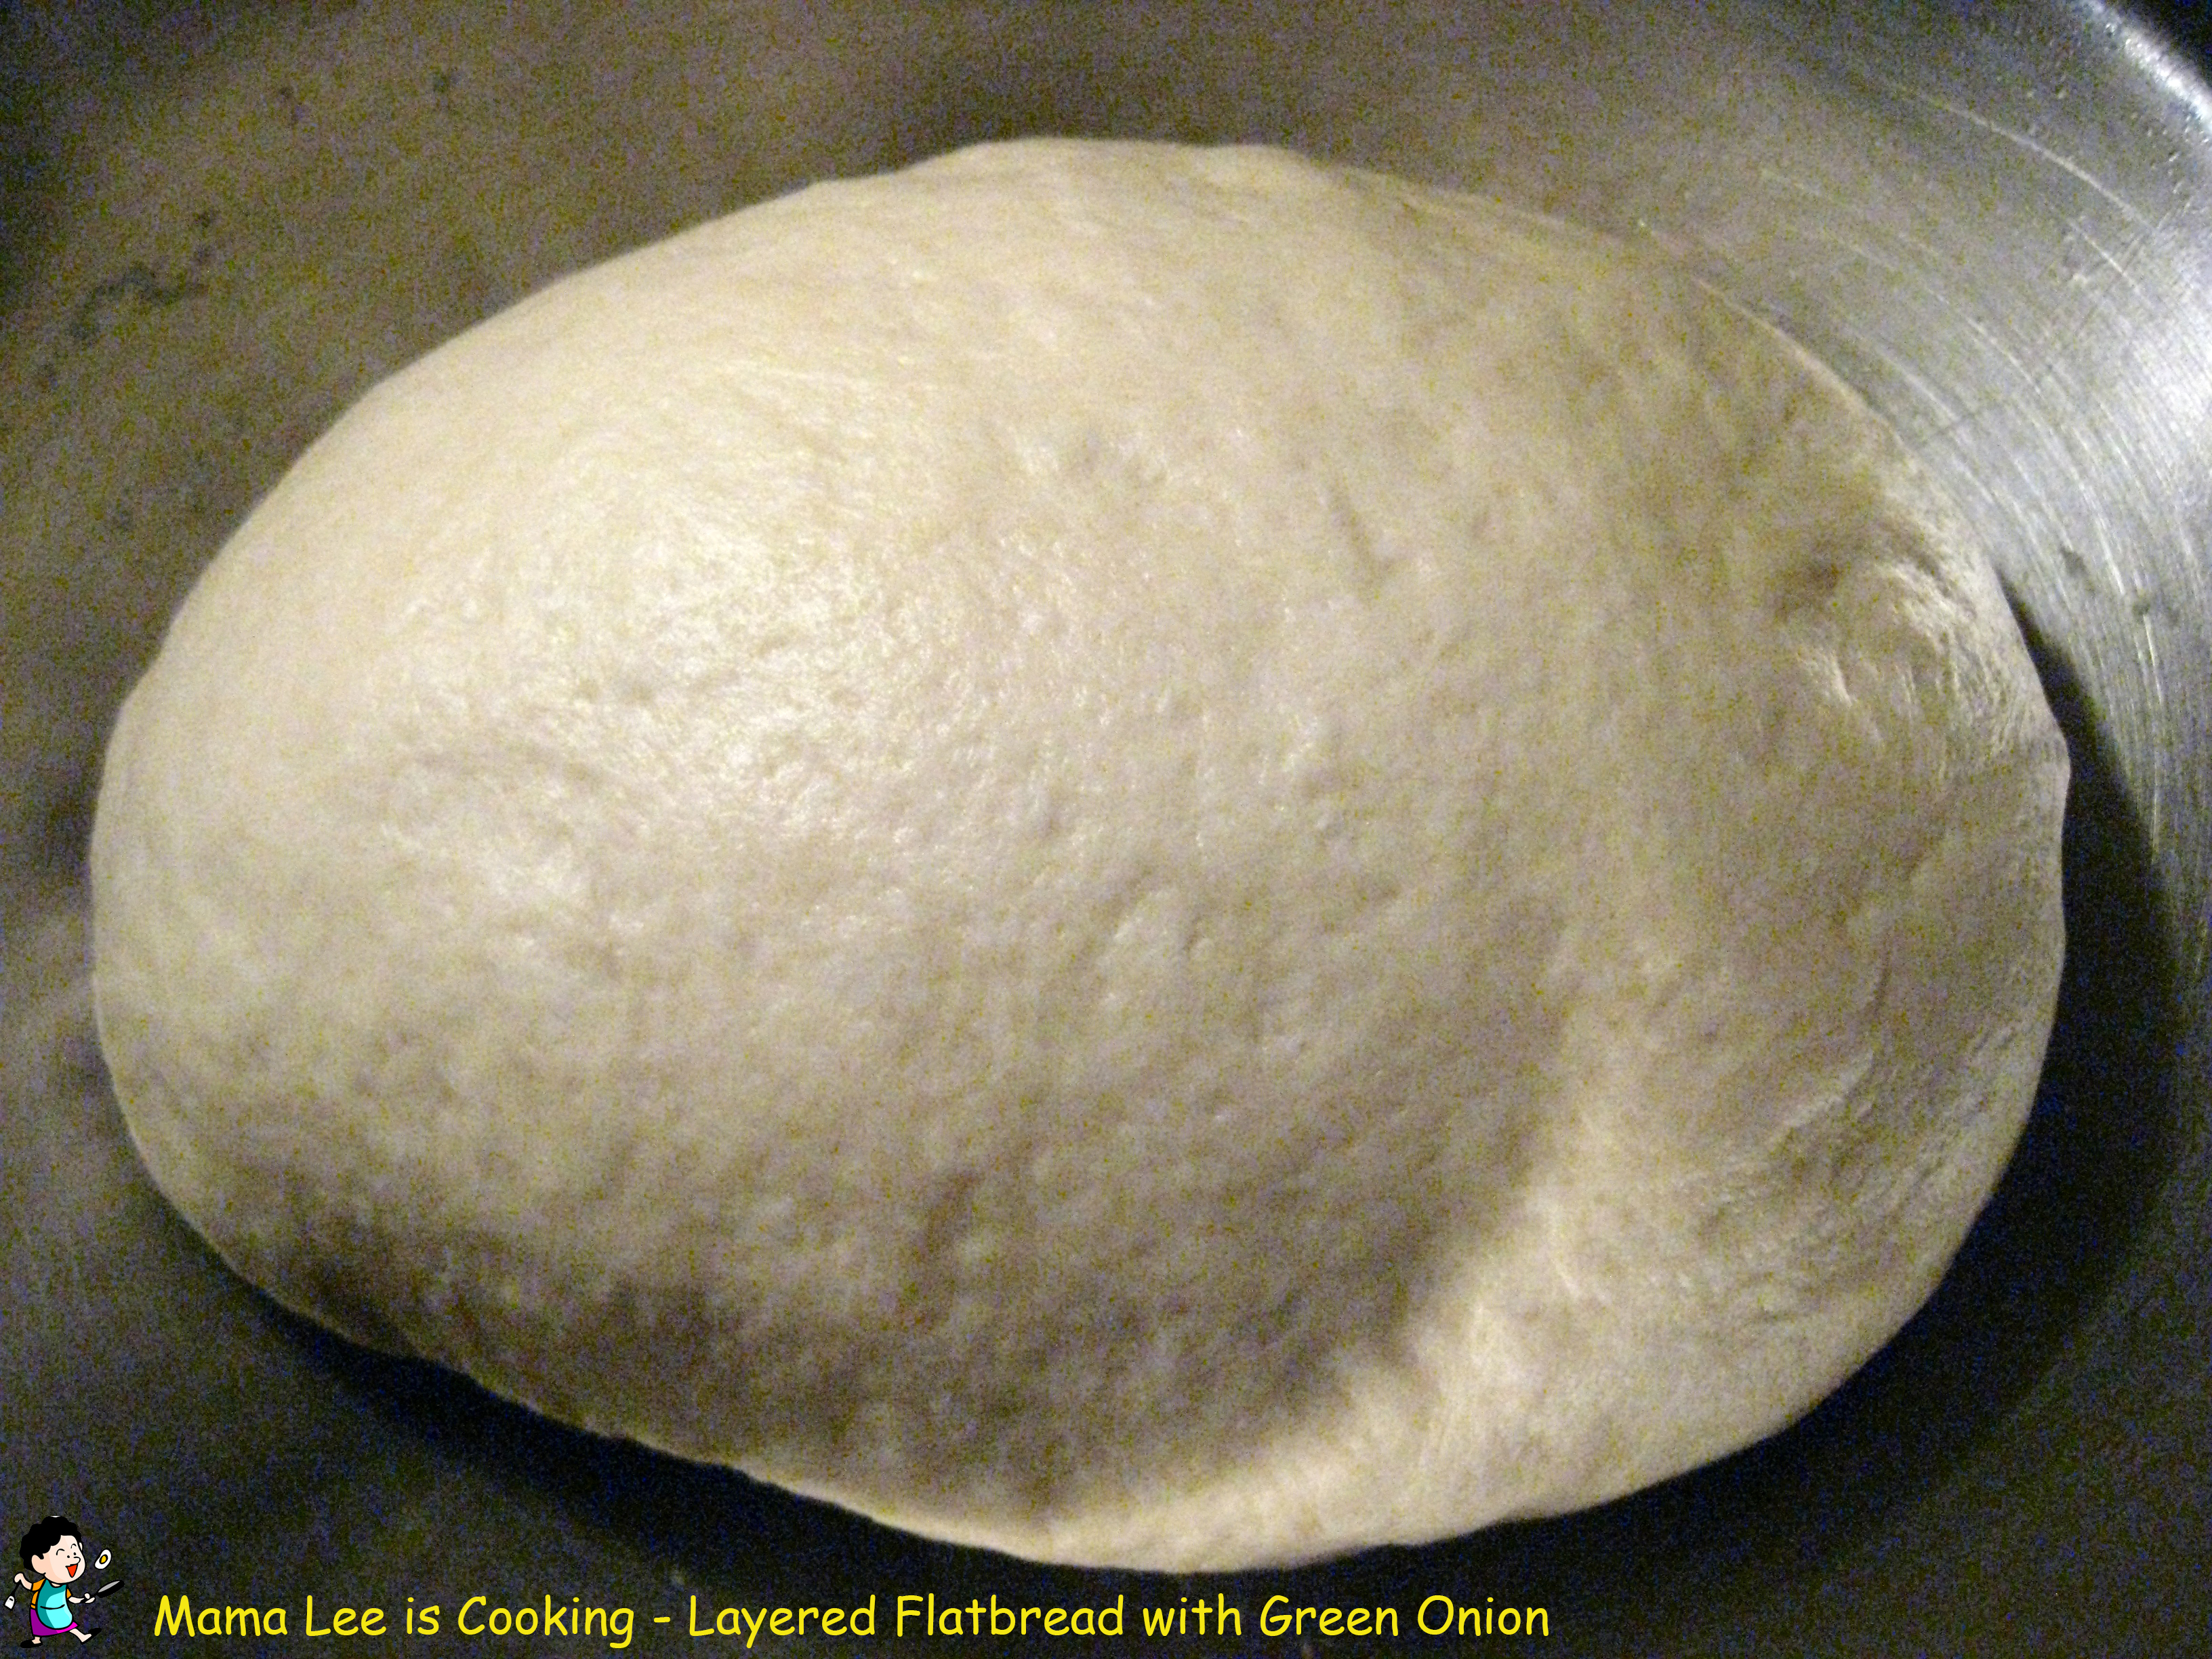
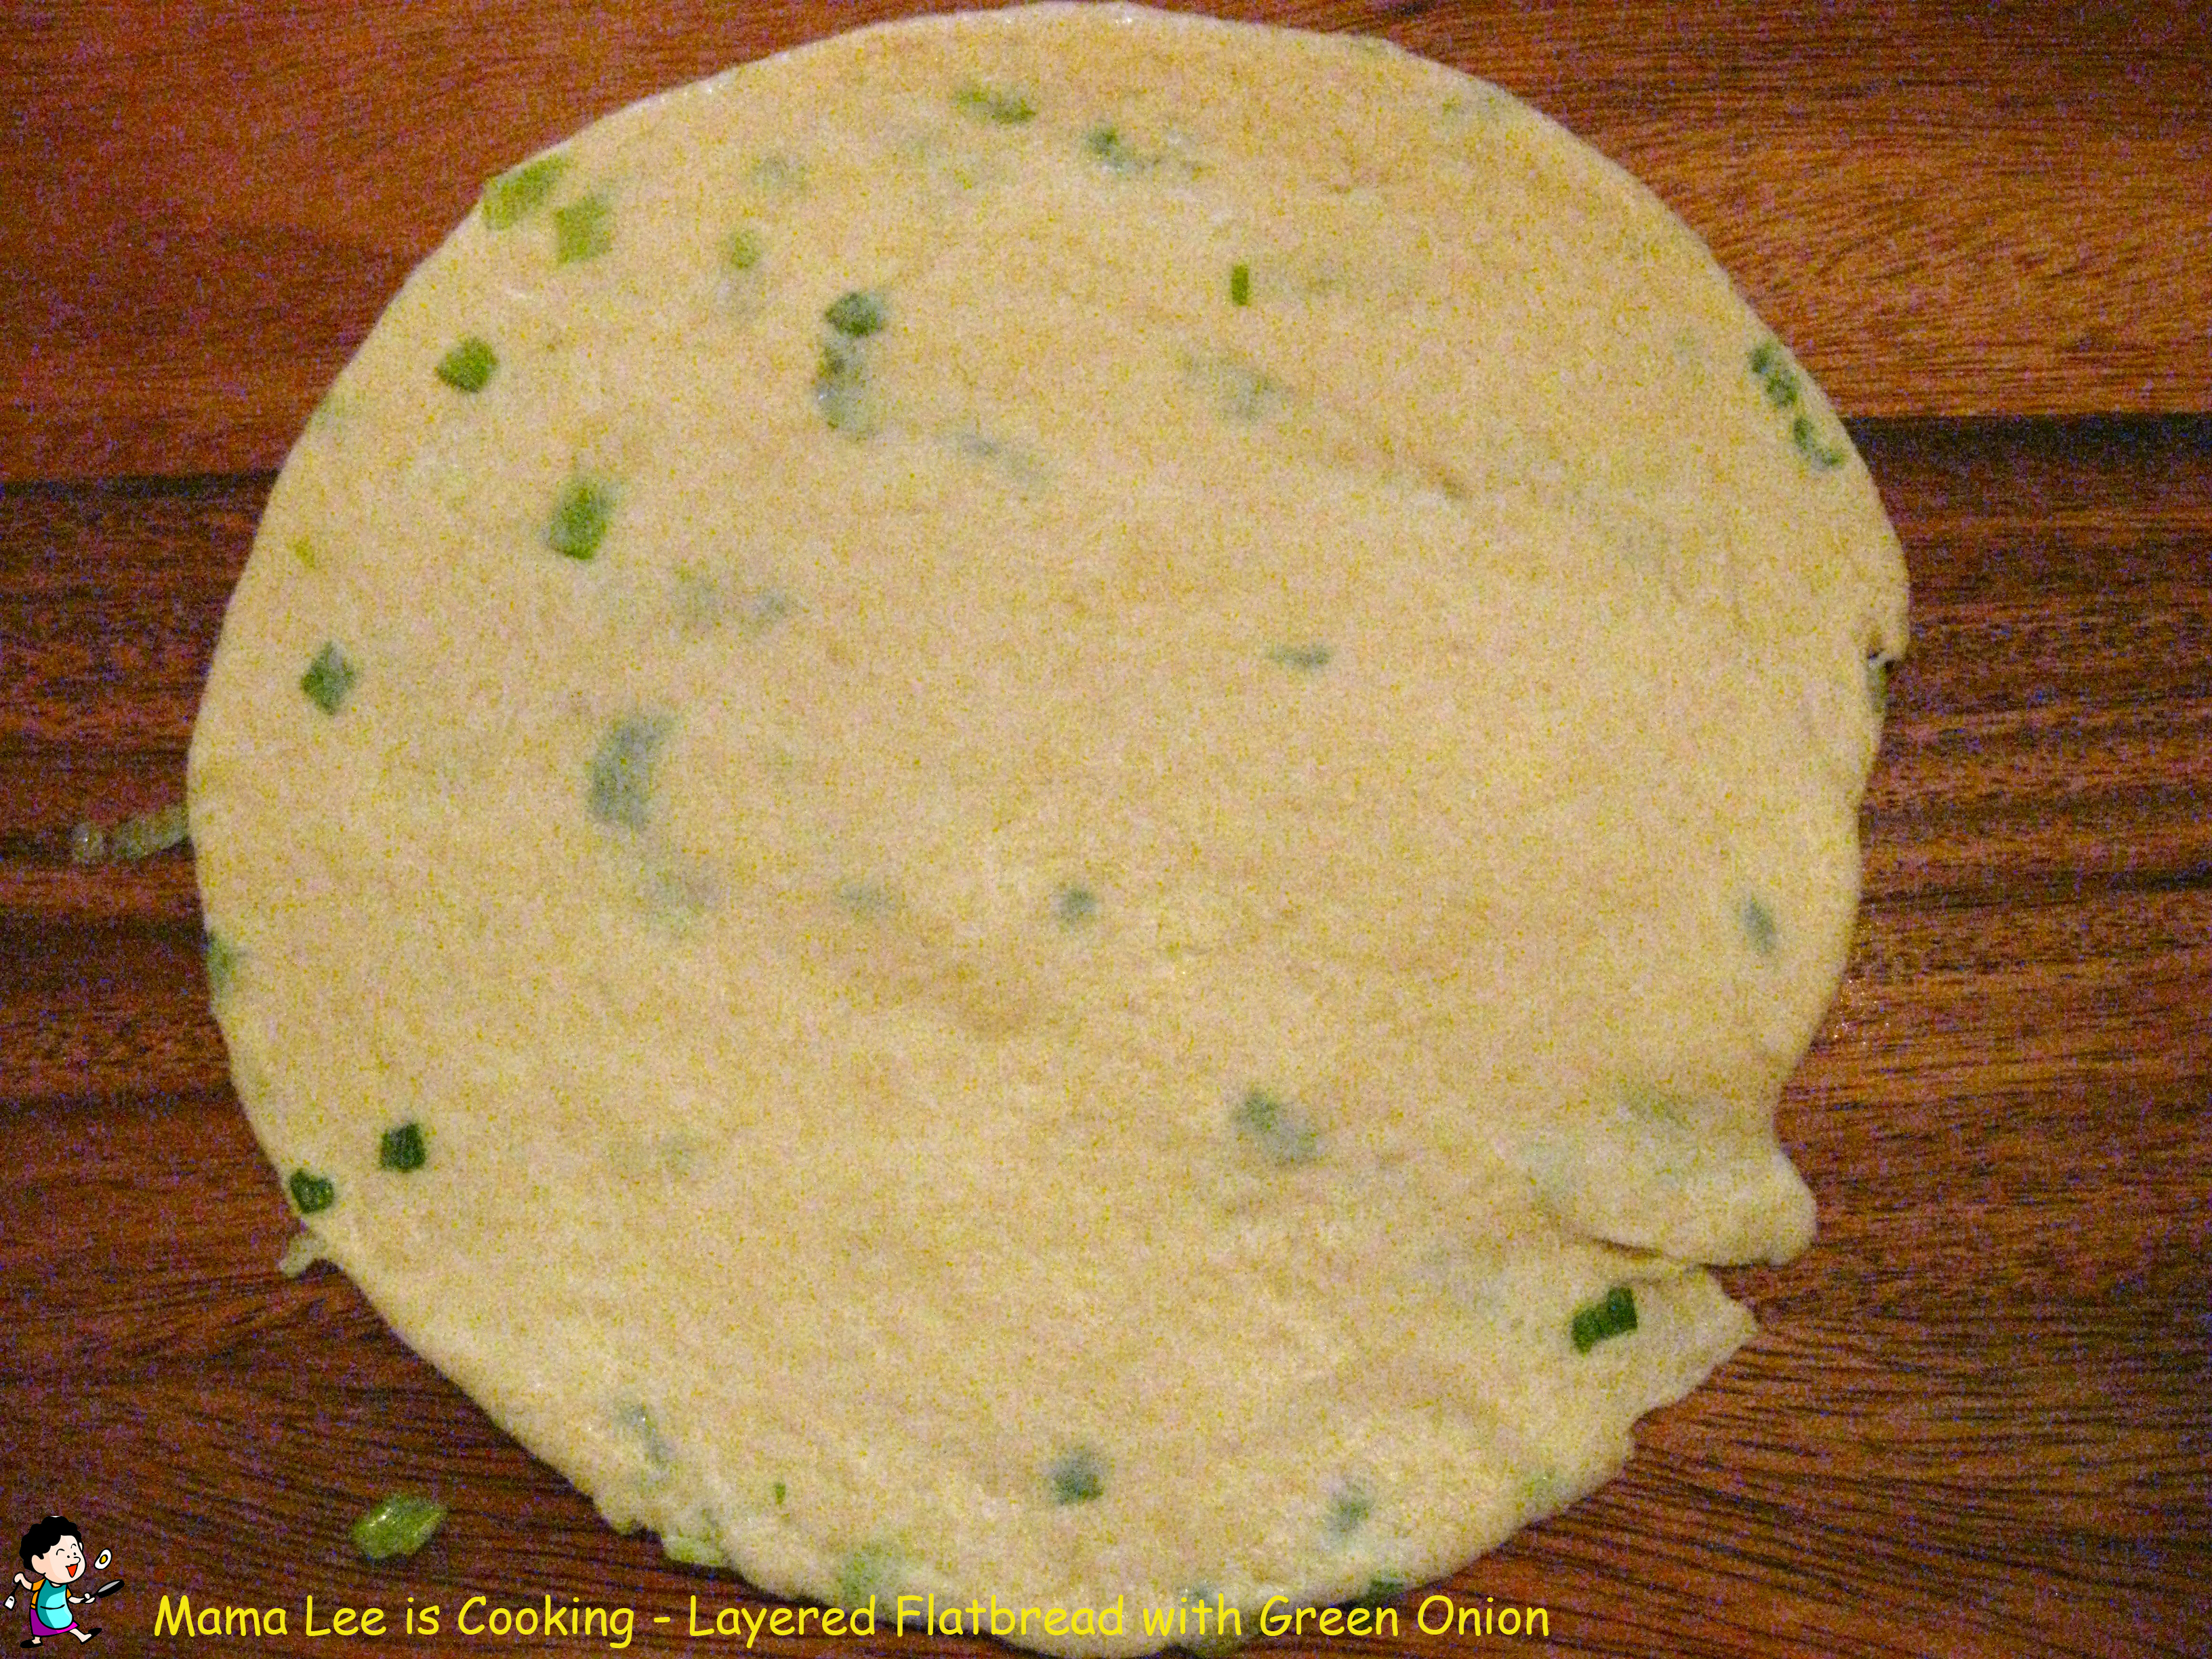
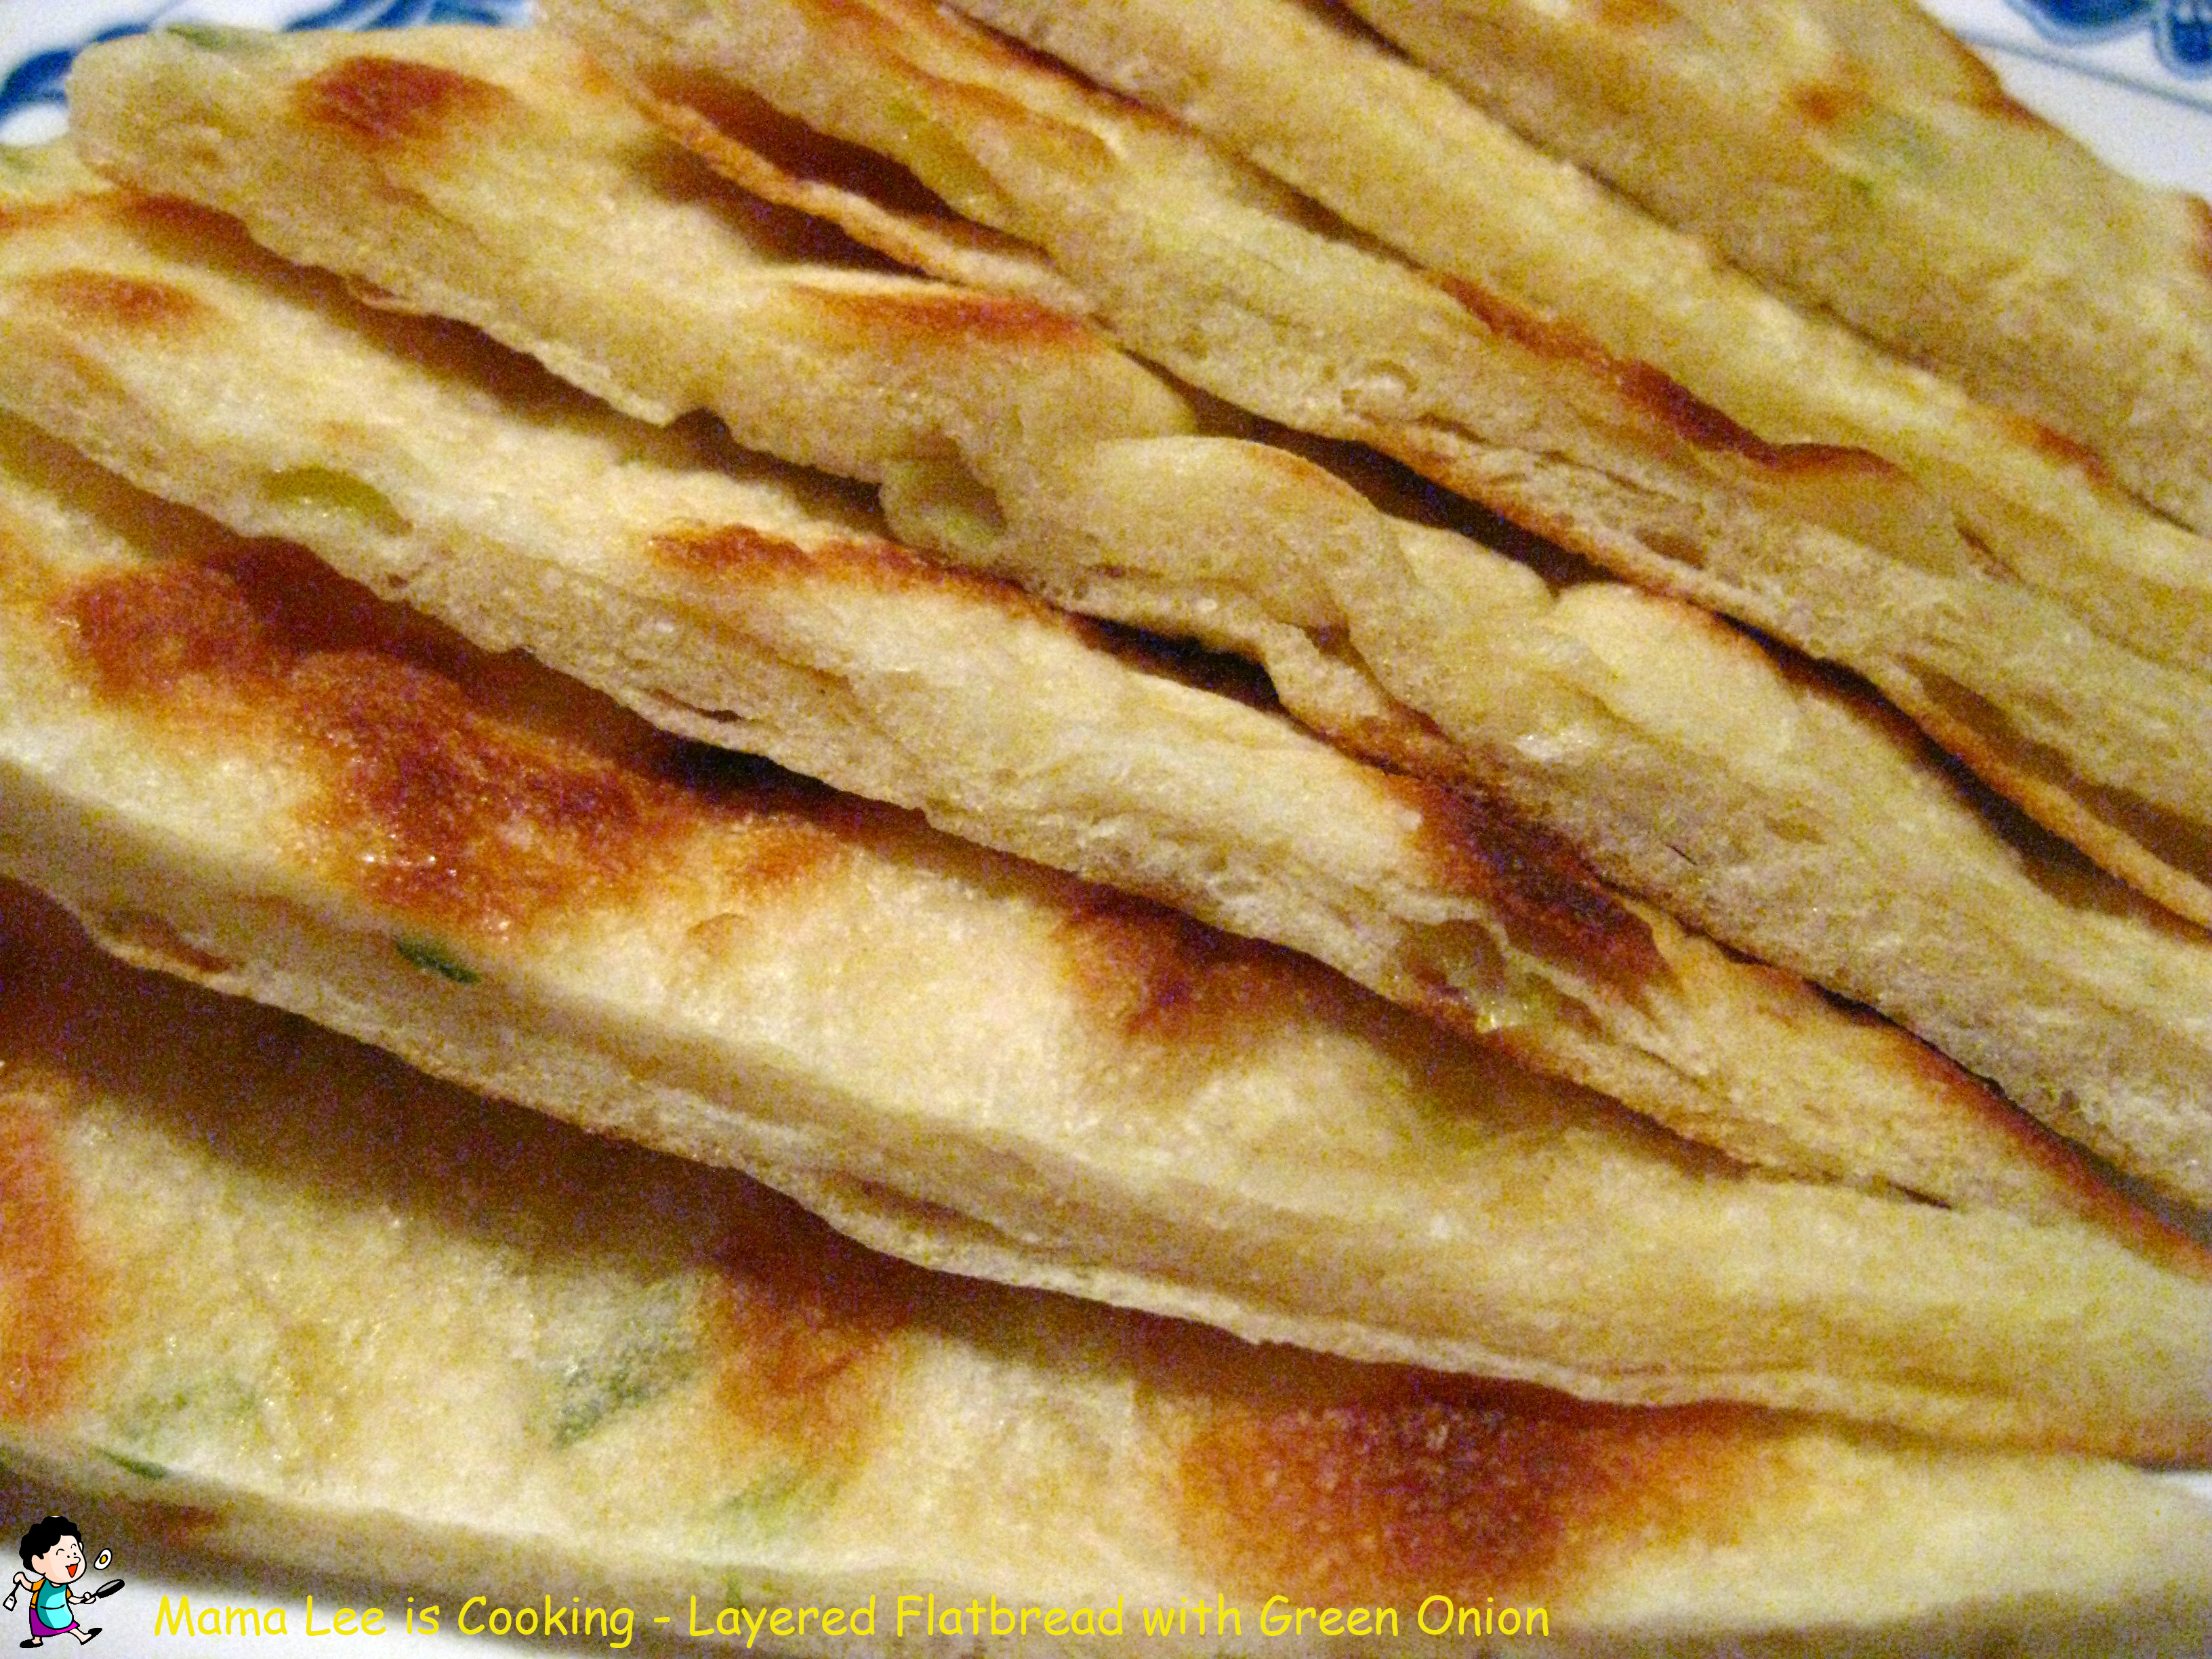
我喜欢吃各种各样的烙饼,葱油饼是我经常做的一种。
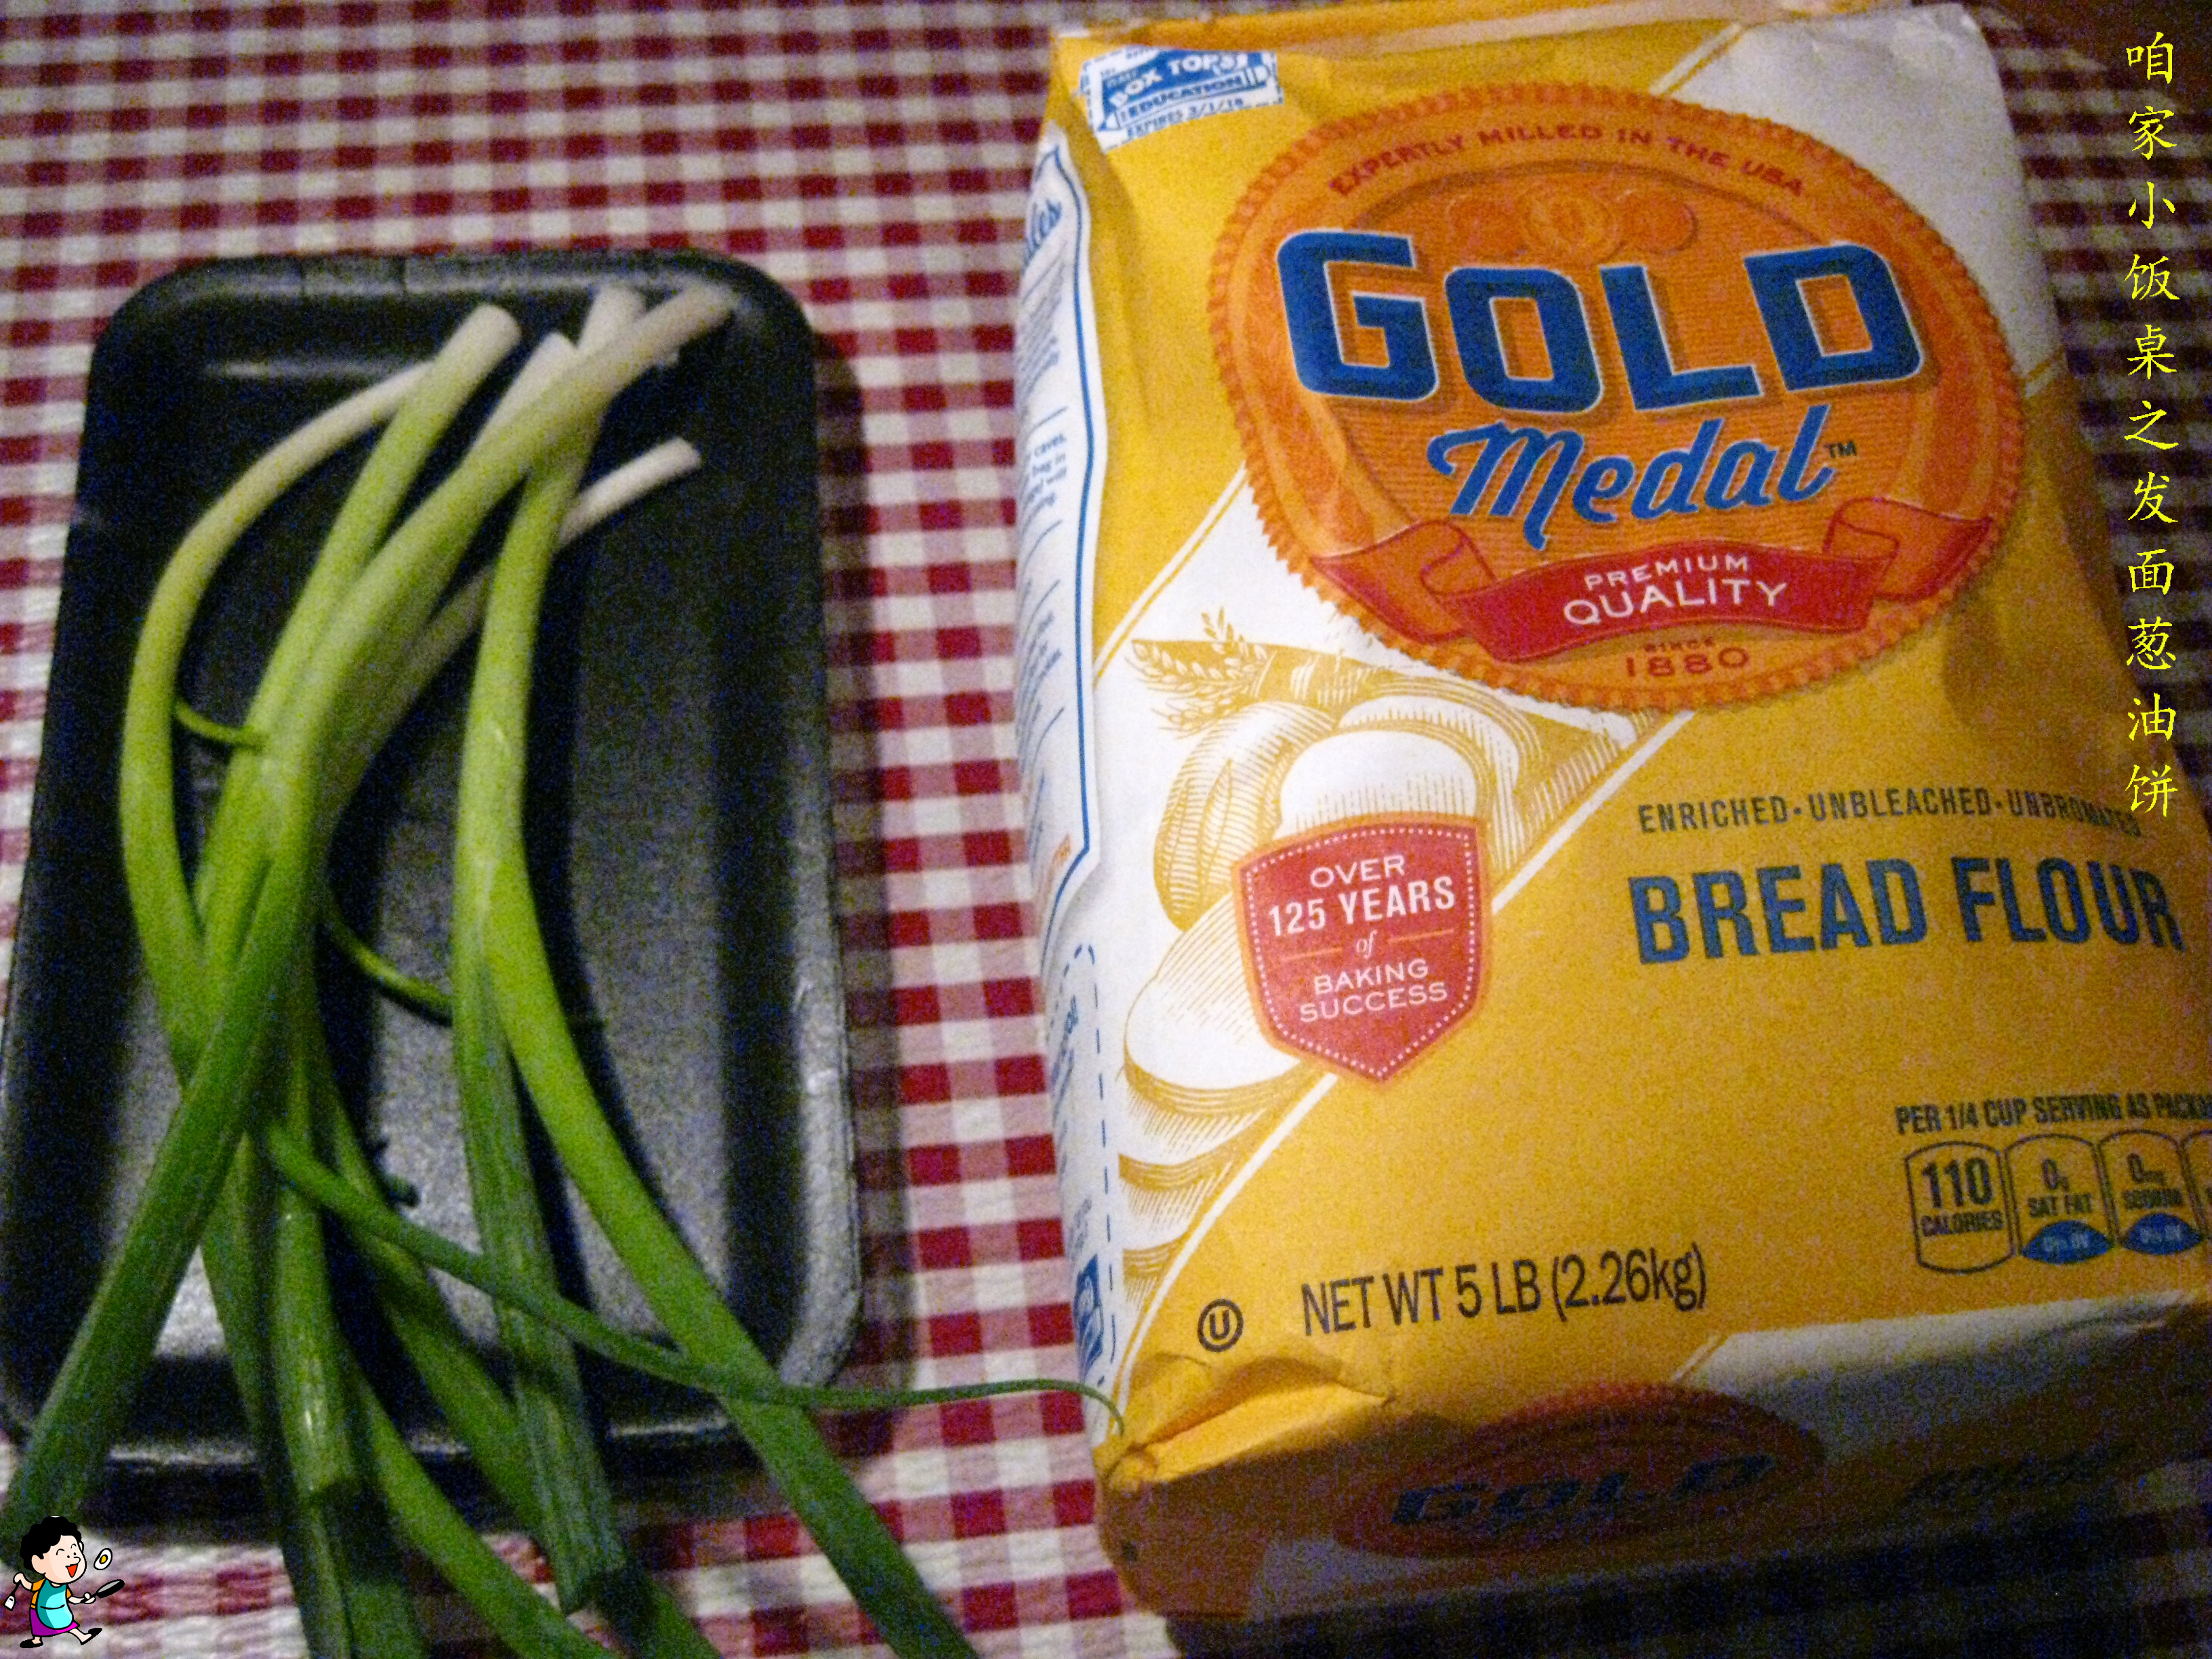 材料:
材料:
饼:面粉,酵母,白糖
葱油馅:小葱,油,面粉,调味料
做法:
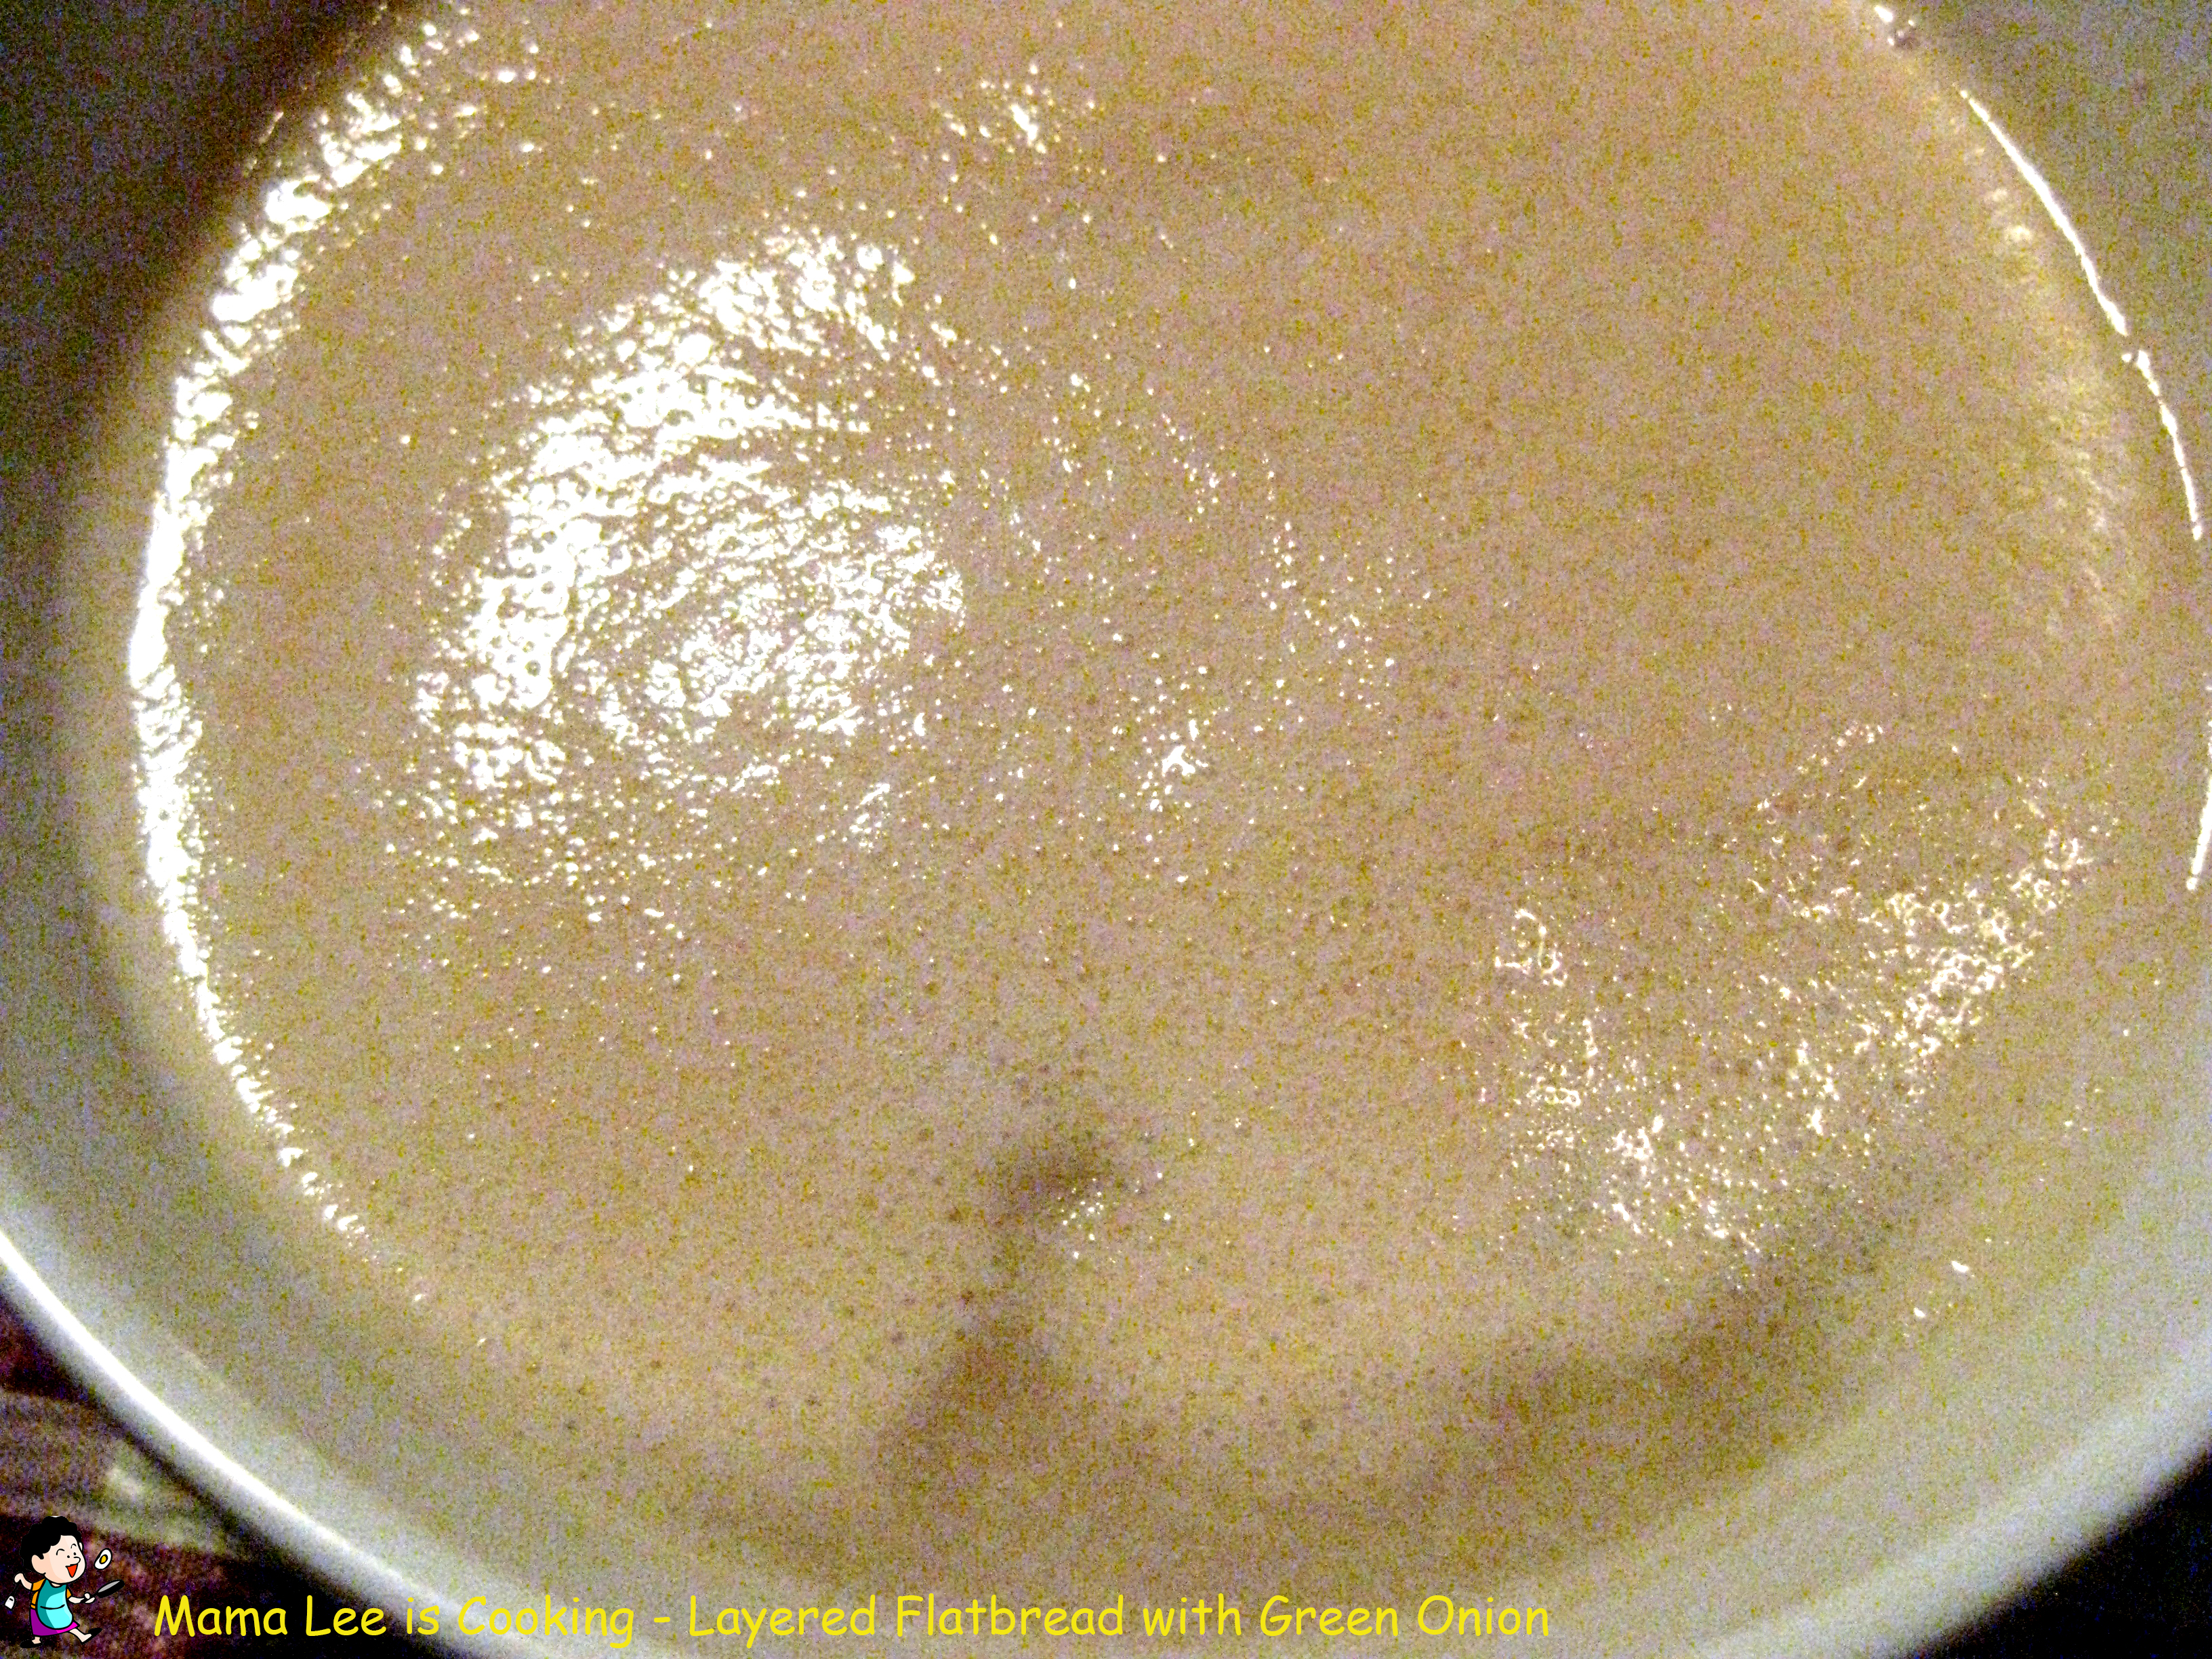
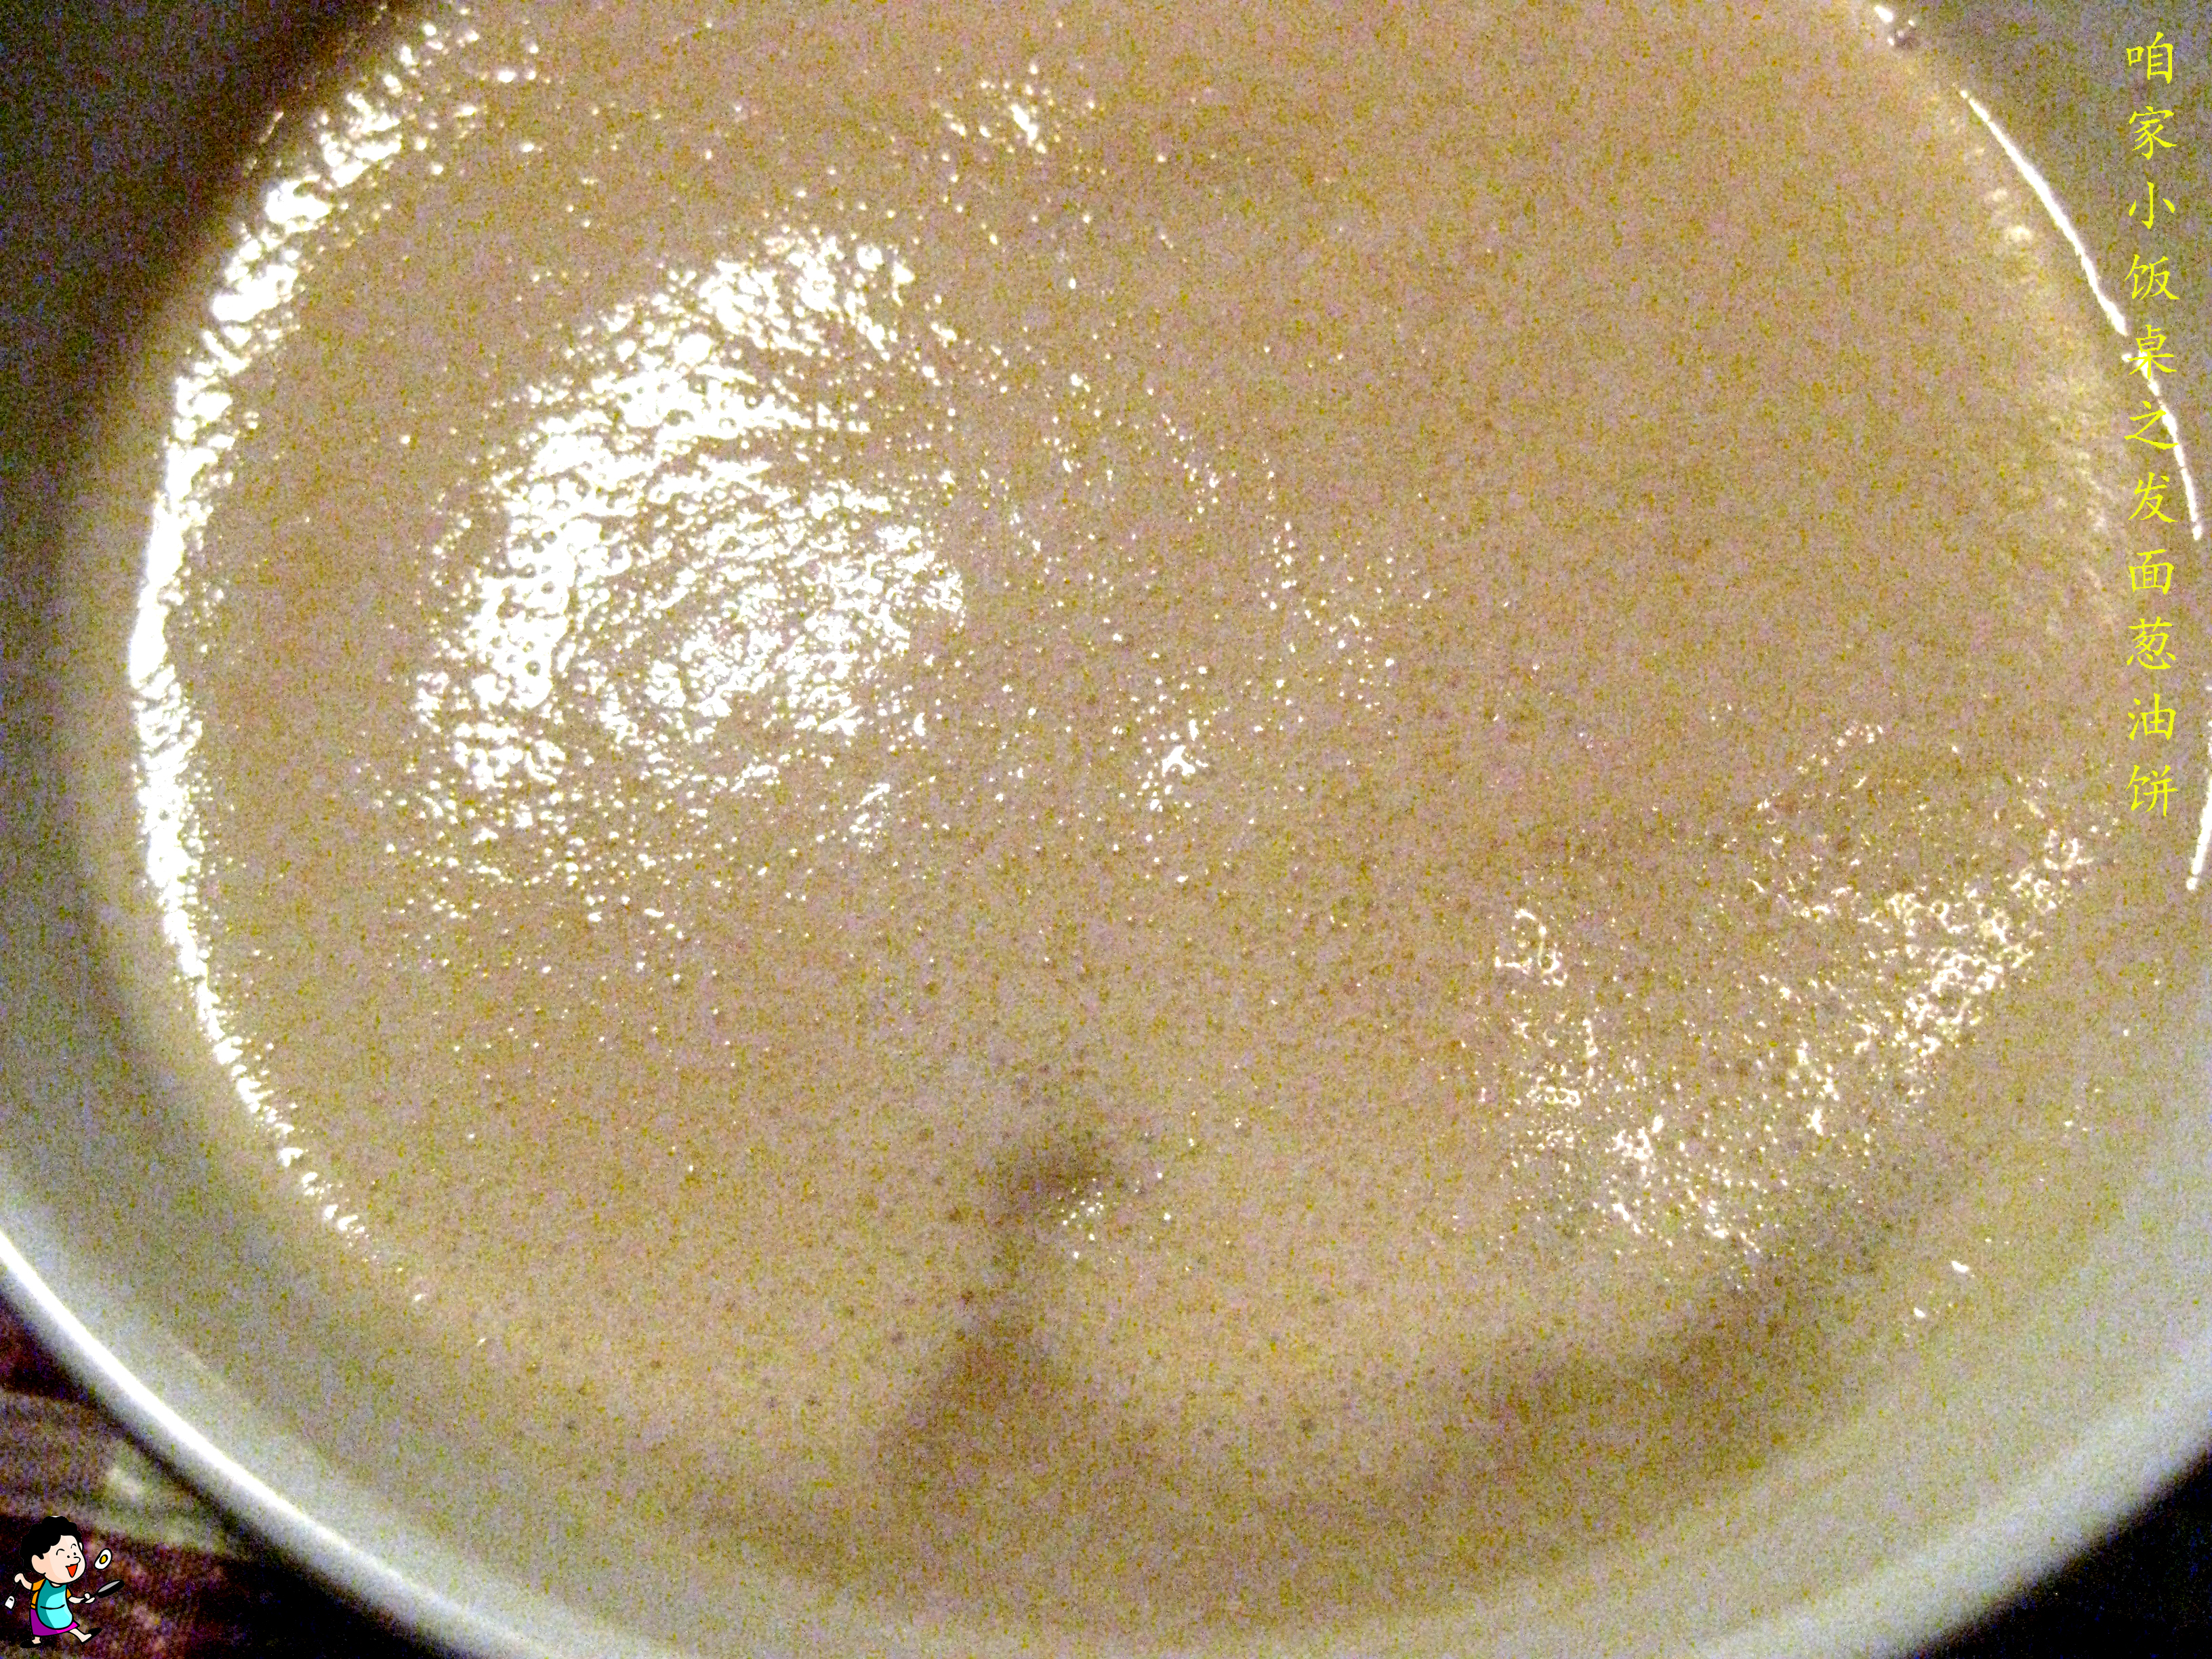 1、1 小勺酵母和 1 小勺白糖拌匀,用温水化开,静置到表面充满气泡。
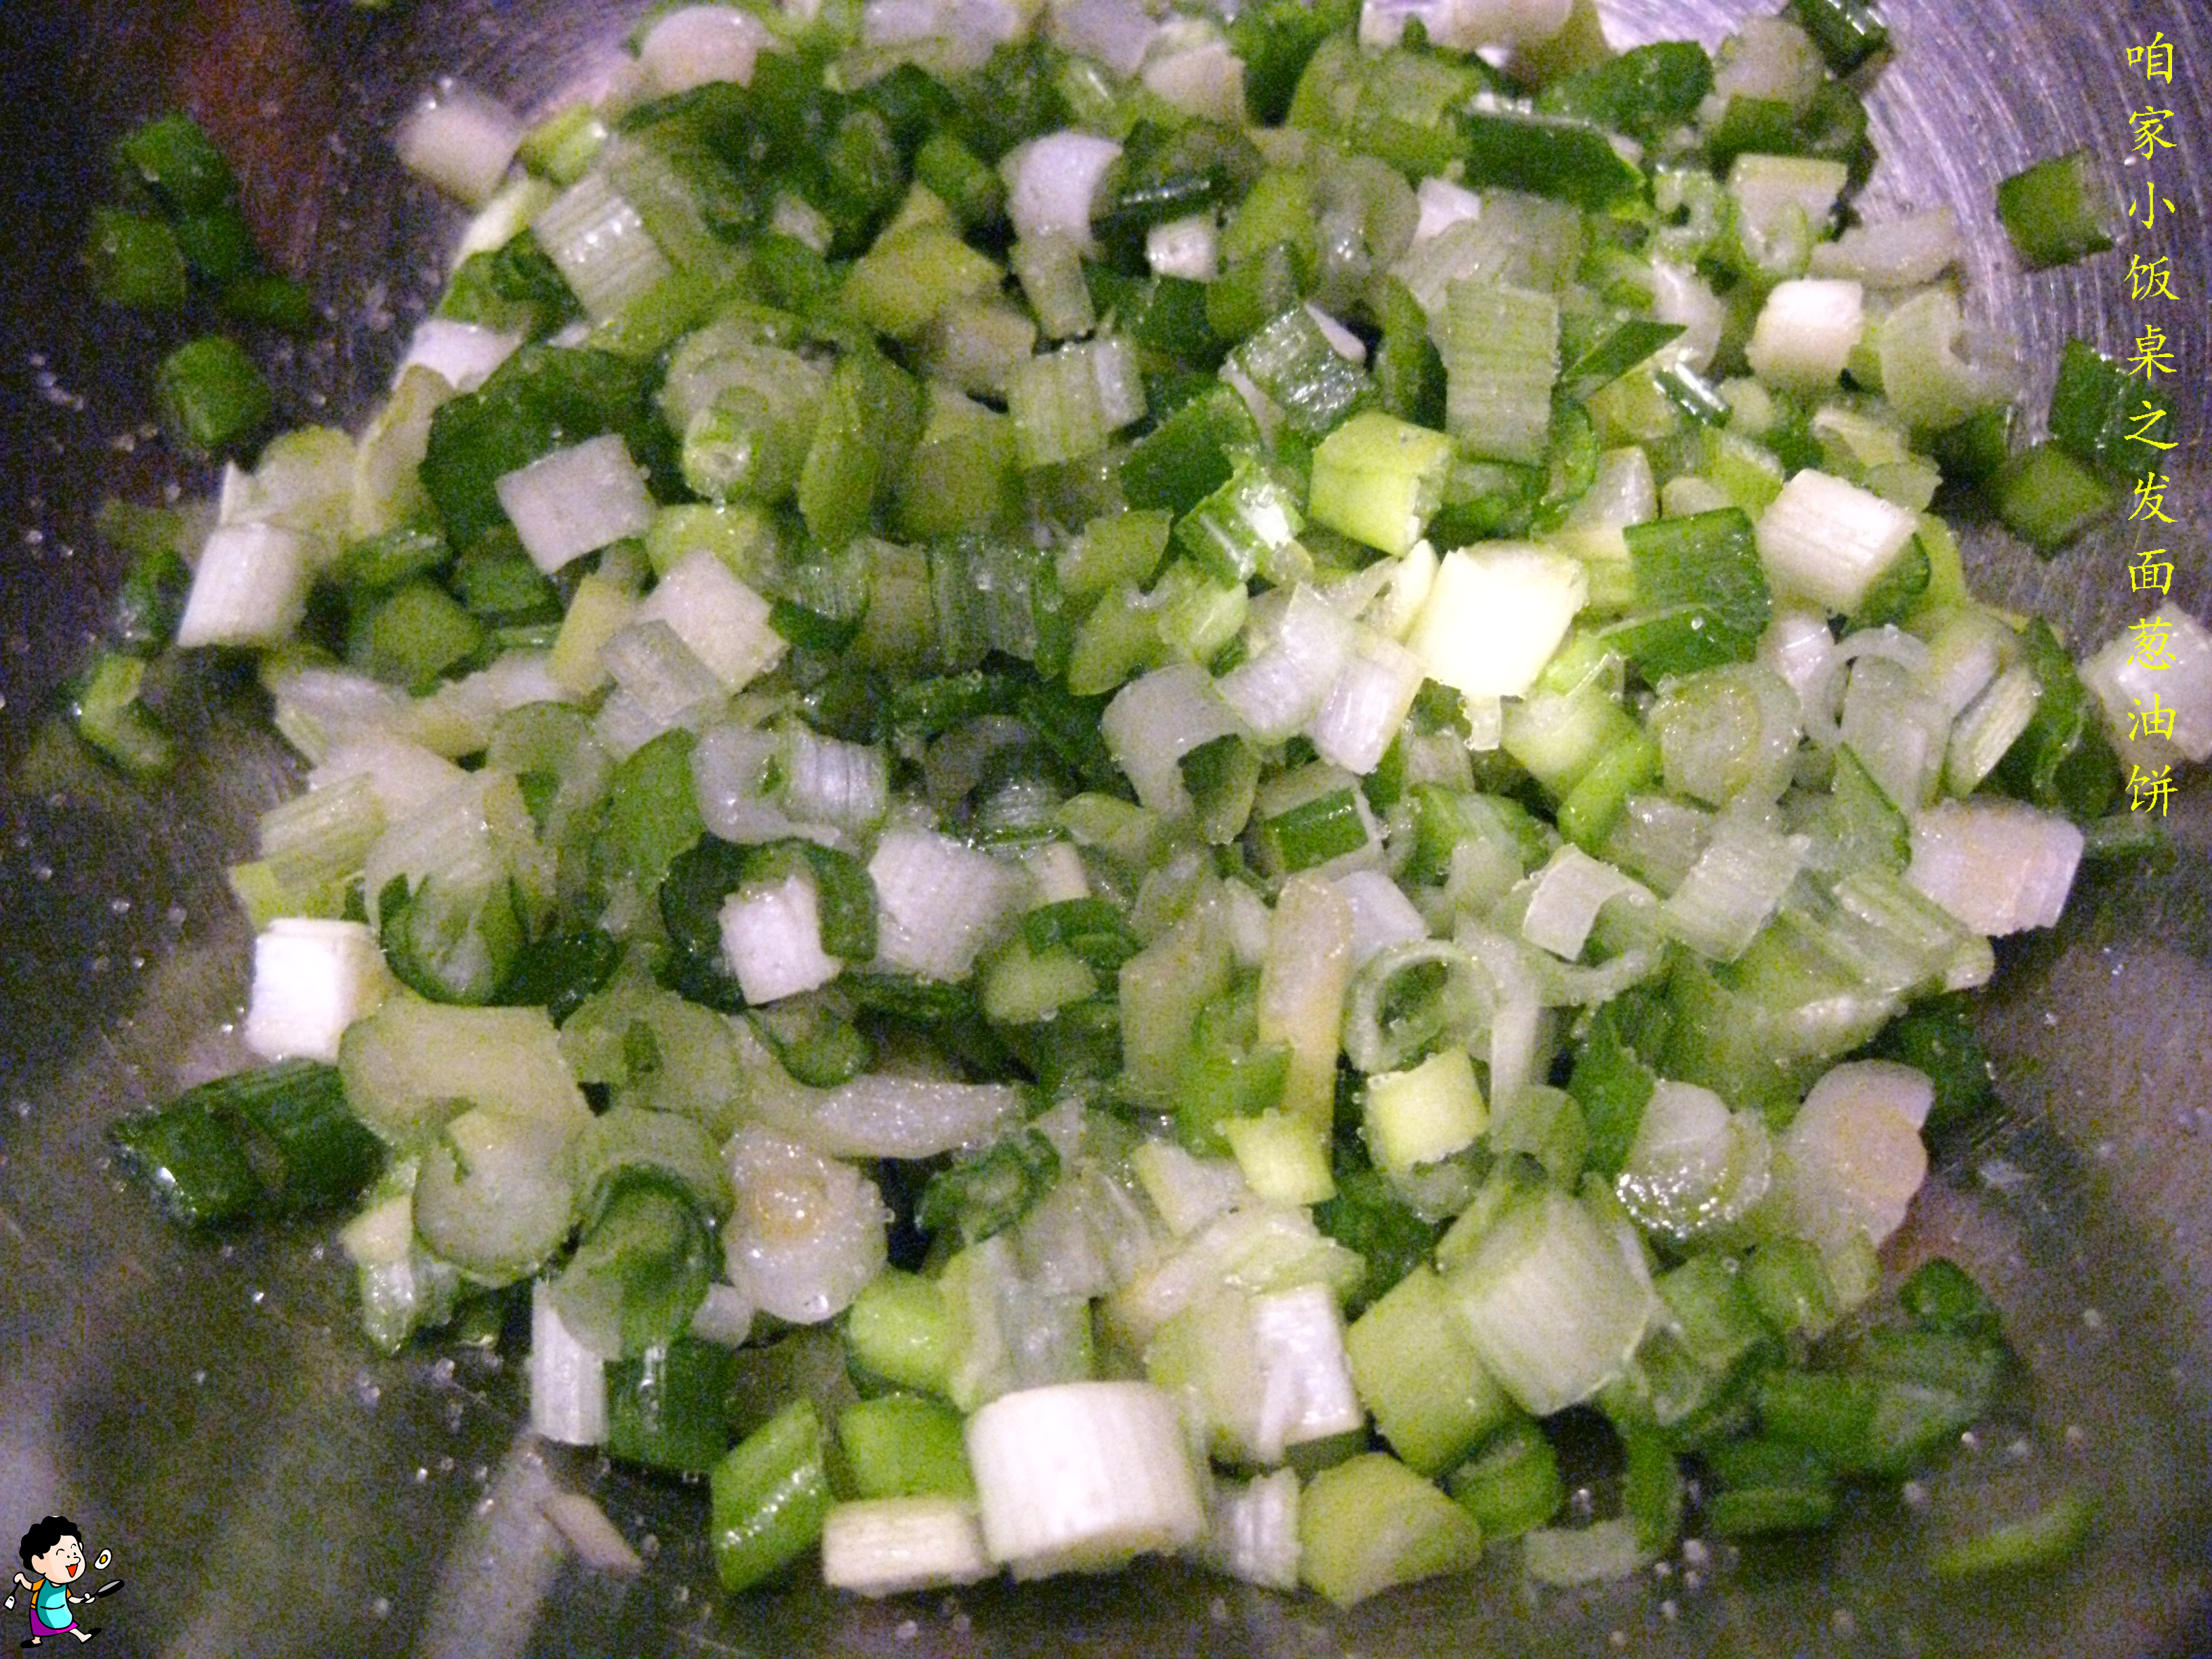
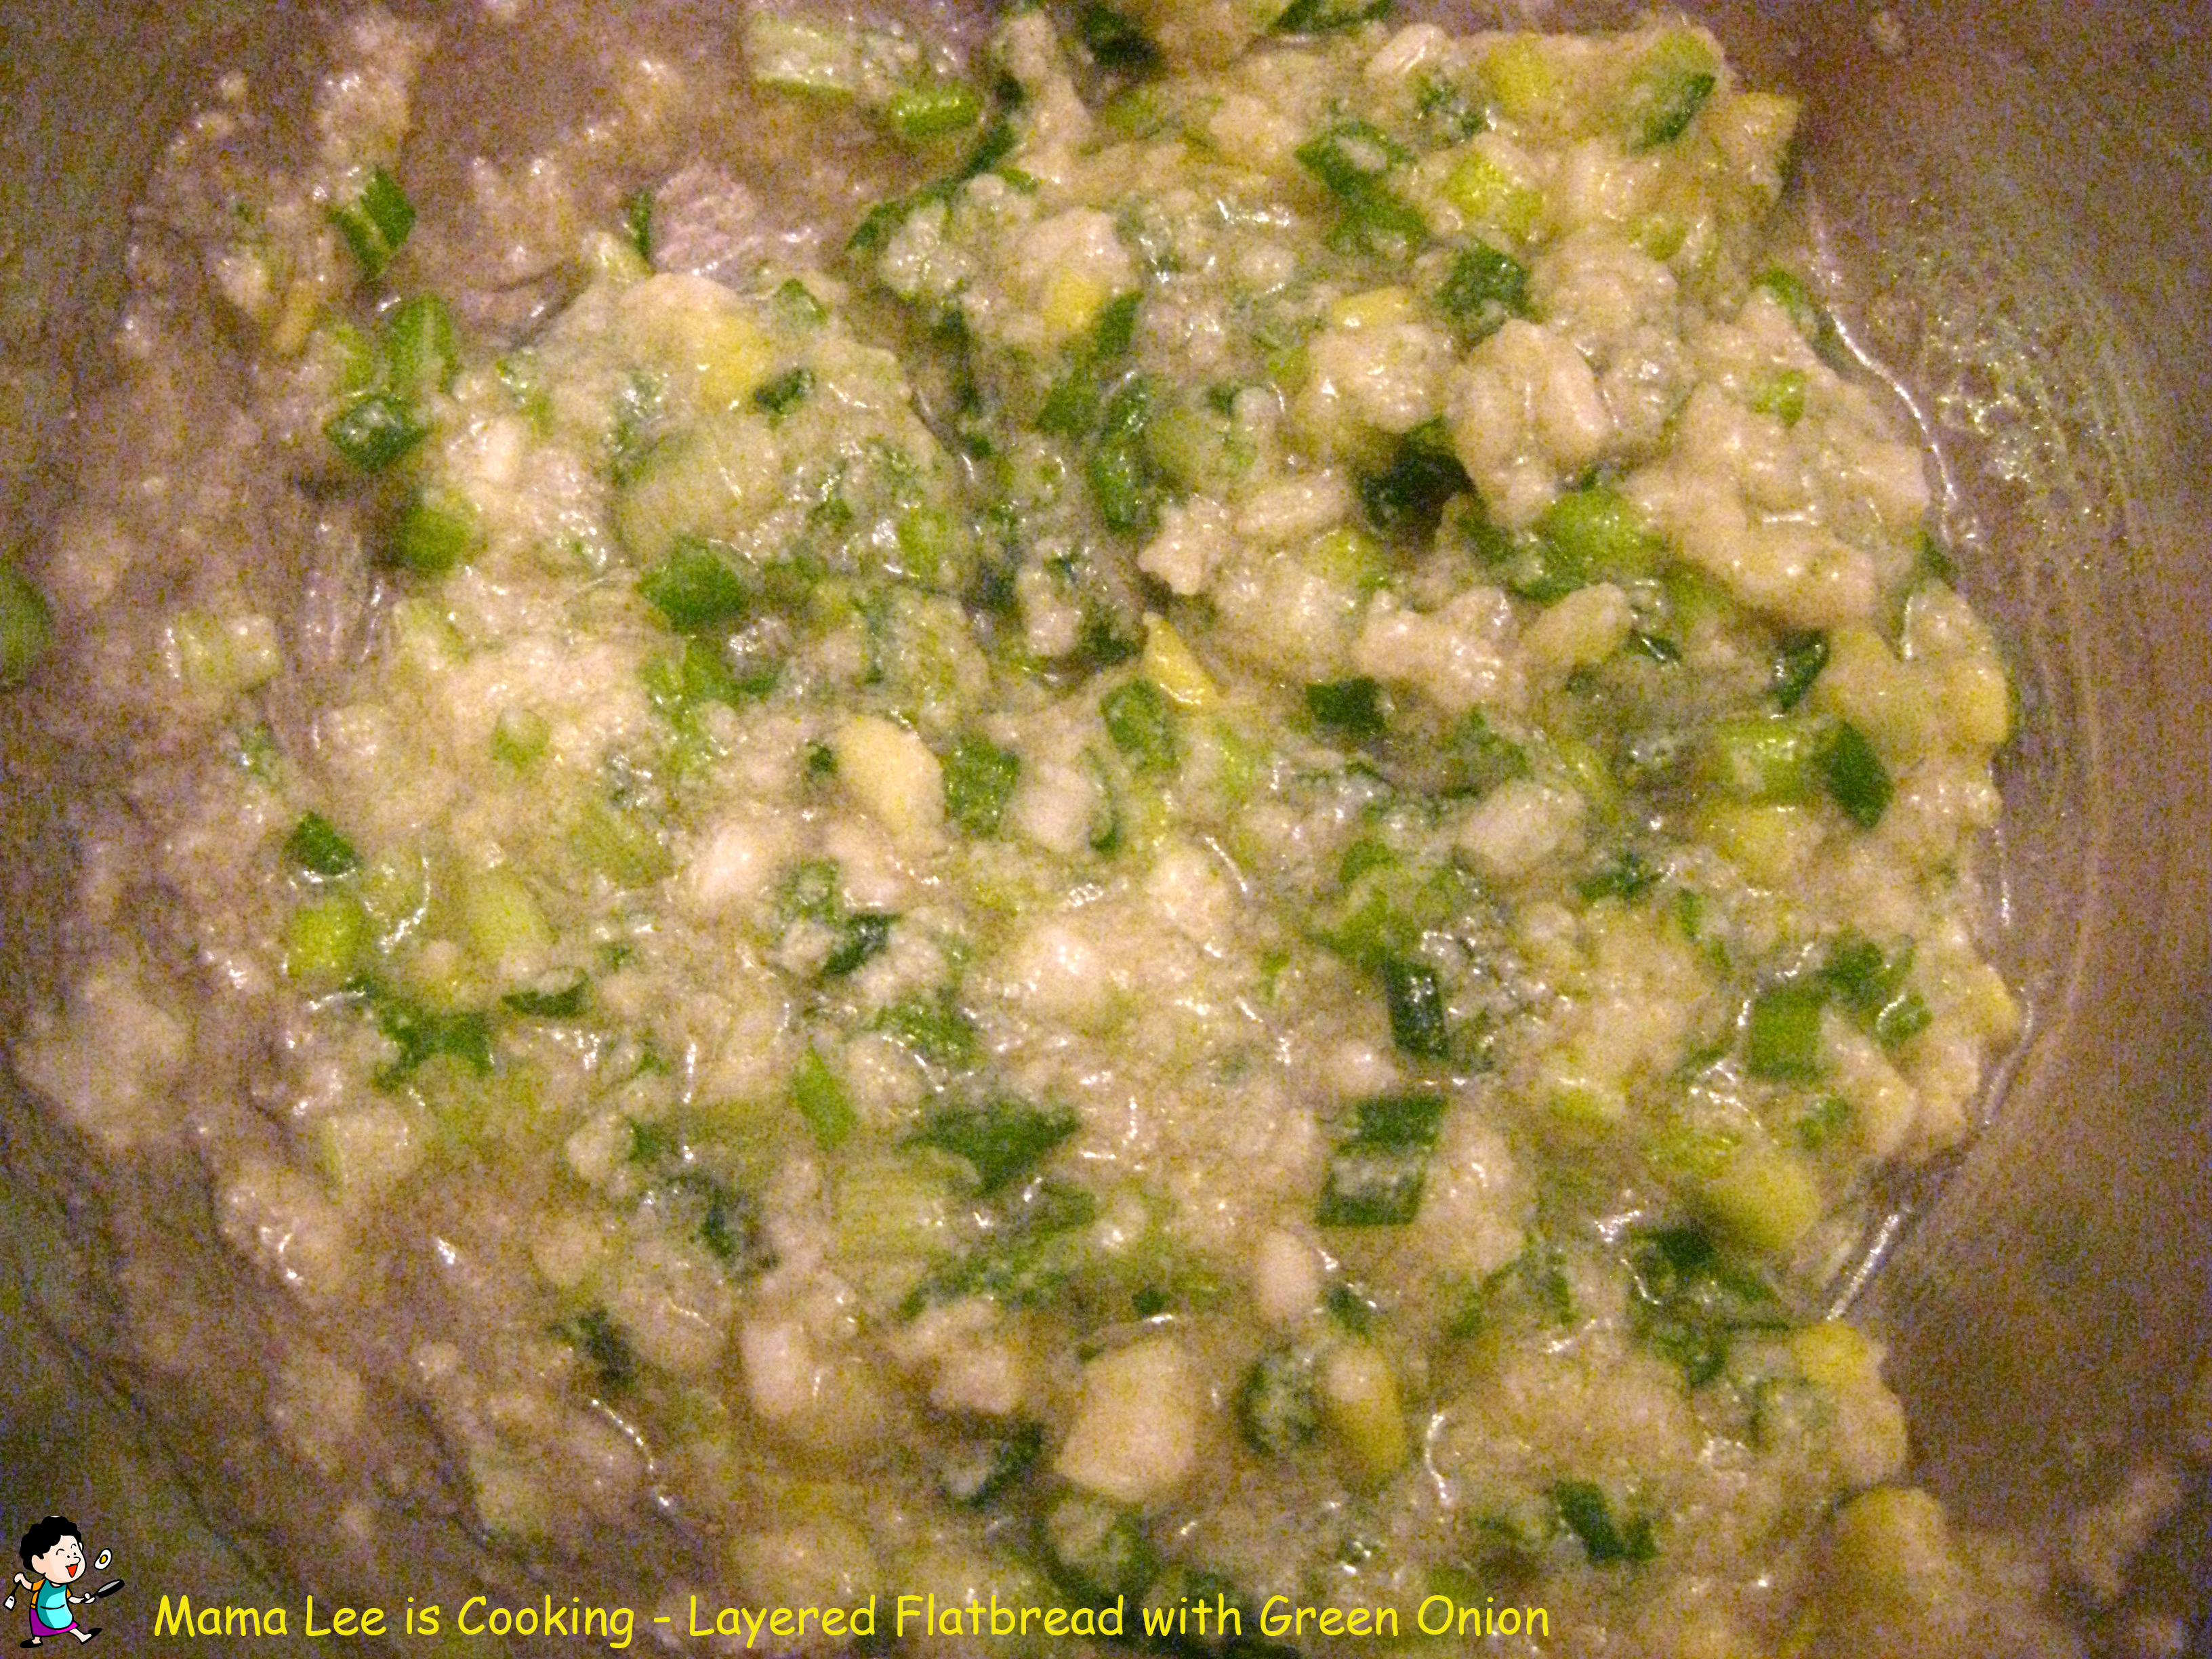
2、小葱切葱花,用盐和其他调味料拌匀。
我一般会用一些胡椒粉,你想饼是什么口味的,就用什么调味料。
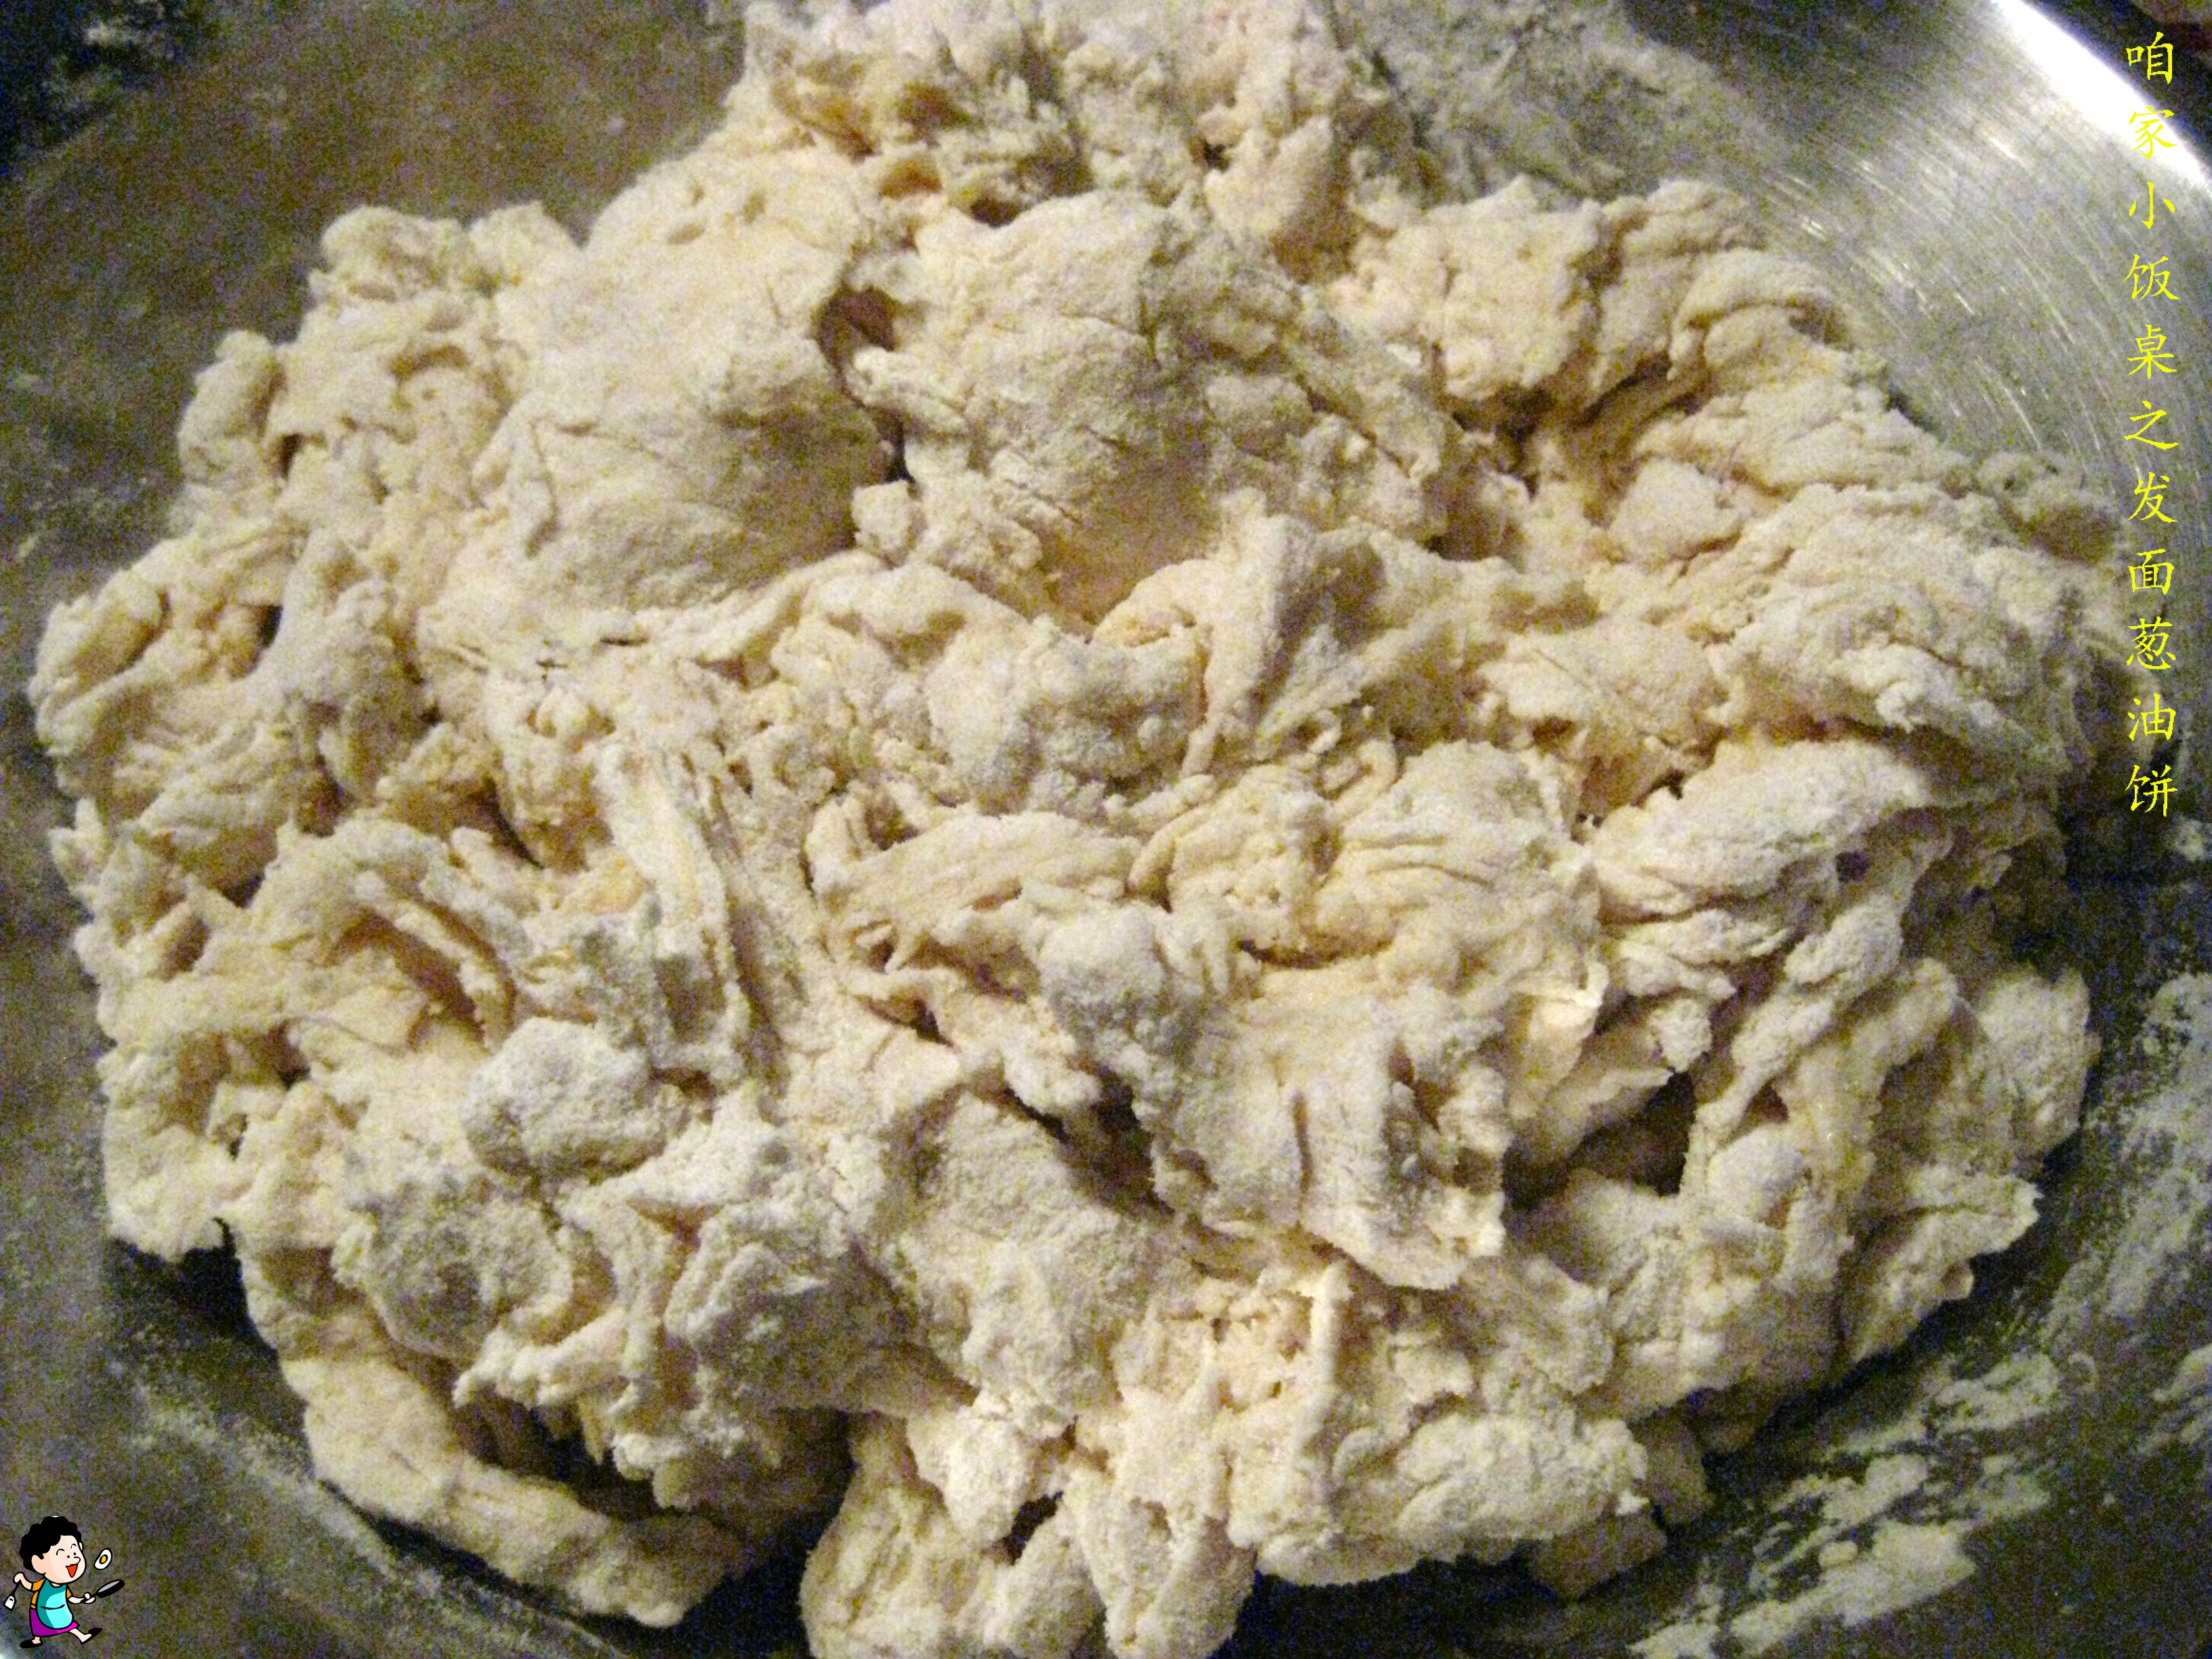
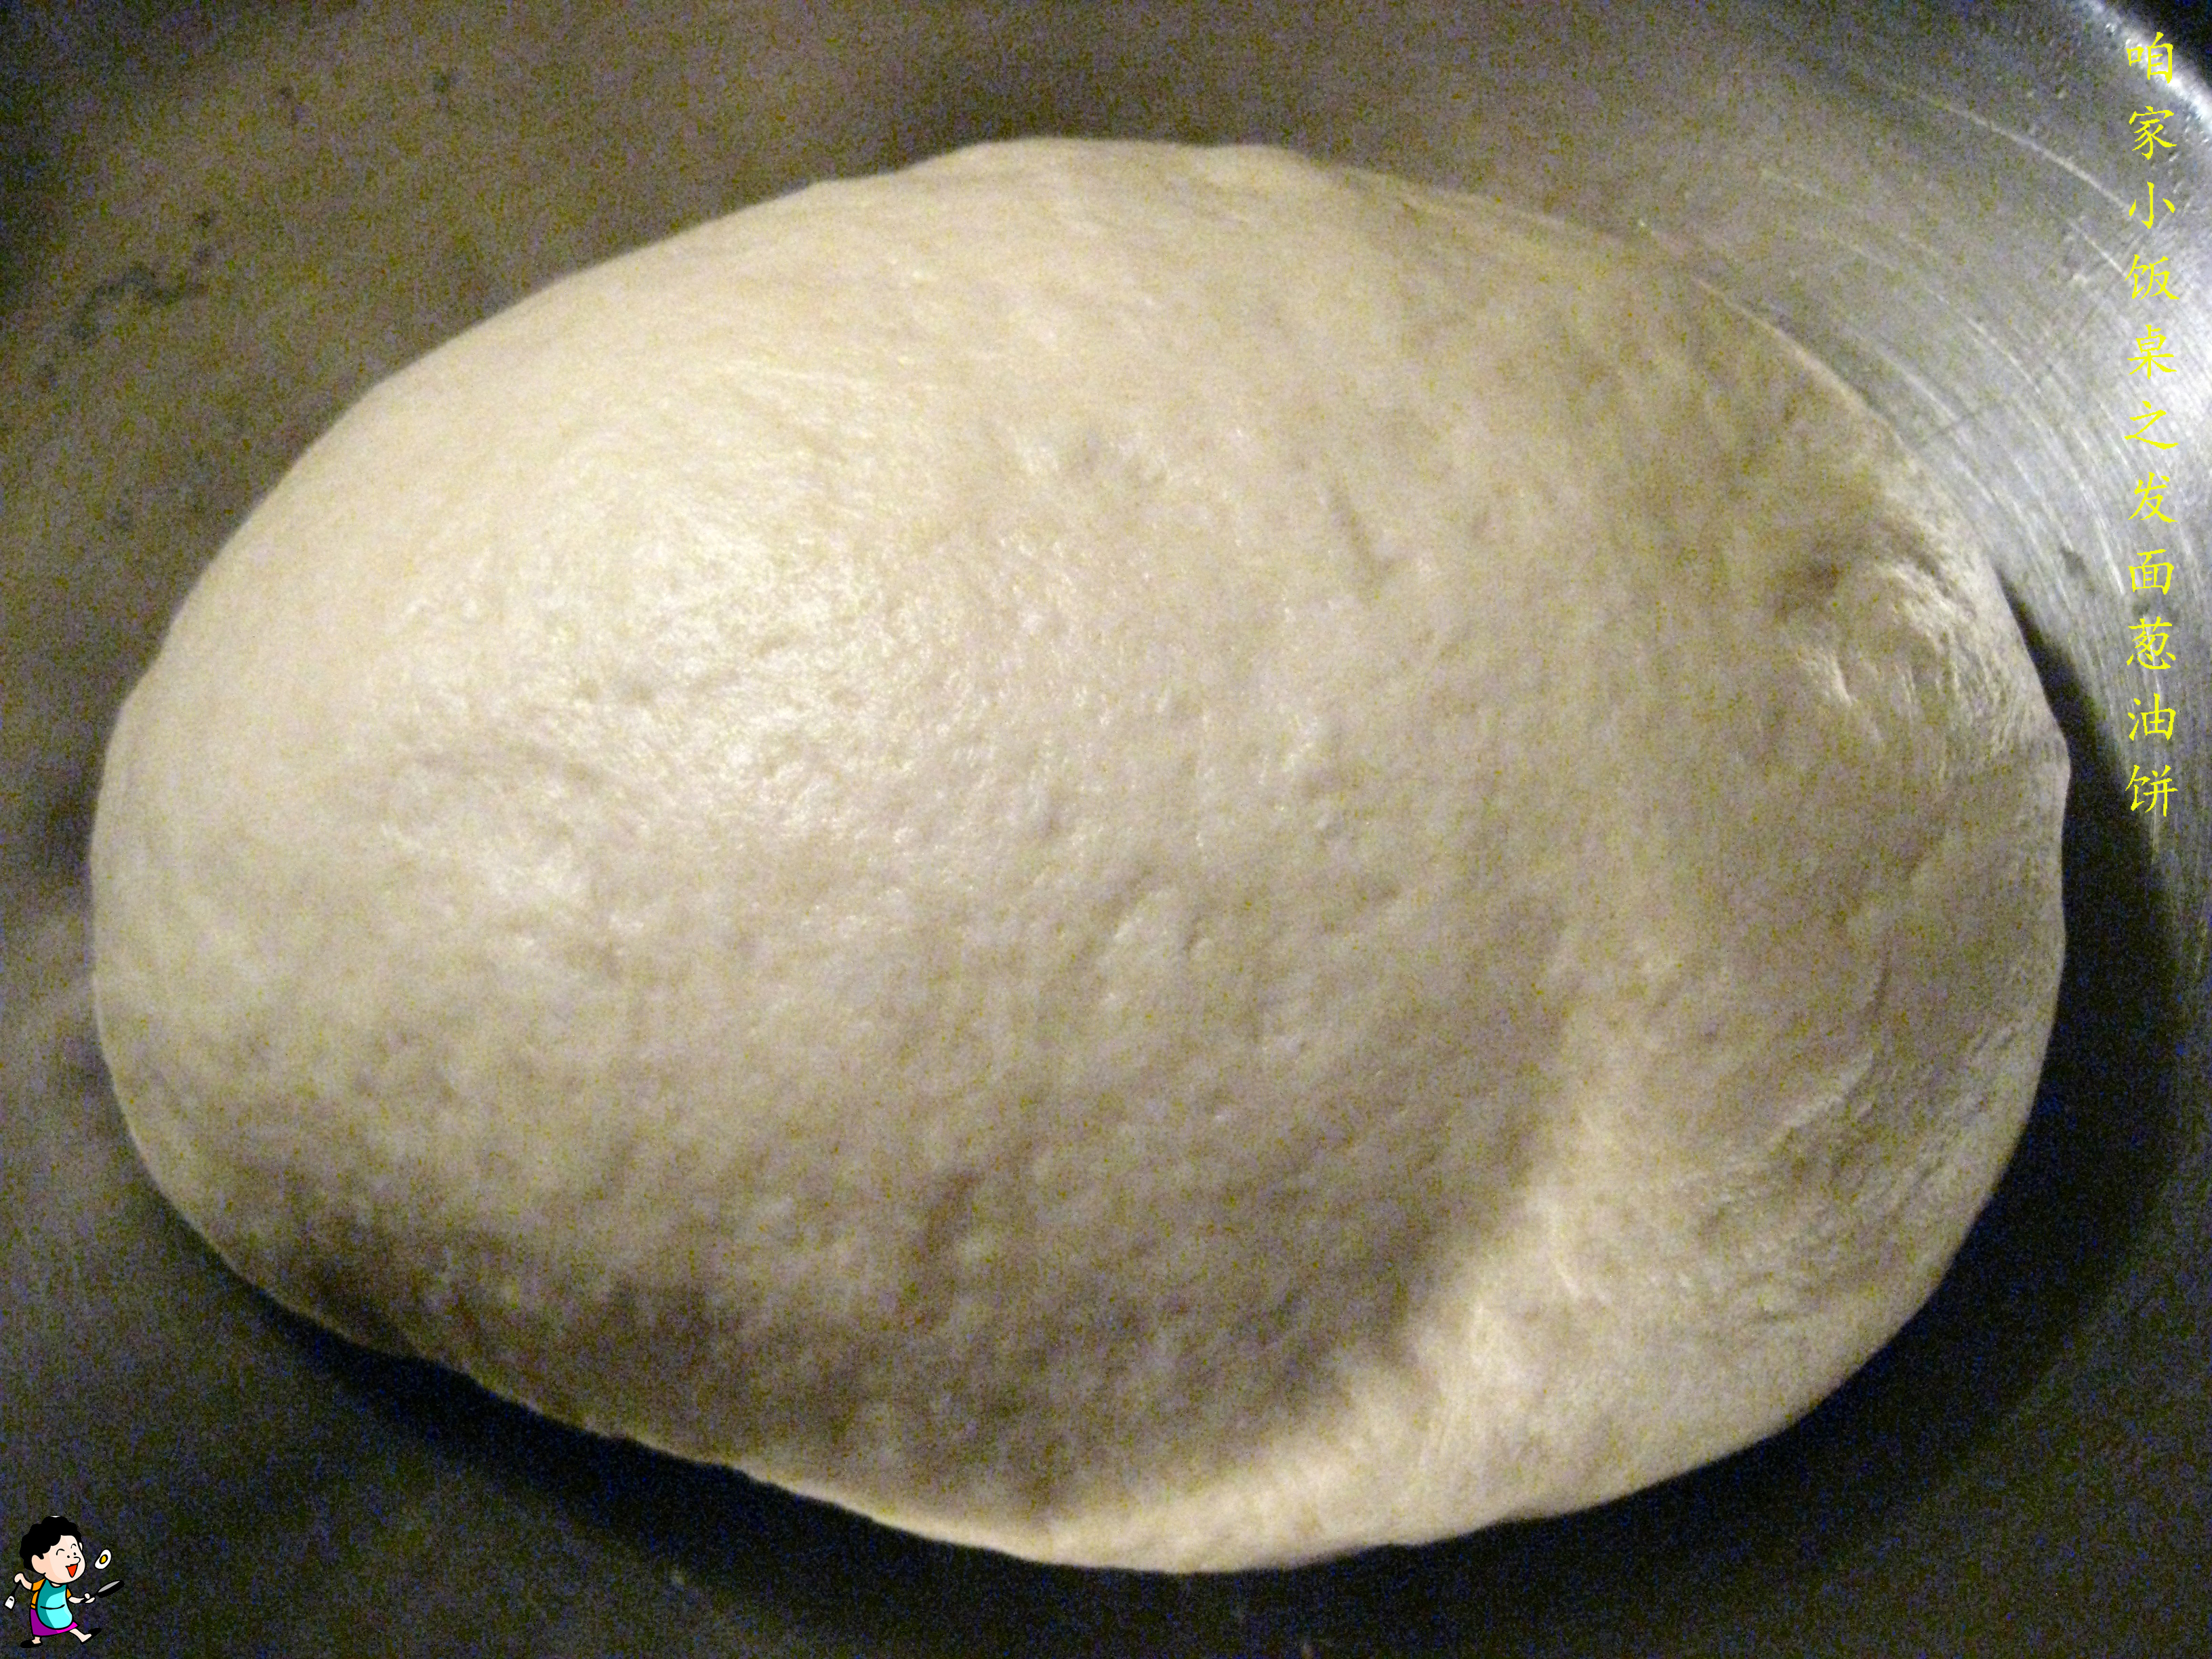
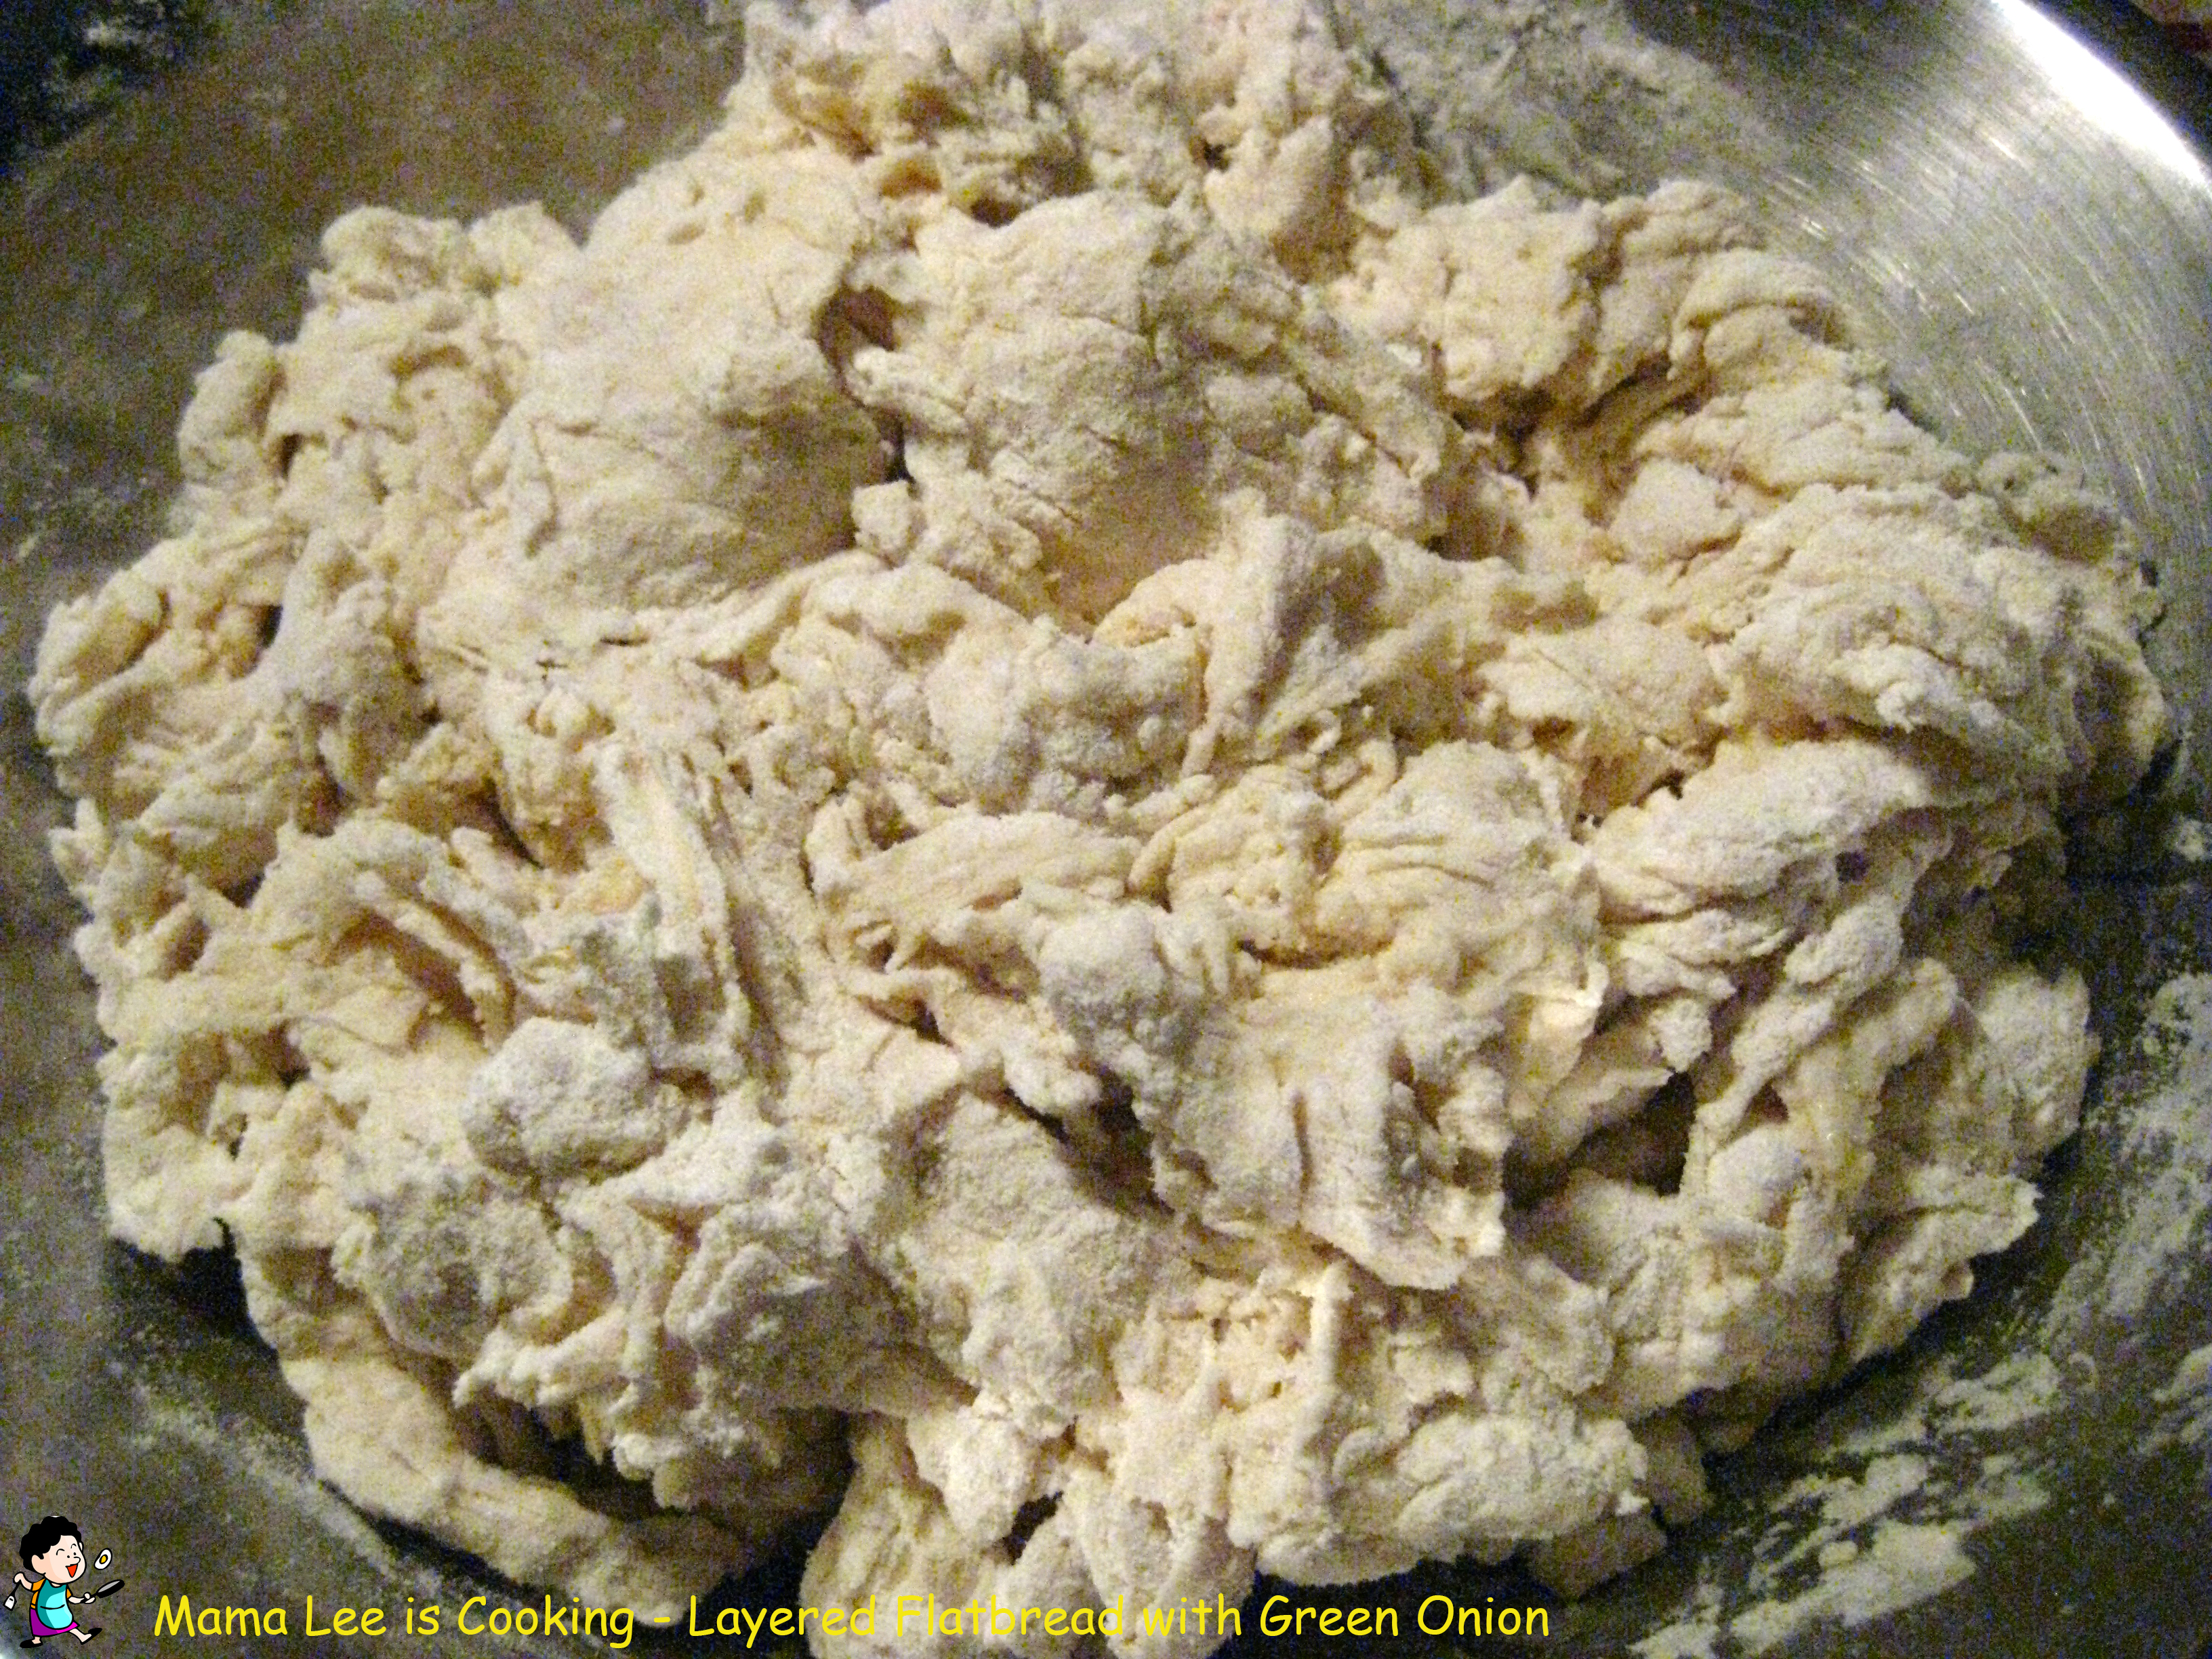
 3、把酵母液慢慢倒进面盆,同时用筷子或叉子快速搅拌,让面粉变成面絮,如果水不够,可以再慢慢加一些温水,直到盆里看不到多少面粉。然后用力和成光滑的面团,盖上湿布,略饧一会儿。
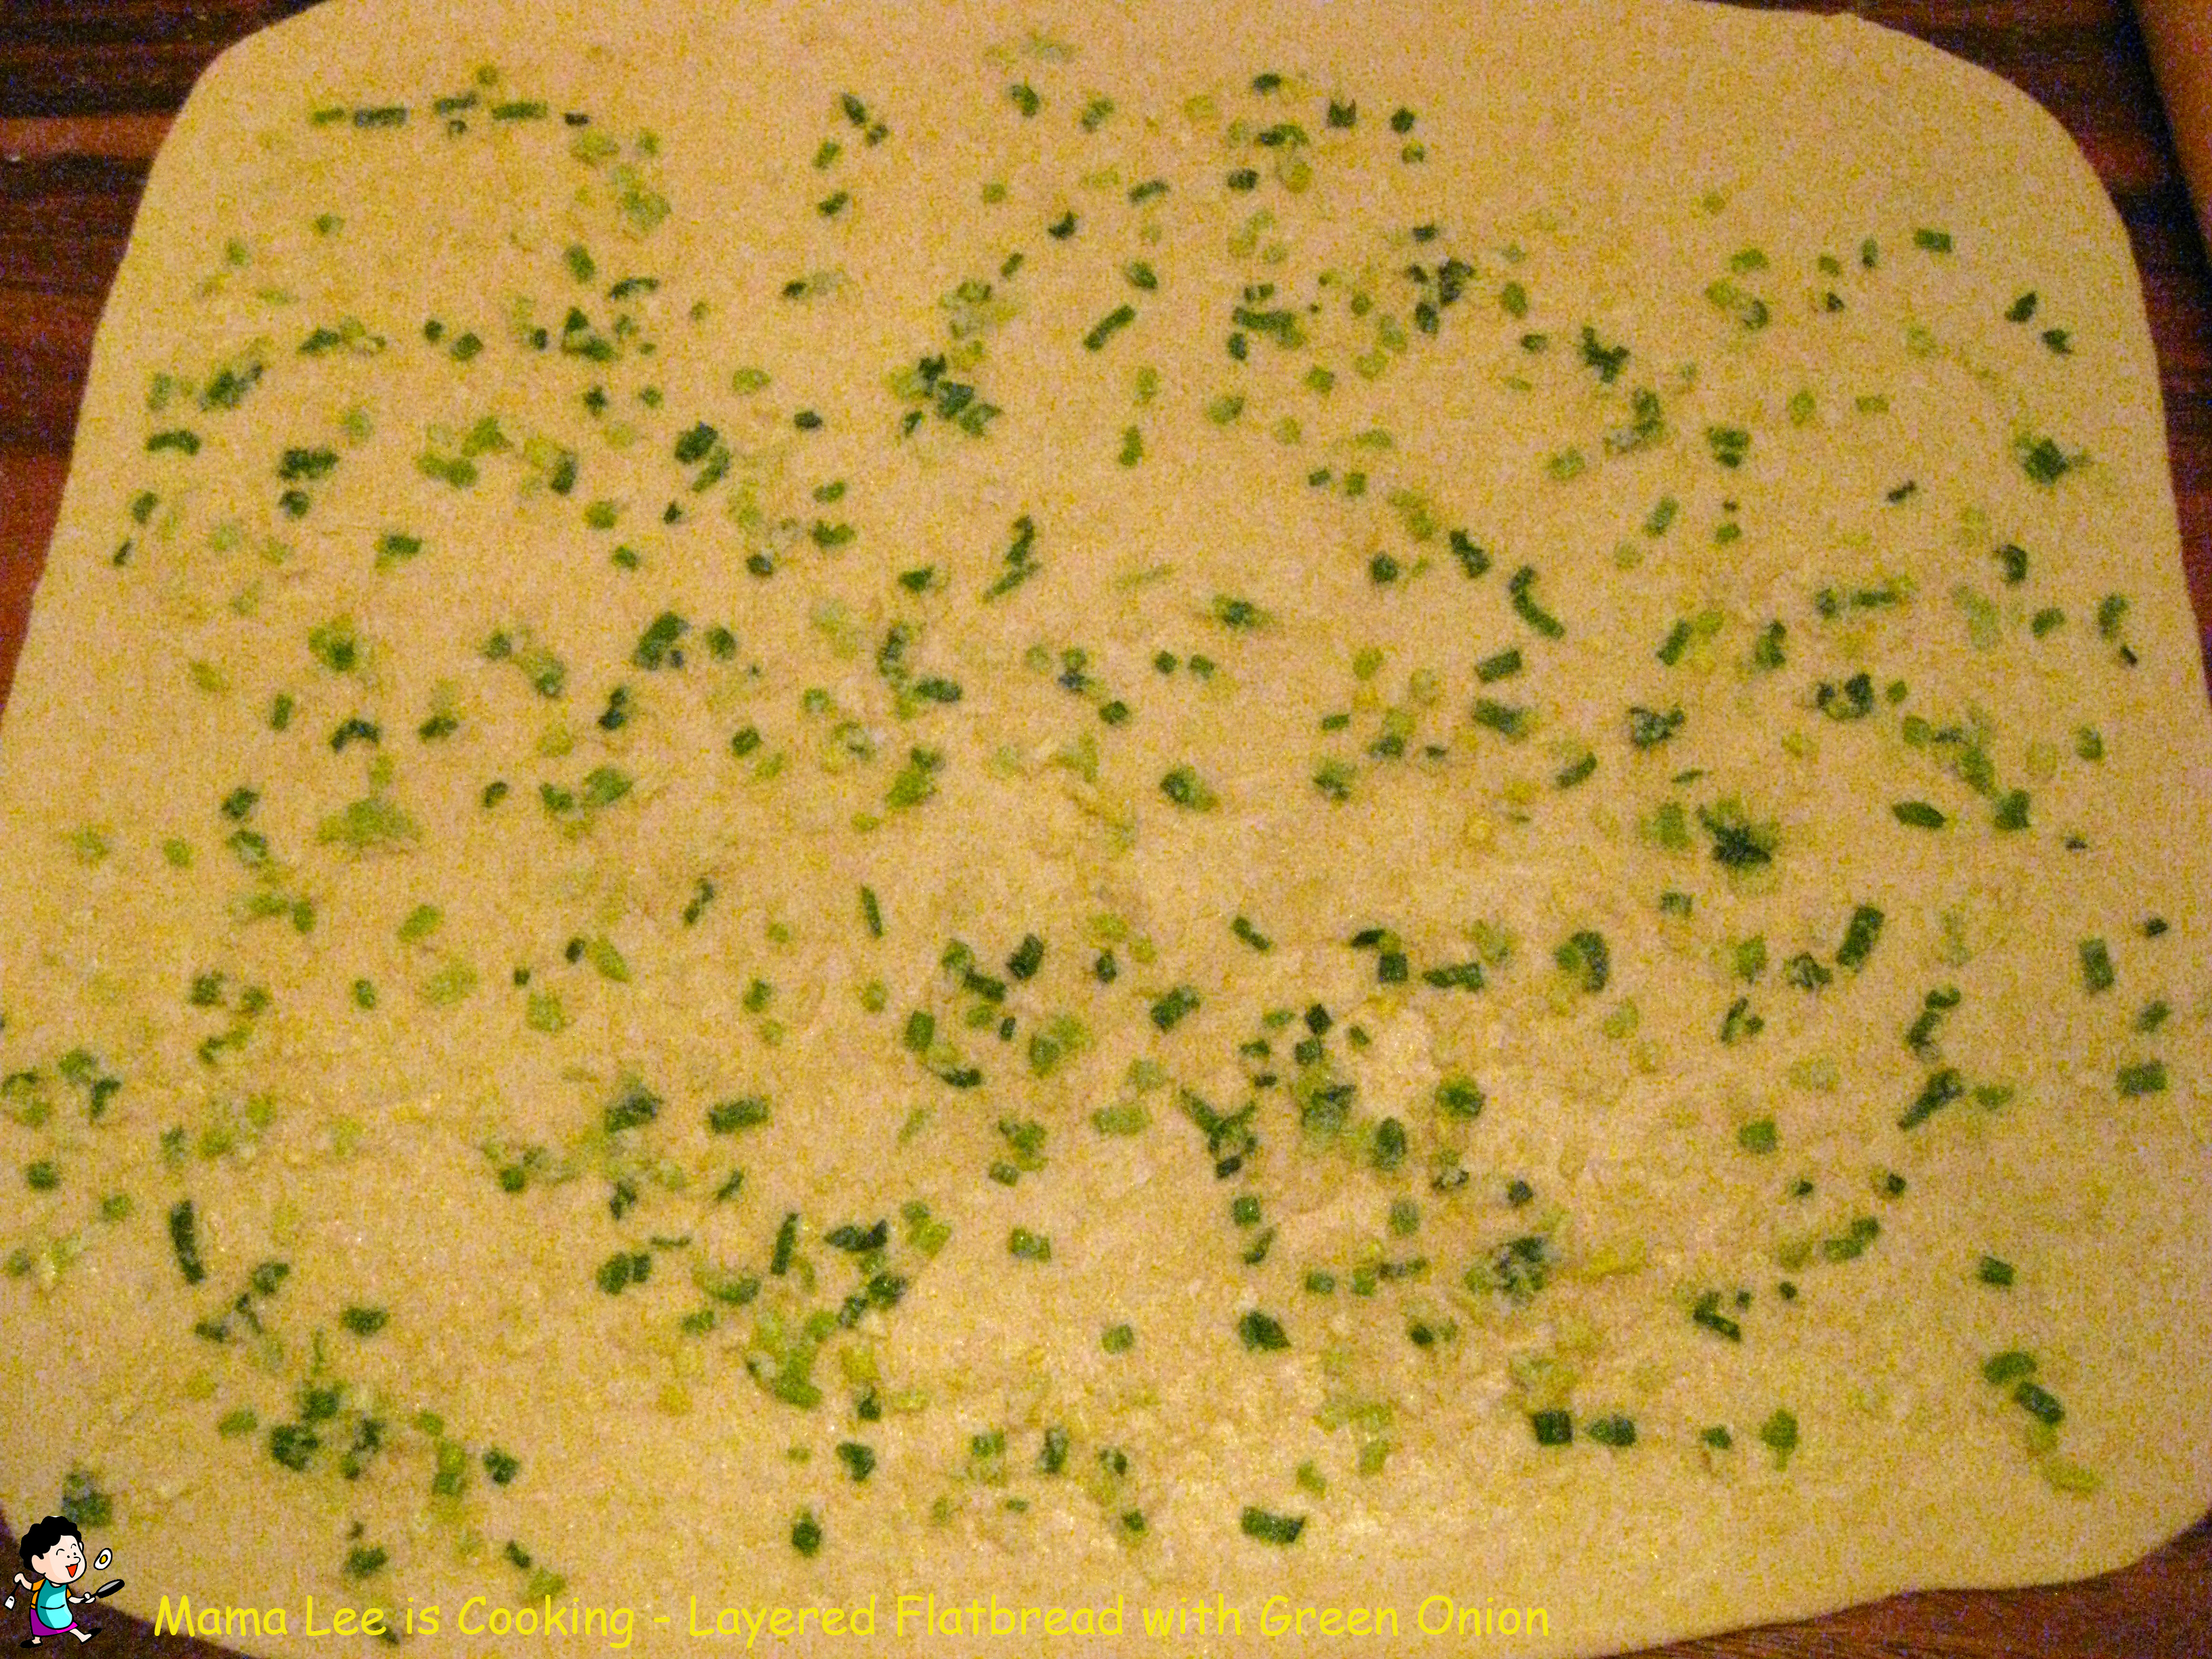
4、在葱花上面撒一些面粉,倒入食用油,搅拌均匀。面、油可以根据需要添加到你需要的份量。
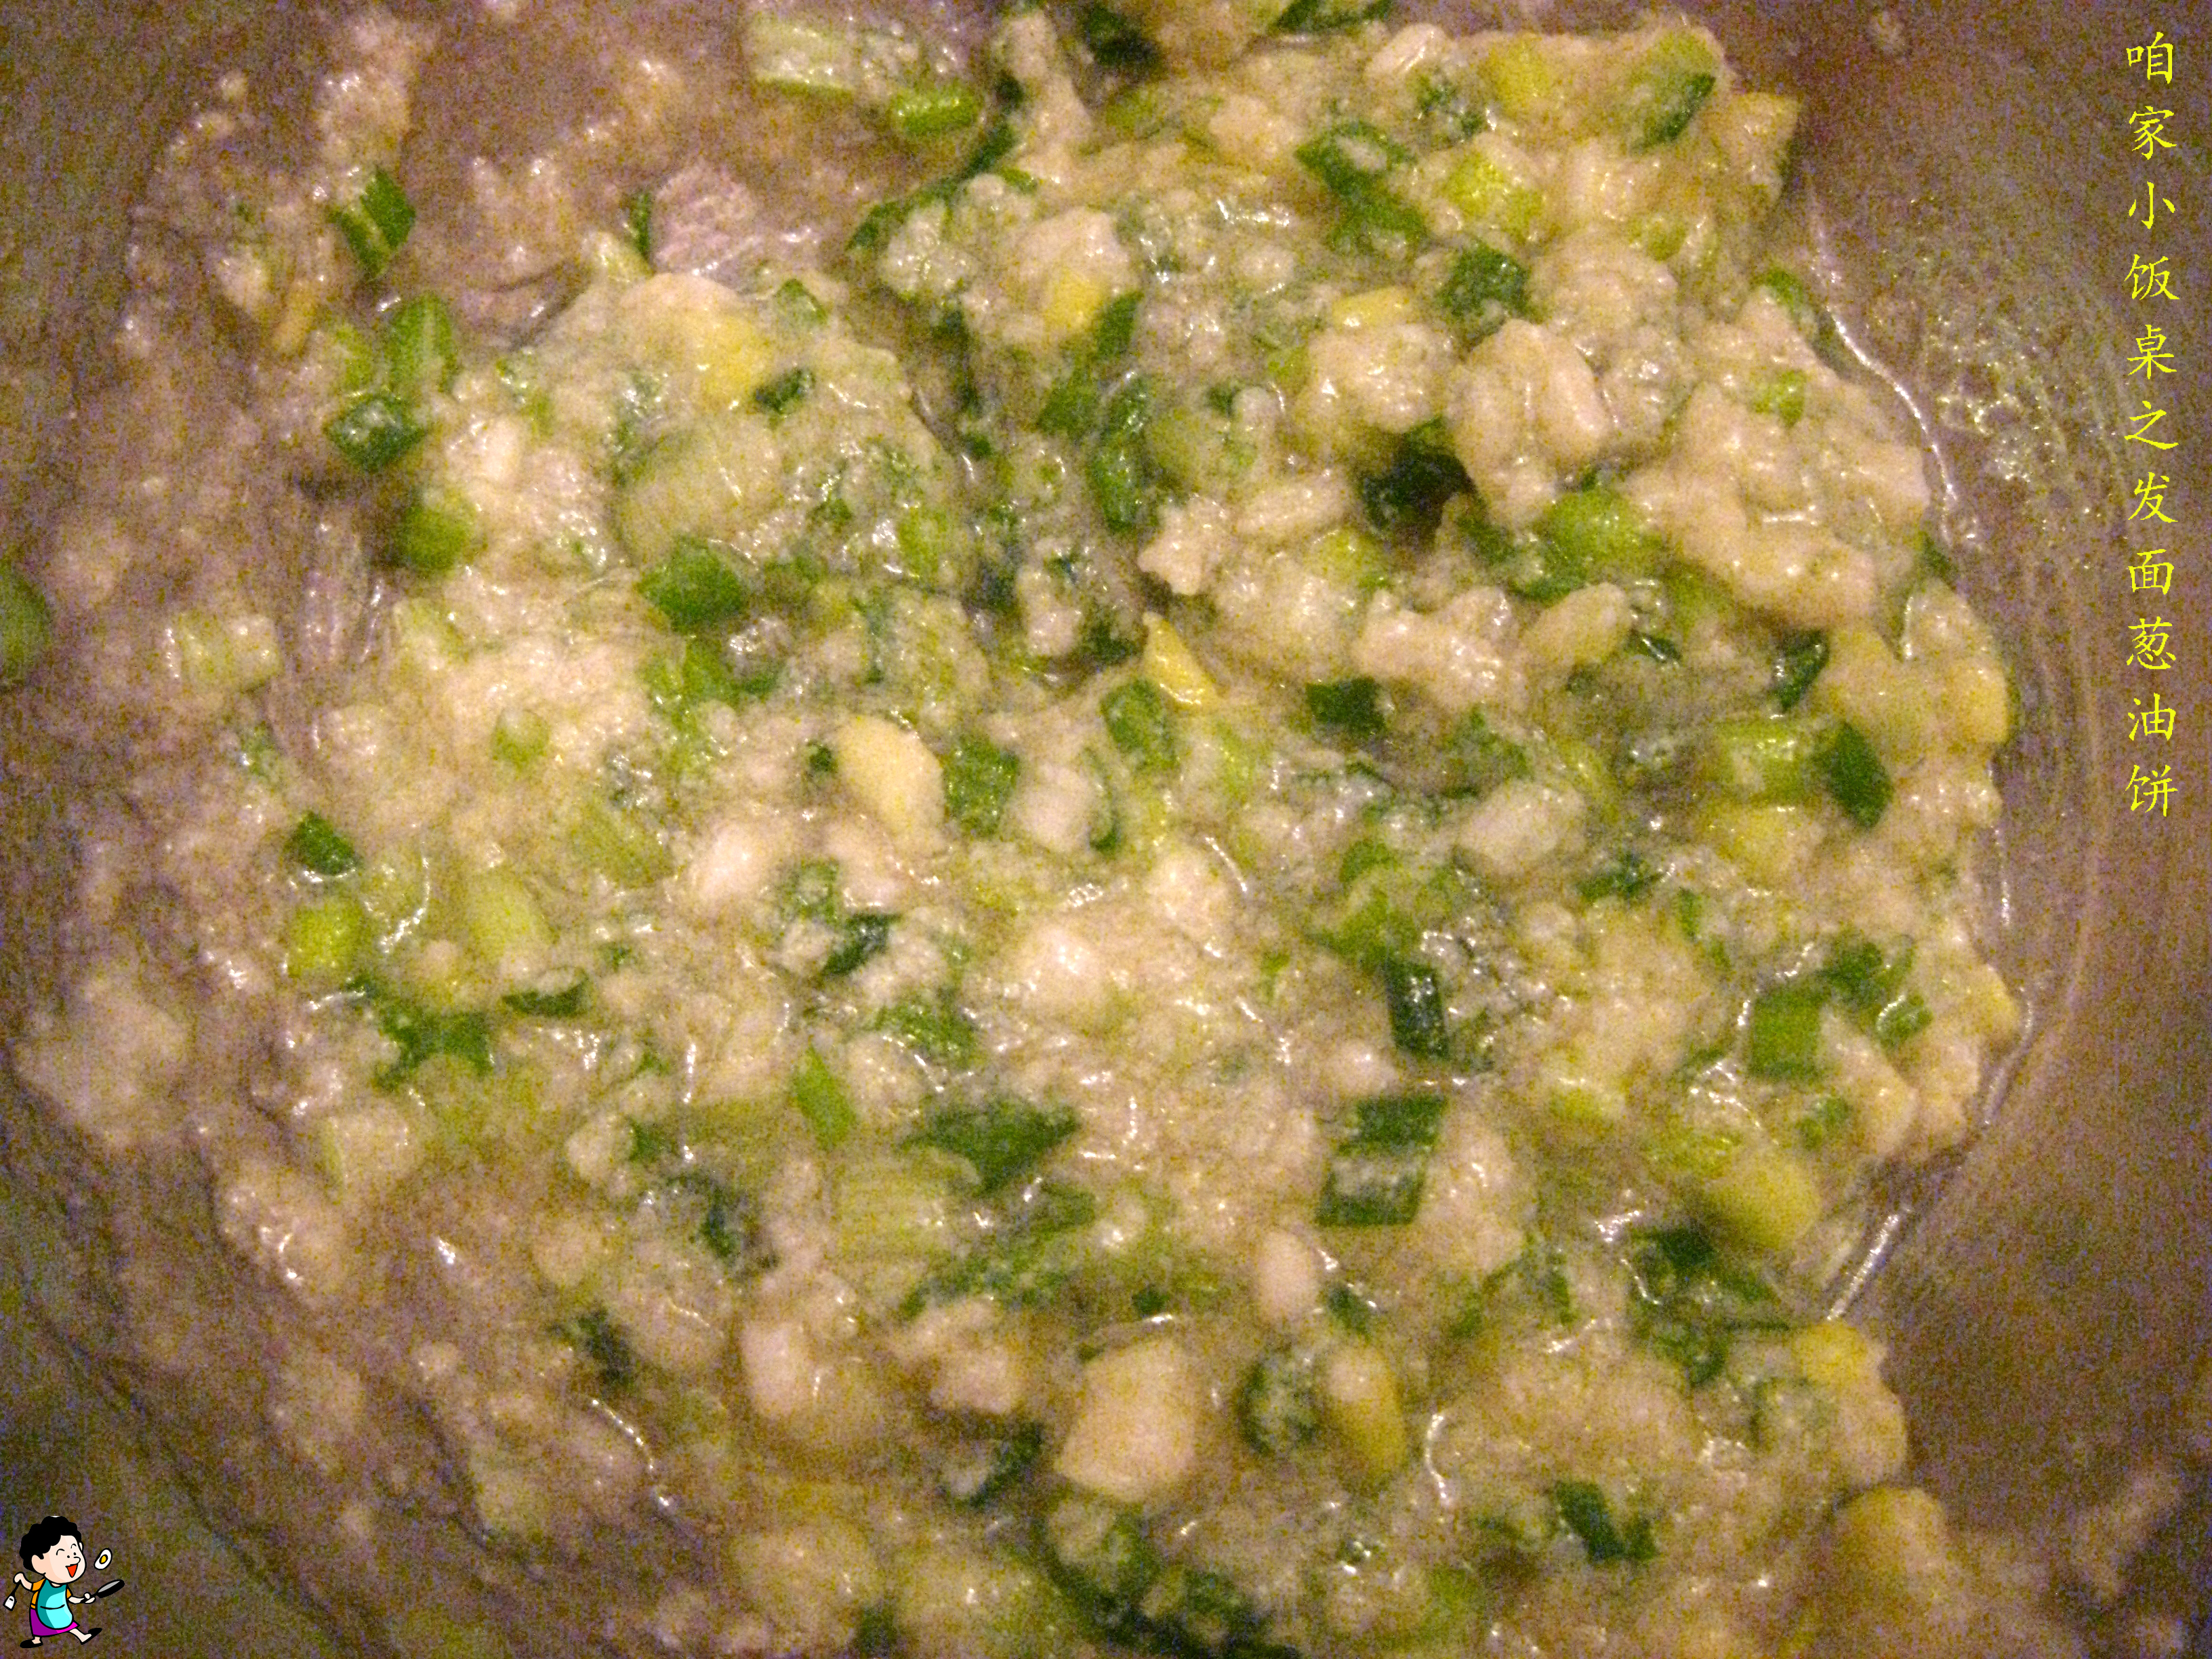 我喜欢葱油糊浓稠一些,这样一会儿擀饼的时候葱油糊不会流的到处都是。
这会儿也是最后添加调味料的机会。
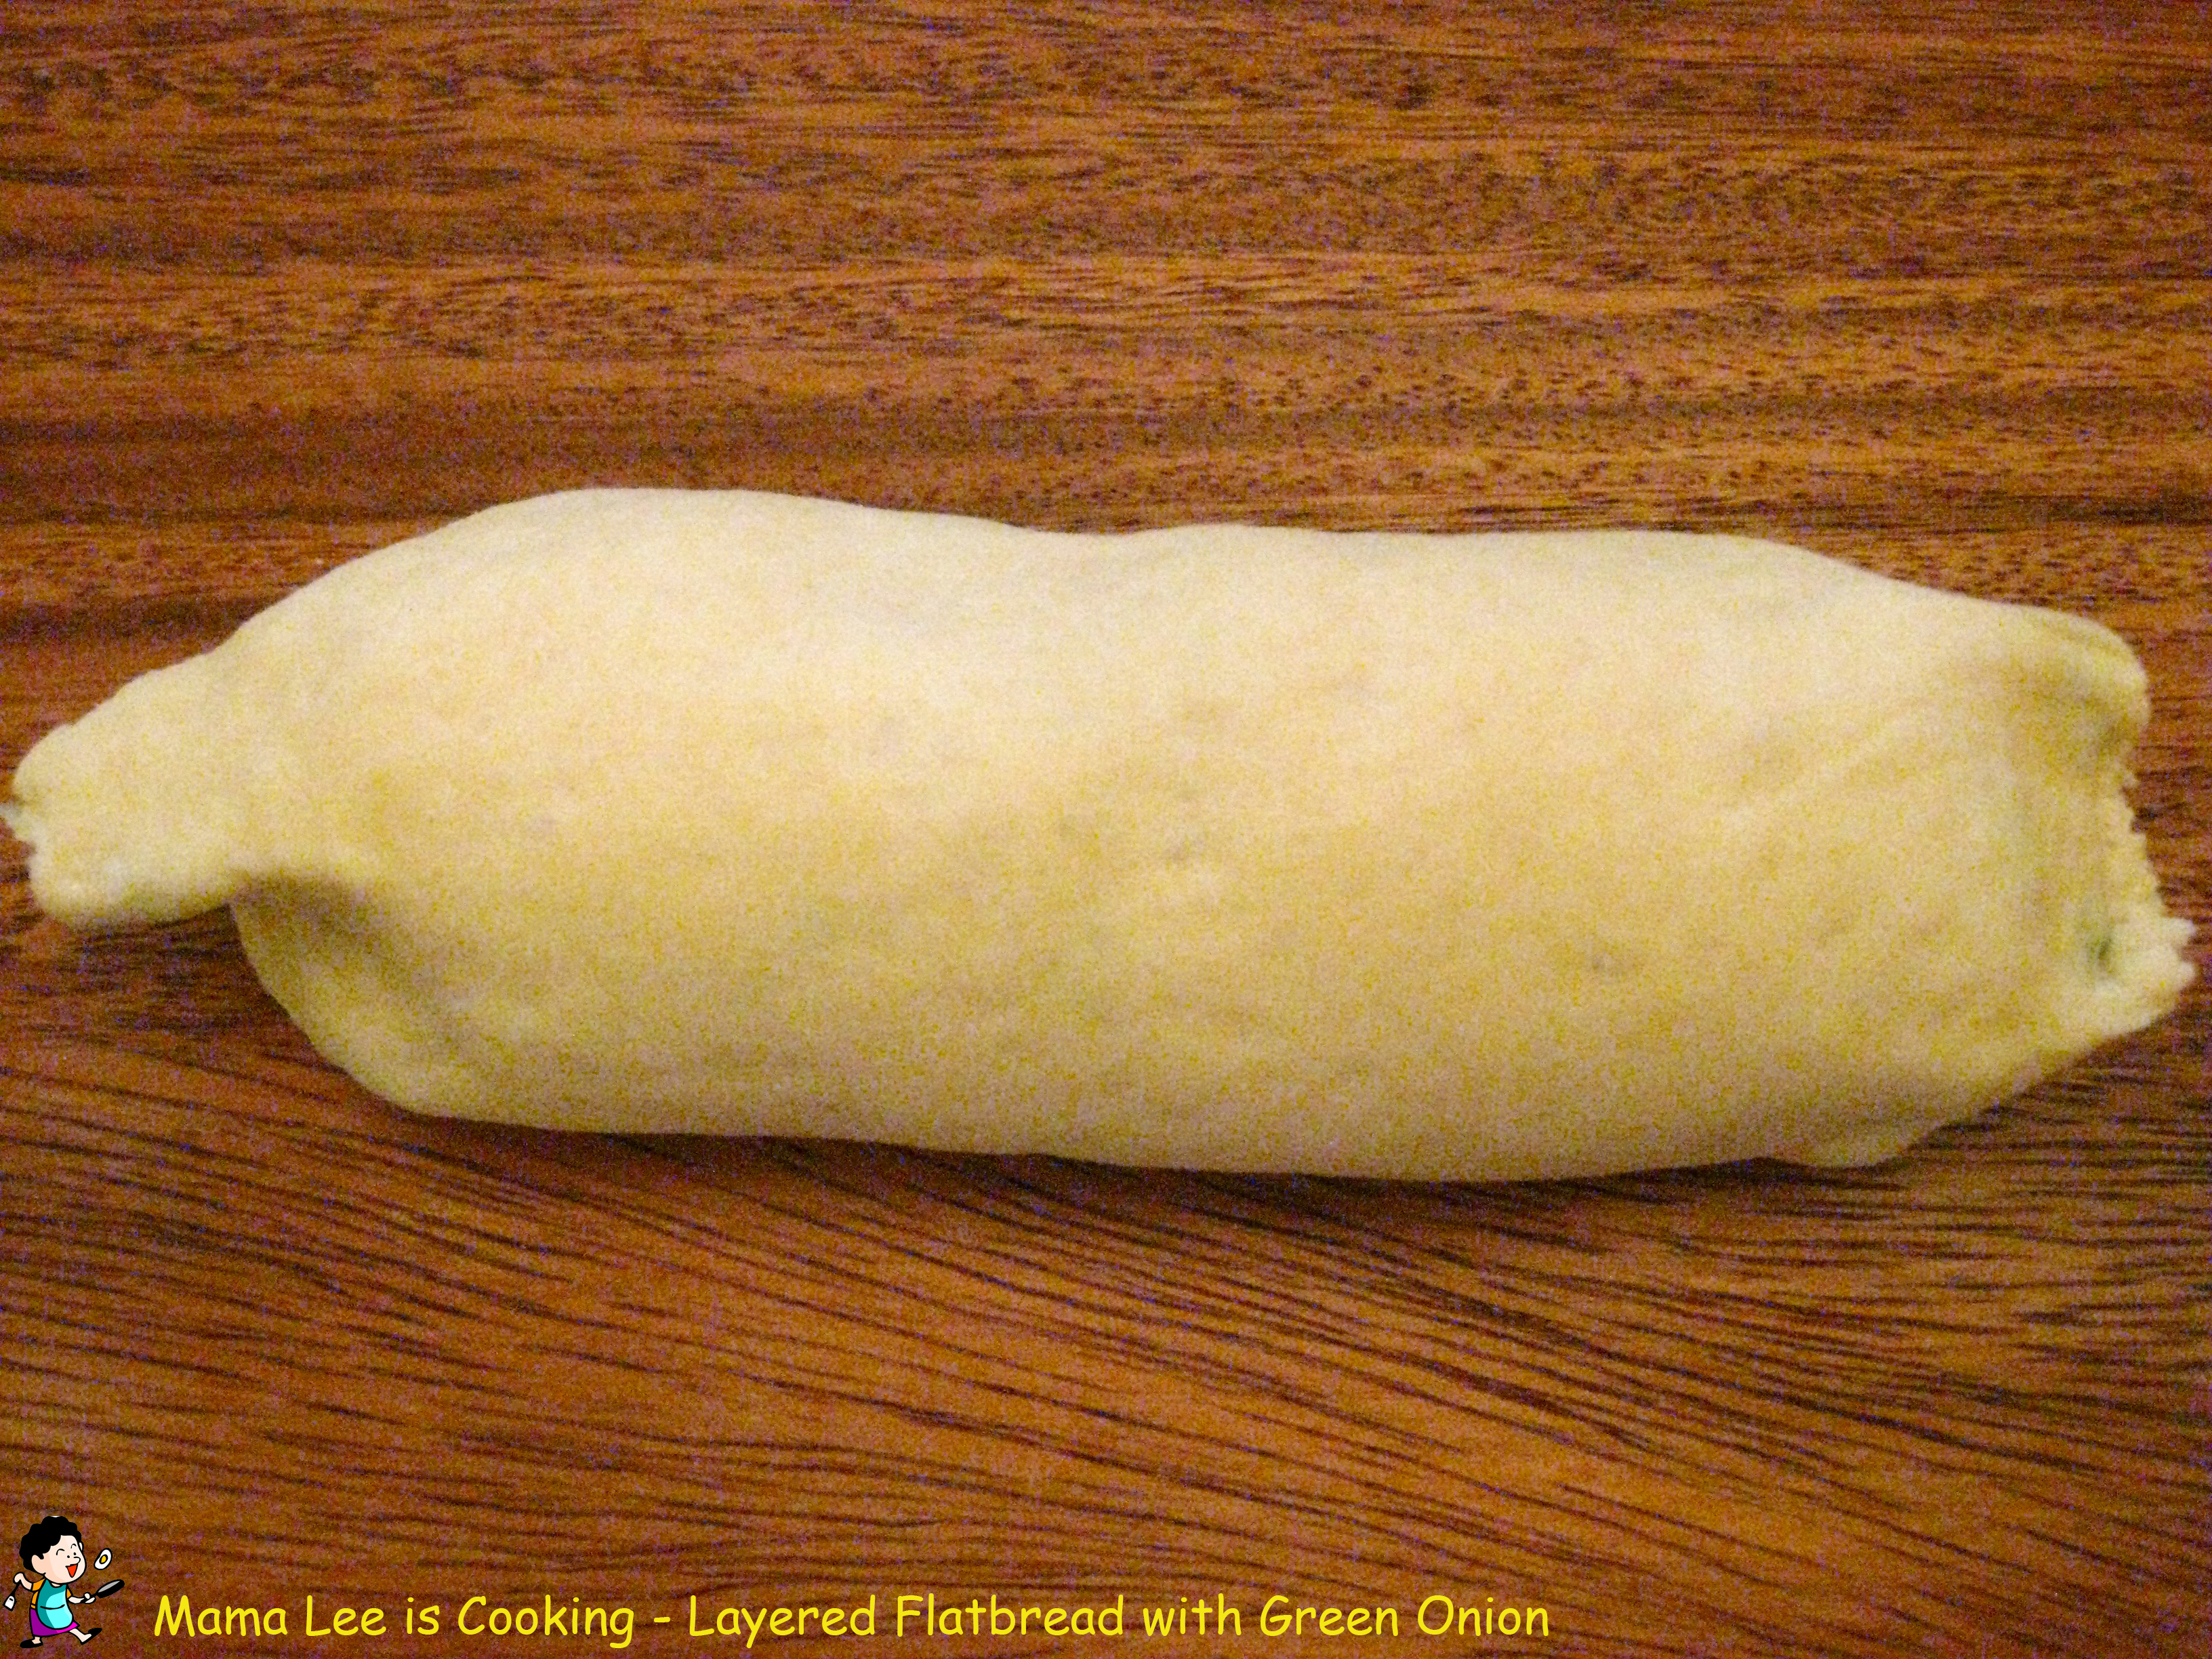
5、把饧好的面团擀成一张大饼,在上面刷上一层葱油糊,然后把饼卷成一个长条。
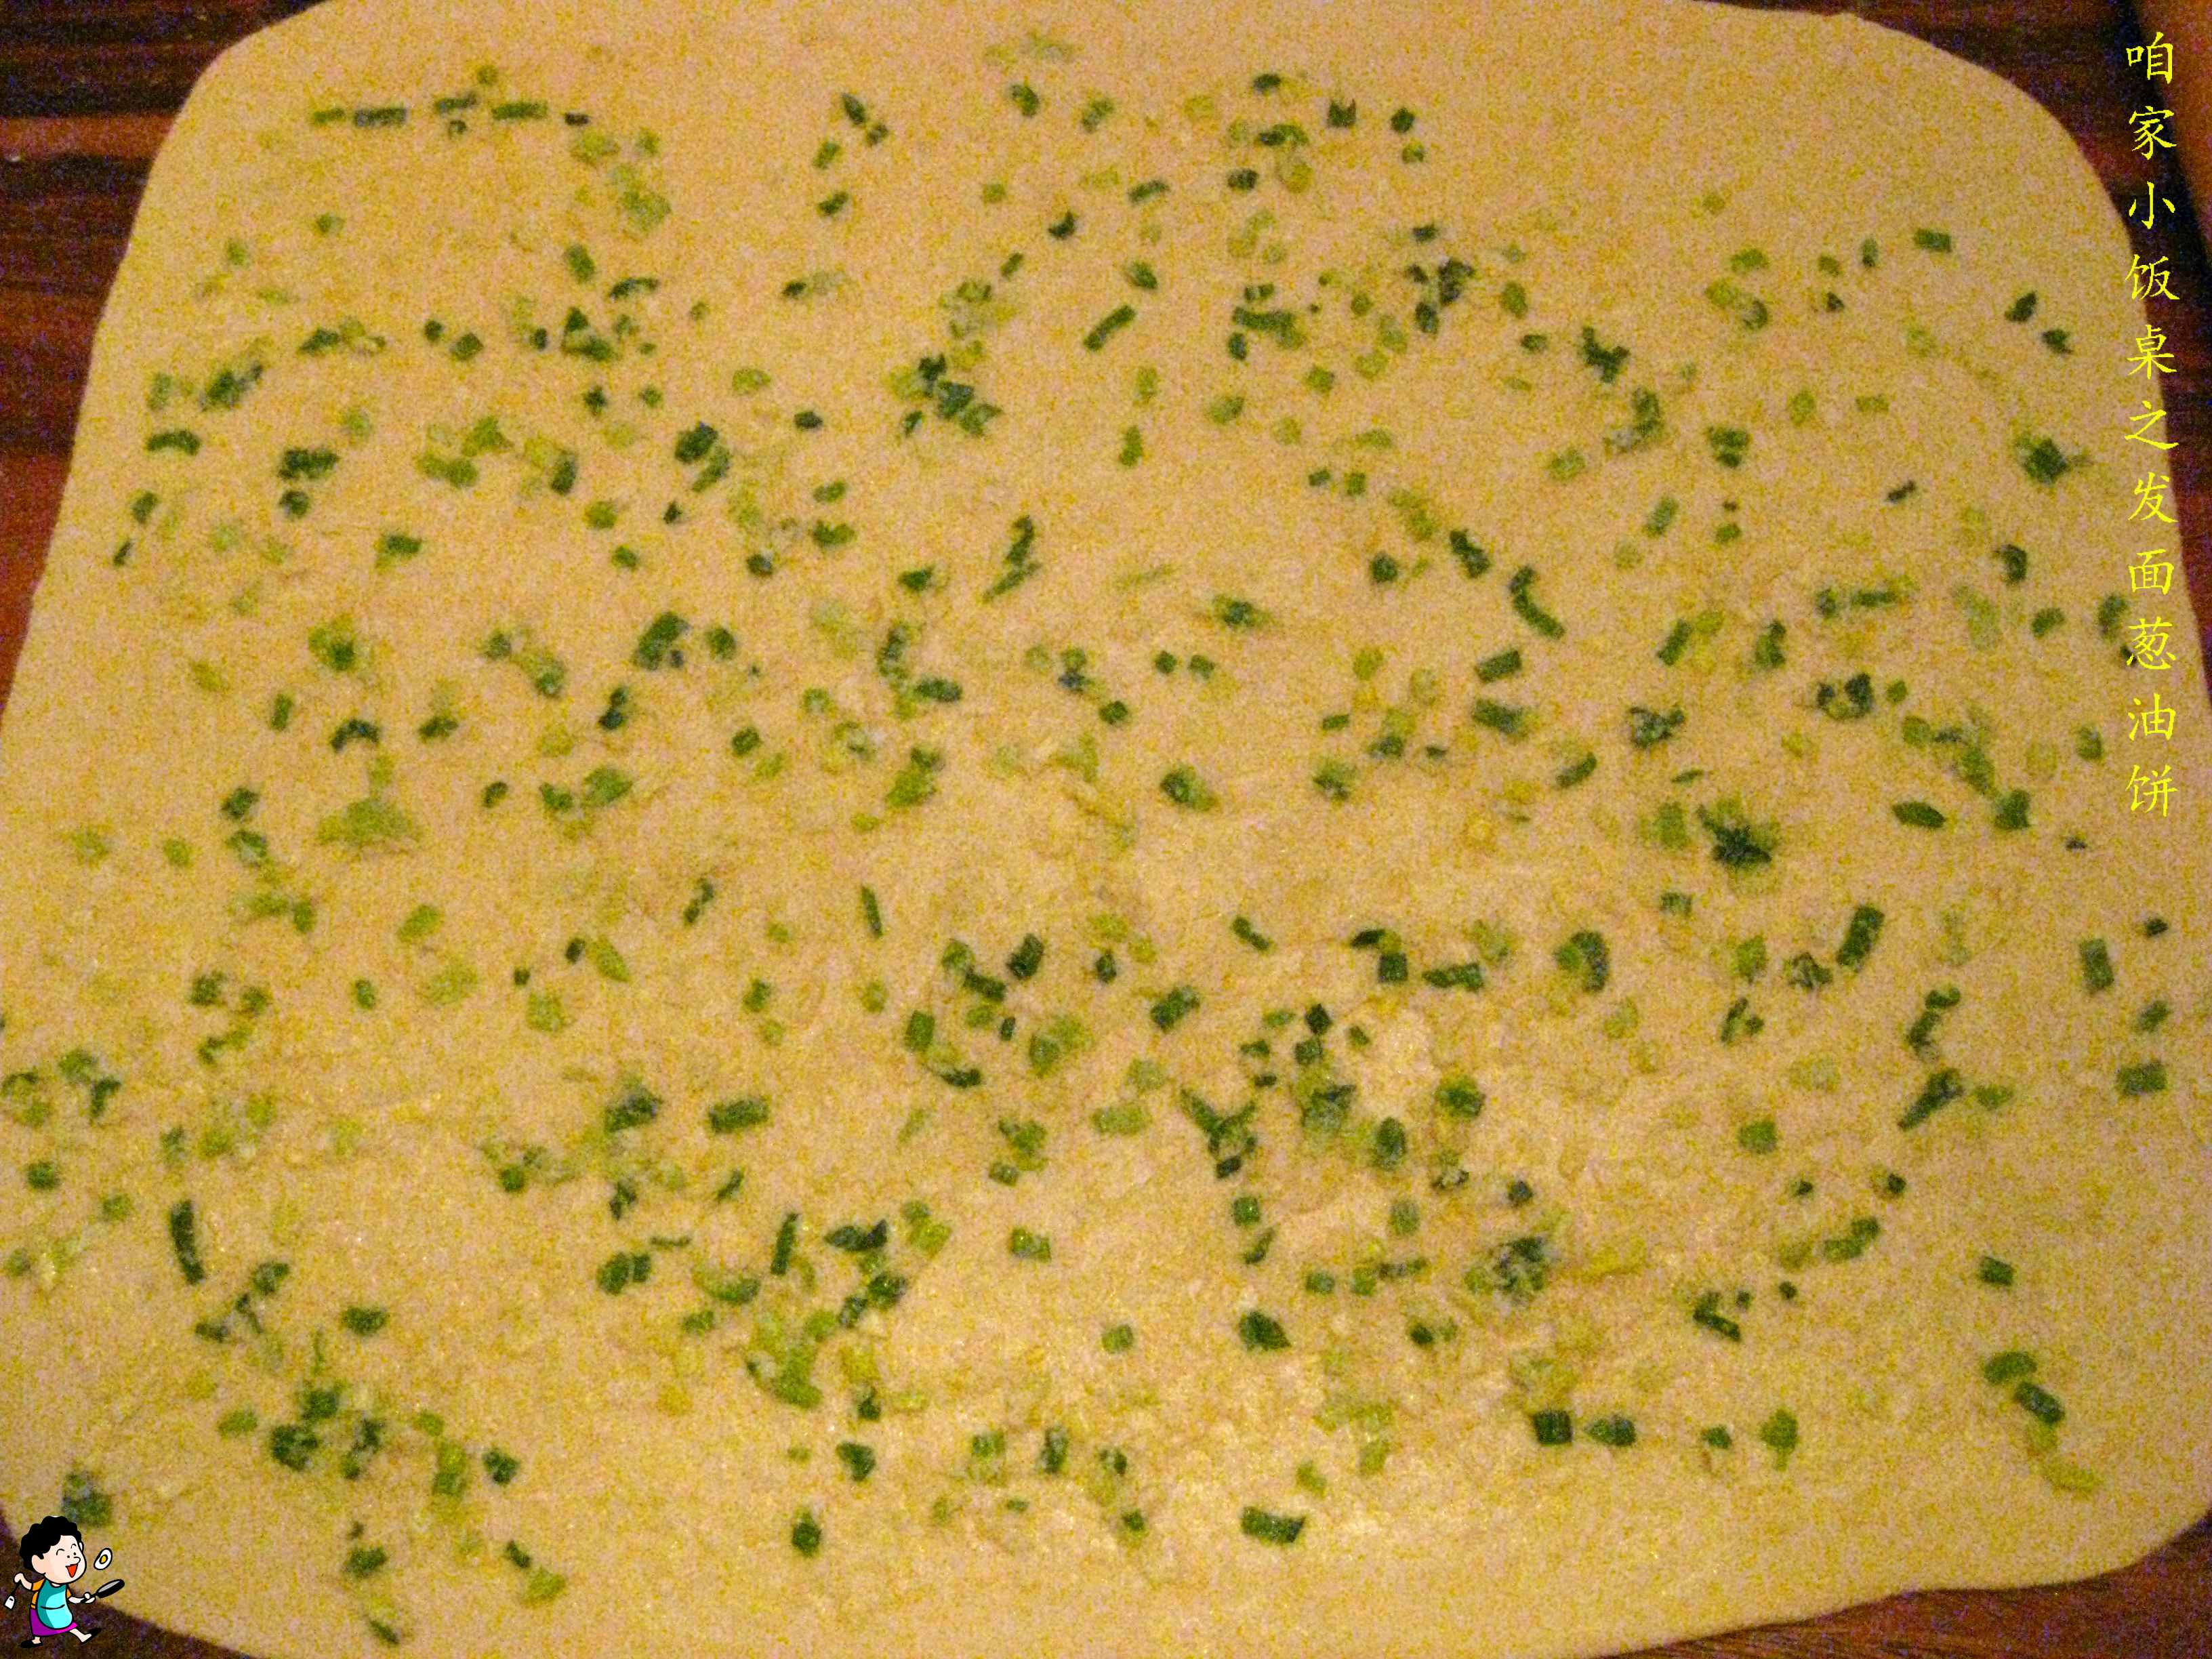

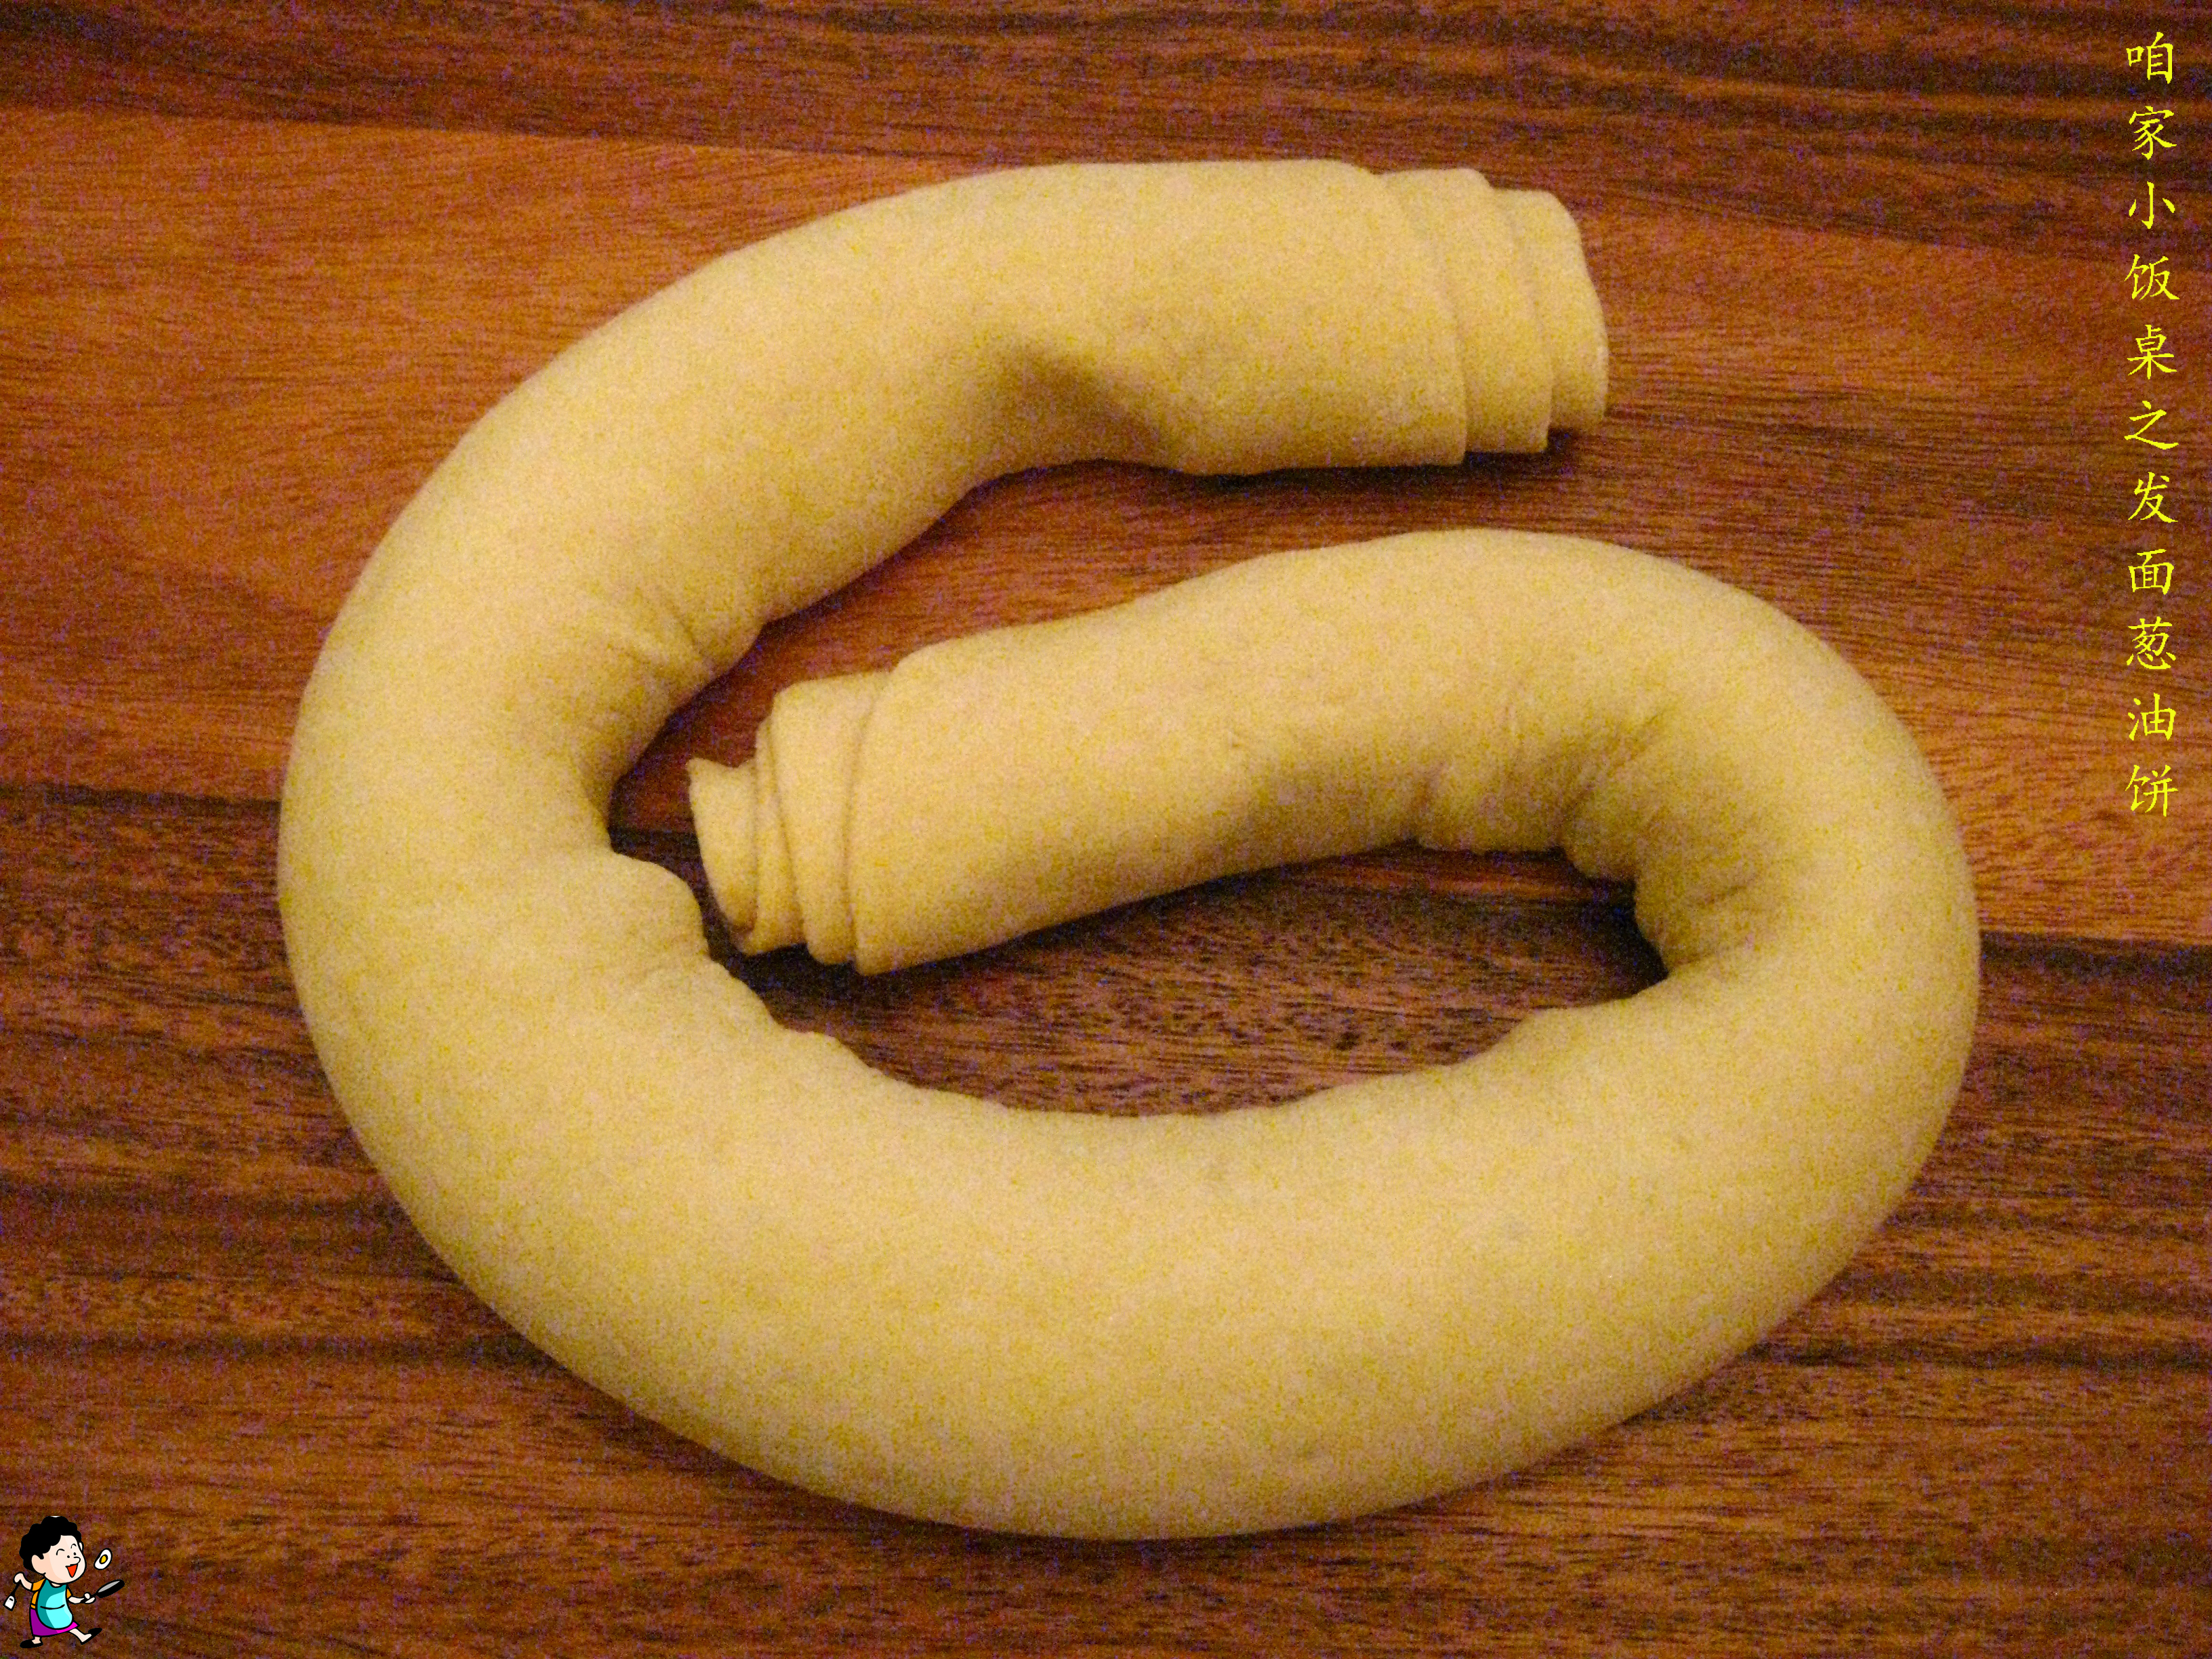
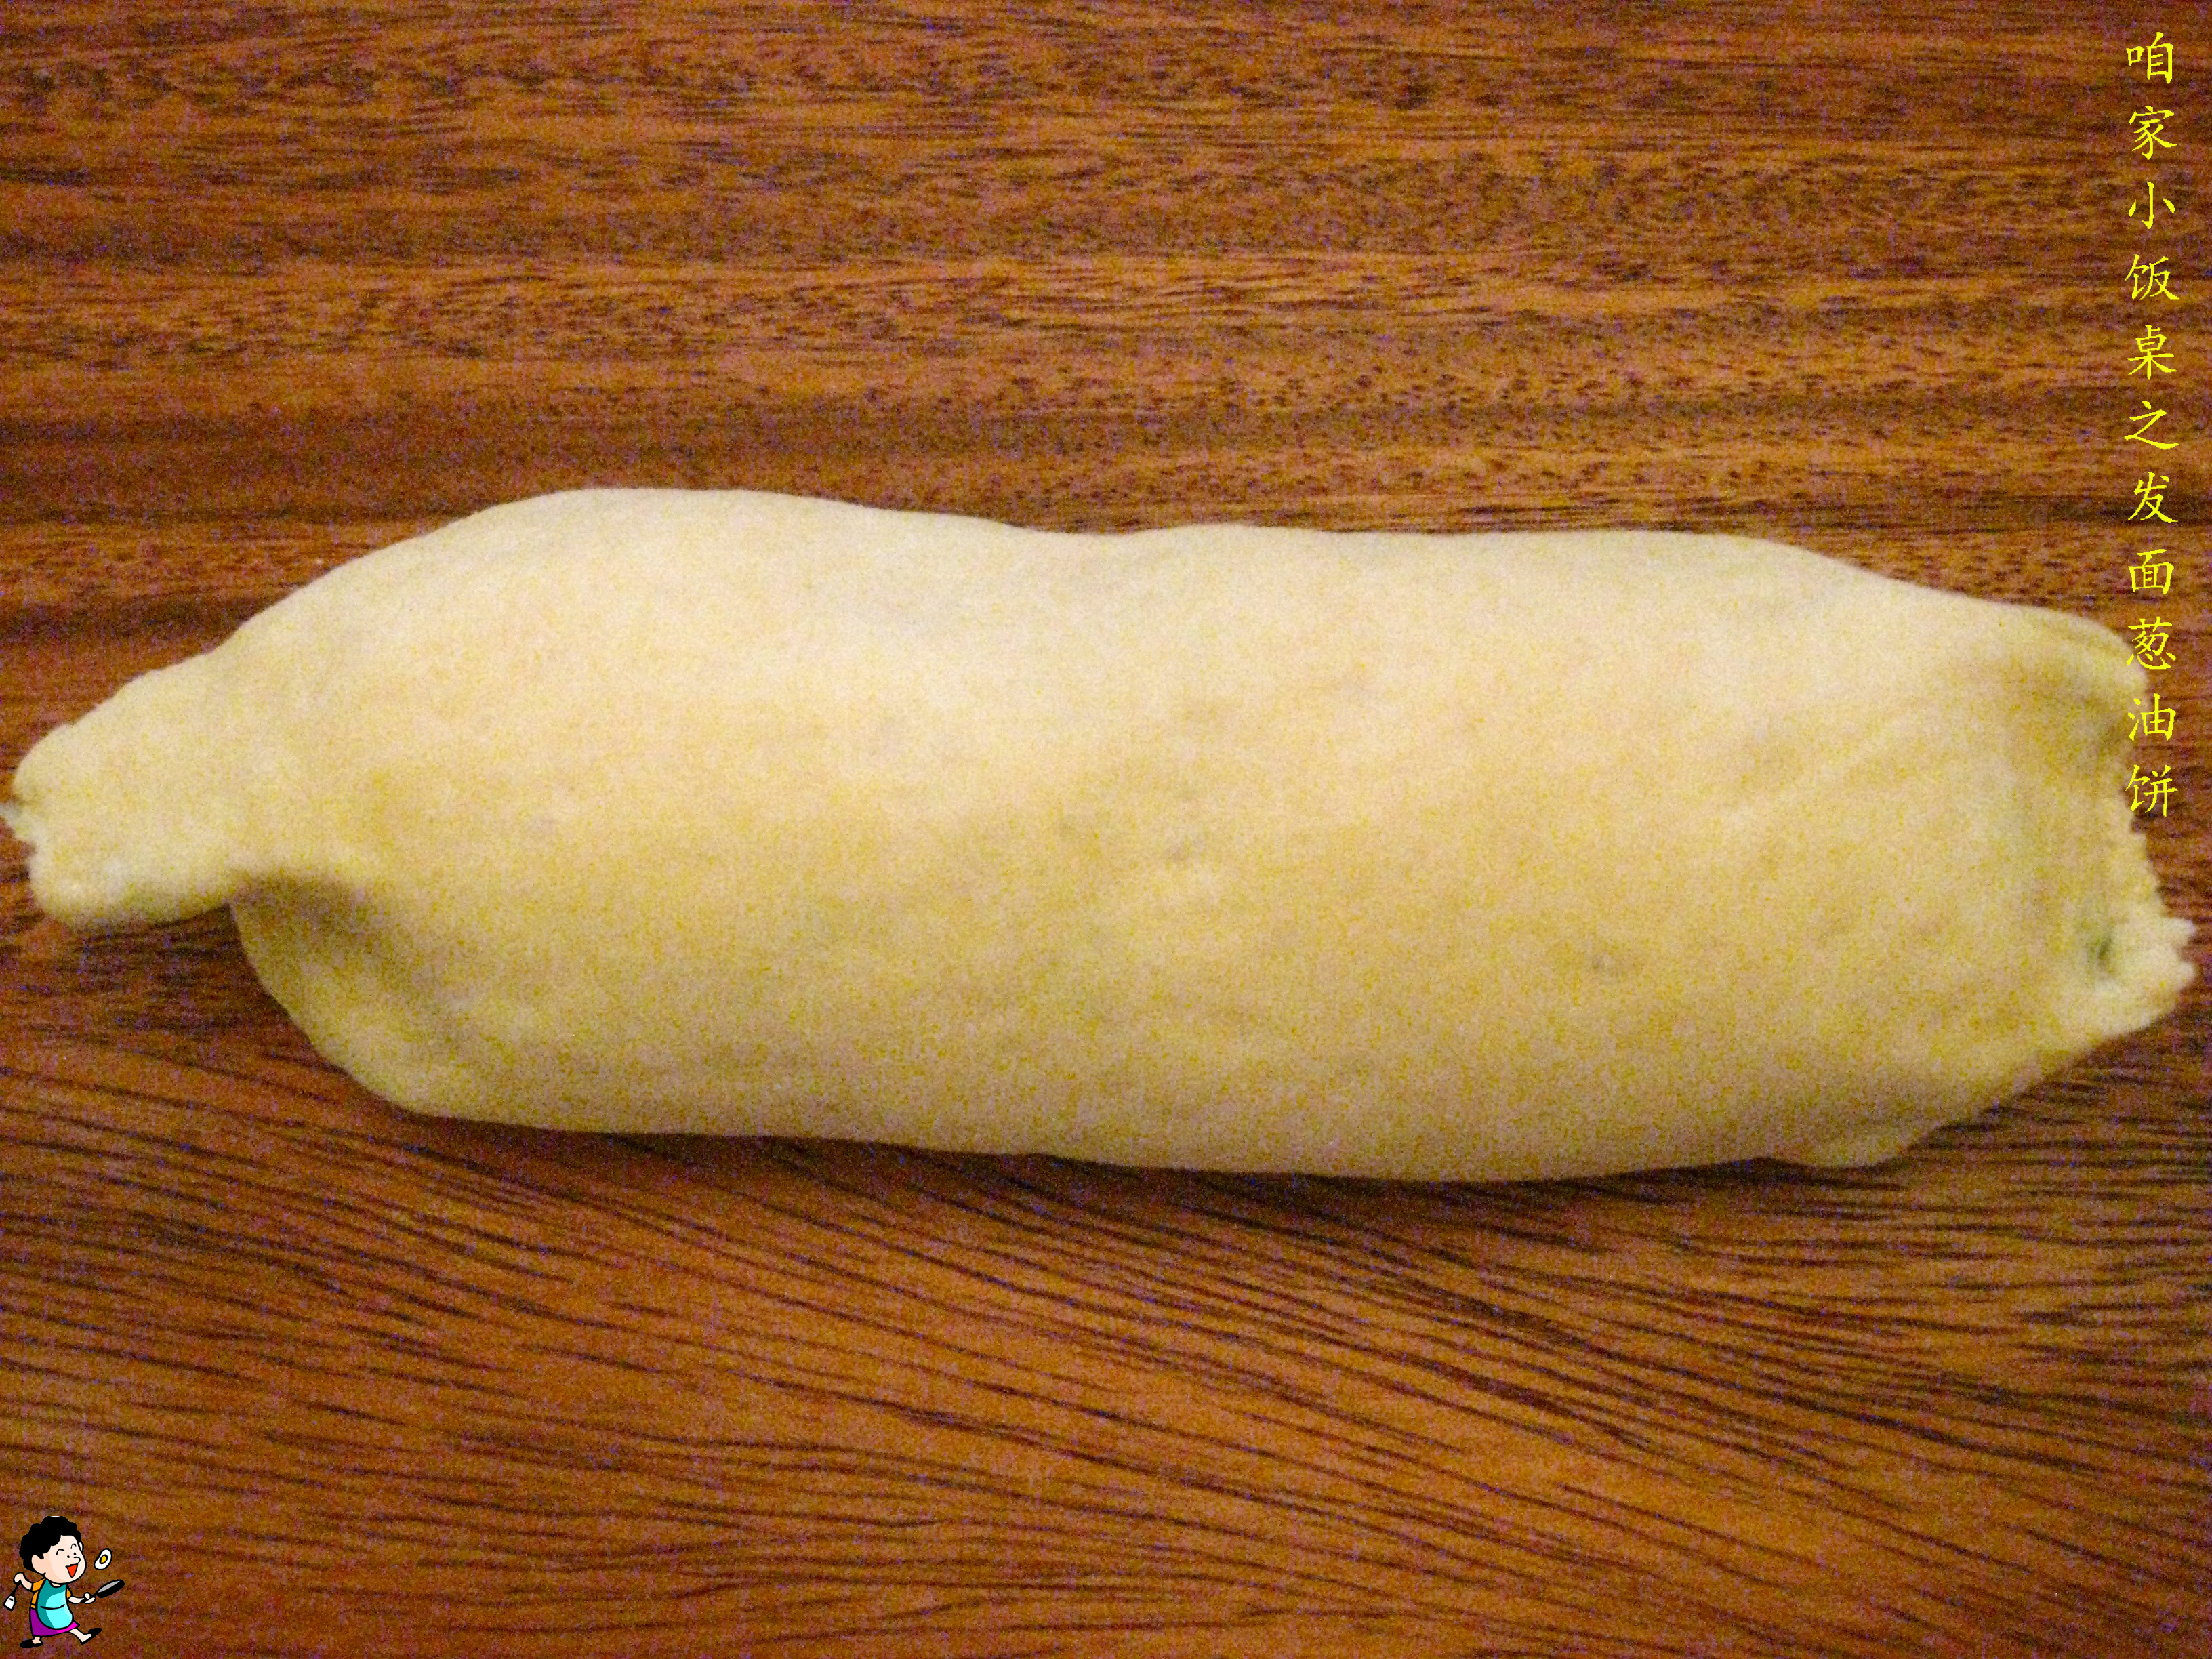
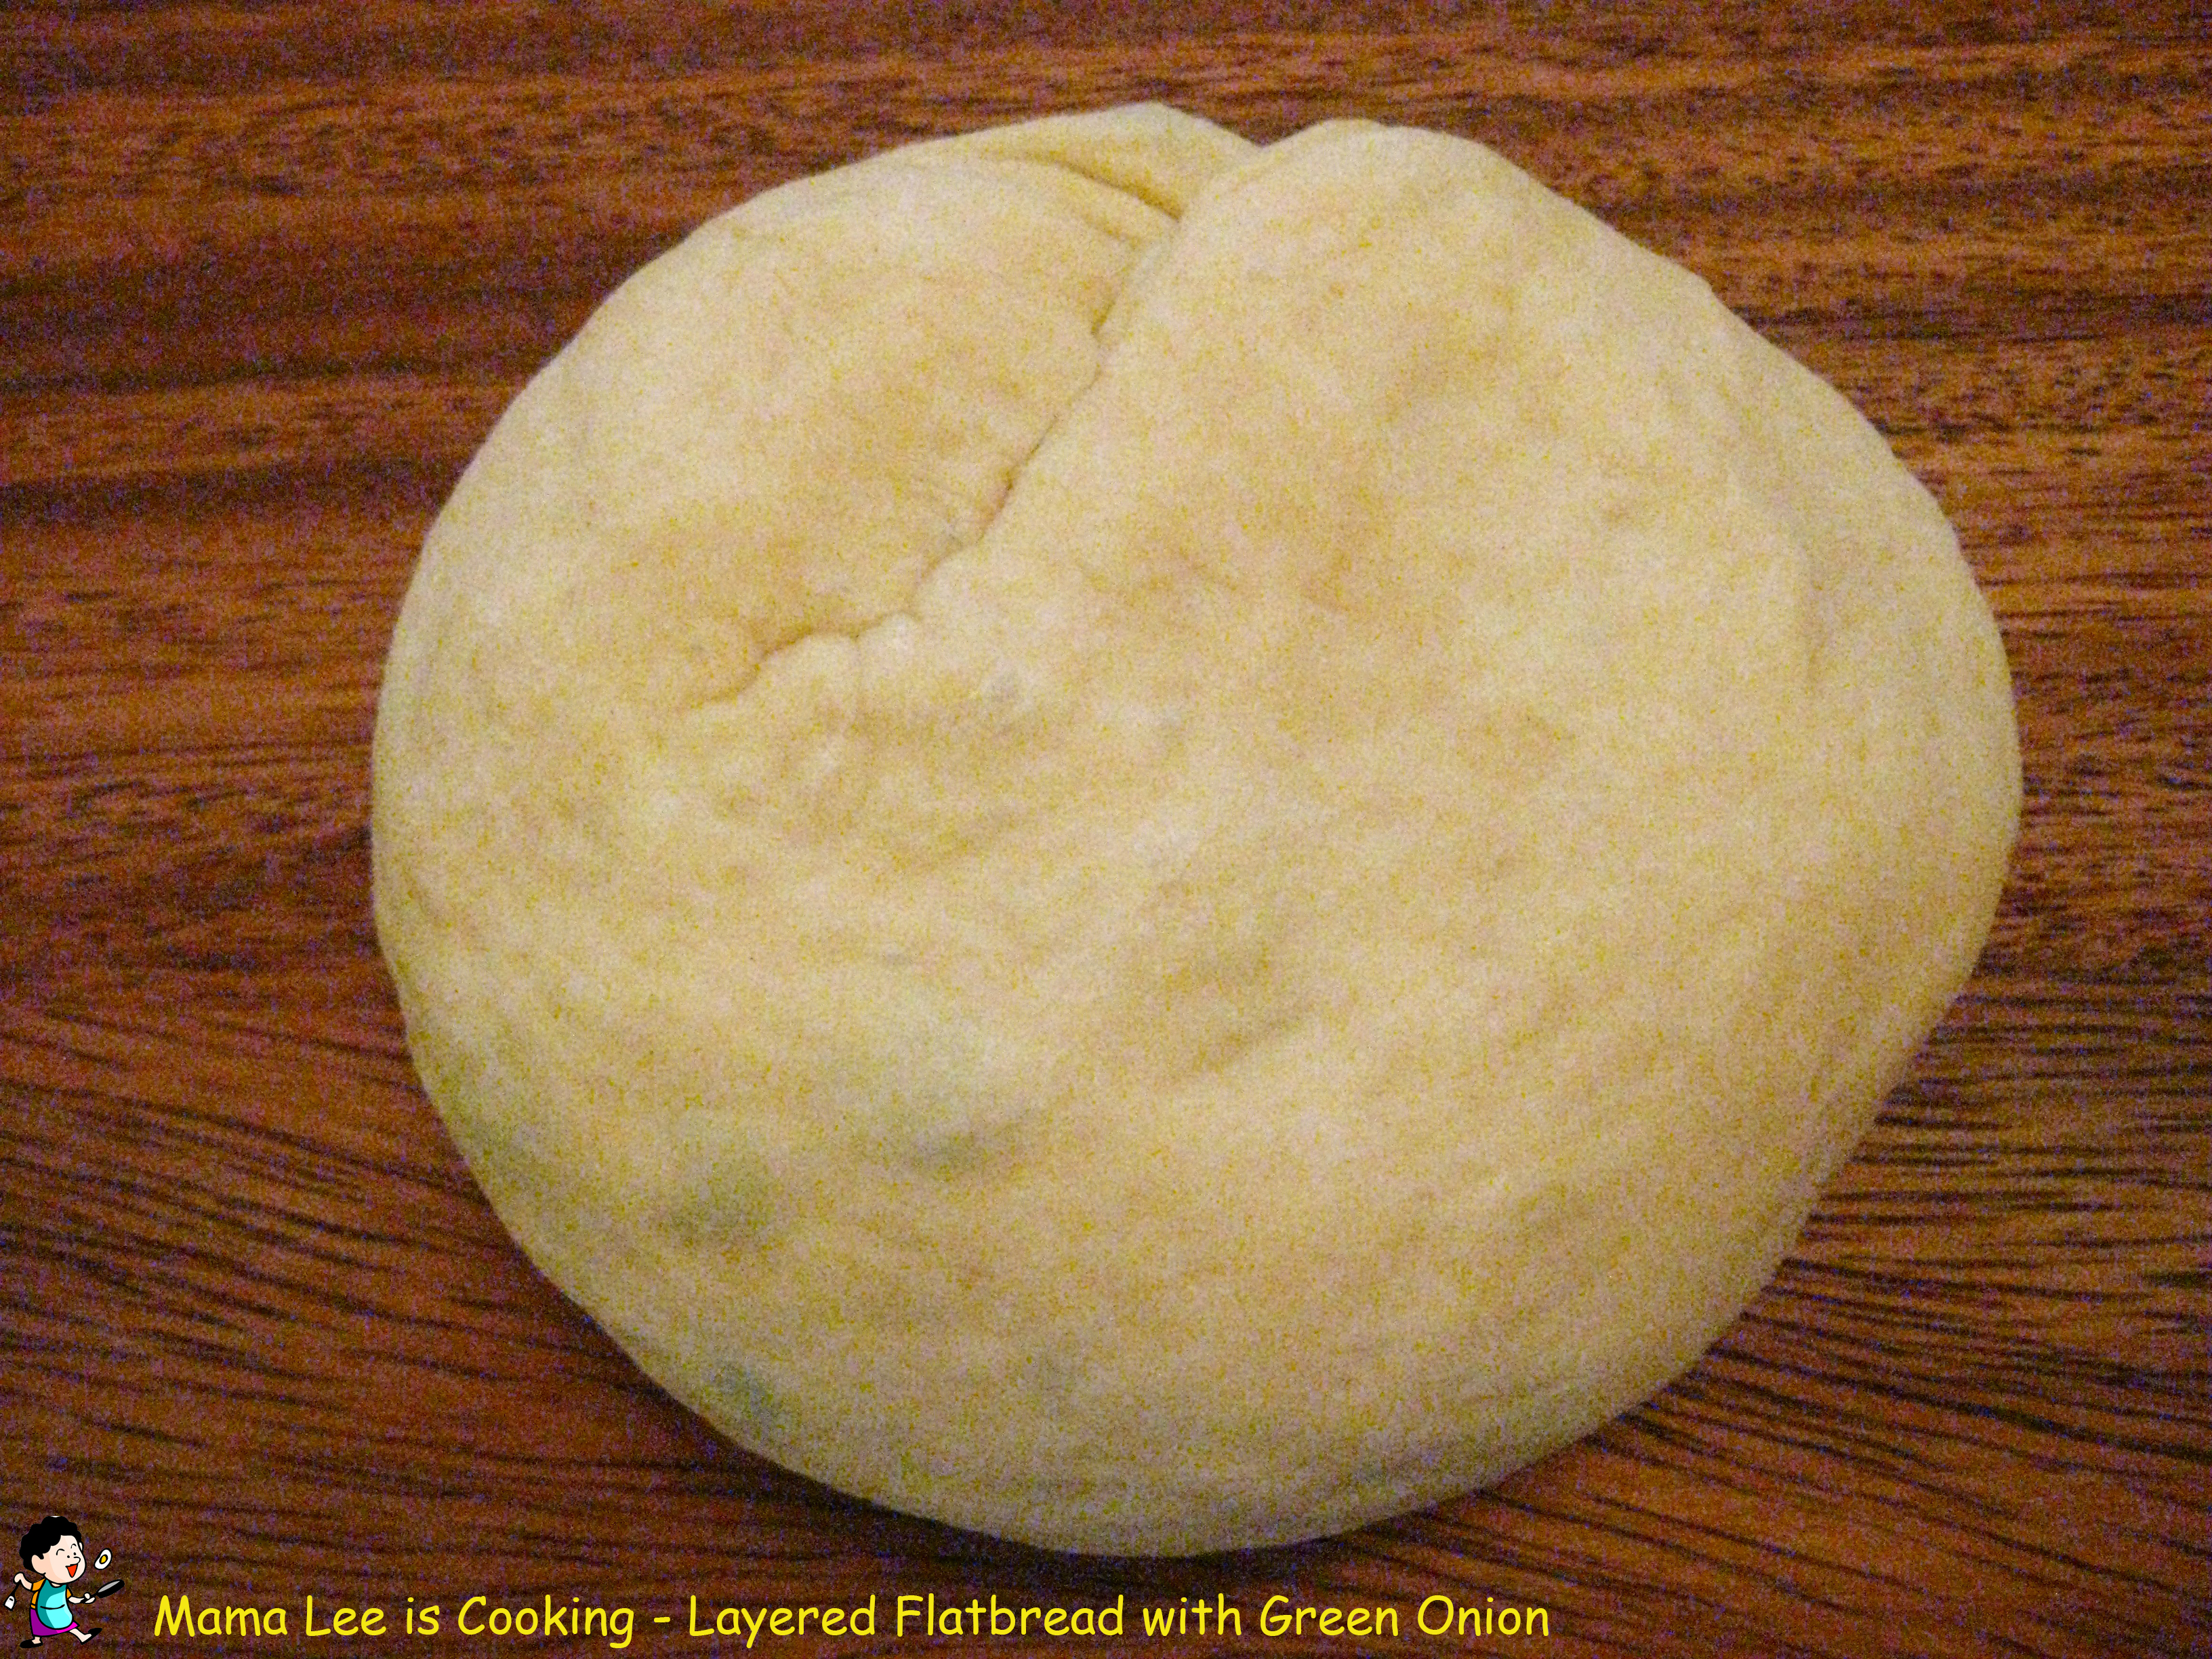
6、把长条分成均匀的几份,每一份都单独团起来,接头向下,然后分别擀成薄饼。


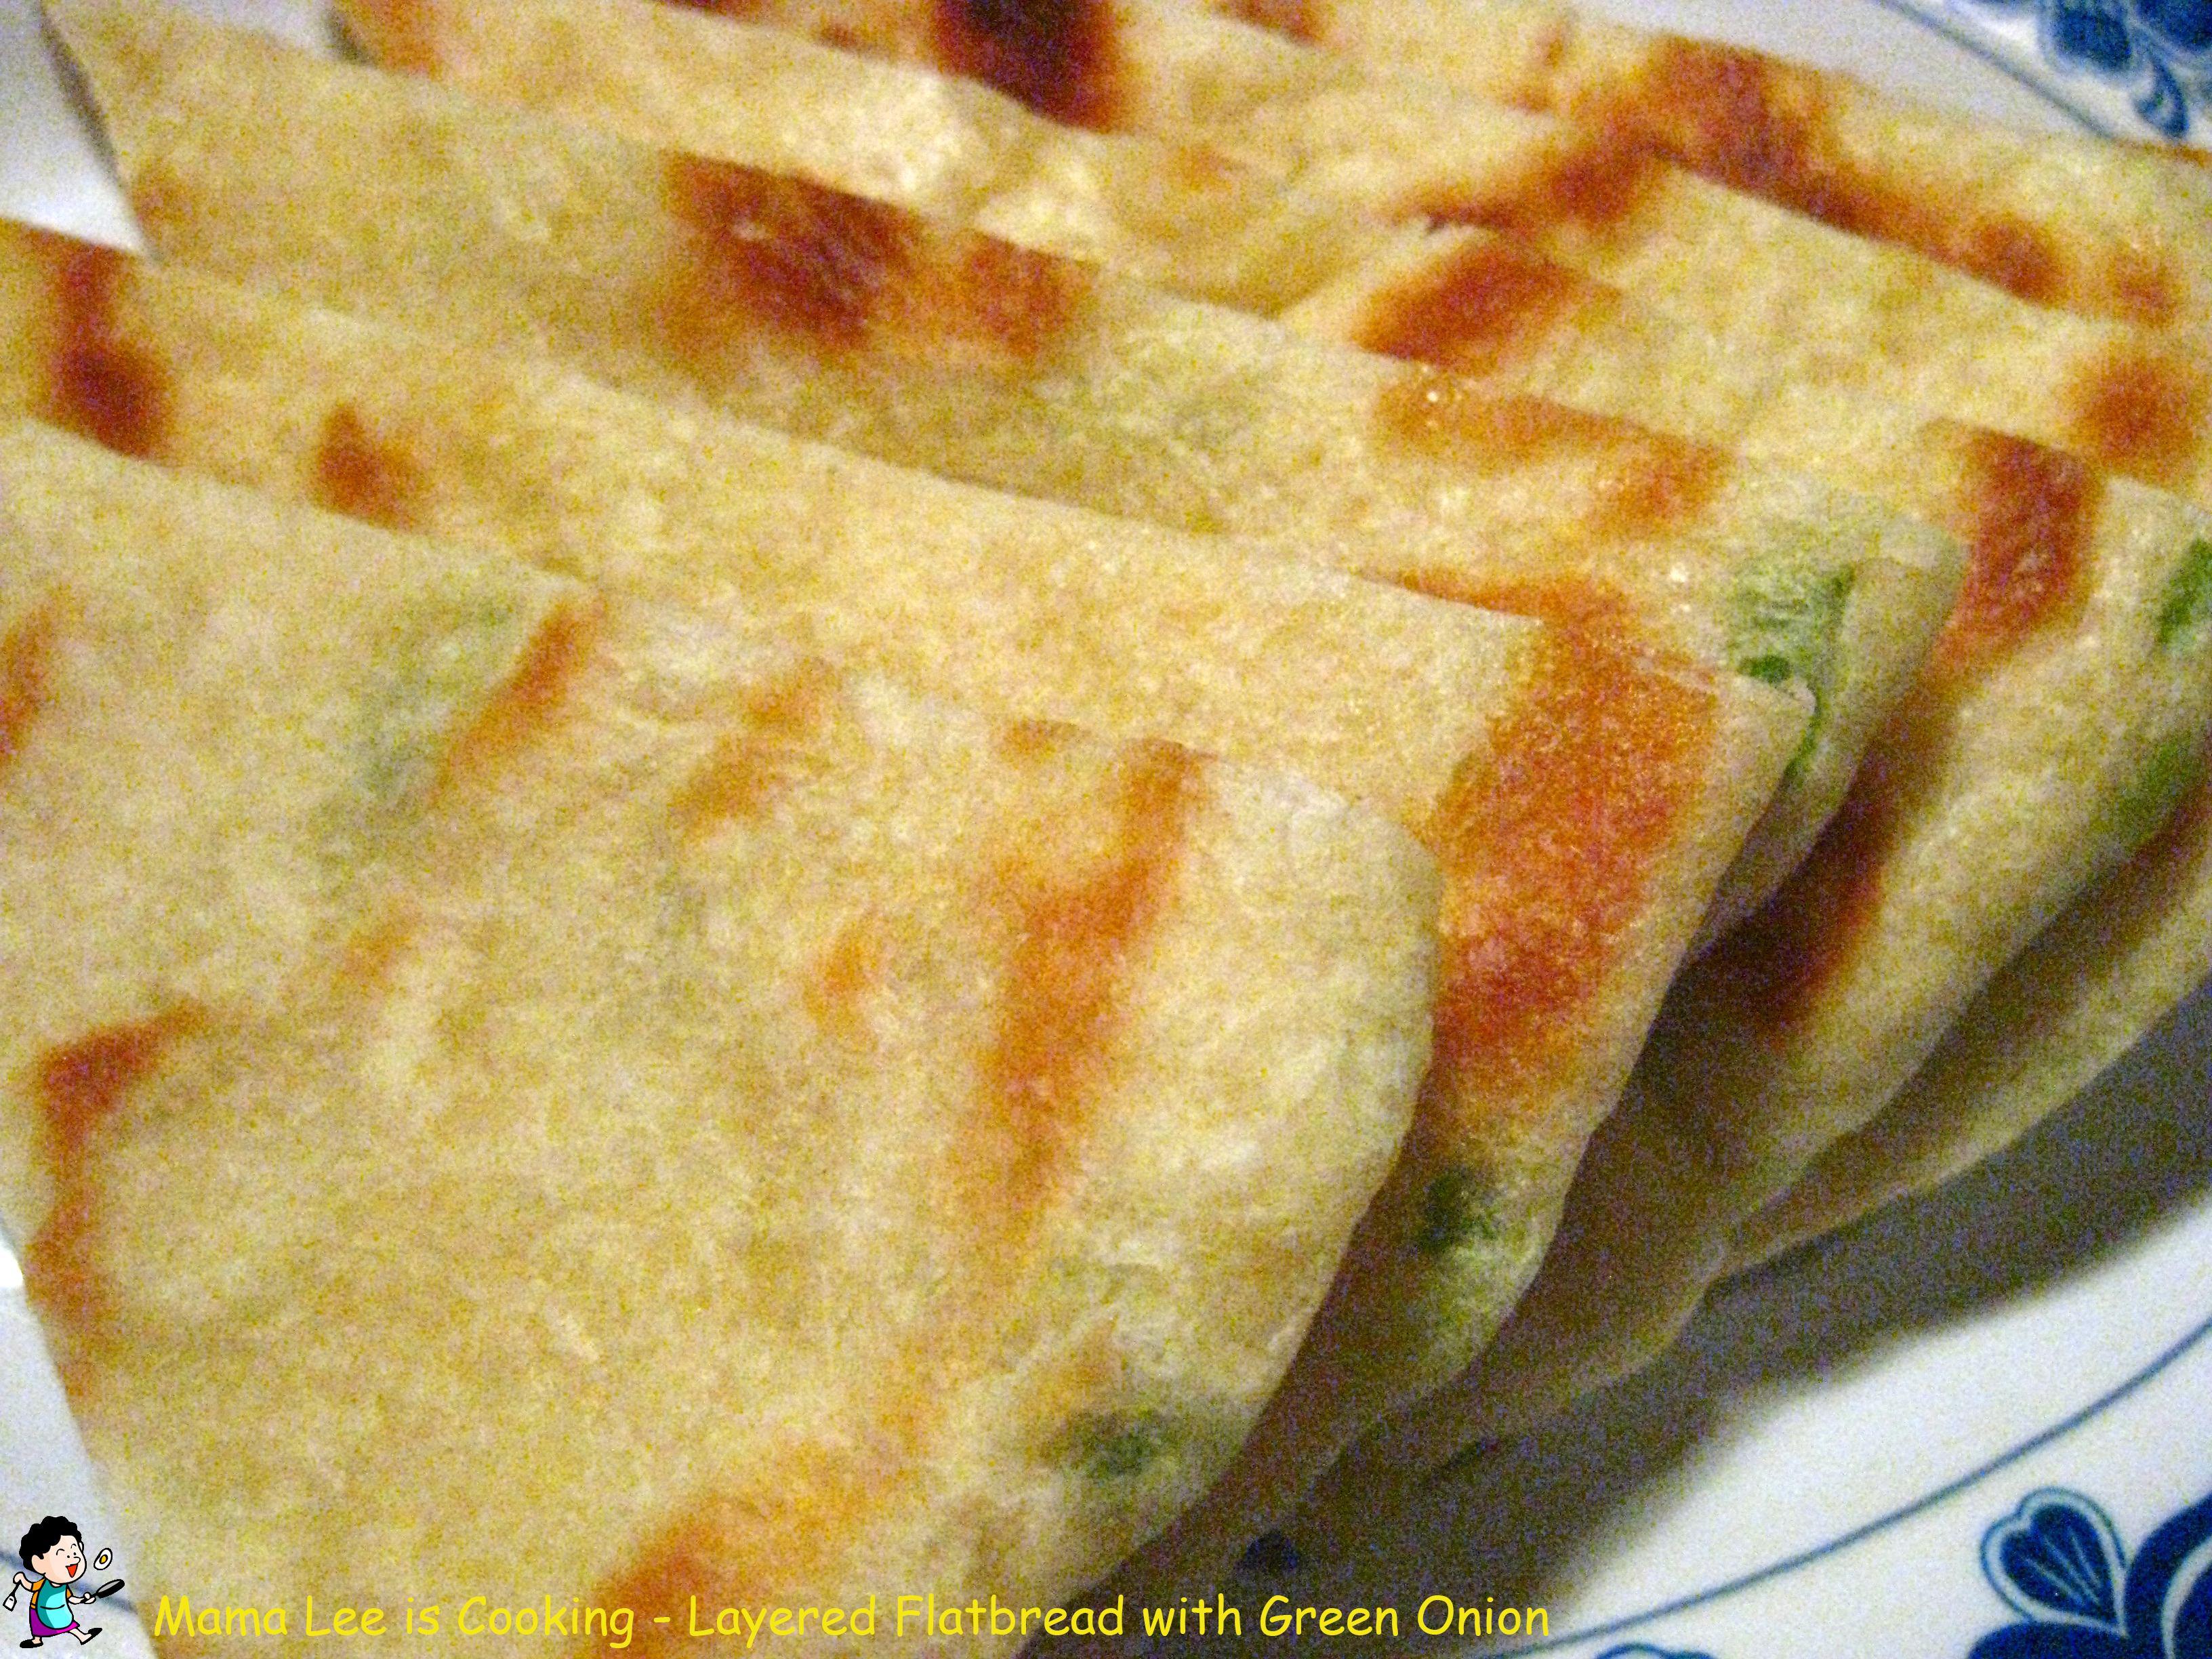
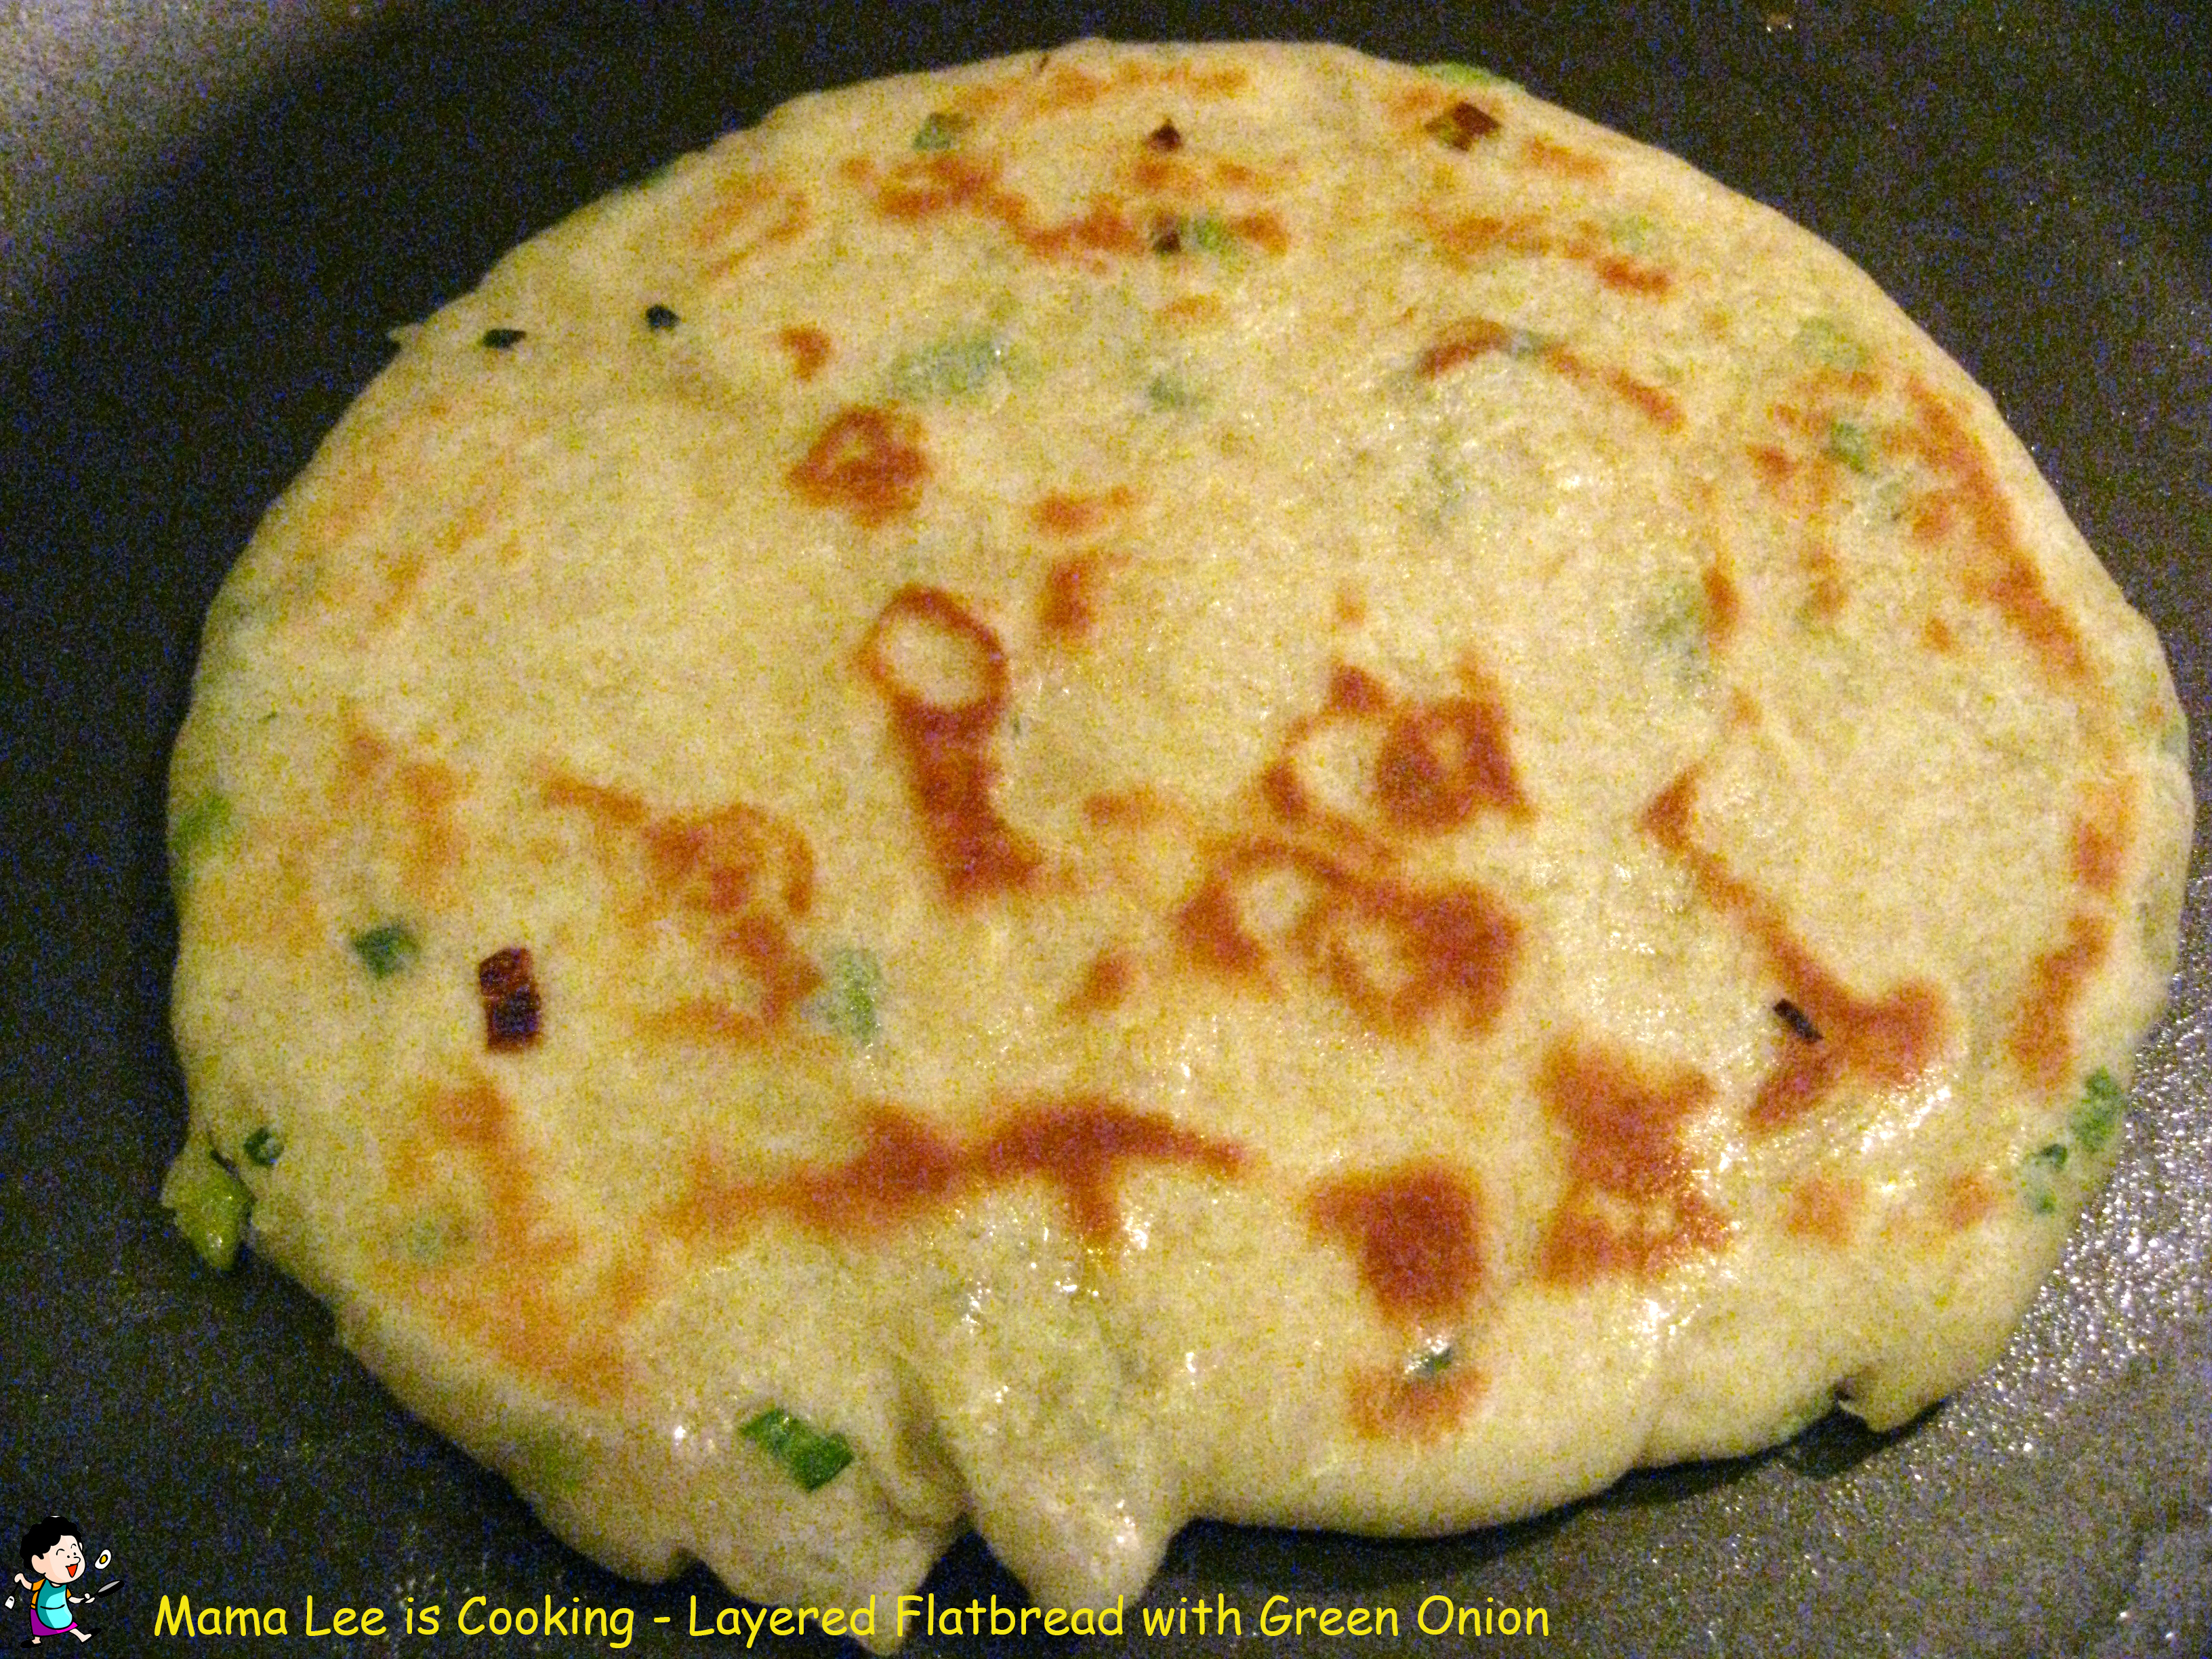
 7、平底锅倒油烧热,中小火,把饼放进锅里烙至表面金黄,然后翻面再烙至表面金黄即可。
我喜欢把饼放进锅里之后,略转一转,让饼的底面均匀沾上油,然后迅速翻面,也同样让另一面沾上油。因为这会儿饼的表面比较平,可以均匀的沾油。

I love any kind of flat bread with filling, green onion, meat, sausage, you can pretty much put anything as fillings.

 Ingredients:
flat bread: flour, dry yeast, sugar
filling: flour, green onion, cooking oil, seasoning
Method:
 1. Mix 1 tsp dry yeast and 1 tsp sugar, soak in warm water, stir to let yeast melt quicker, then set aside until mixture is covered by bubbles.
2. Chop green onion into little pieces, mix with salt, pepper and any seasoning you want to use to flavor flat bread.
 3. Pour proper amount of flour into a bowl, and slowly pour the yeast mixture into it, and stir with a fork or chopsticks quickly, so flour with turn in little pieces.
4. Pour in more warm water if needed until you don’t see much loose flour in bowl.
 5. Form the flour into a smooth ball, set aside.
6. Sprinkle some flour over green onion, then pour in some cooking oil, mix well, add more flour and oil if needed if you the batter is thick and enough to use.
7. Roll the flour ball into a big flat sheet, spread green onion mixture as a thin layer on it, then roll the sheet into a long string.


8. Divide the string into several even pieces, reform each piece into a round shape, put both ends at the bottom, then roll it into a thin sheet.
 9. Heat up frying pan, add a little bit cooking oil, set heat to medium low, cook flat bread until it’s golden brown on bottom side. You can cover the pan with lid while cooking.
10. Spray or brush some cooking oil on top side, then flip the flat bread.
11. Transfer to plate when both sides are golden brown.
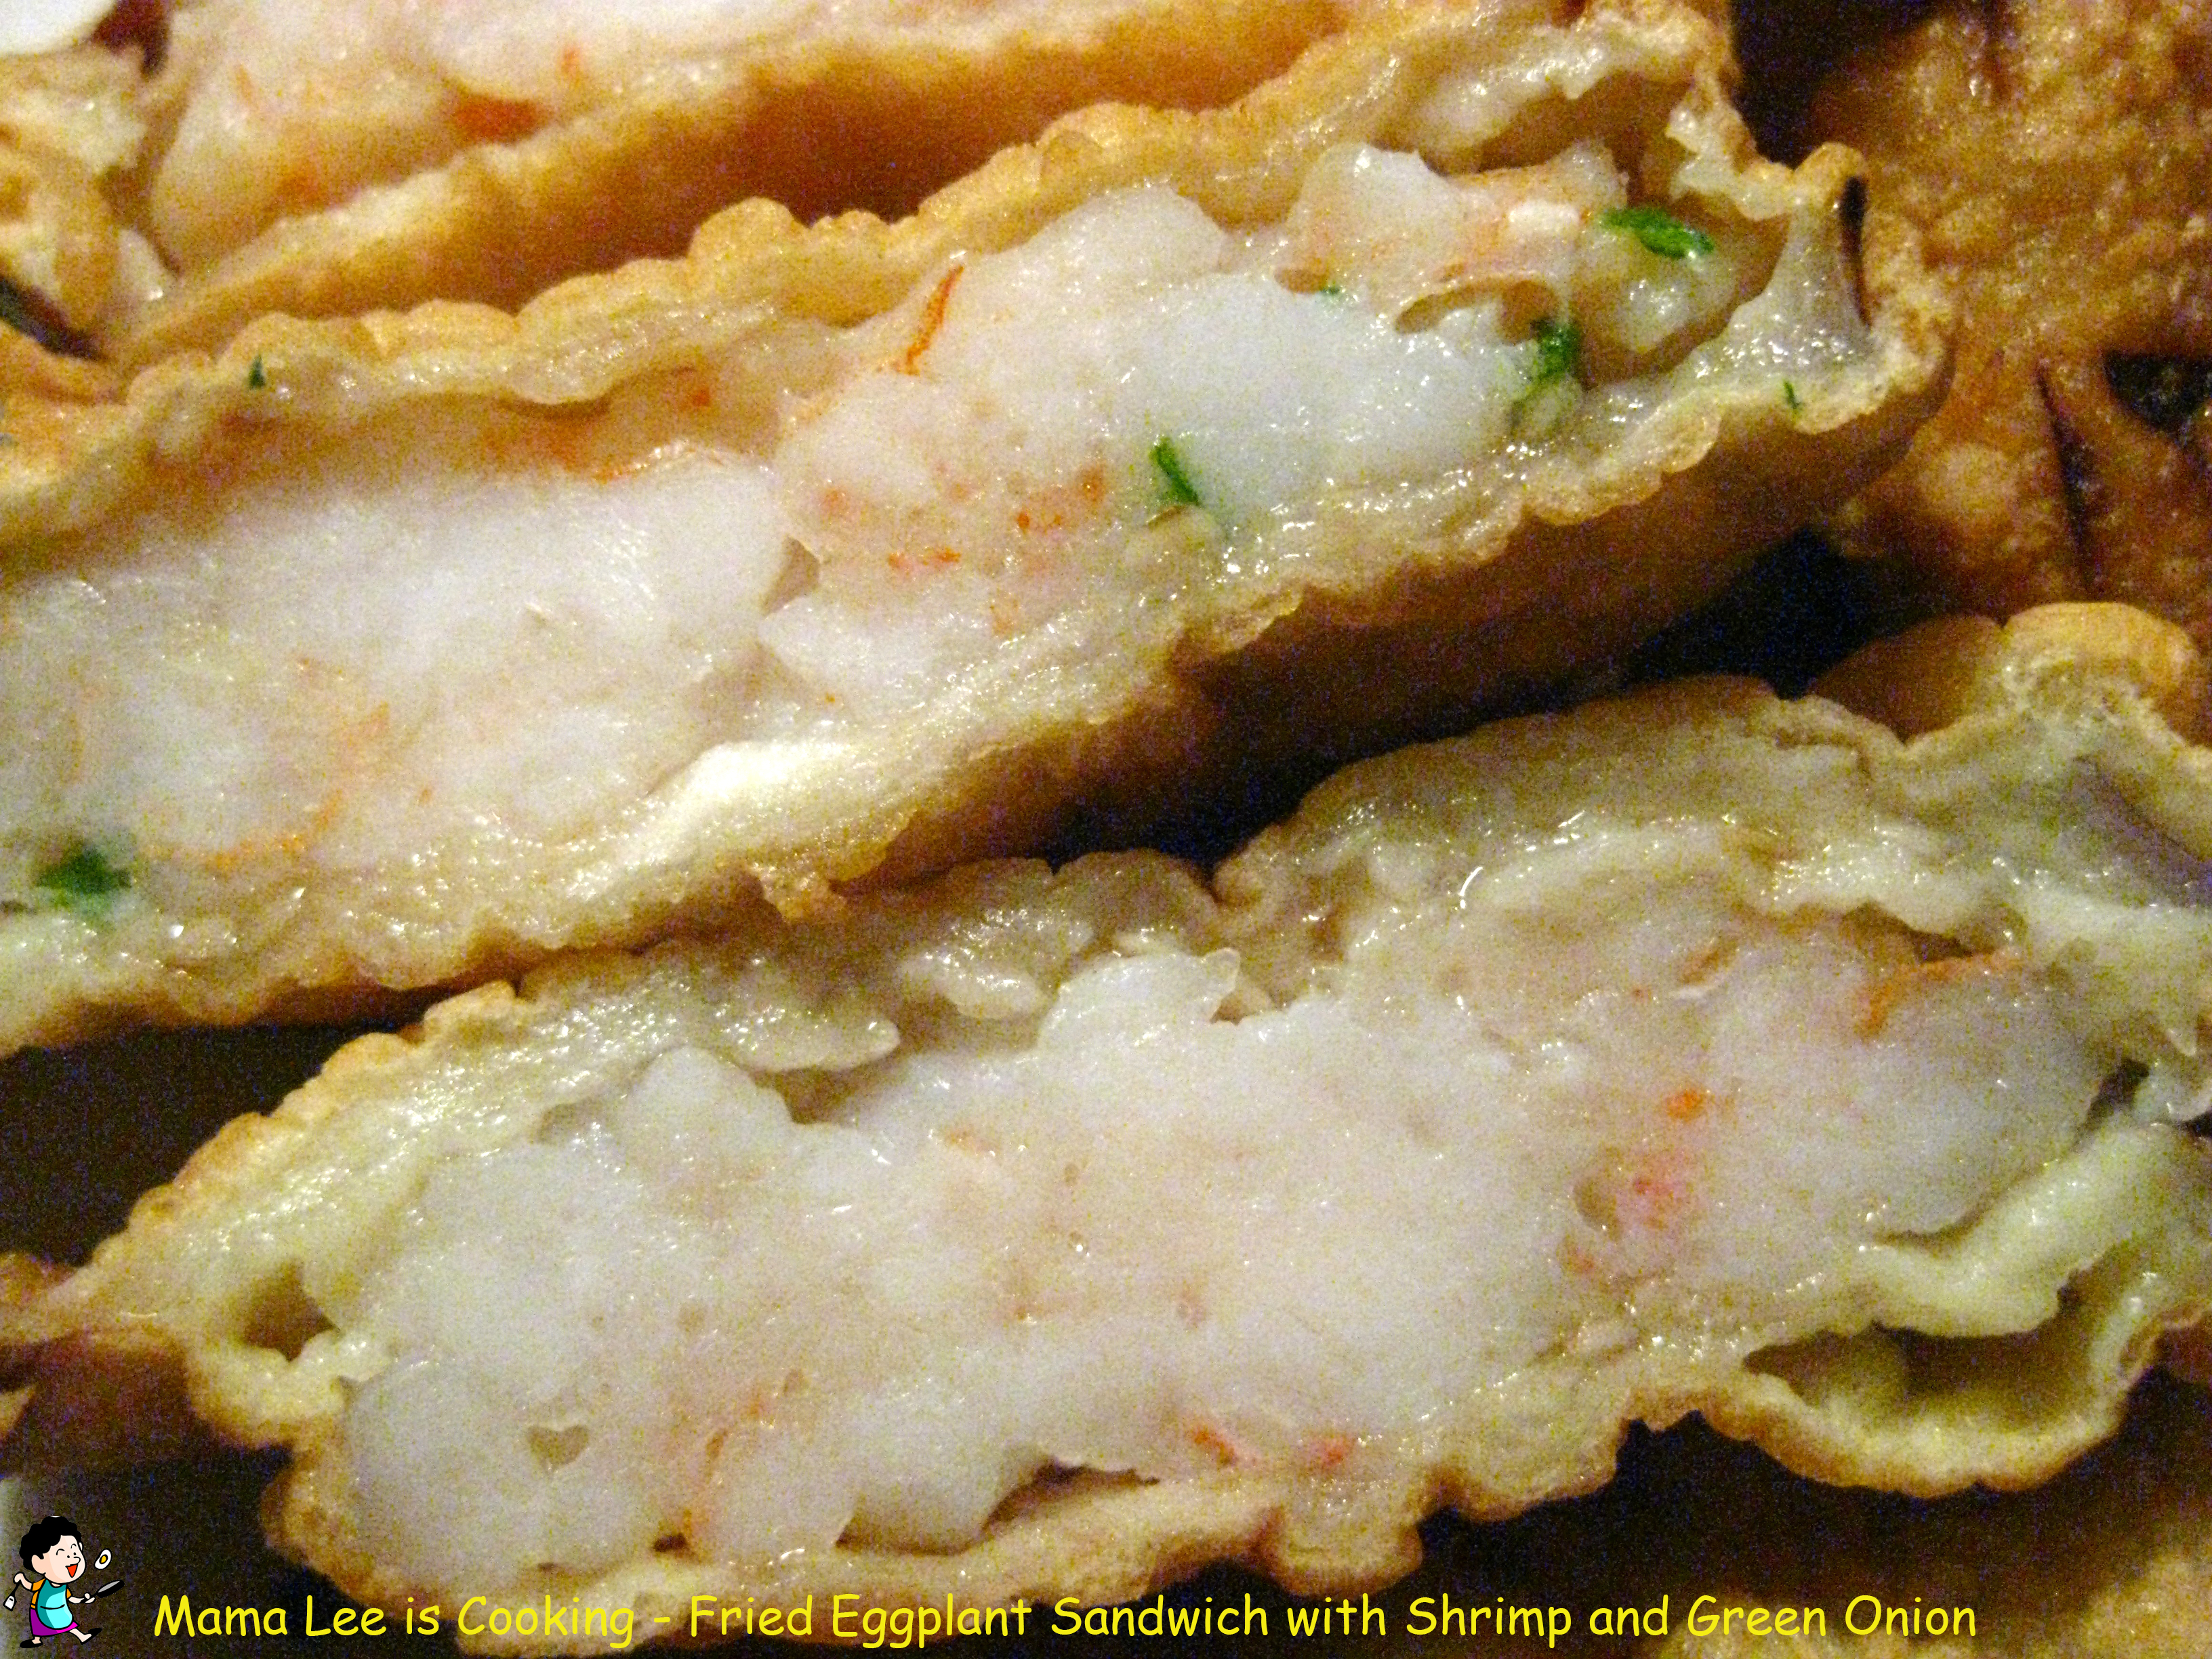
This is the very first time to me to cook eggplant from my own vegetable garden, and this is why I decided to cook something really special.
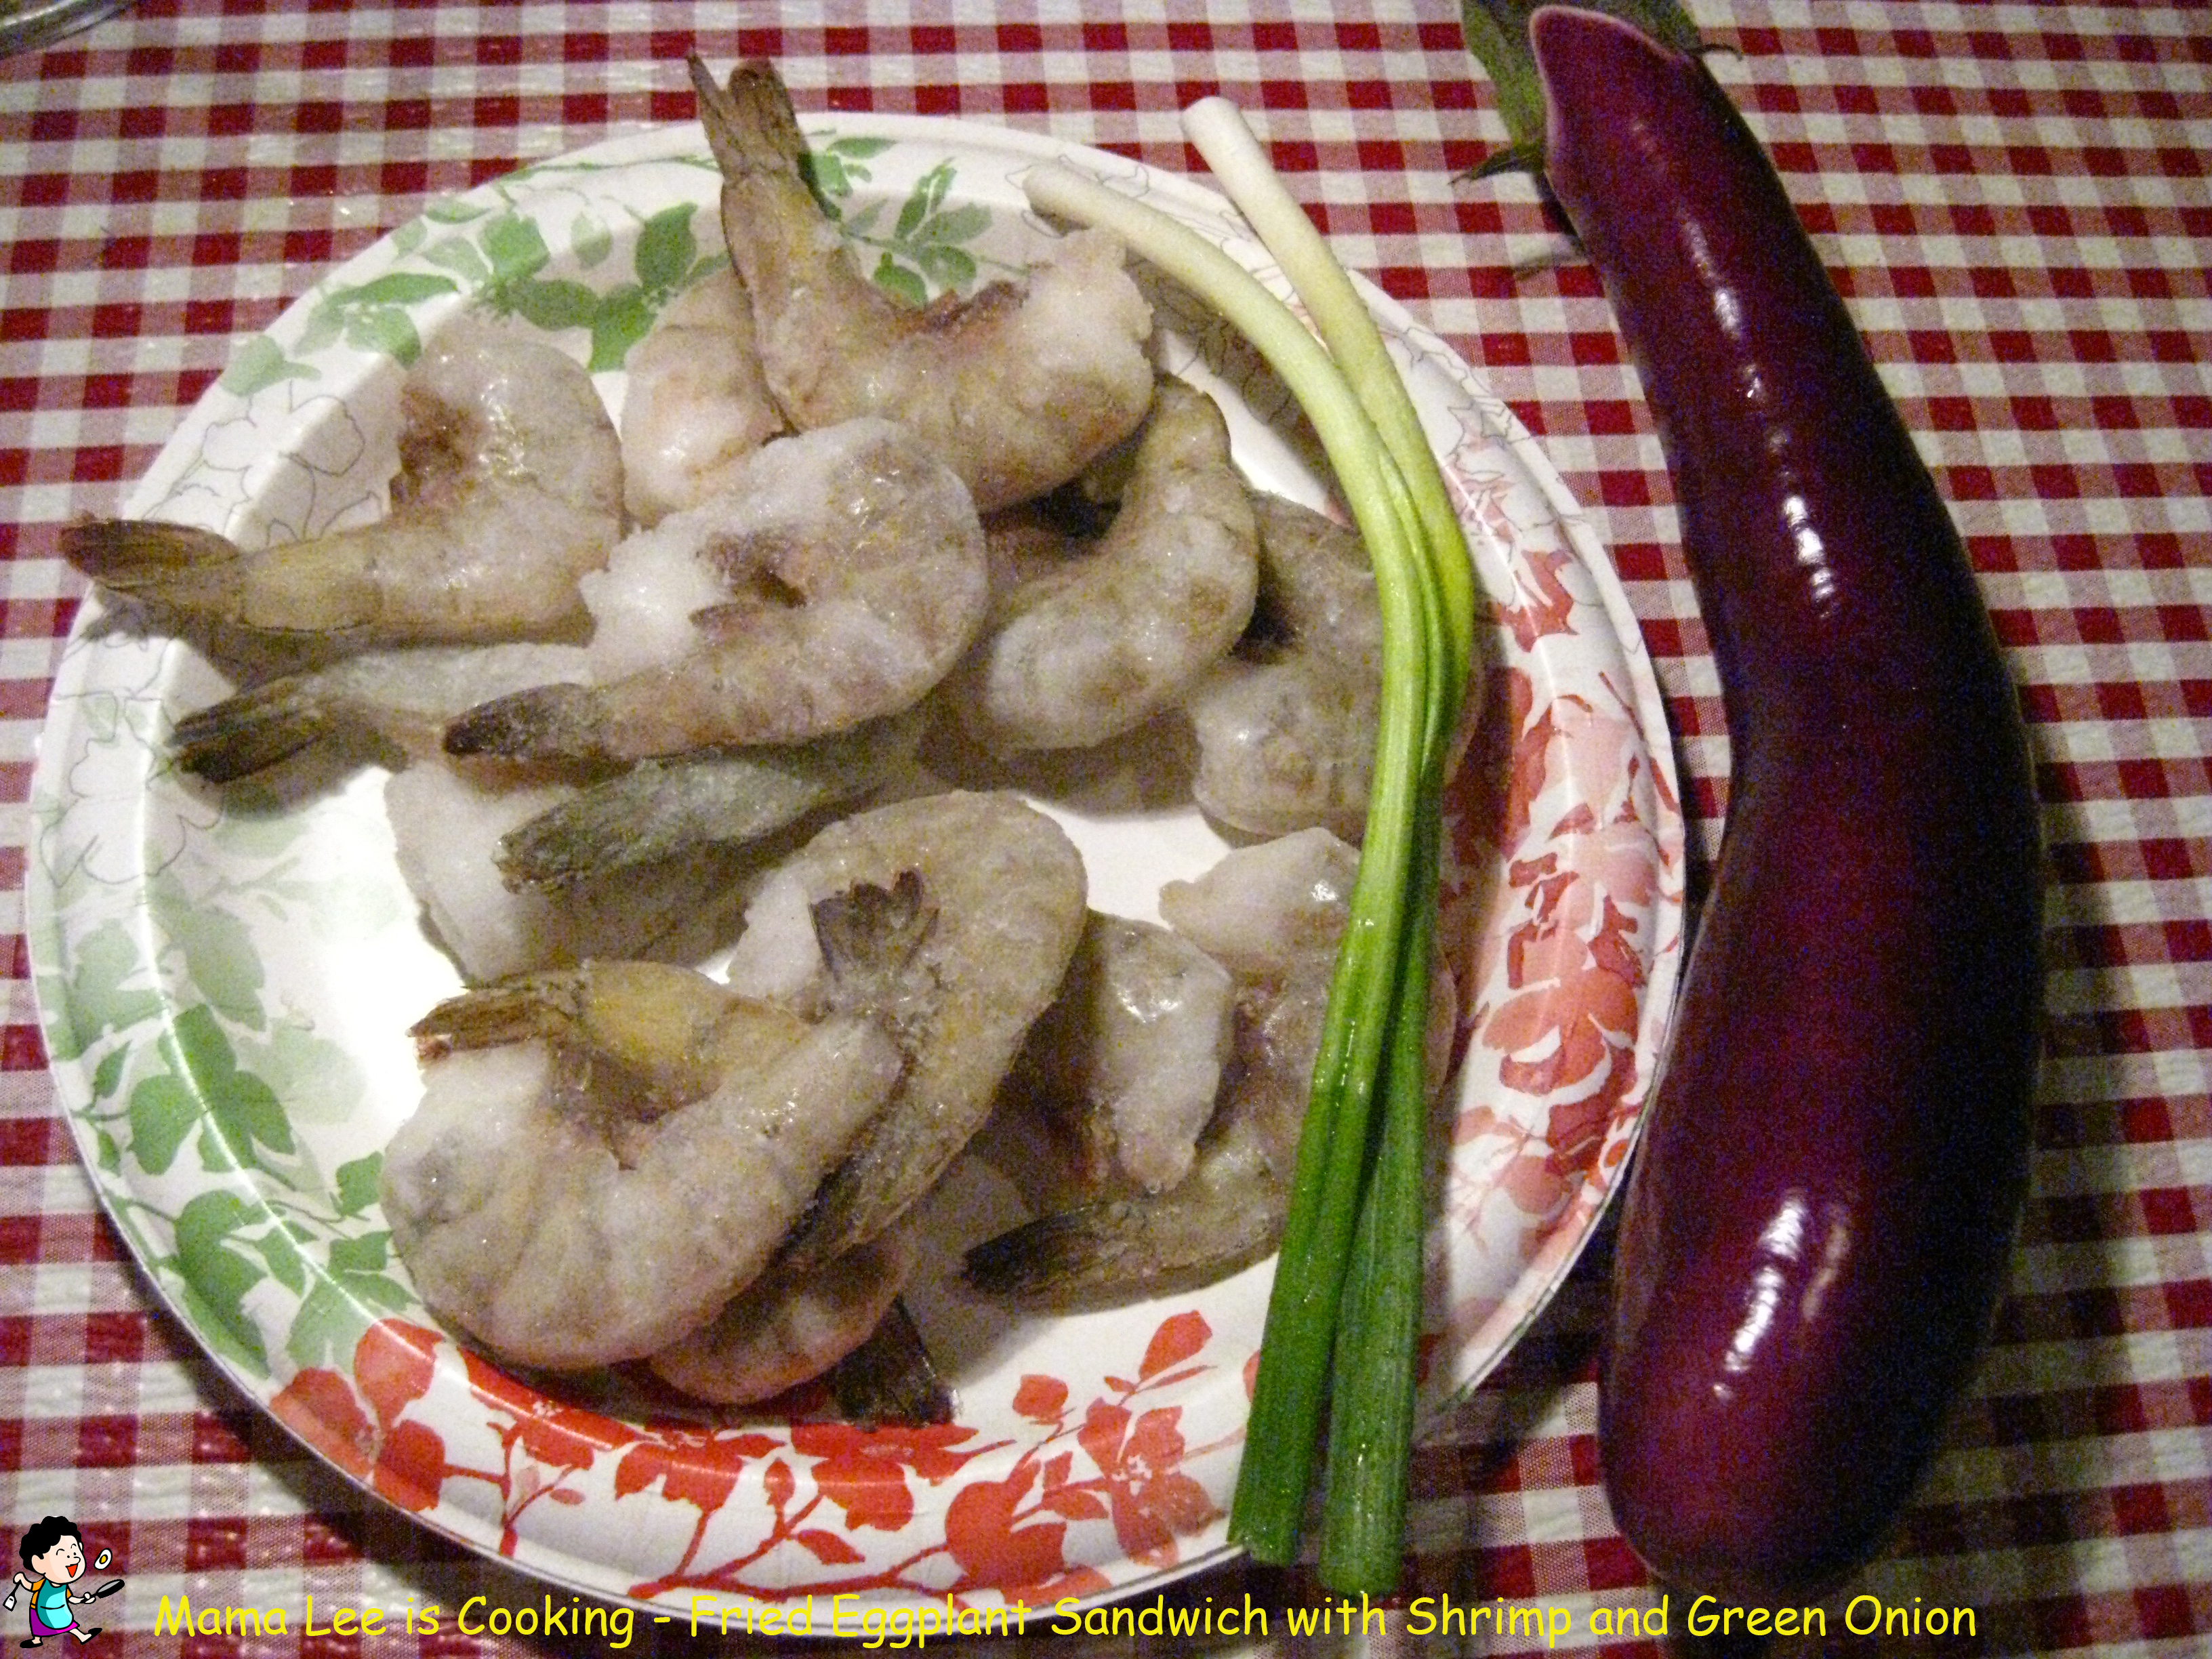
 Ingredients:
Dipping Batter: flour, corn starch, egg, seasoning
Eggplant Sandwich: eggplant, shrimp, green onion
Method:
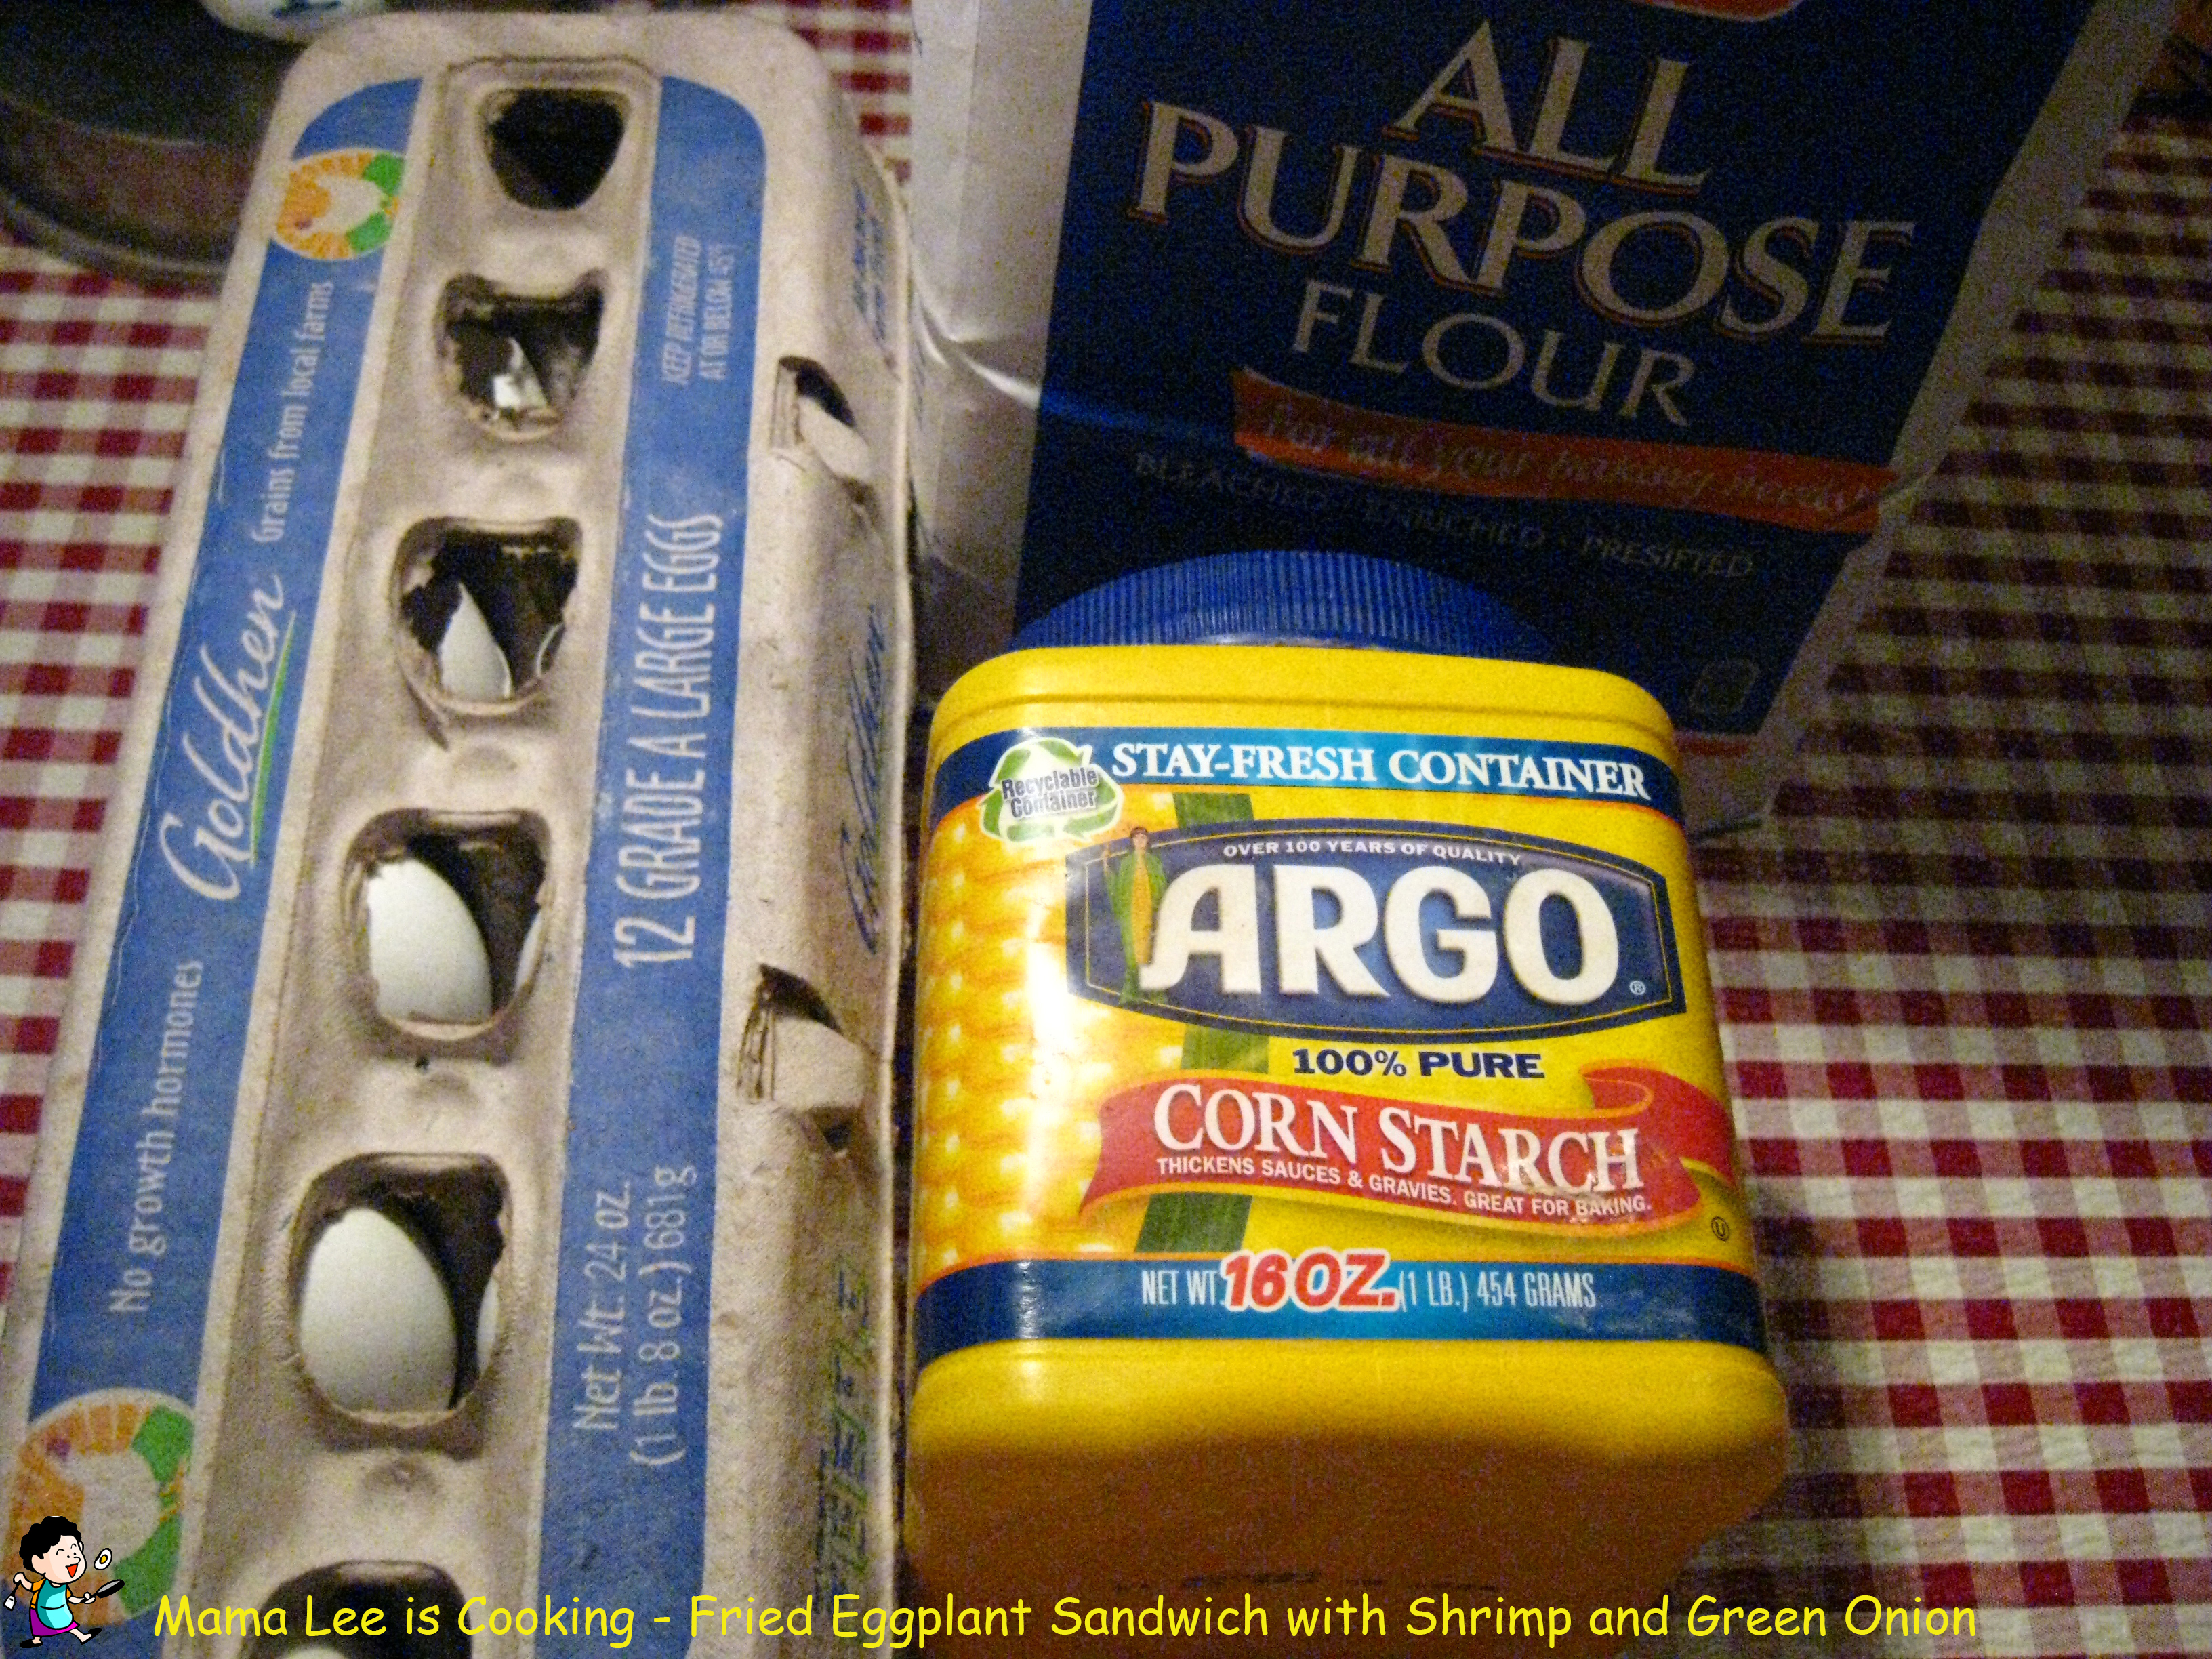
 1. Mix flour and corn starch as 1:1, then add seasoning, egg and water to make a dipping batter.
2. Chop green onion into little pieces, sprinkle with salt, set aside.
3. Chop shrimp into little pieces, mix with green onion.
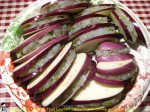
4. Slice eggplant.
 5. Spread some shrimp mixture on 1 slice of eggplant, then cover with another slice of eggplant to form an eggplant sandwich. Repeat until all the eggplant slices are gone.
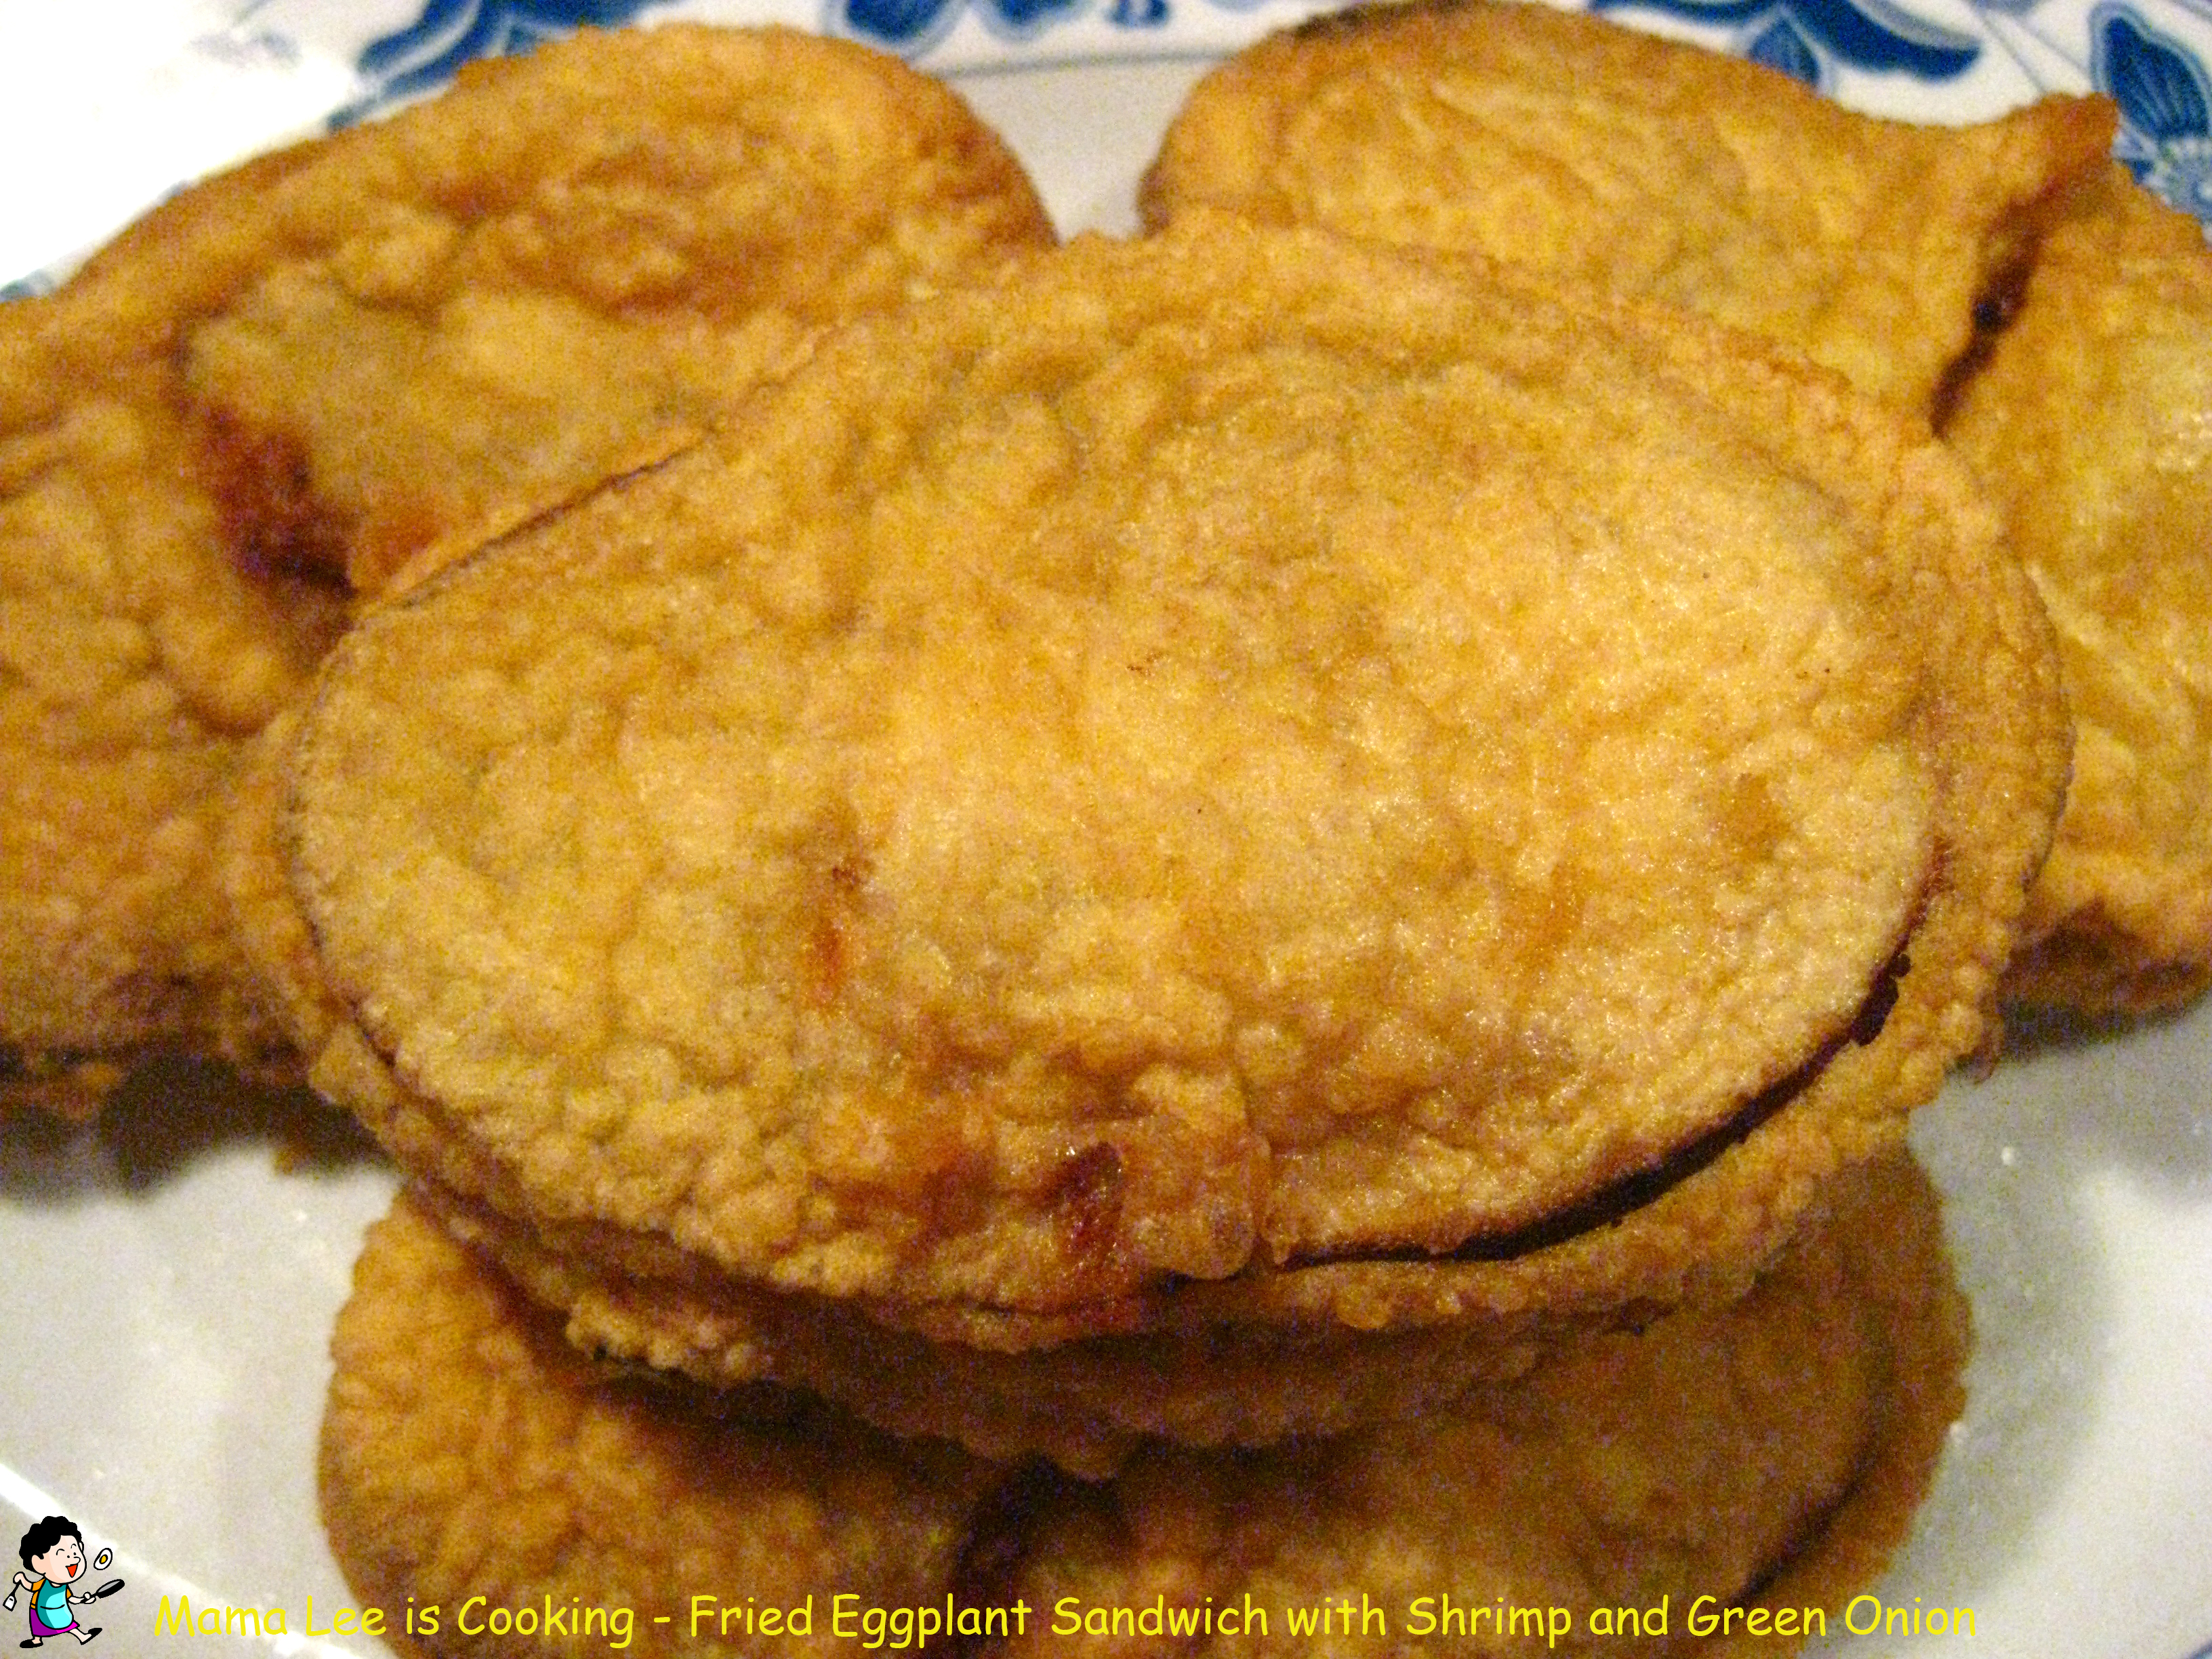
6. Heat up deep fryer.
7. Dip eggplant sandwiches into dipping batter, then deep fry until it’s golden brown.
8. Drain on paper towel, serve when hot.

这根茄子来自我的菜园子,有生以来第一次用自己种出来的茄子做菜,所以我决定做个特别的菜。

 材料:
材料:
茄盒:茄子、虾、小葱、调味料
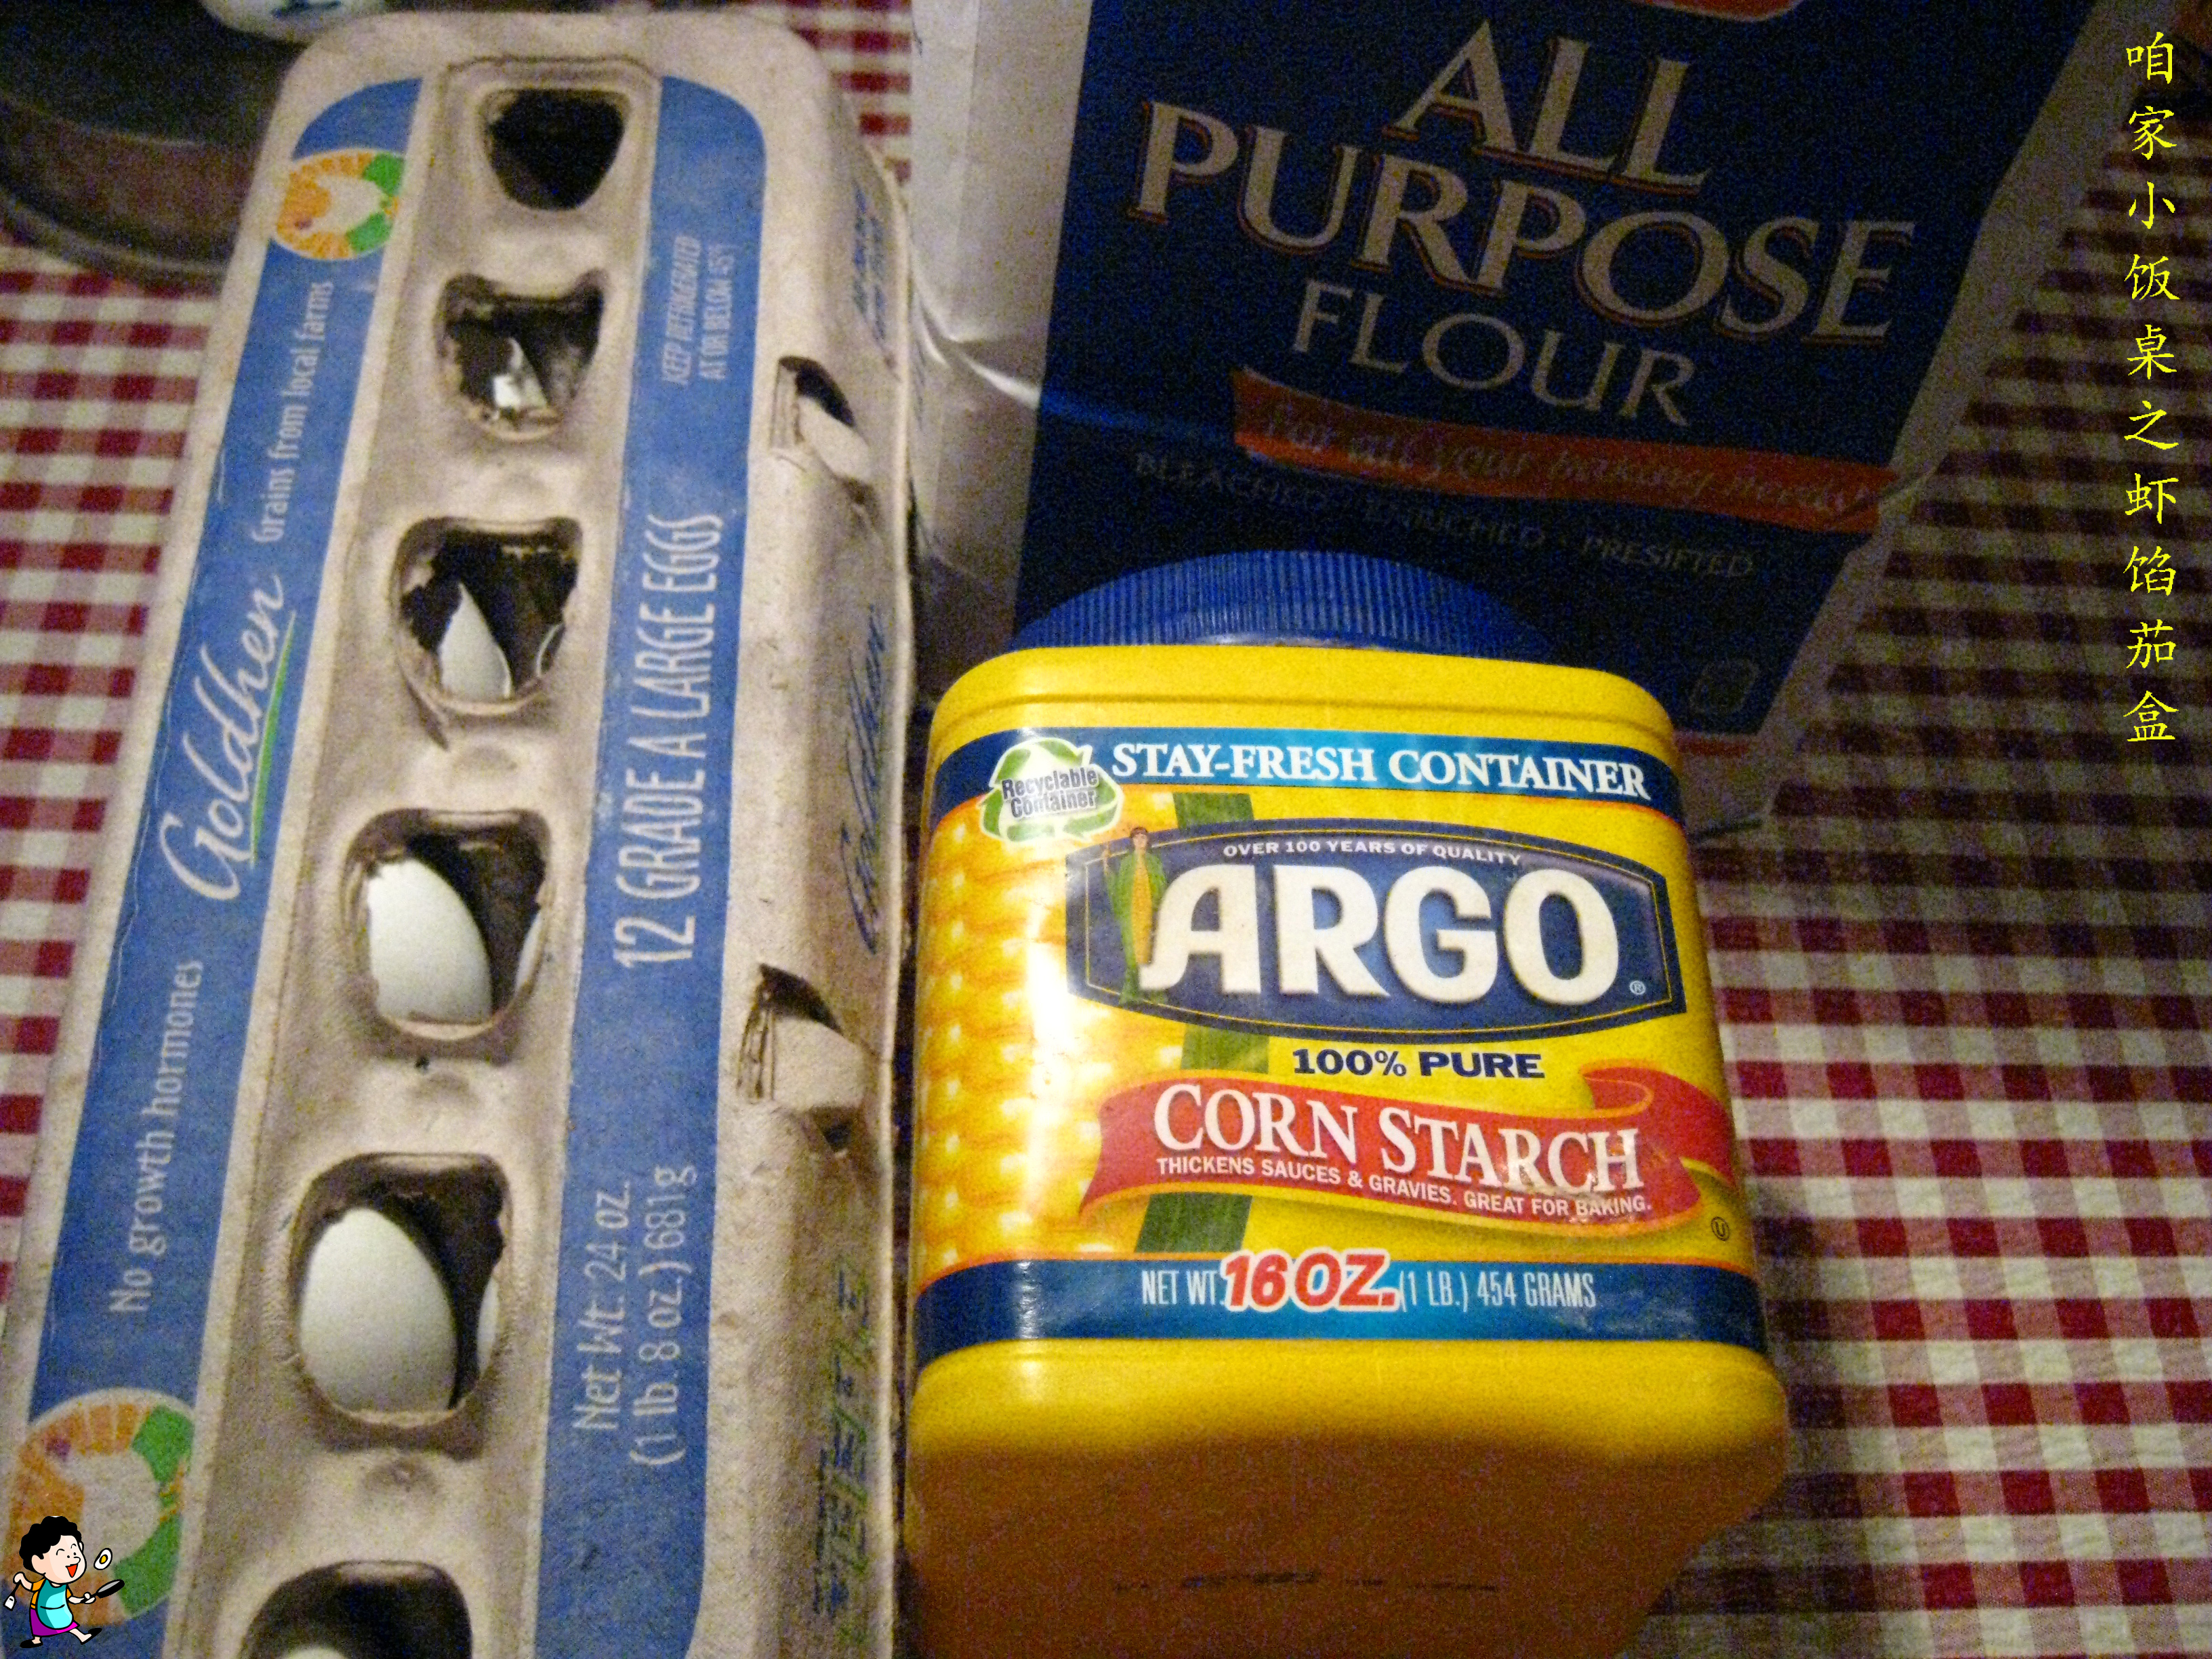
面糊:面粉、淀粉、鸡蛋、调味料
做法:
 1、面粉和淀粉一半一半,加鸡蛋和水,盐和五香粉,调成面糊。
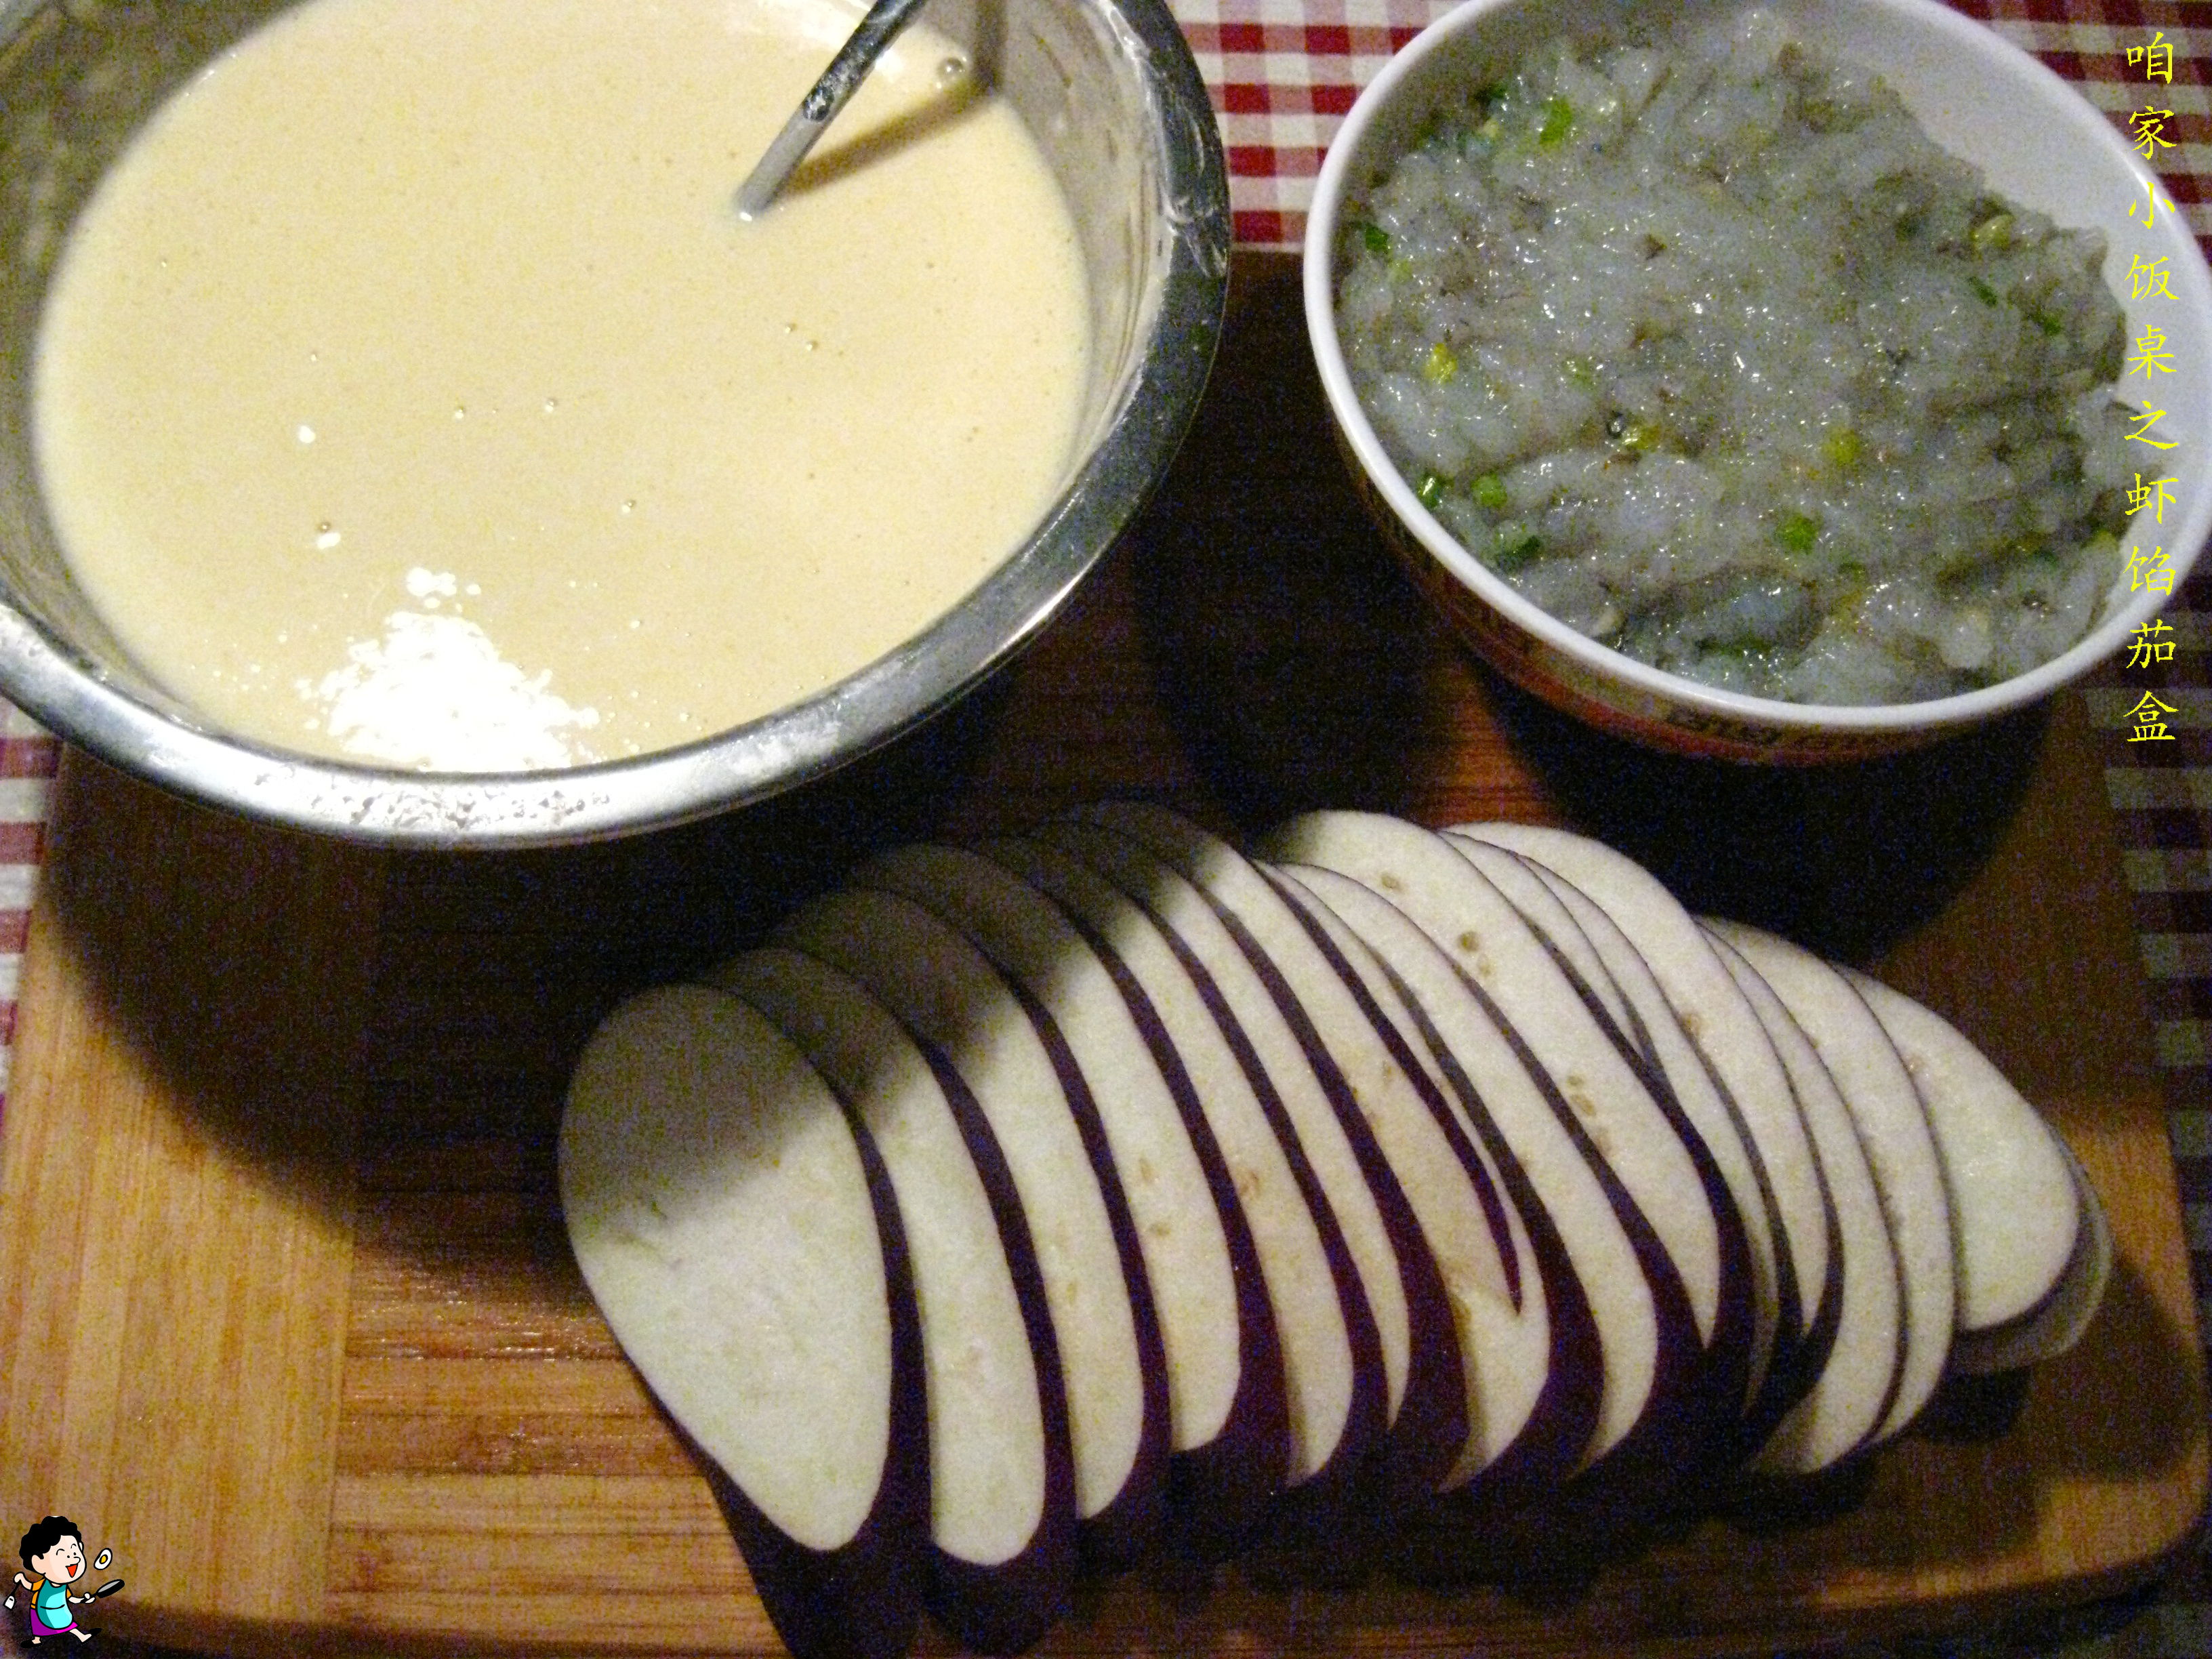
2、小葱切葱花,用盐略腌。
3、虾剁碎,茄子切片。
4、虾和小葱拌匀,即是茄盒的馅。
 5、取一片茄子,放一点虾馅在上面,再放一片茄子夹起来,即是茄盒。
6、炸锅倒油烧热,茄盒沾匀面糊之后放进锅里炸至两面金黄,捞出来沥去多余的油分即可装盘。