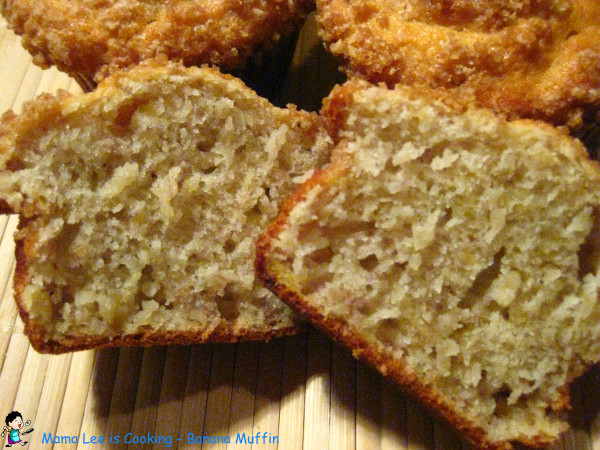
Happy New Year, everybody! I decided to start 2015 with something sweet. Wish everybody a sweet and successful new year.
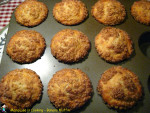
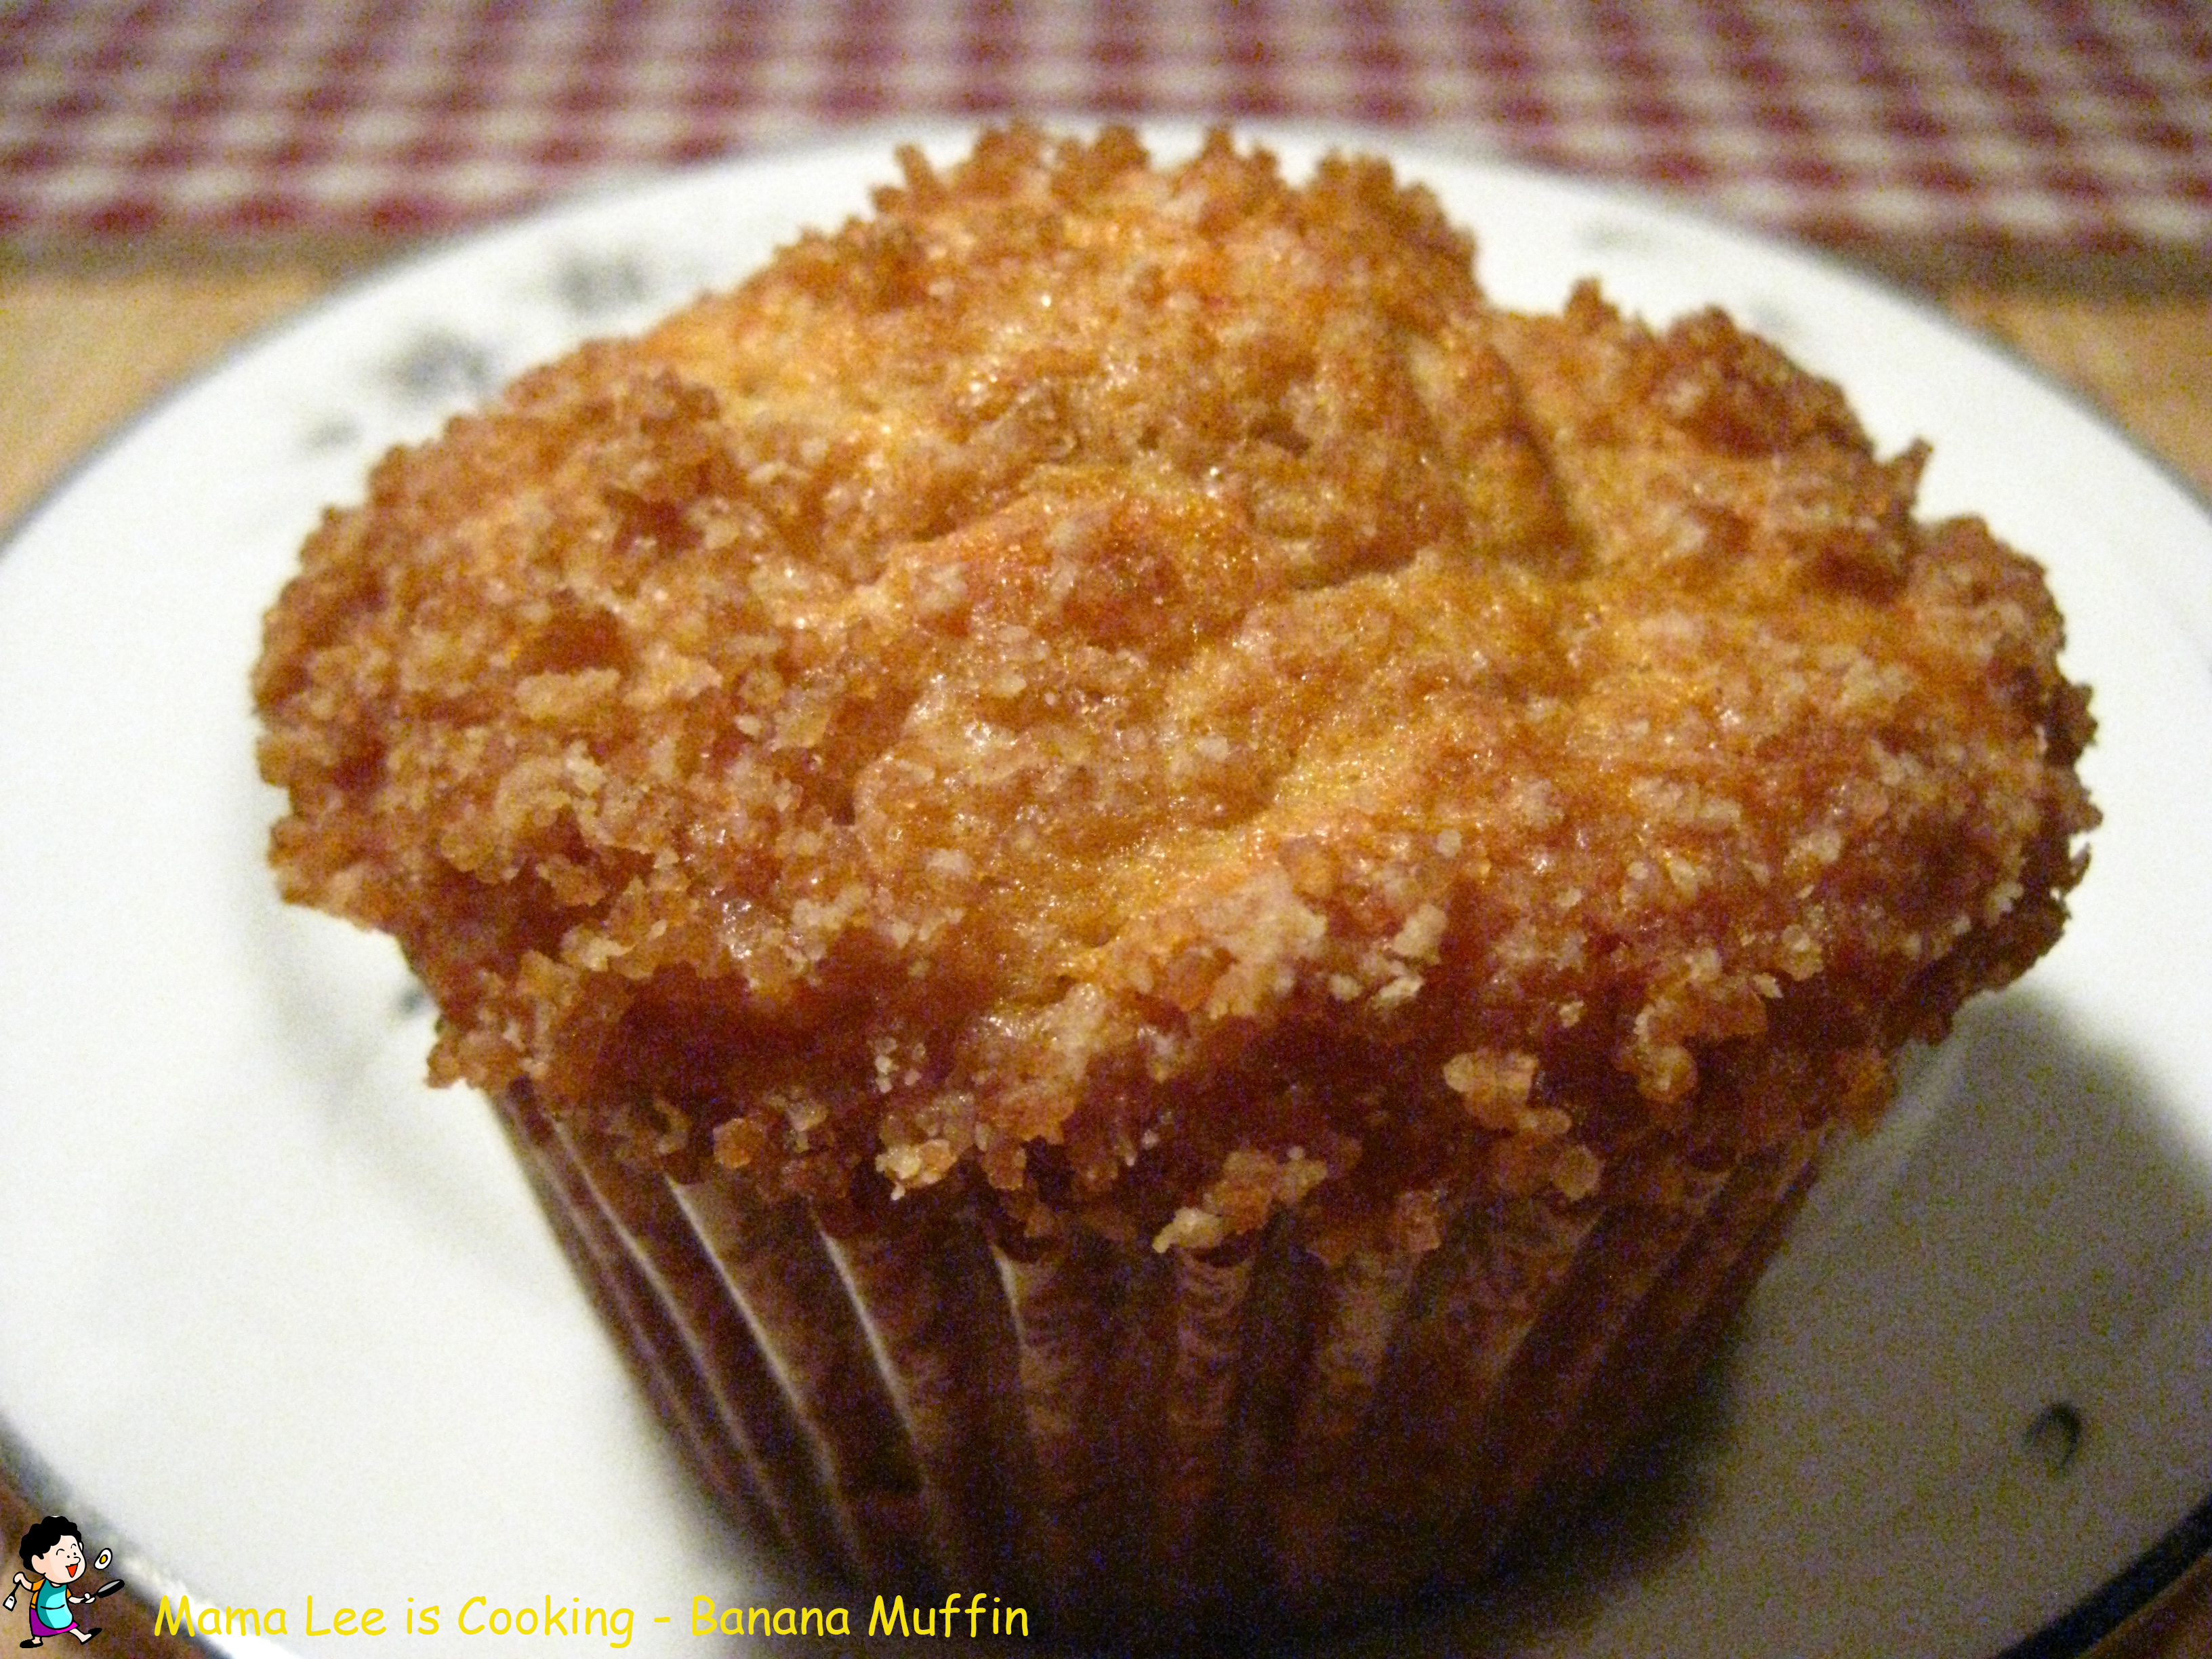
I like this recipe. The muffin itself is nothing special, but the topping makes it perfect.
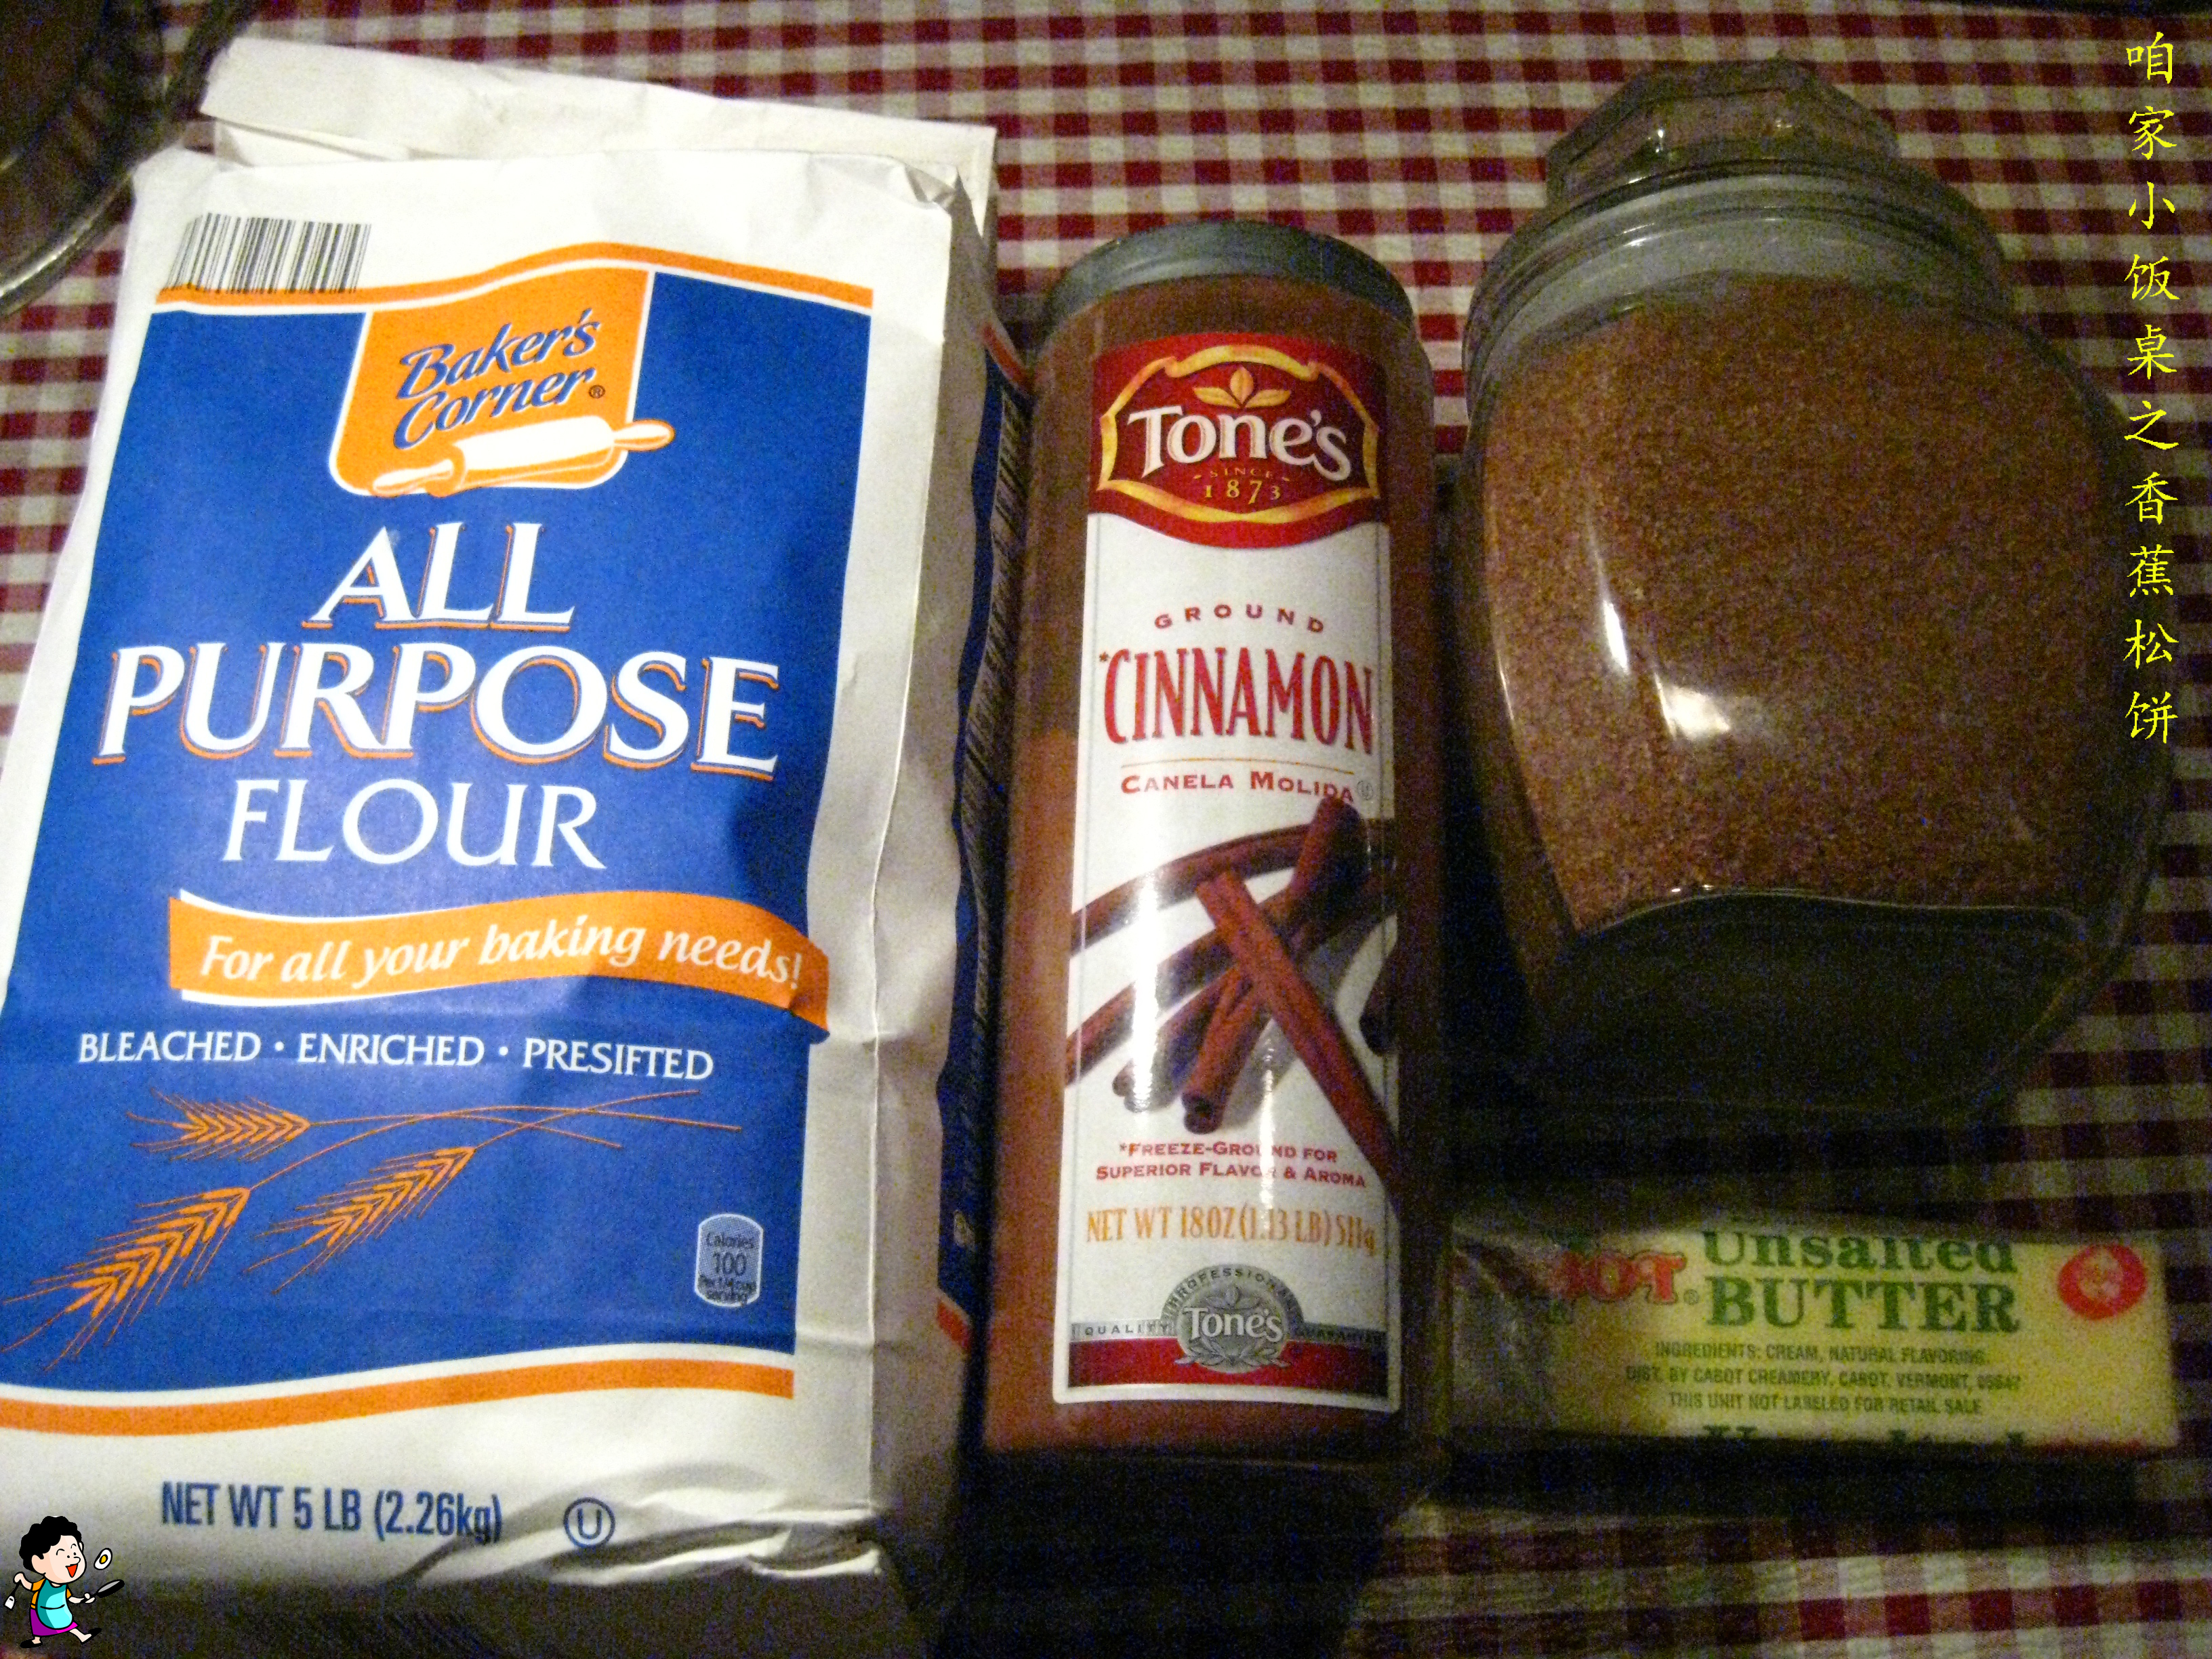
 Ingredients:
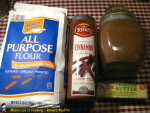
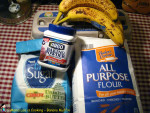
Muffin: 1 1/2 cups all-purpose flour, 1 tsp baking soda, 1 tsp baking powder, 1/2 tsp salt, 3 ripe bananas, 3/4 cup sugar, 1 egg, 1/3 cup butter.
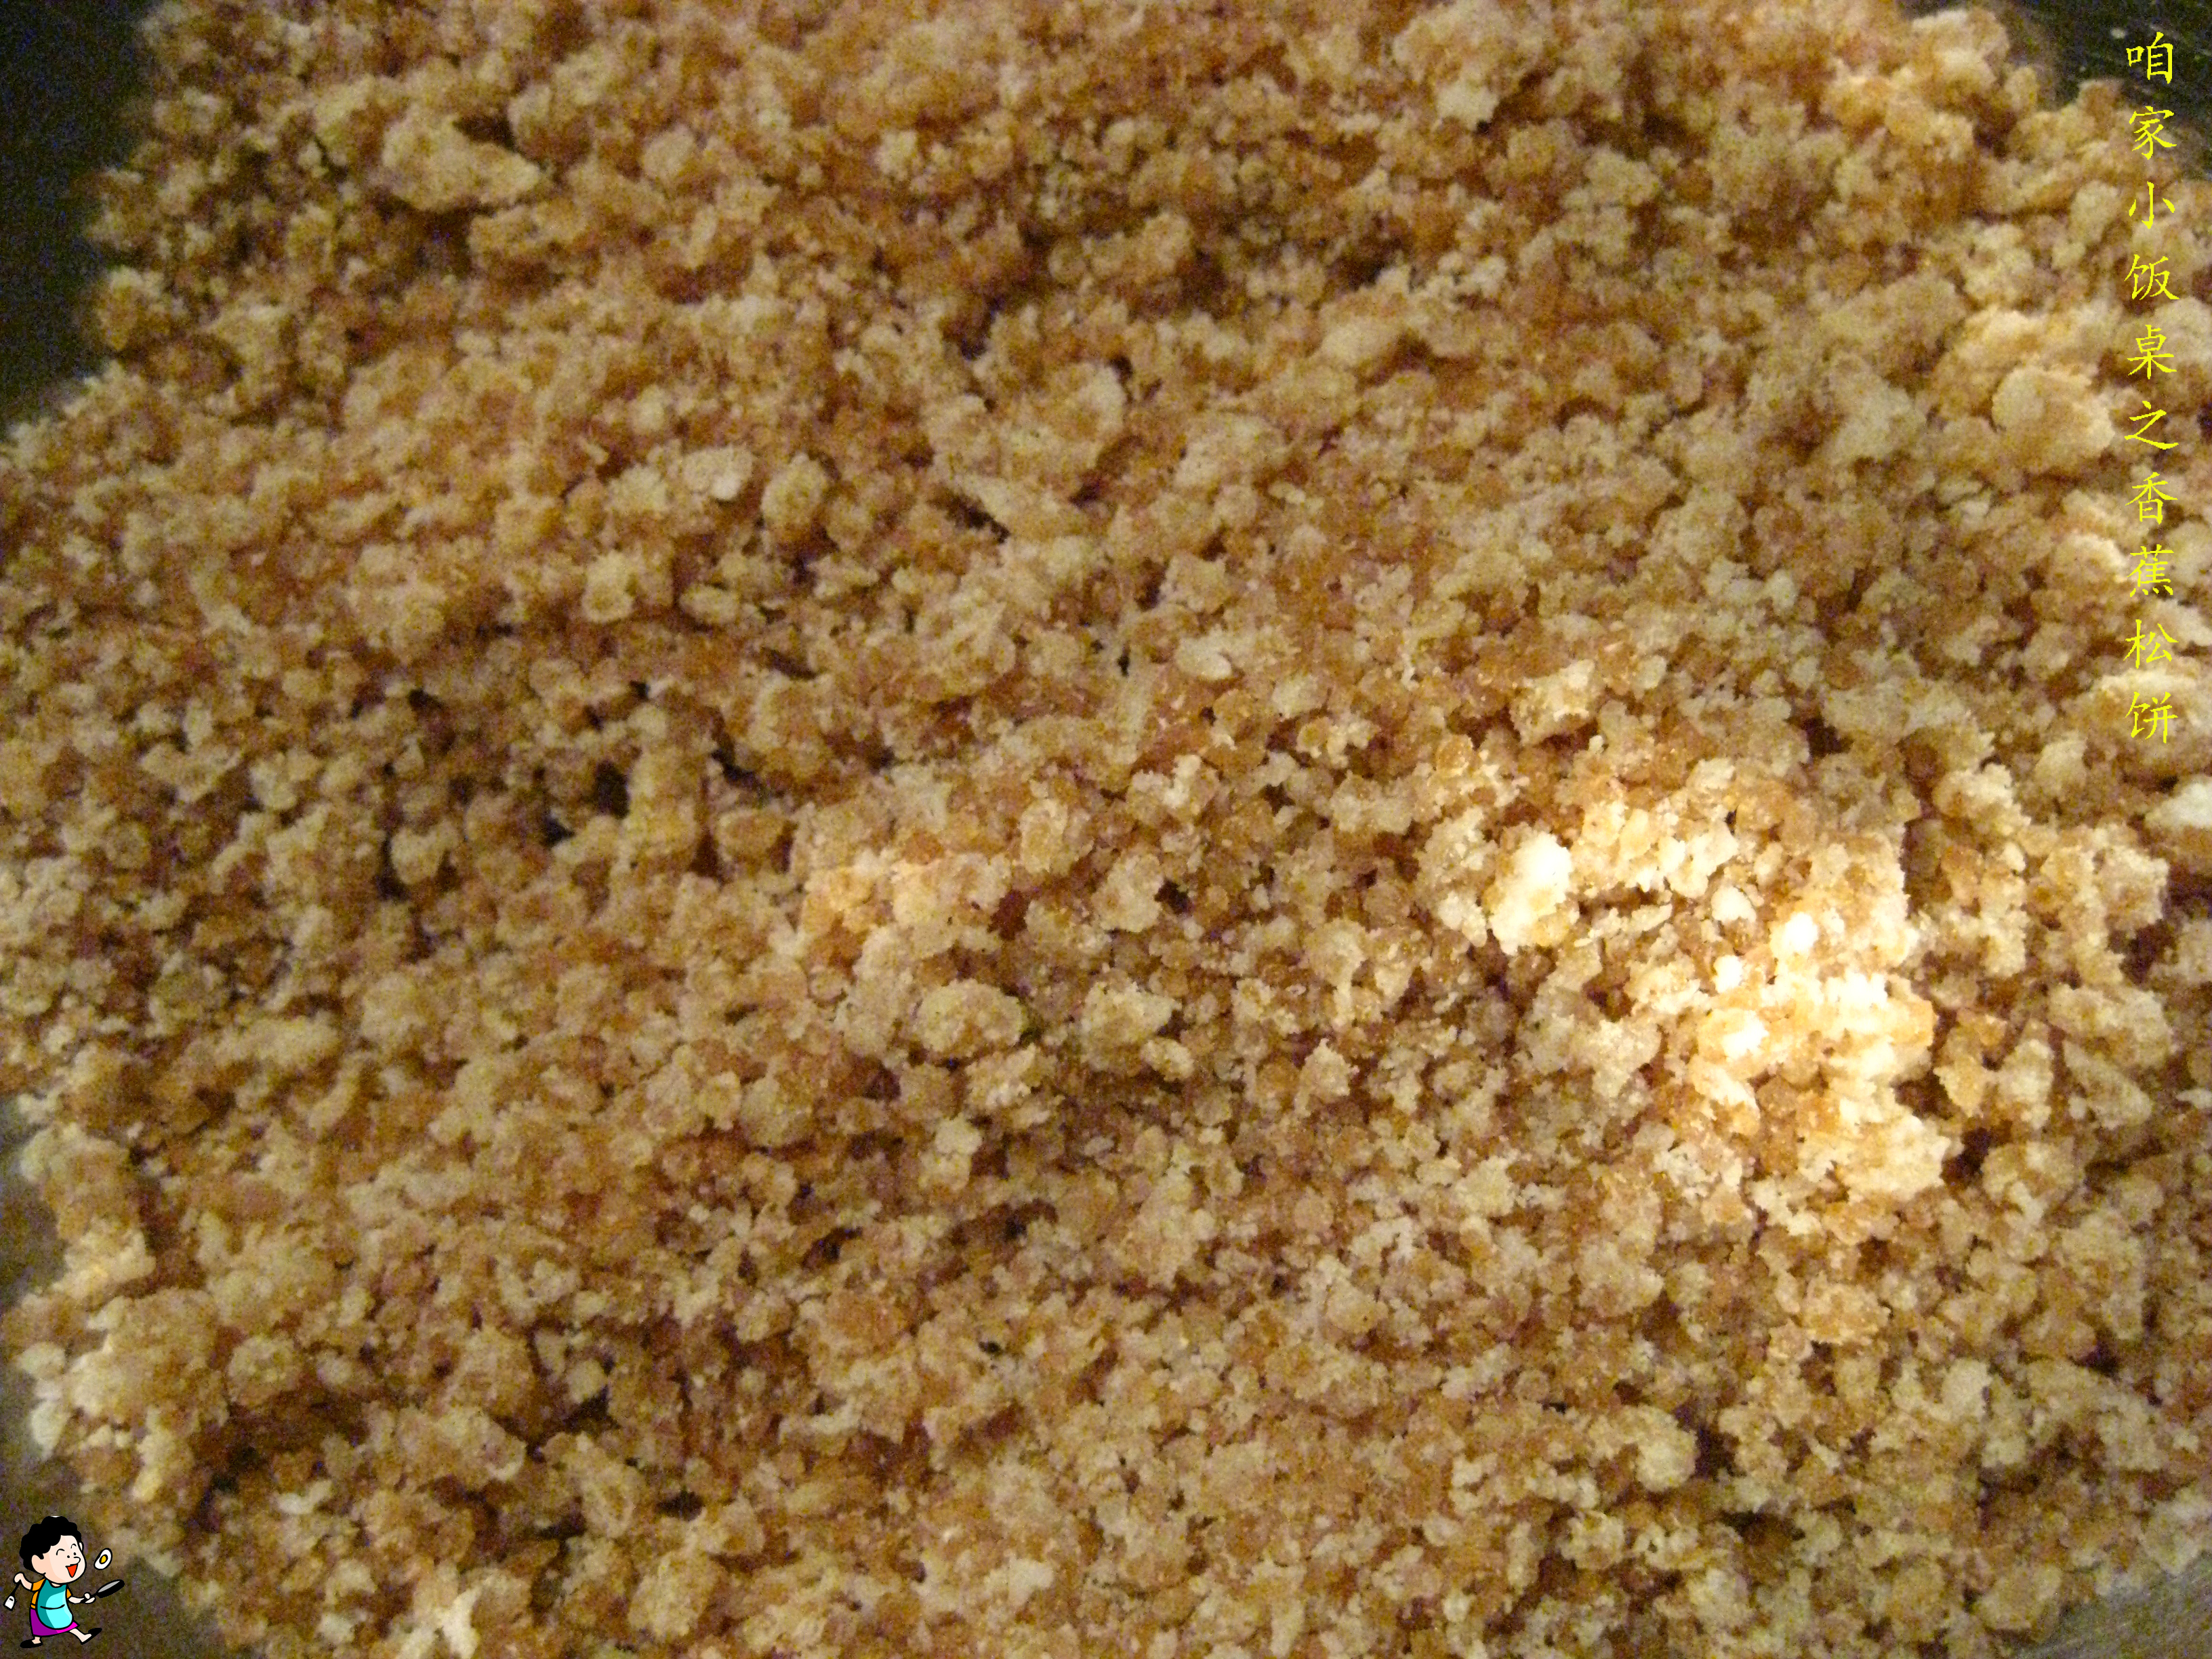
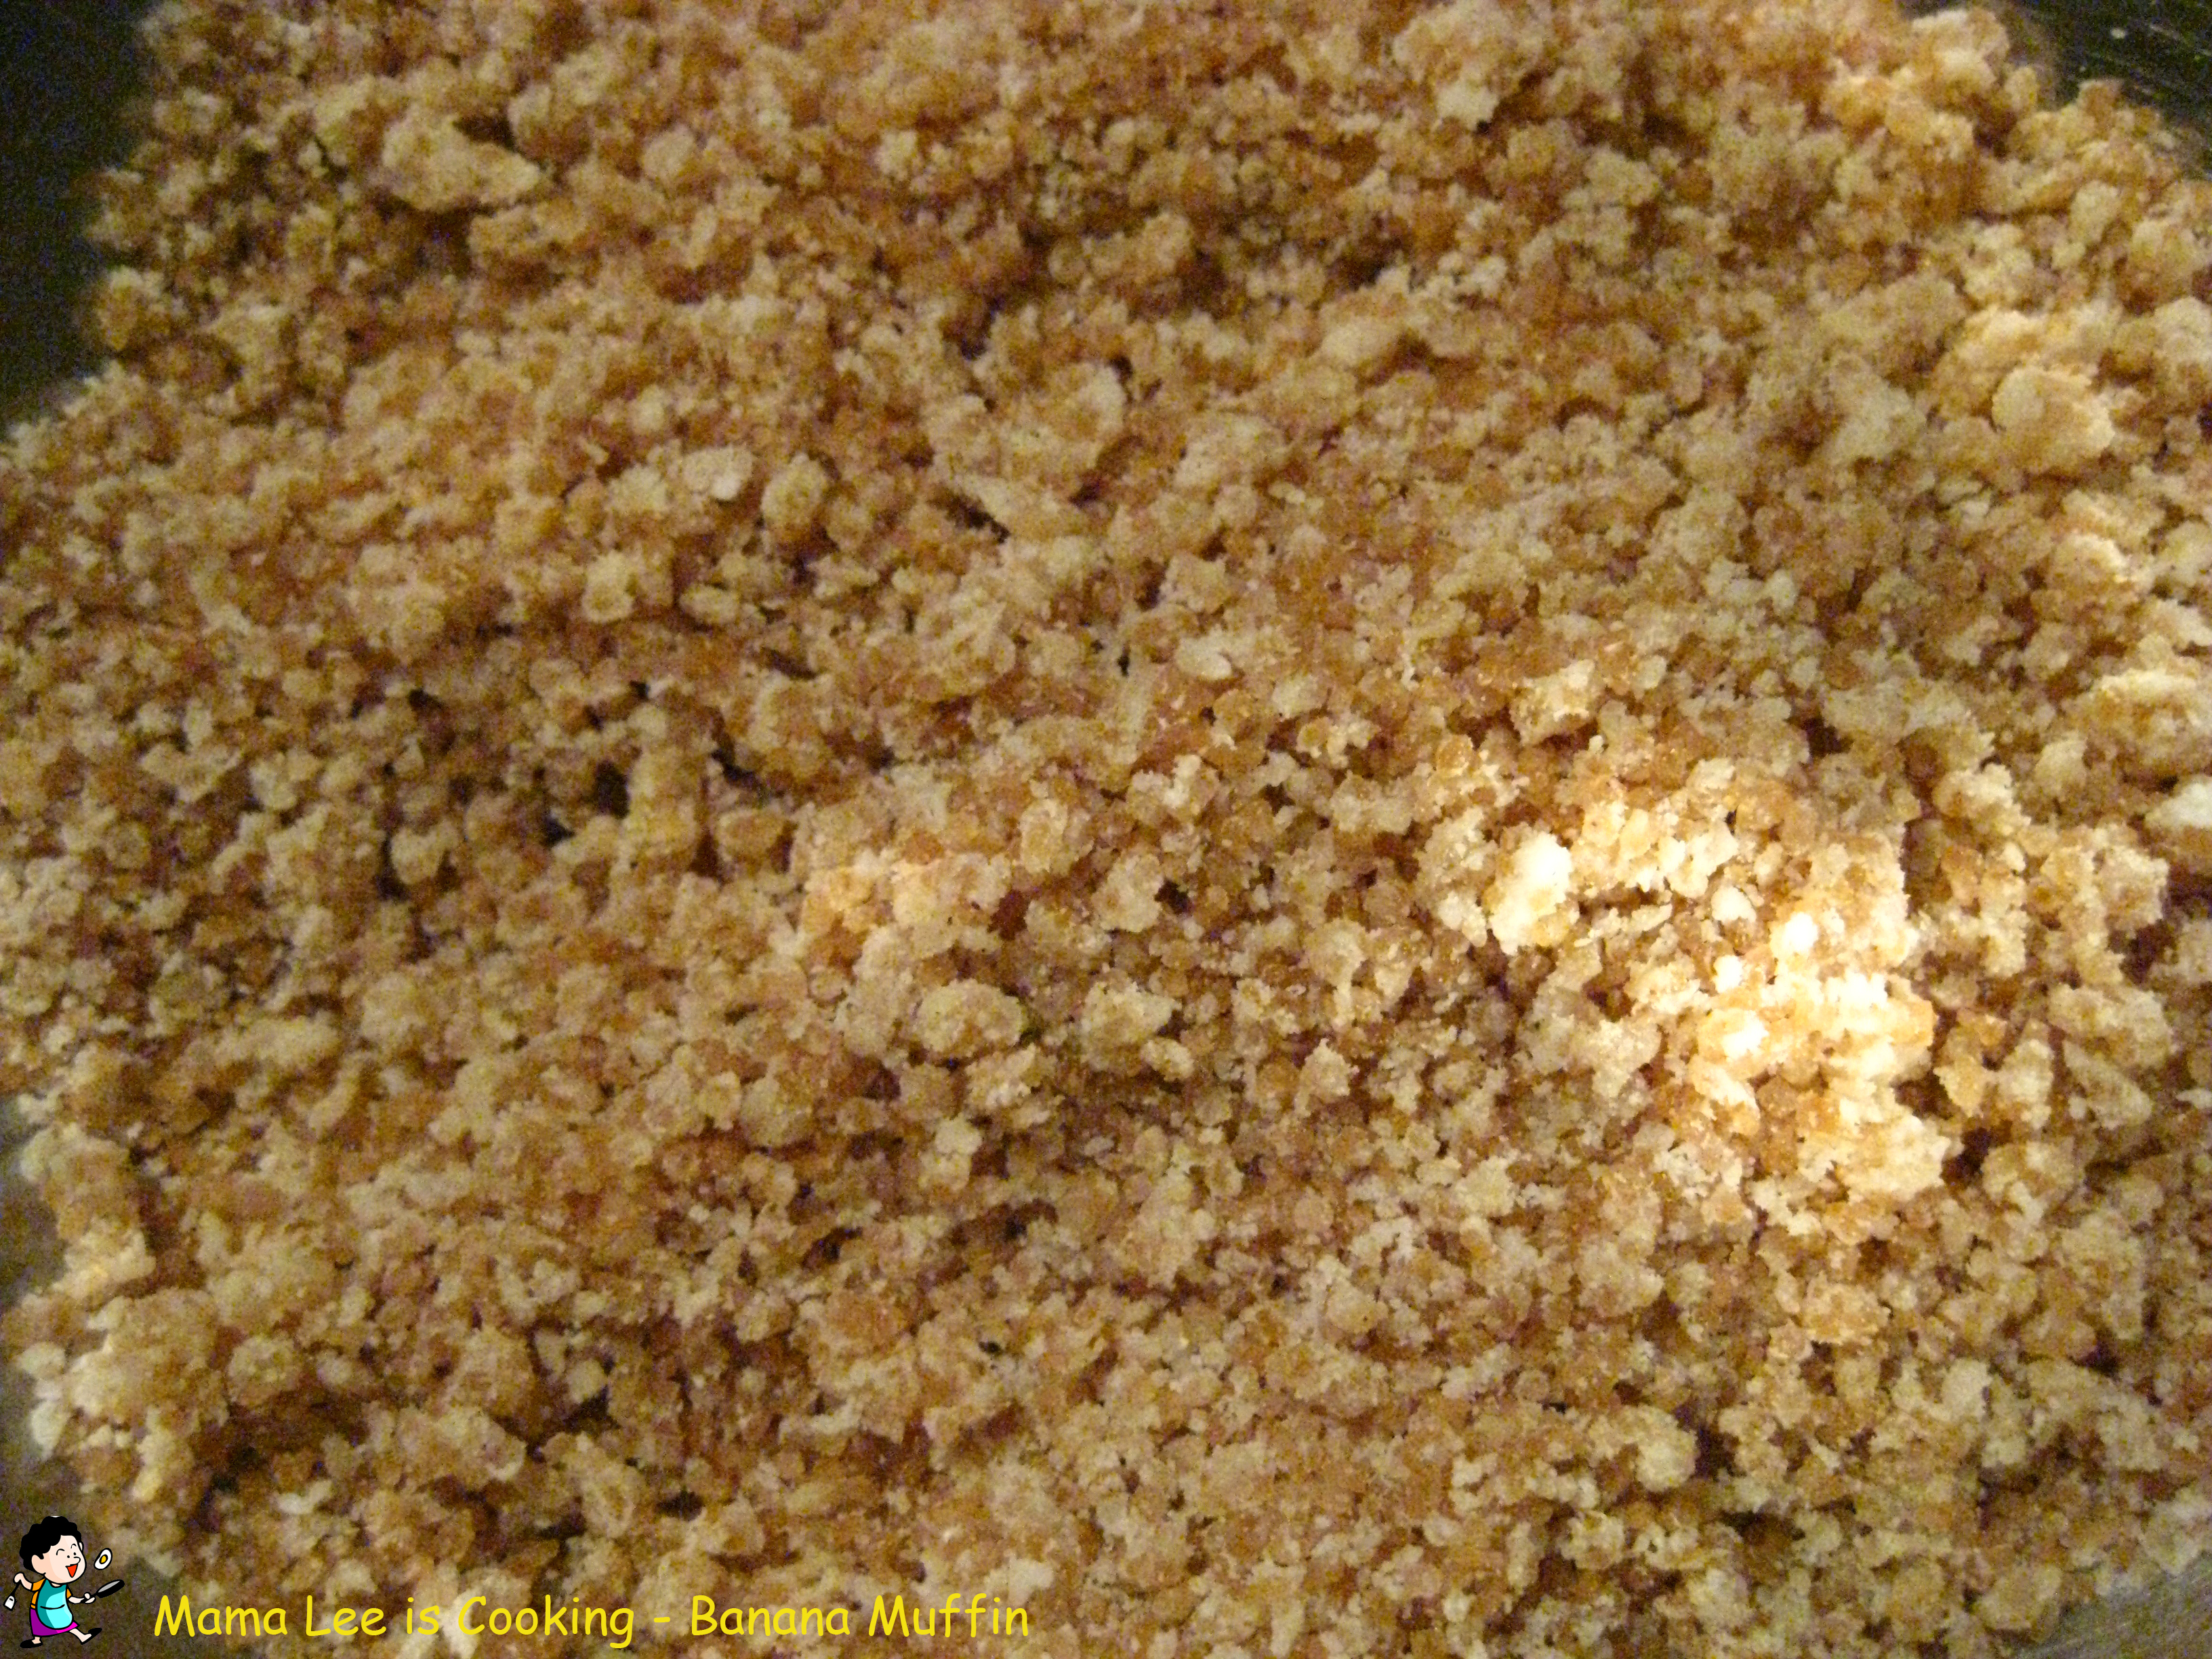
Topping: 2 tbsp butter, 4 tbsp flour, 4 tbsp brown sugar, 1 tsp ground cinnamon.

 Methods:
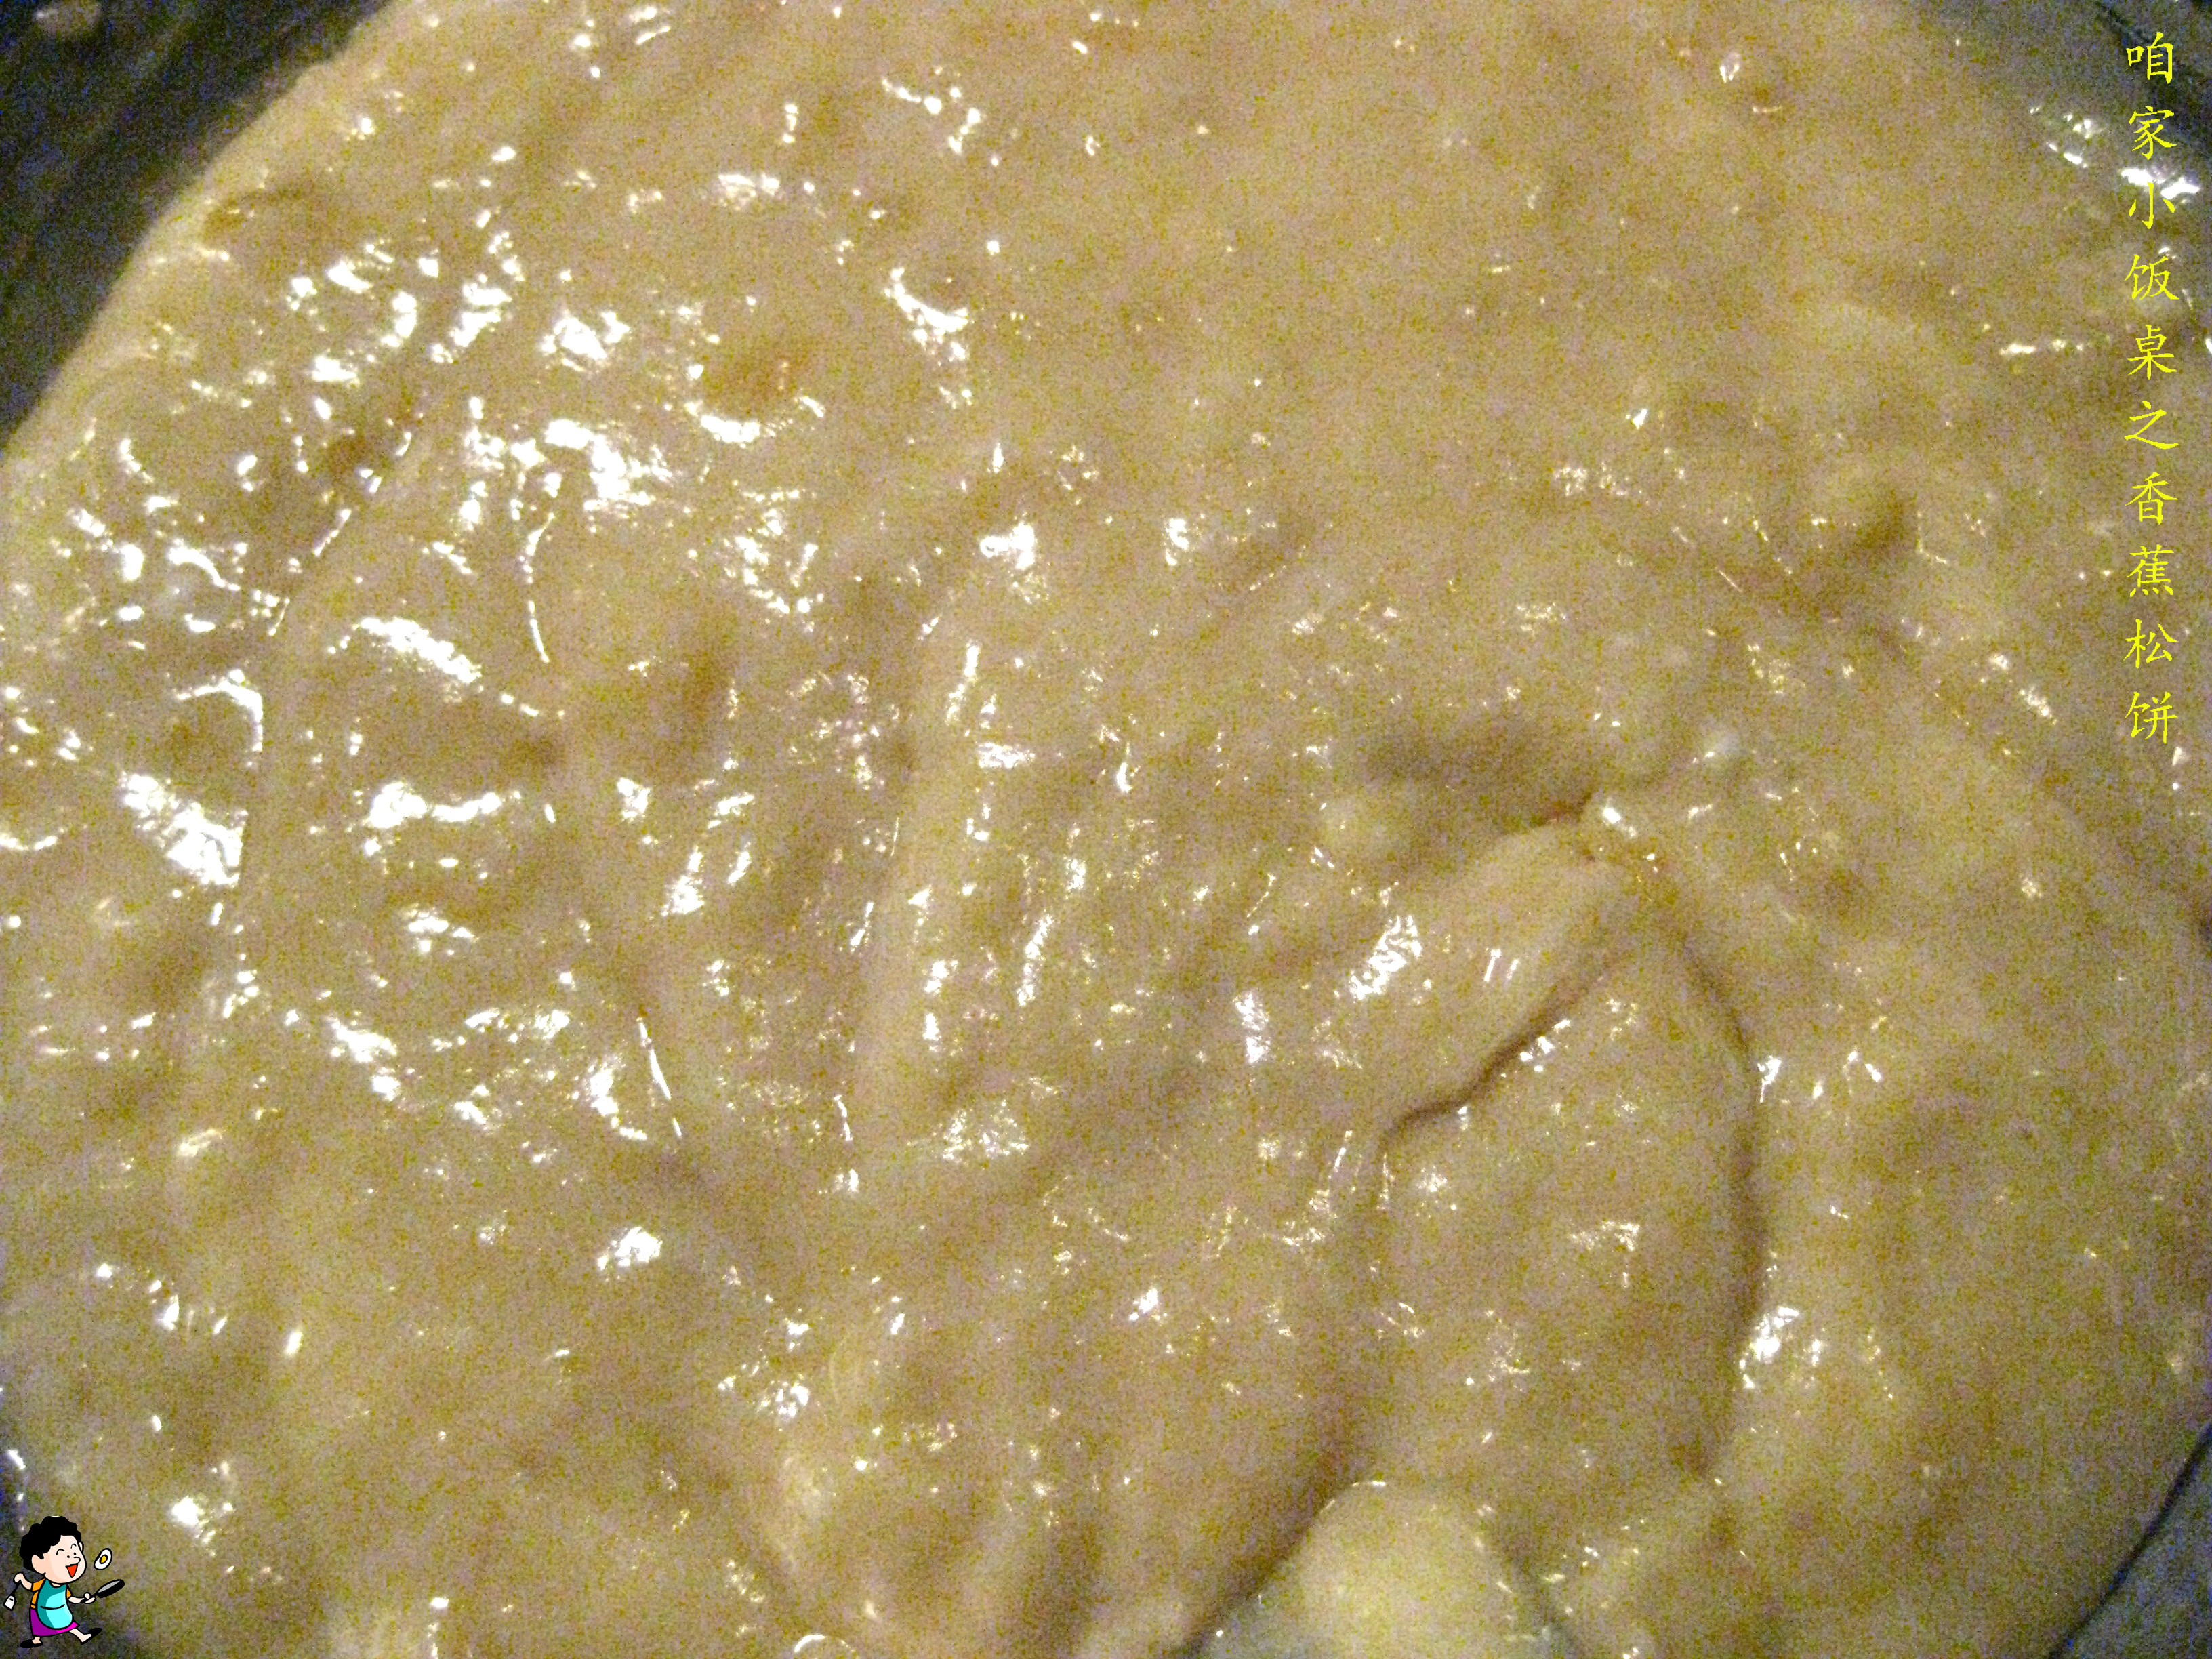
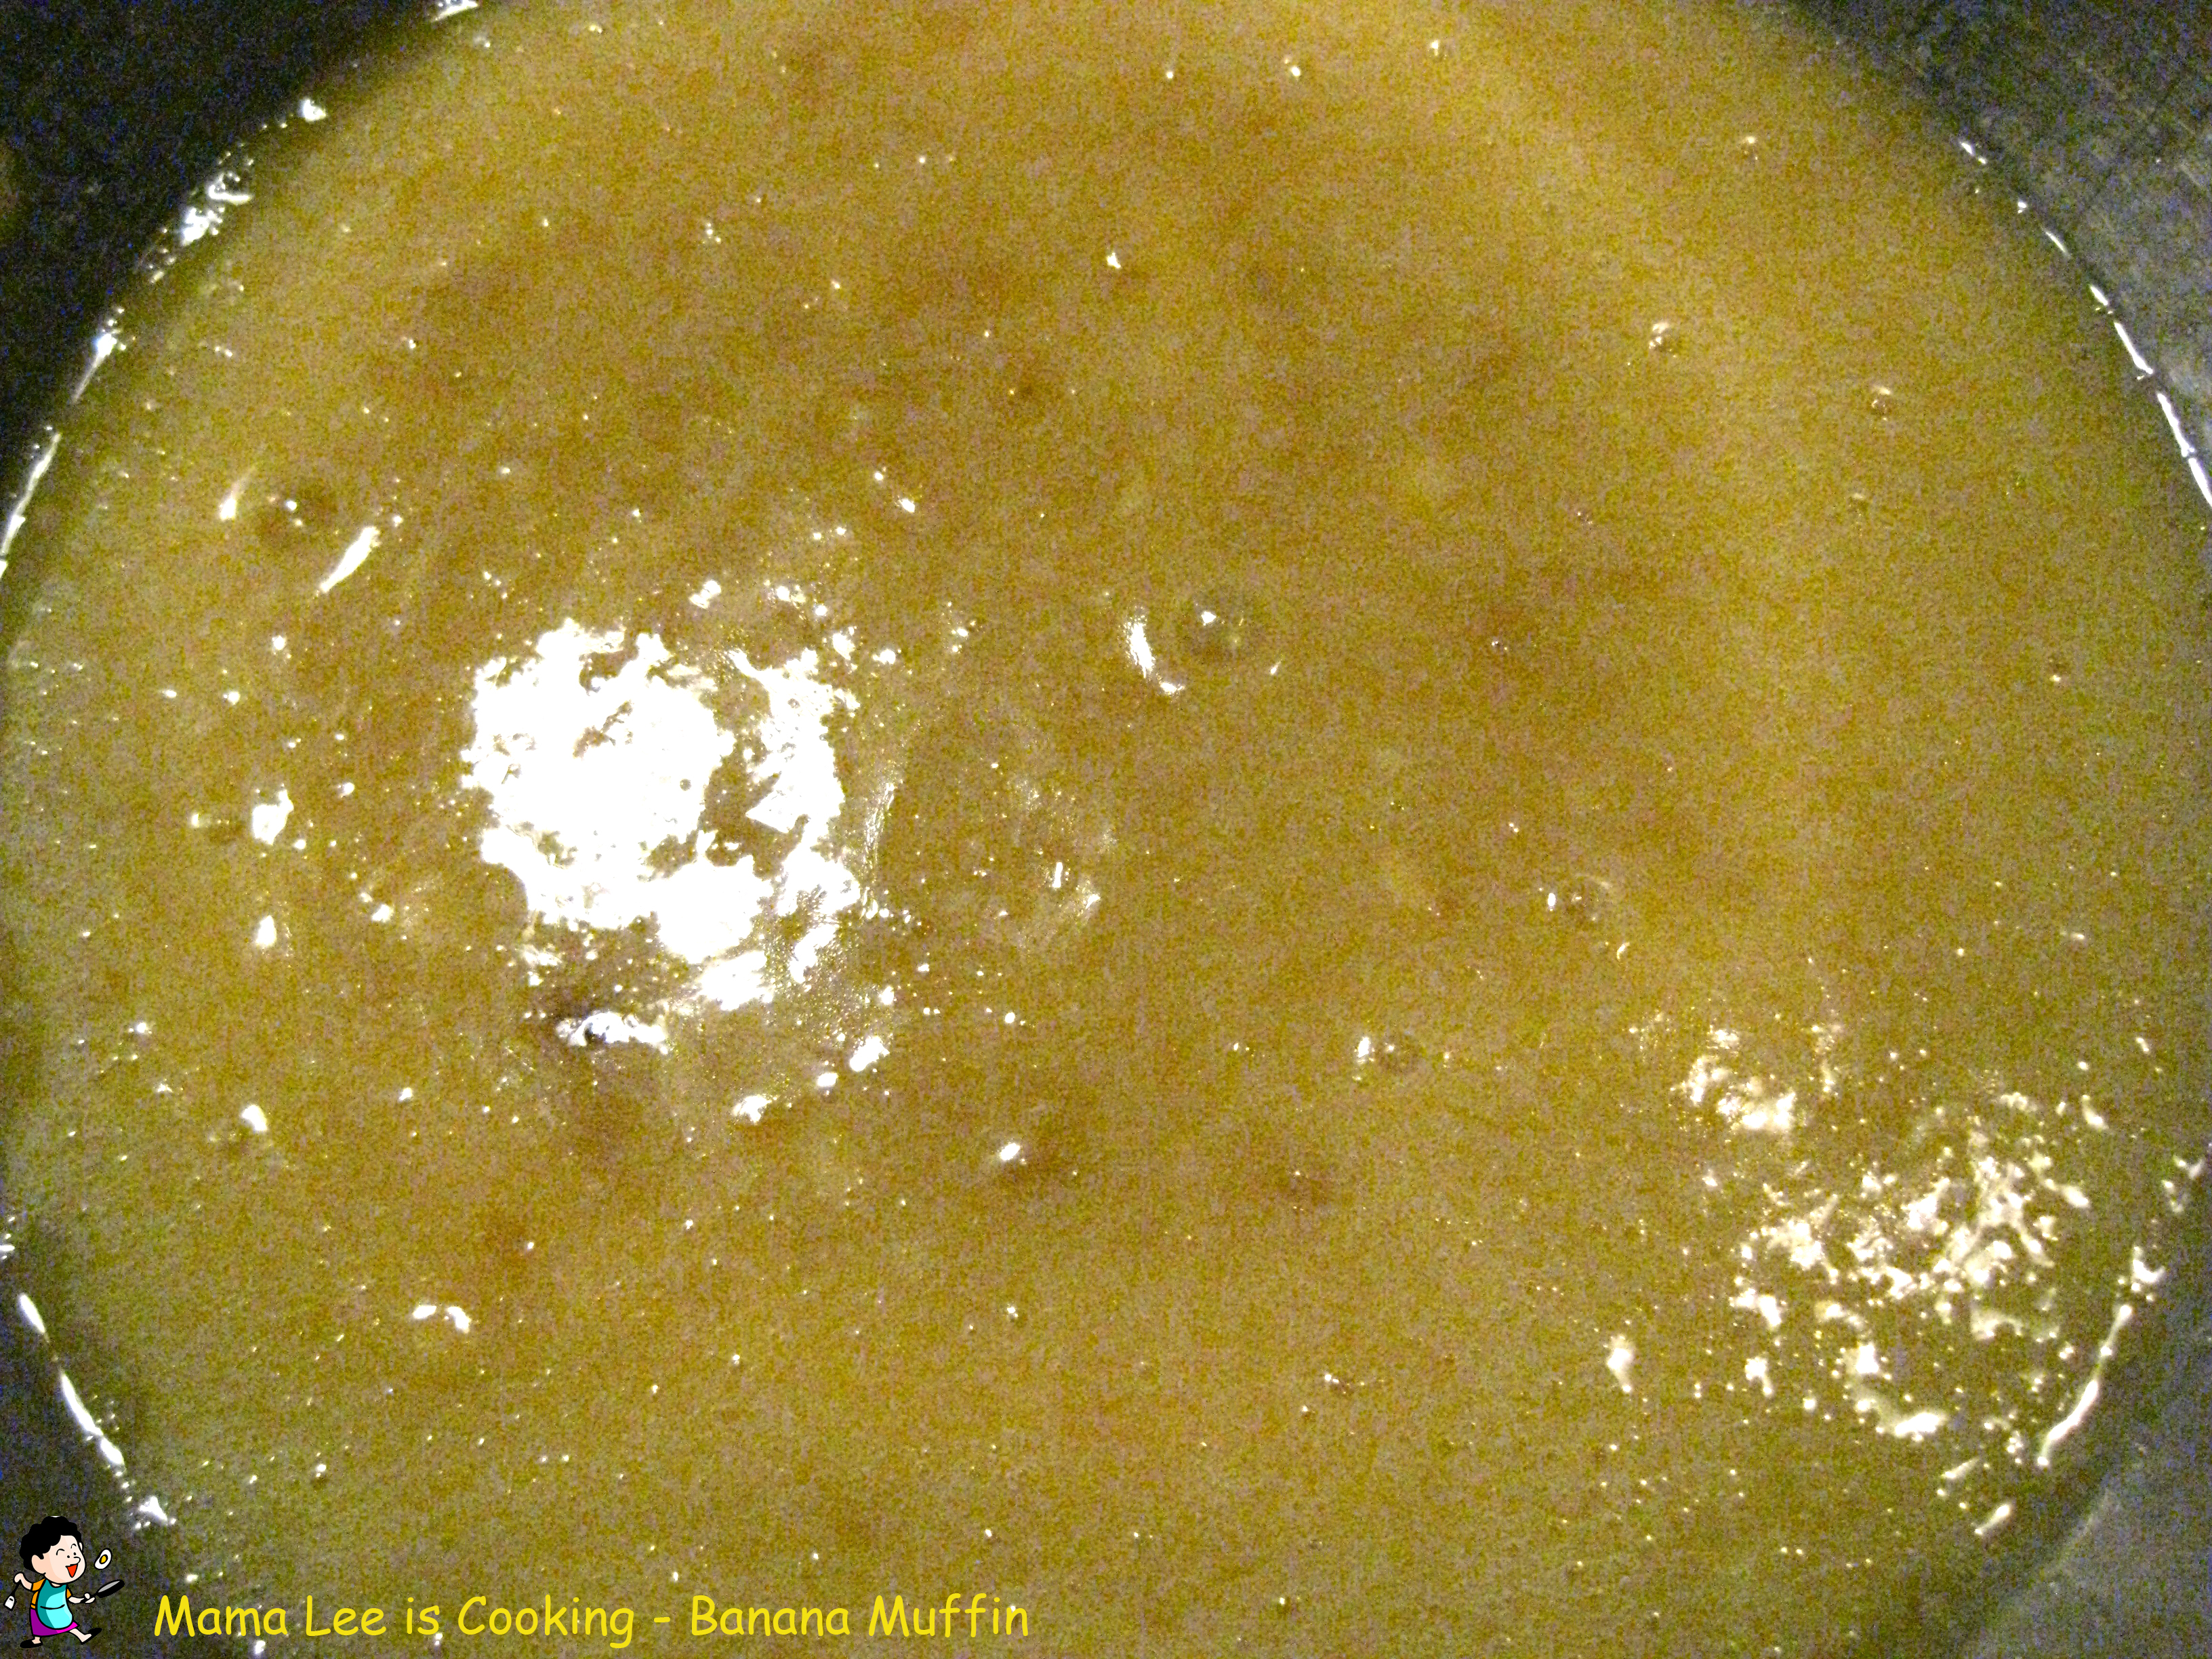
1. Peel and mash bananas.
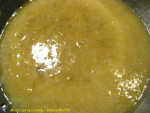
2. Melt butter.
3. Mix flour, baking soda, baking powder and salt.
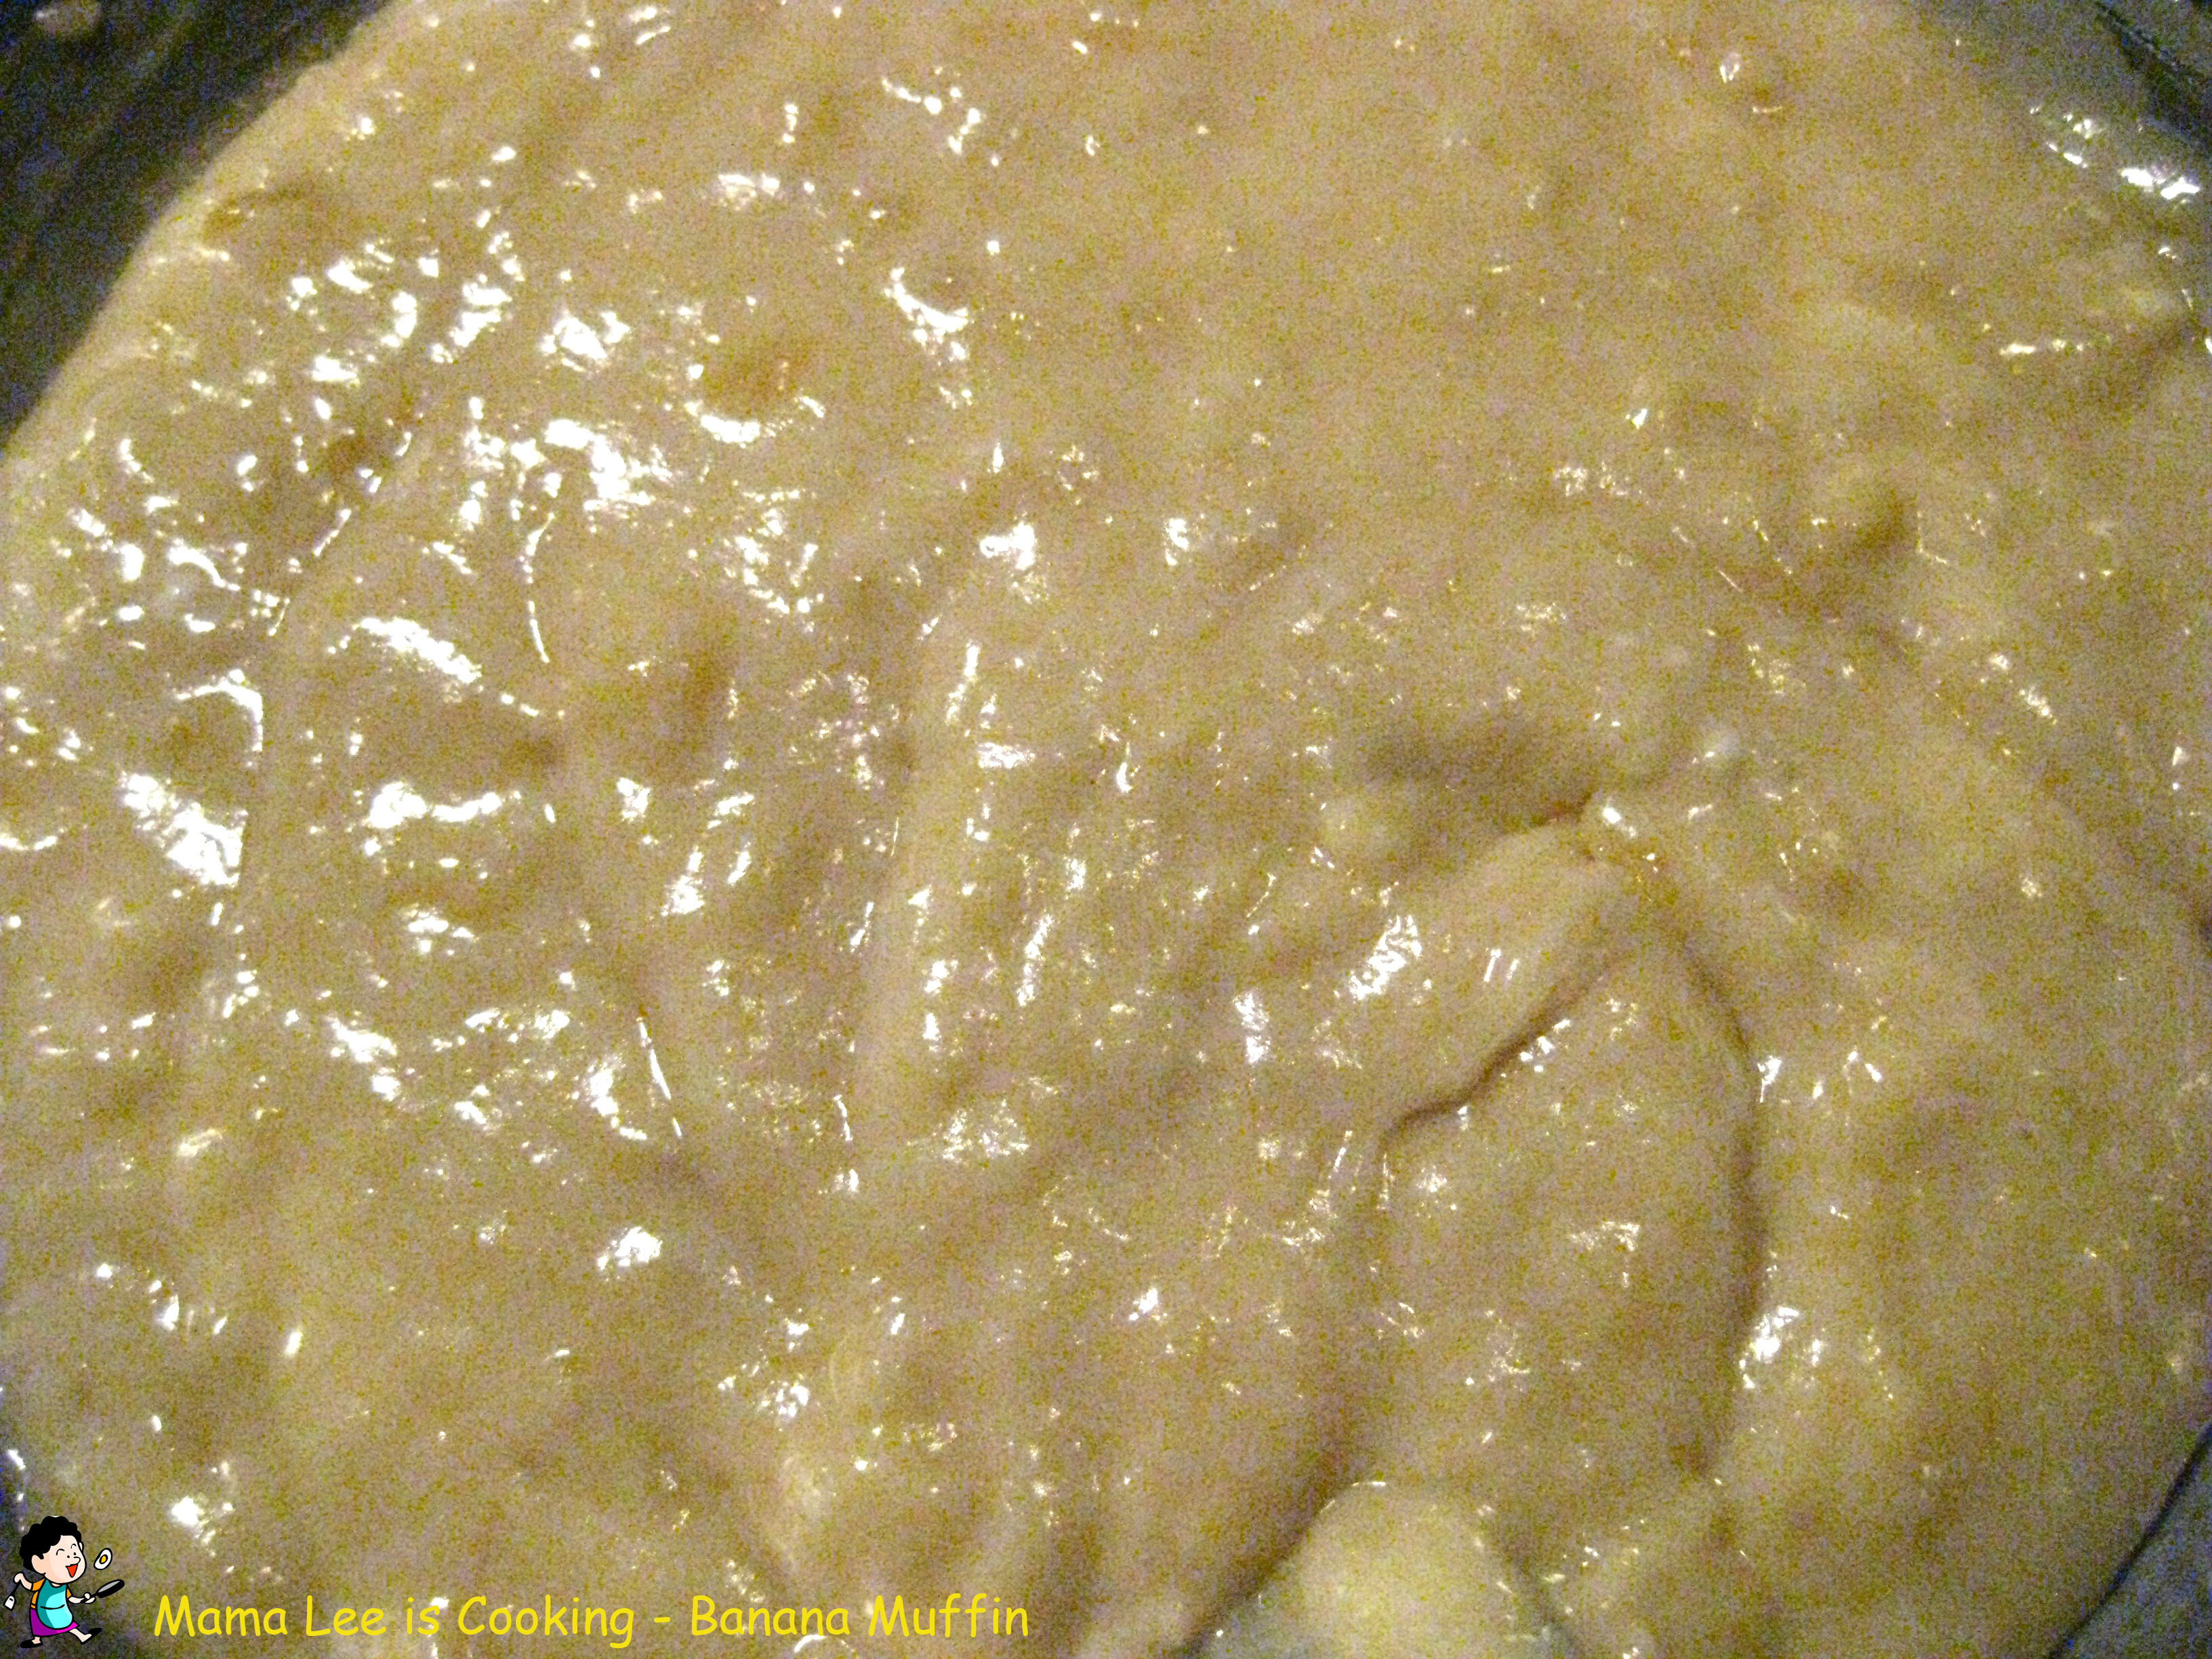
 4. Mix melted butter, mashed banana, egg and sugar, then mix with flour mixture.
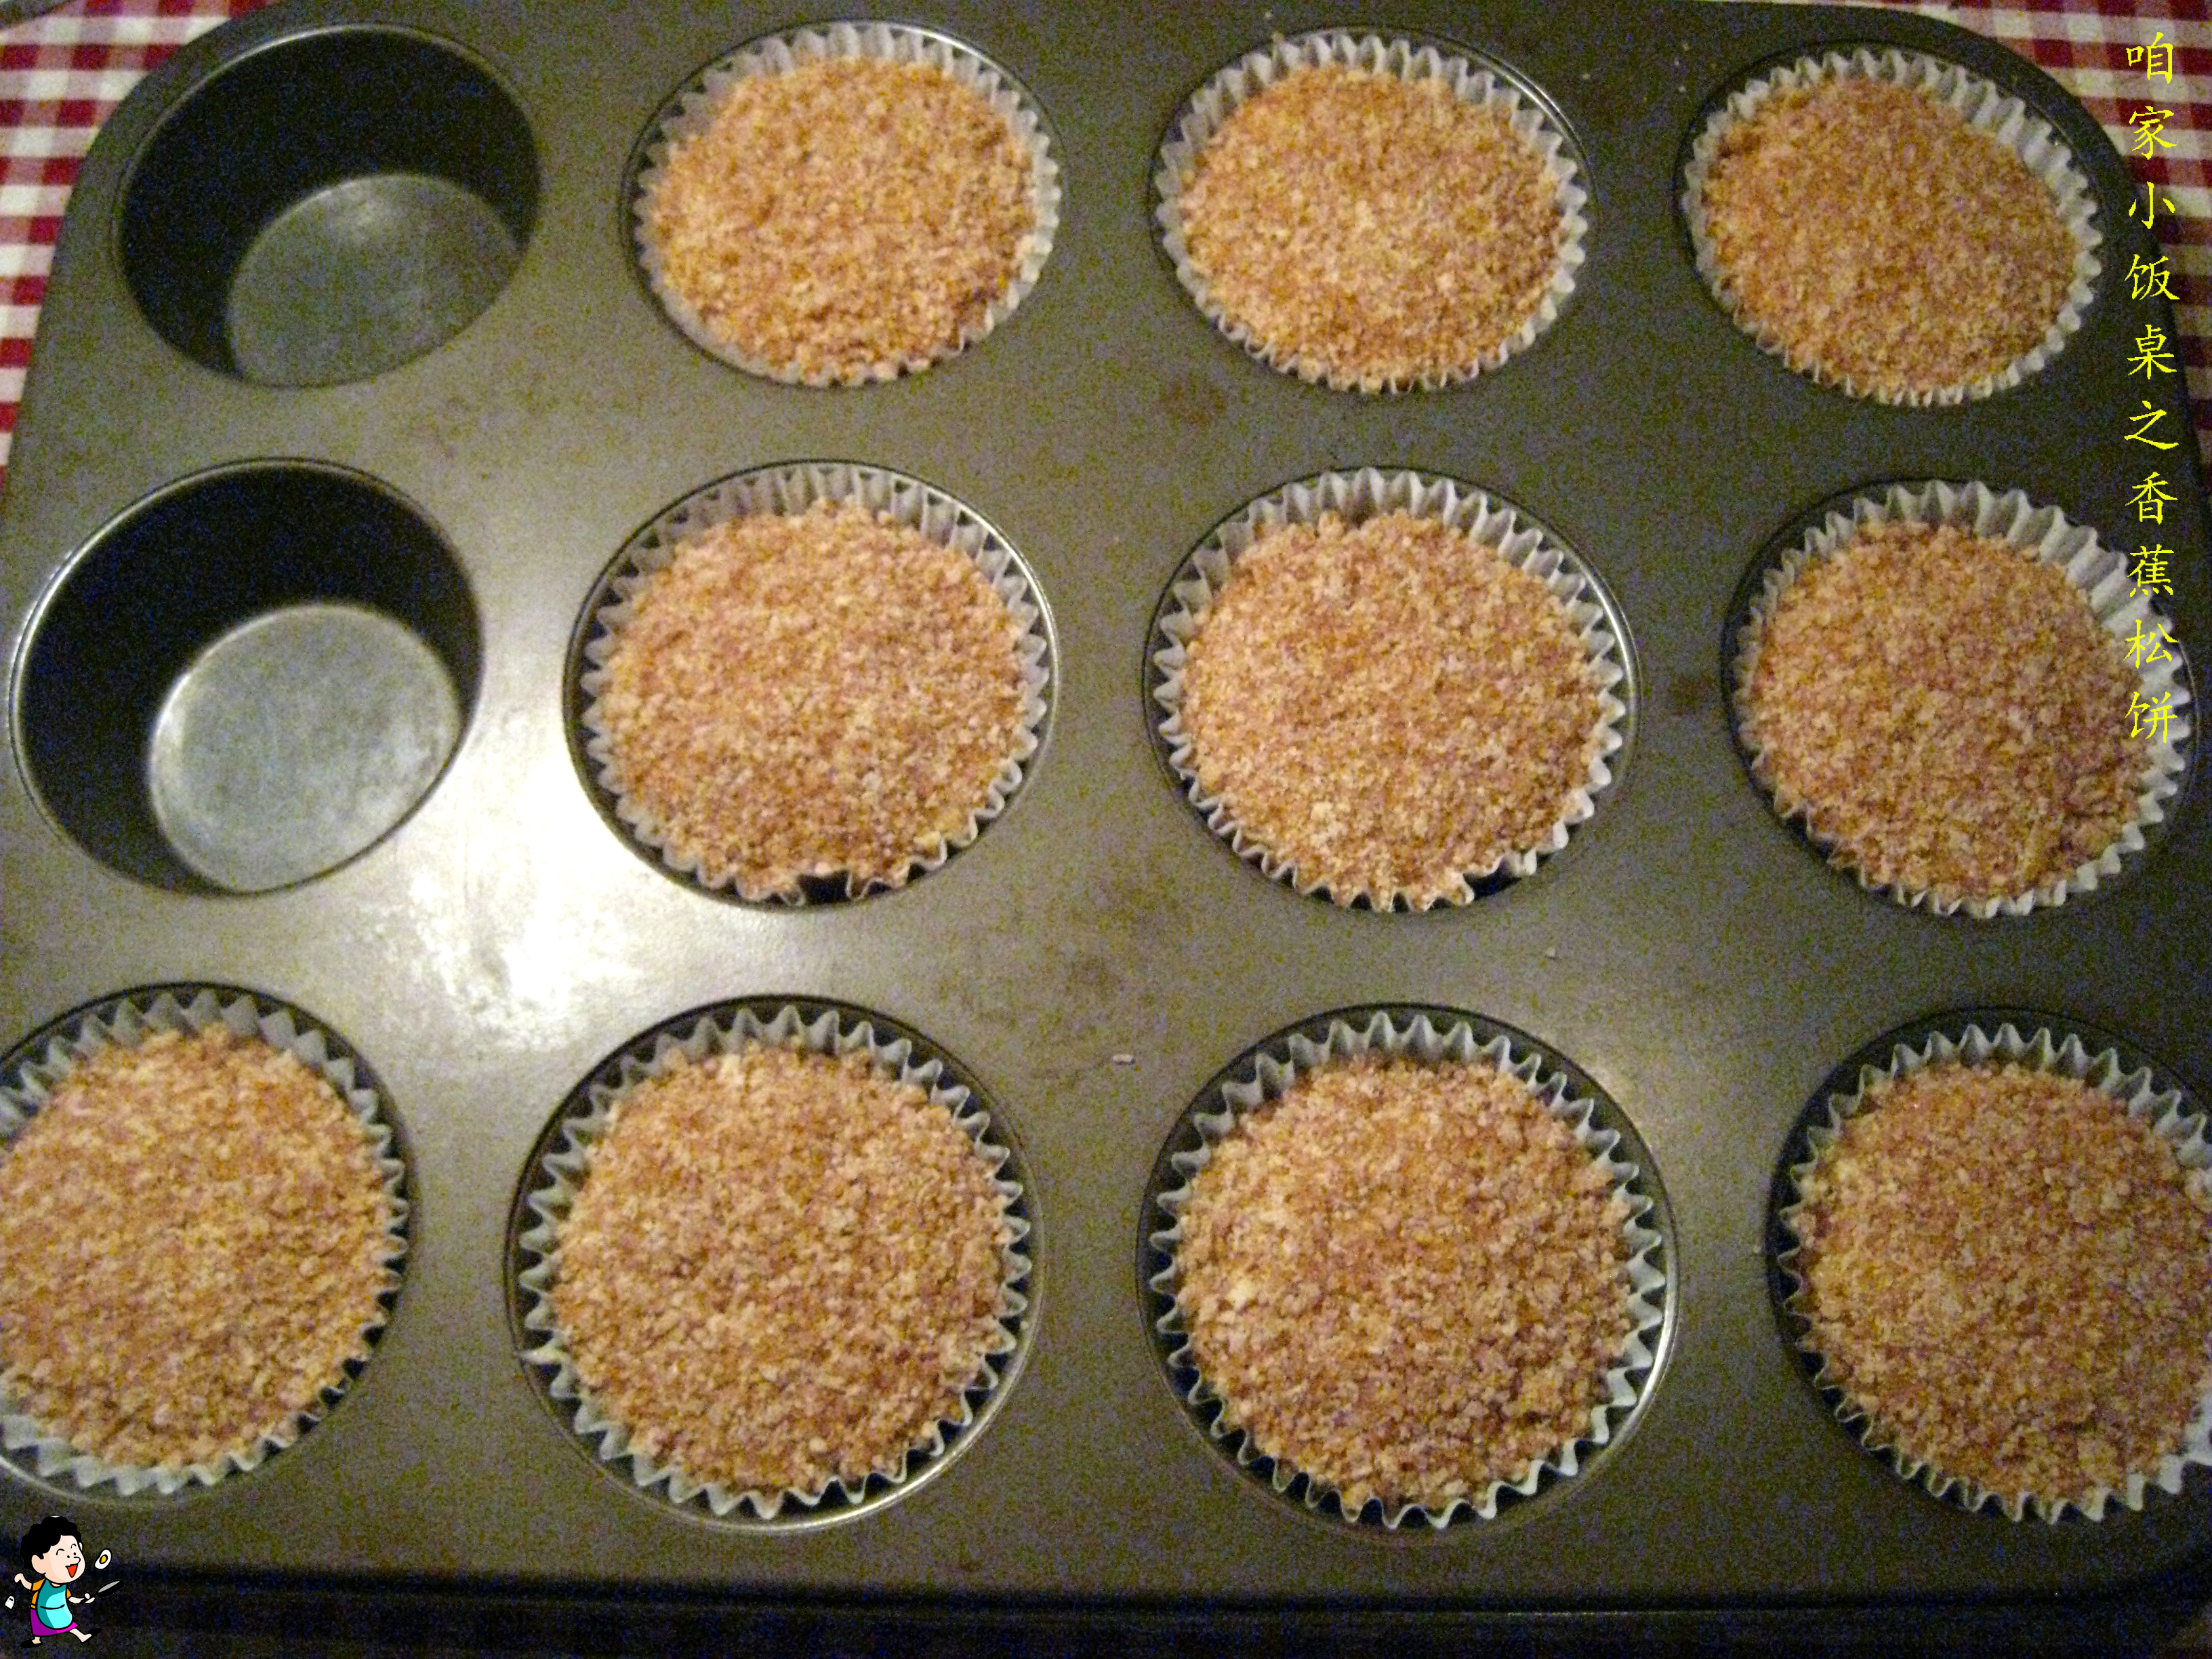
5. Line muffin pan with muffin cup, then scoop muffin batter into muffin pan.
6. Preheat over to 375ºF.
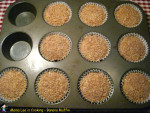 7. Mix topping ingredients with a fork, then sprinkle on top of muffins.
8. Bake for 18-20 minutes, or until a toothpick come out clean.


 做法:
做法:


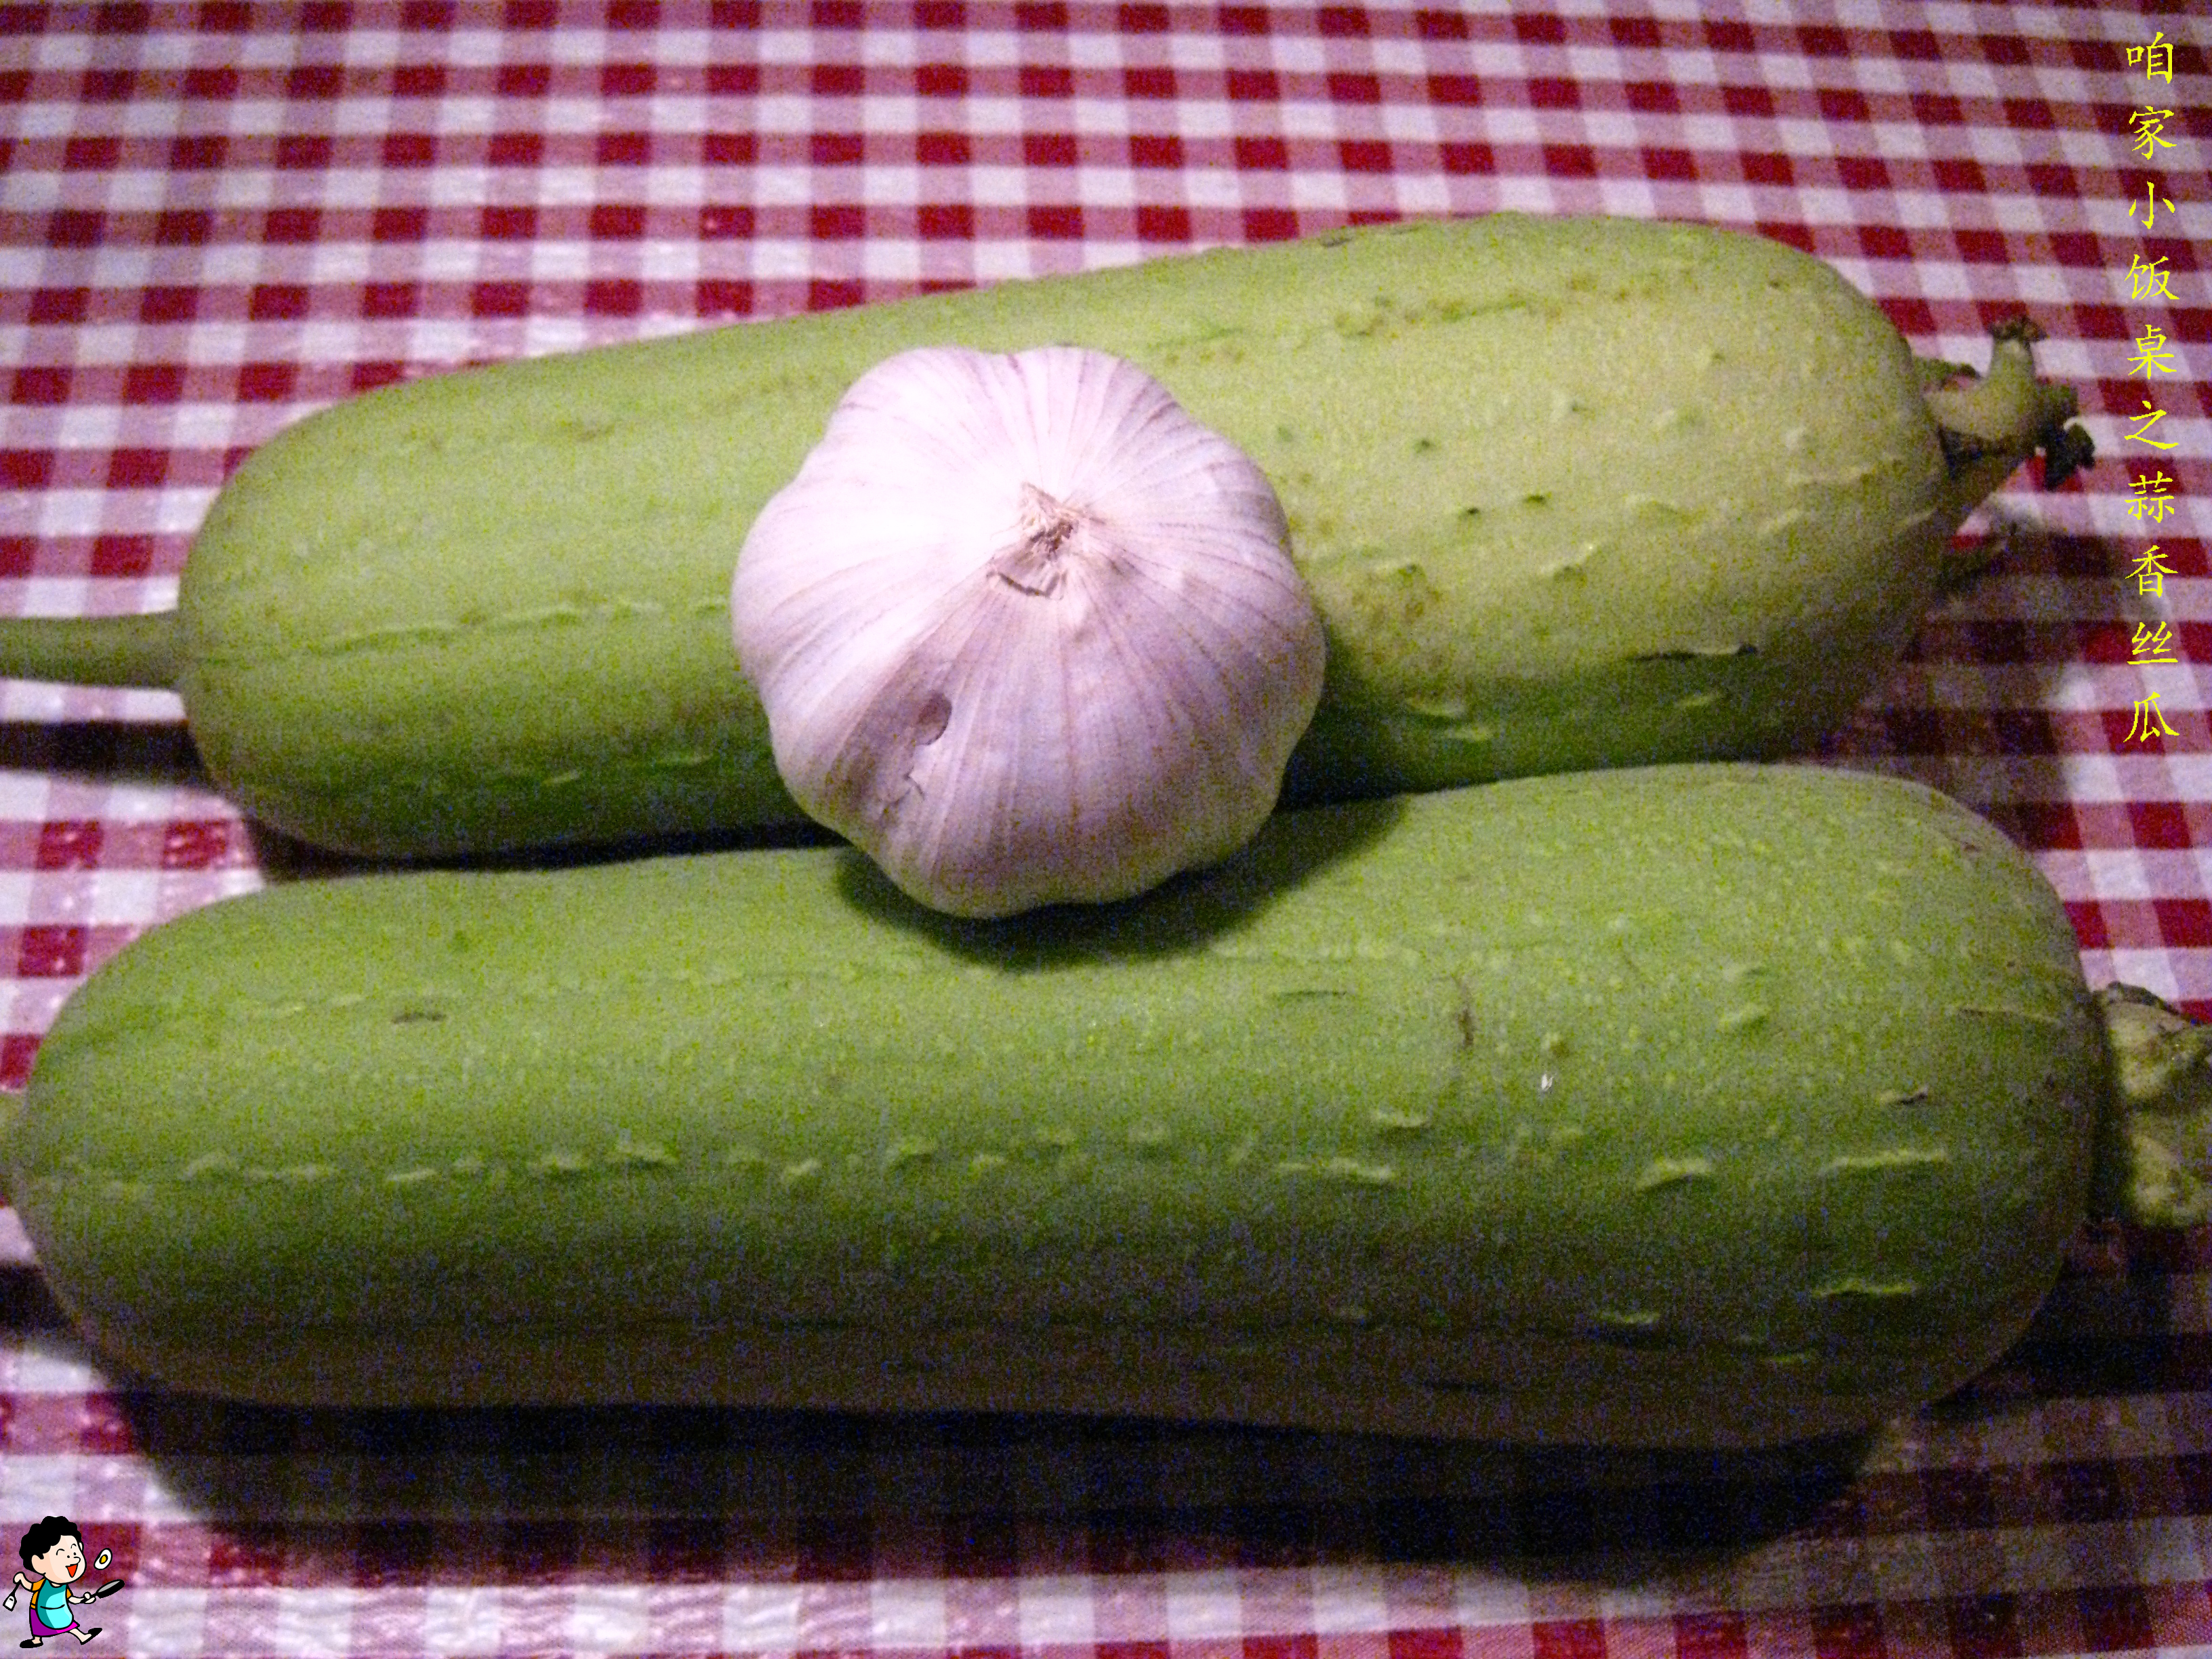

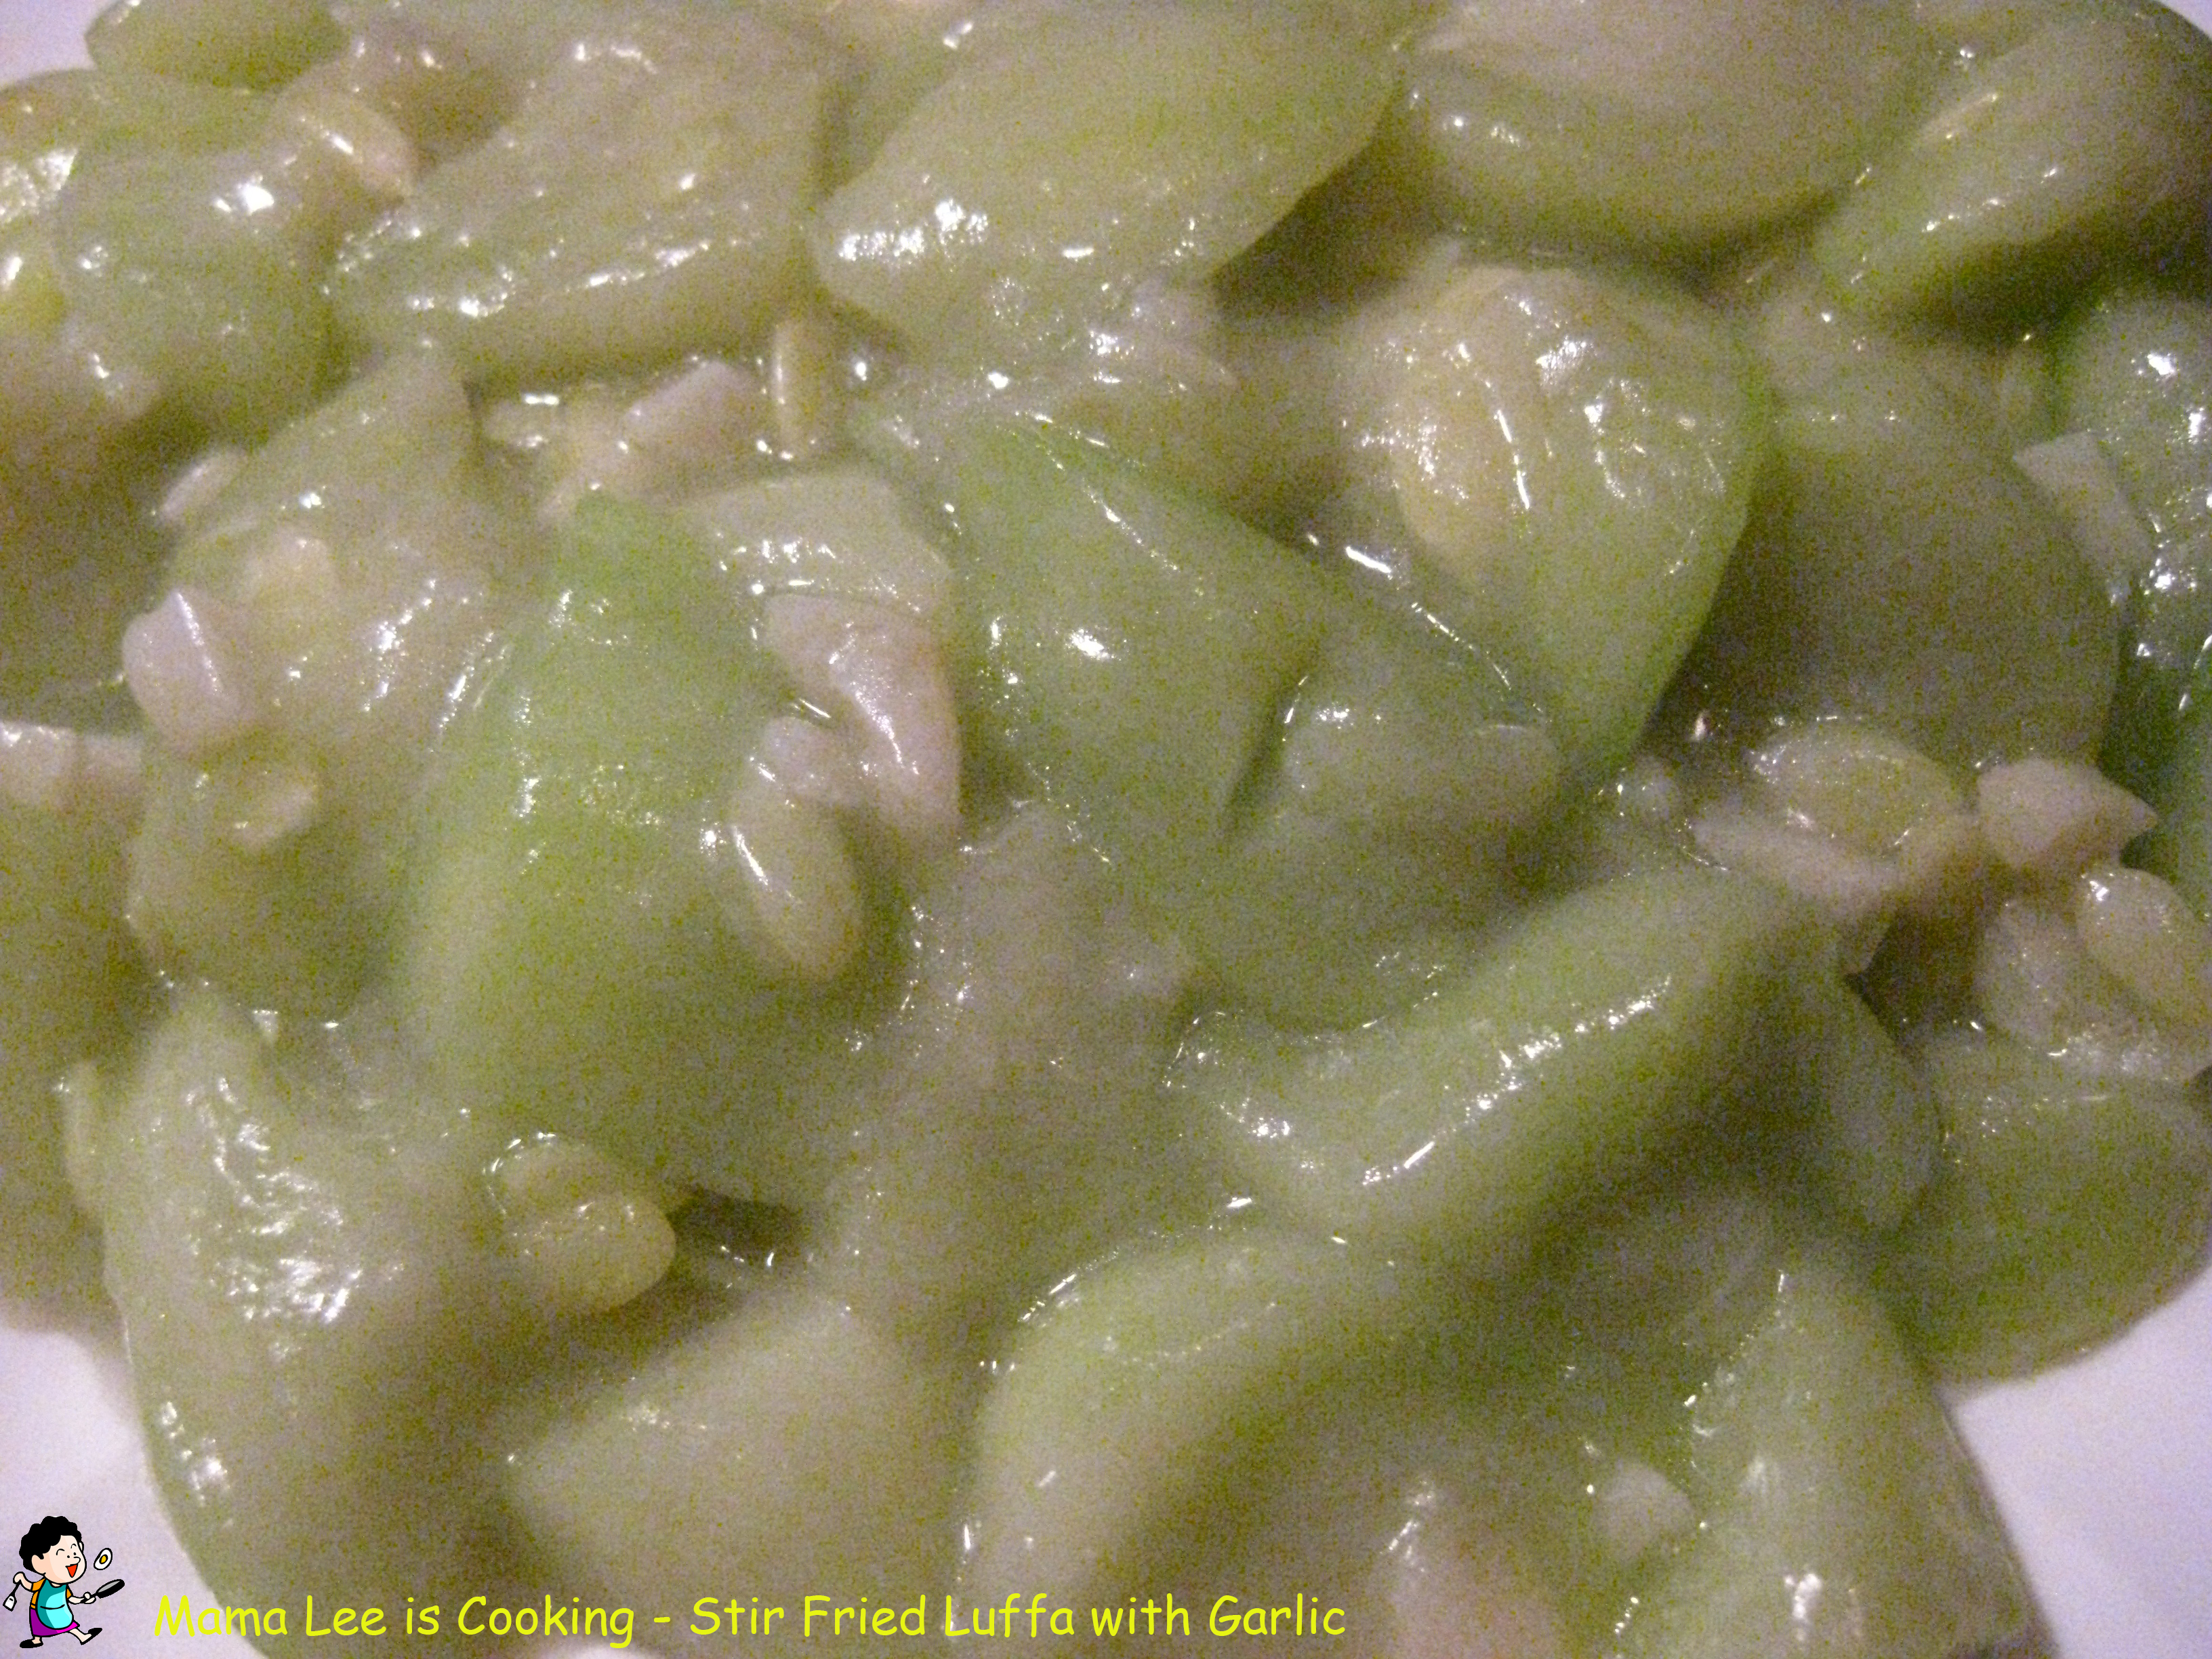
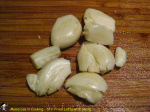 2. Mince garlic.